Today, I want to show you more of the boards I made for my kids as part of my new command central. I wanted them to be cute, functional and easily changeable as their and/or our needs change. Of course, I needed it to be somewhat reasonable in price as well. I still can’t show you the whole thing as I haven’t finished it yet…I am still blocked on what to do for the last piece of it. (Really, I think I am not blocked, I know what to do. It is just going to be a bit tedious and I am avoiding it.)

Below is a picture of what I created.

Come along on the journey of how I came up with this idea as well as how to make them.
In the past, we had a ‘chore’ chart for the kids that worked somewhat well. However, it was upstairs and in the busyness of life I rarely went up there to check if the kids did what they were supposed to do. There was a problem with the ‘tickets’ the kids earned as well as the bonus bucks they earned. They were forever being left all over the house.

One of my main goals in making this new command central was to simplify and feel like I was taking back my sanity. I needed something that was on the main floor of our home. I needed something that was simple for me to see and follow through on. I also needed something with some visual reminder of both the positive and the consequences Mr. T and I needed to reinforce. If it isn’t visual, it isn’t going to get done. With those lofty goals, I set out to create something new to be part of my command central.
I wanted something magnetic, as I view that as something that could easily be changed as our needs change. If you have ever looked into making or buying something magnetic, then you know it can get to be a bit expensive. While on a torture trip brainstorming trip to Home Depot, the craft store and about 10 other places with Mr. T, I found pre-cut 12×12 metal sheets. They were $5.98 each. I had already seen some 12 x 12 Artist Canvas(affiliate link) (they were $4.19 each and I used 4 total to make the complete command central along with 1 12 x24 canvas) on one of our 12 trips between Michael’s; and another craft store that day. I knew I could pair the two together to get the look that I wanted. I also knew that I could use the canvas to put together the different pieces of my command central and they would all end up the same size. Thereby giving me the polished, finished look I was going for.
One note on the sheet metal at Home Depot, there were multiple 12x 12 cuts in the same location. Some of them were not magnetic. Make sure the one you buy is magnetic.
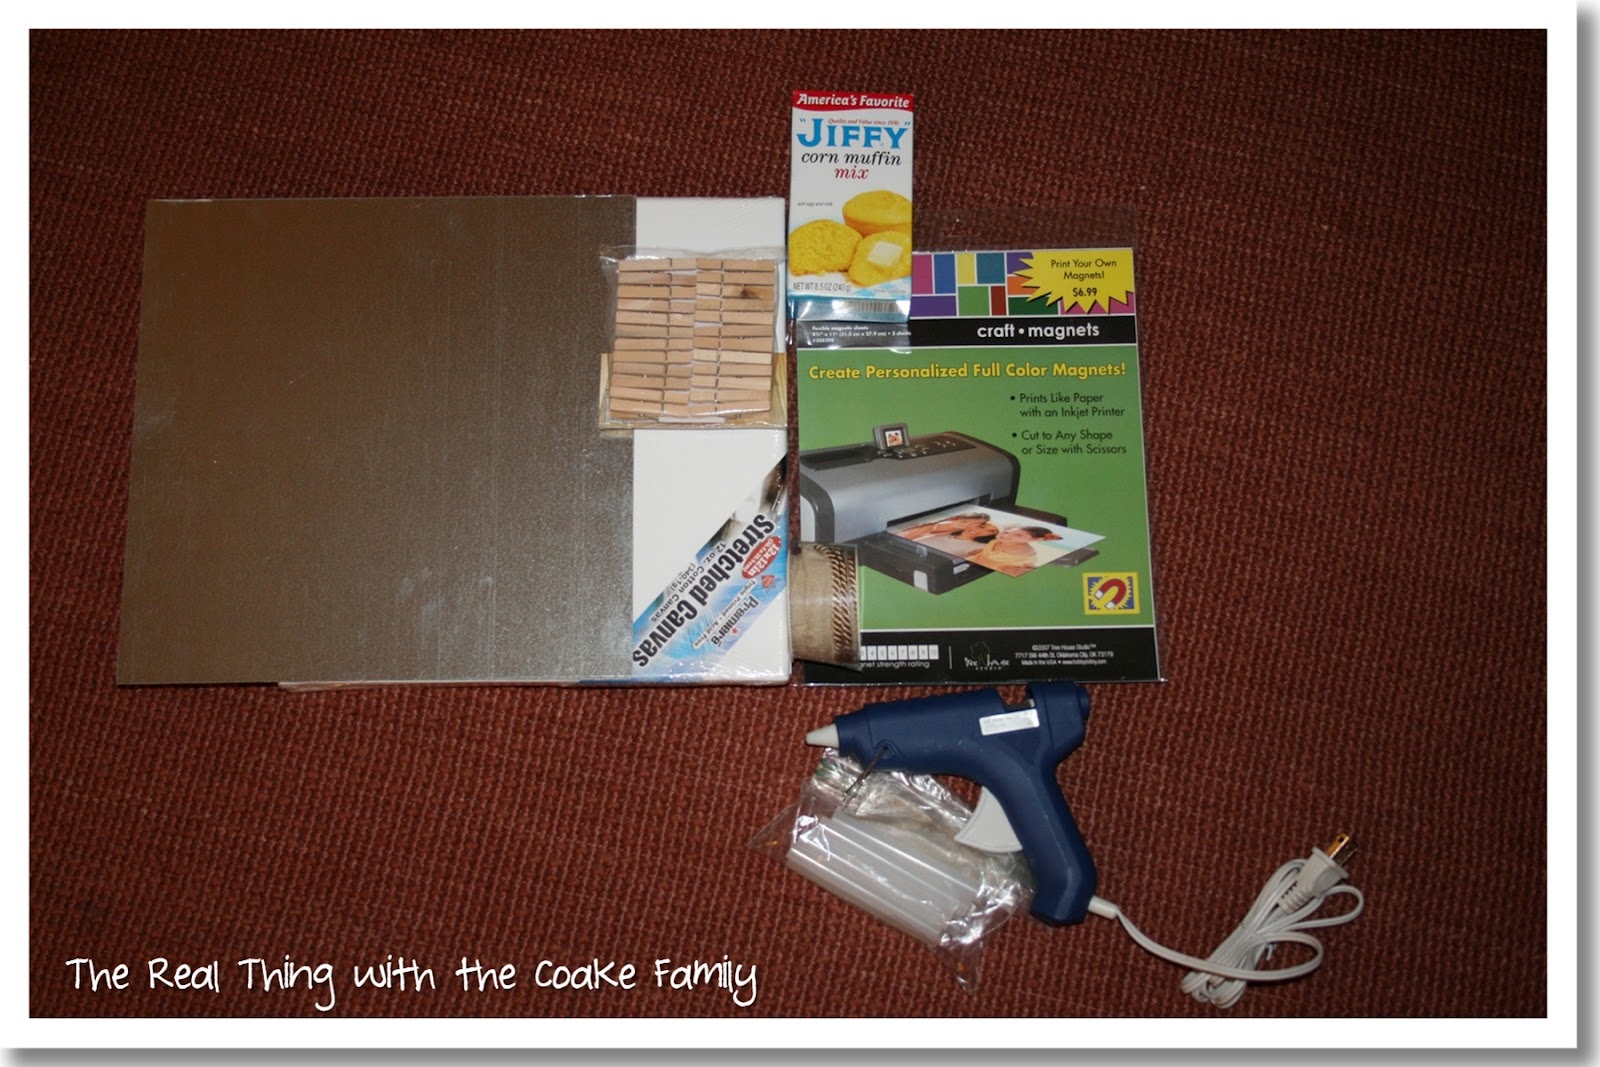
The supplies I started with to make the magnetic chore board. If you are wondering about the Jiffy box above. You can see last weeks post about my paper covered boxes. They are a part of the finished chore boards, we call them responsibilities in our house. You can read about it here. I will talk about the magnetic paper and the little clothespins next week.
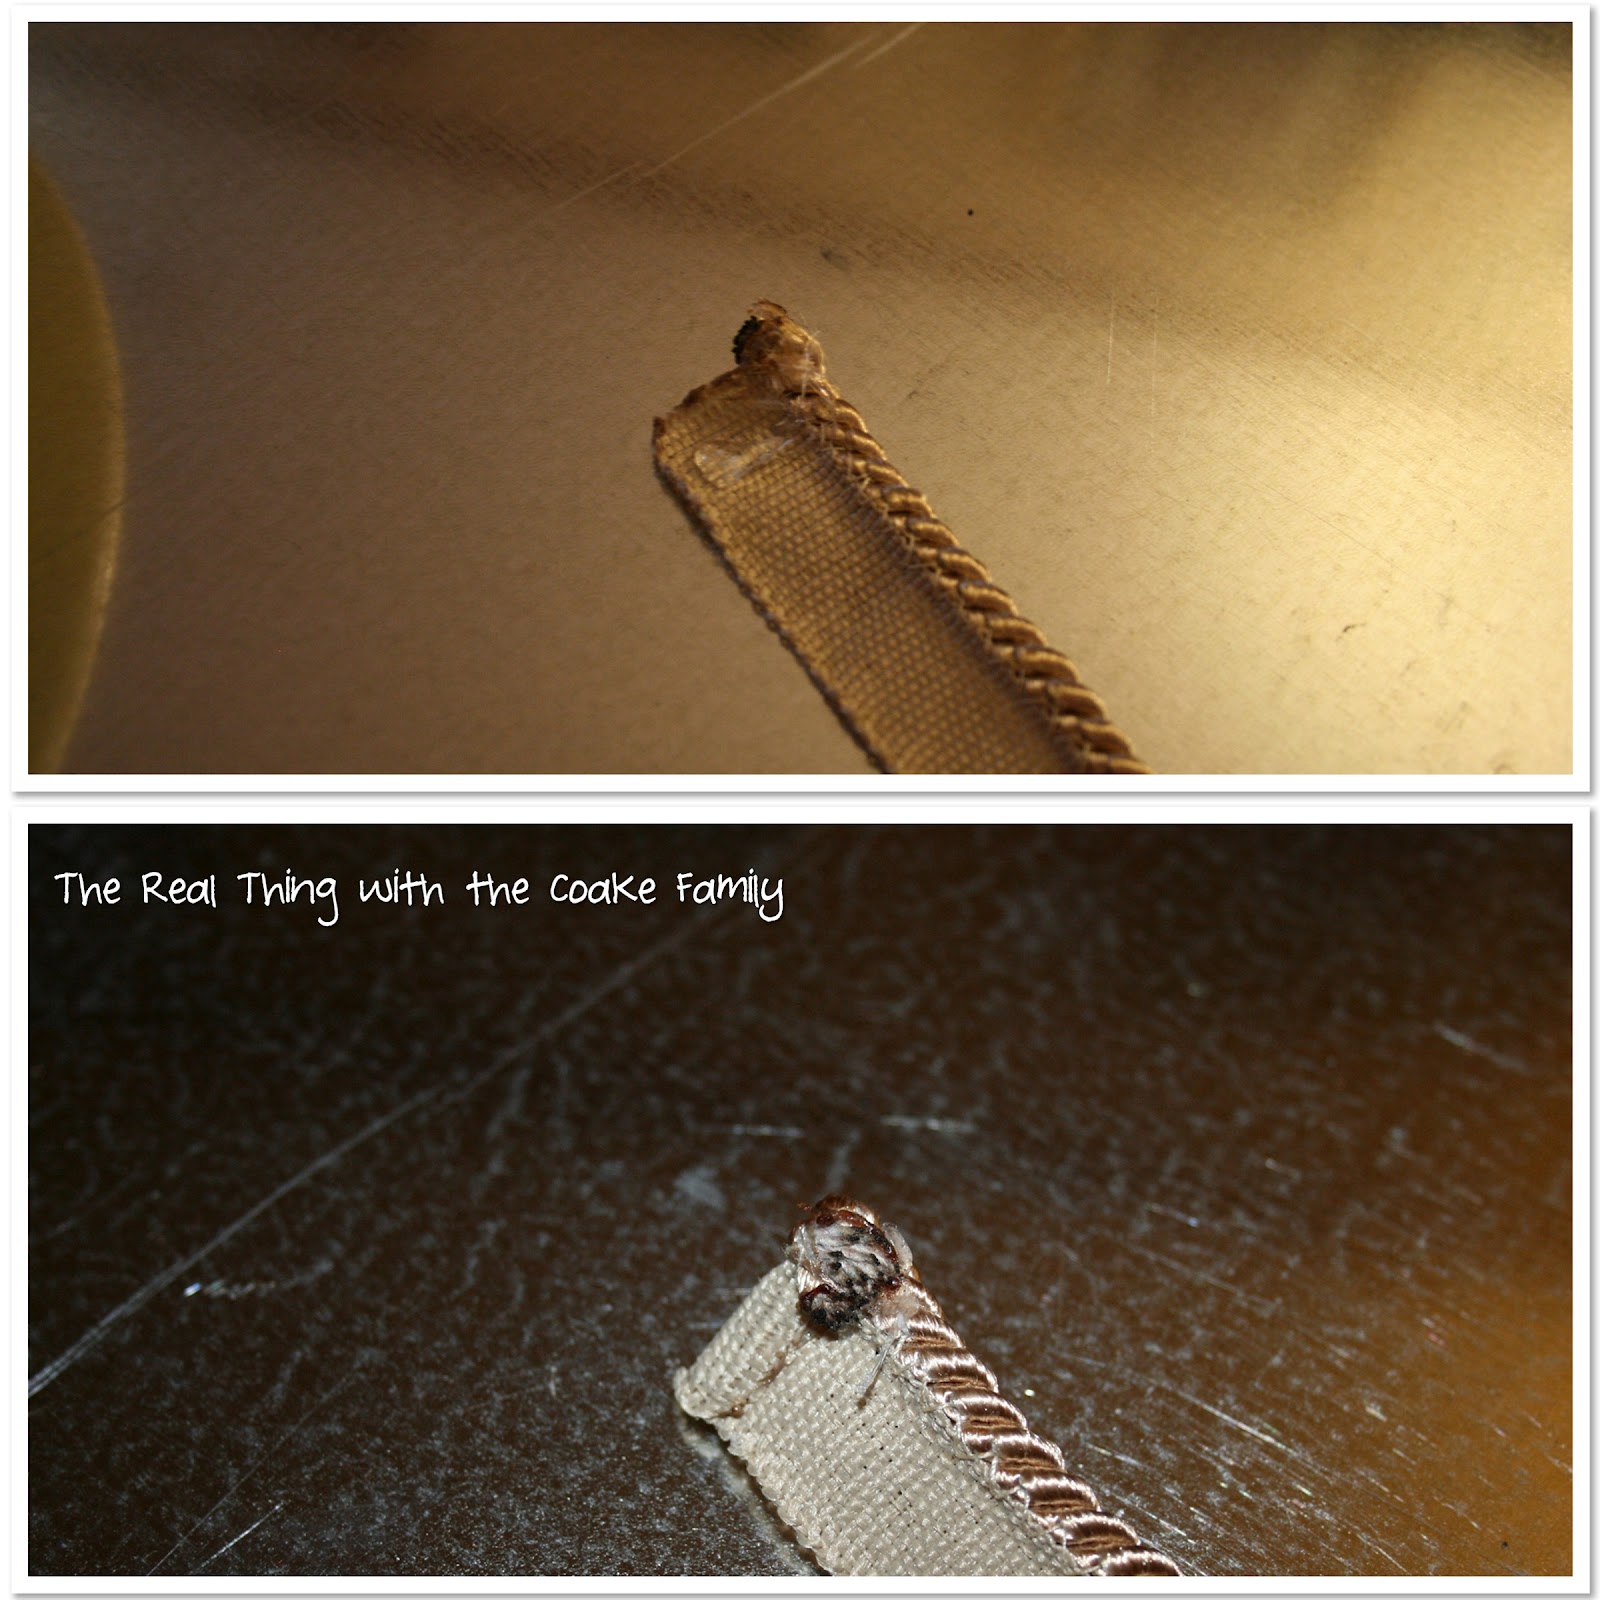
I found this ribbon at Hobby Lobby (did I mention we went to 15 stores during our “brainstorming?” Can you tell I didn’t enjoy it!?) I thought it would be great for this project. I had been looking for something that would keep the12x12 sheet metal I was using from being a safety hazard for the kiddos.
Please ignore the burnt ribbon. I thought I was going to need to burn the edges of the ribbon in order to keep it from fraying, but I realized later that all I need to do was hot glue the end down. It would then be glued to the back of the sheet metal and I feel fairly certain fraying won’t be a problem.
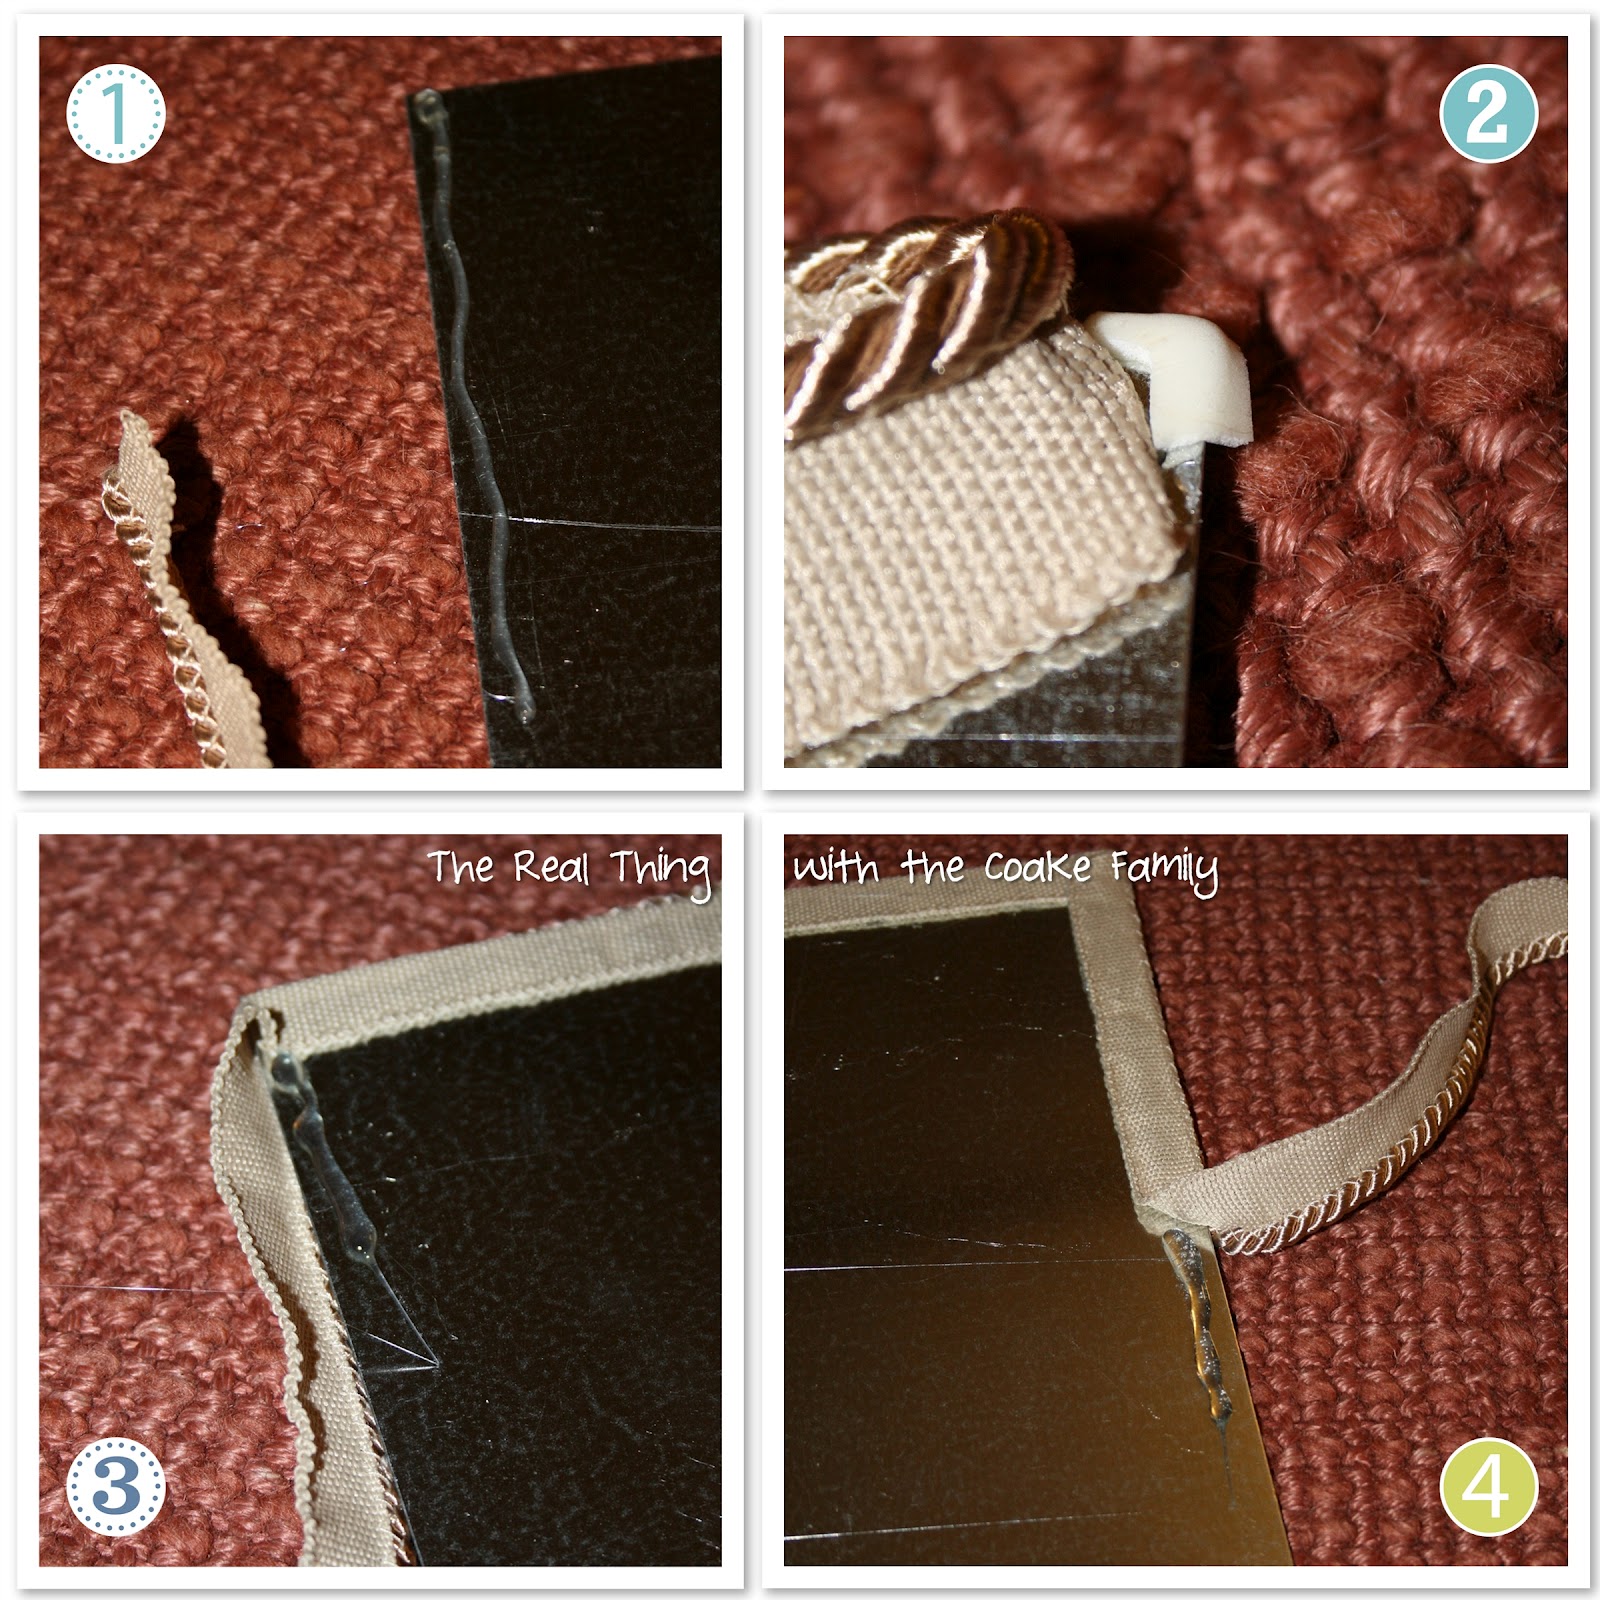
The process of putting this ribbon onto the metal sheet is pretty straight forward. I’ve included pictures because I love seeing pictures….they make it seem even easier to me.
- Start with a line of hot glue. The metal will cool the glue quickly, so you will need to work quickly. (Taking pictures for a blog will allow the glue to cool too much and you will have to peel it off and start again…just in case you are planning your own blog post…hehe!)
- My biggest tip for you, add a piece of foam tape to each corner. The ribbon was not quite enough to keep the sharp corners covered up. I added a small piece of foam tape to each corner. The corners are no longer a potential safety hazard. Yay!
- Do your corners in whatever way makes you happy. I know some people are really persnickety about such things. I just folded over the edge and made sure the front corner looked nice.
- Continue on to the end of your metal sheet. Be generous with your glue.
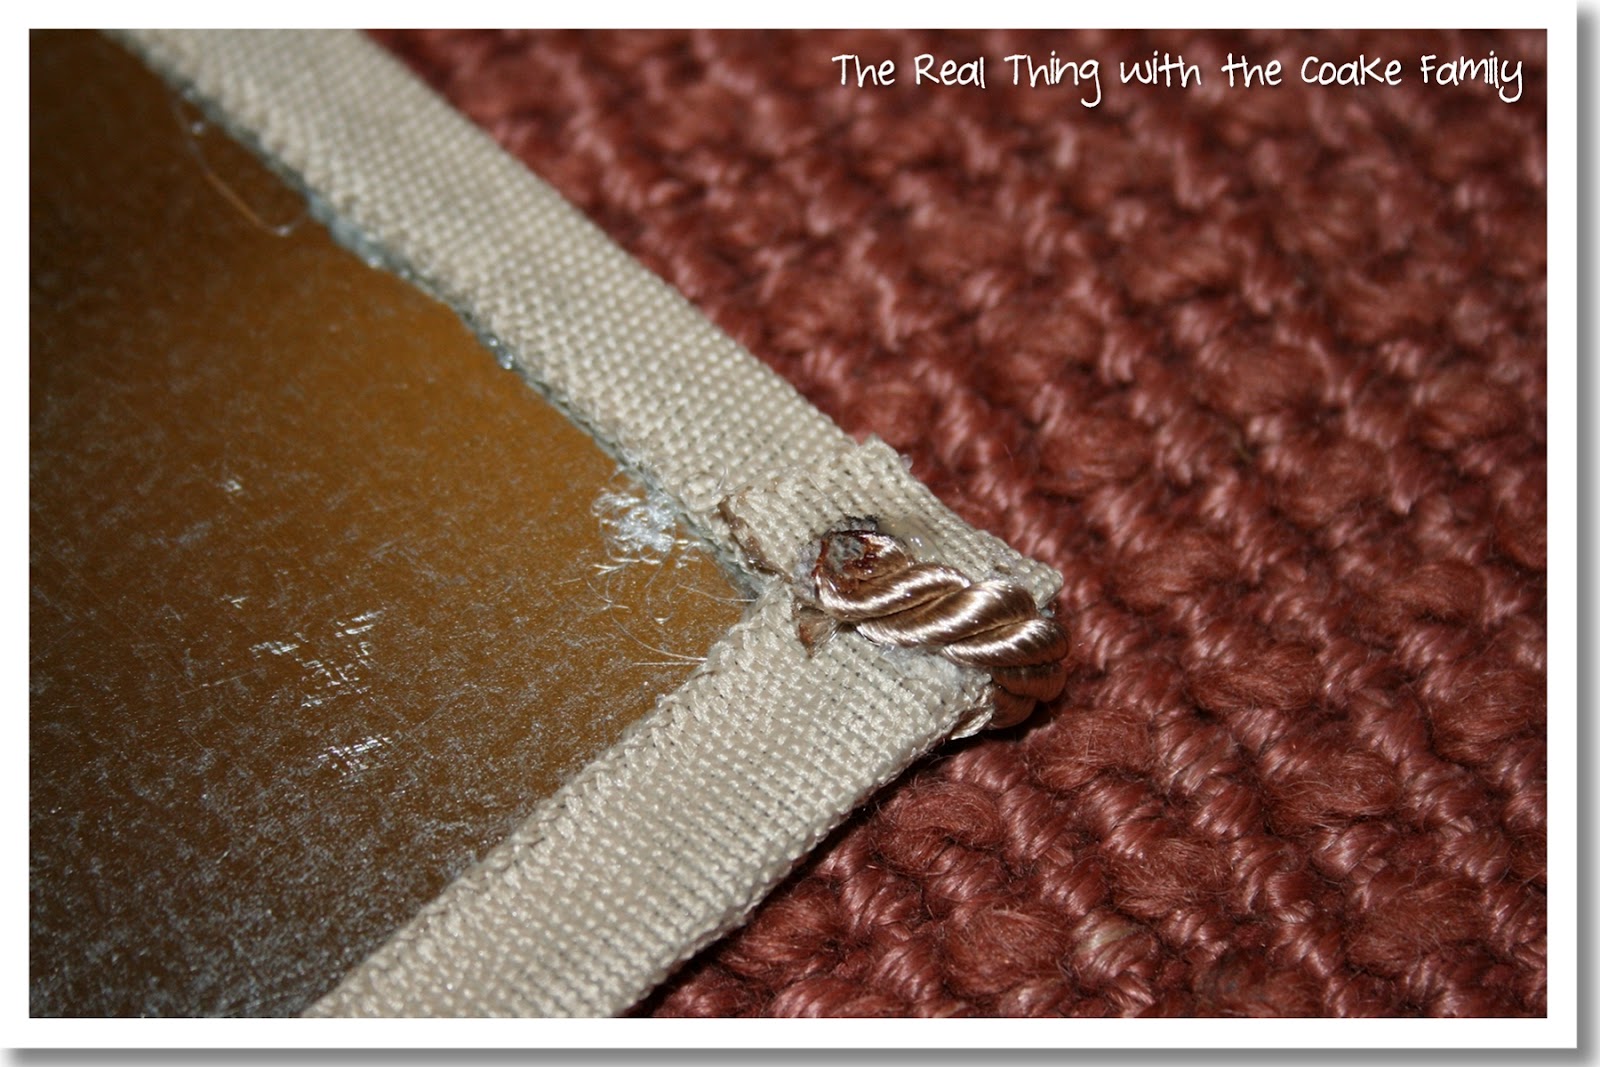
I couldn’t find any ‘perfect’ way to end the ribbon as it is quite thick. I ended up just bringing the end over the edge. It did make that corner of the sheeting stand out a little bit from the canvas once it was attached to the canvas. I’m OK with that.
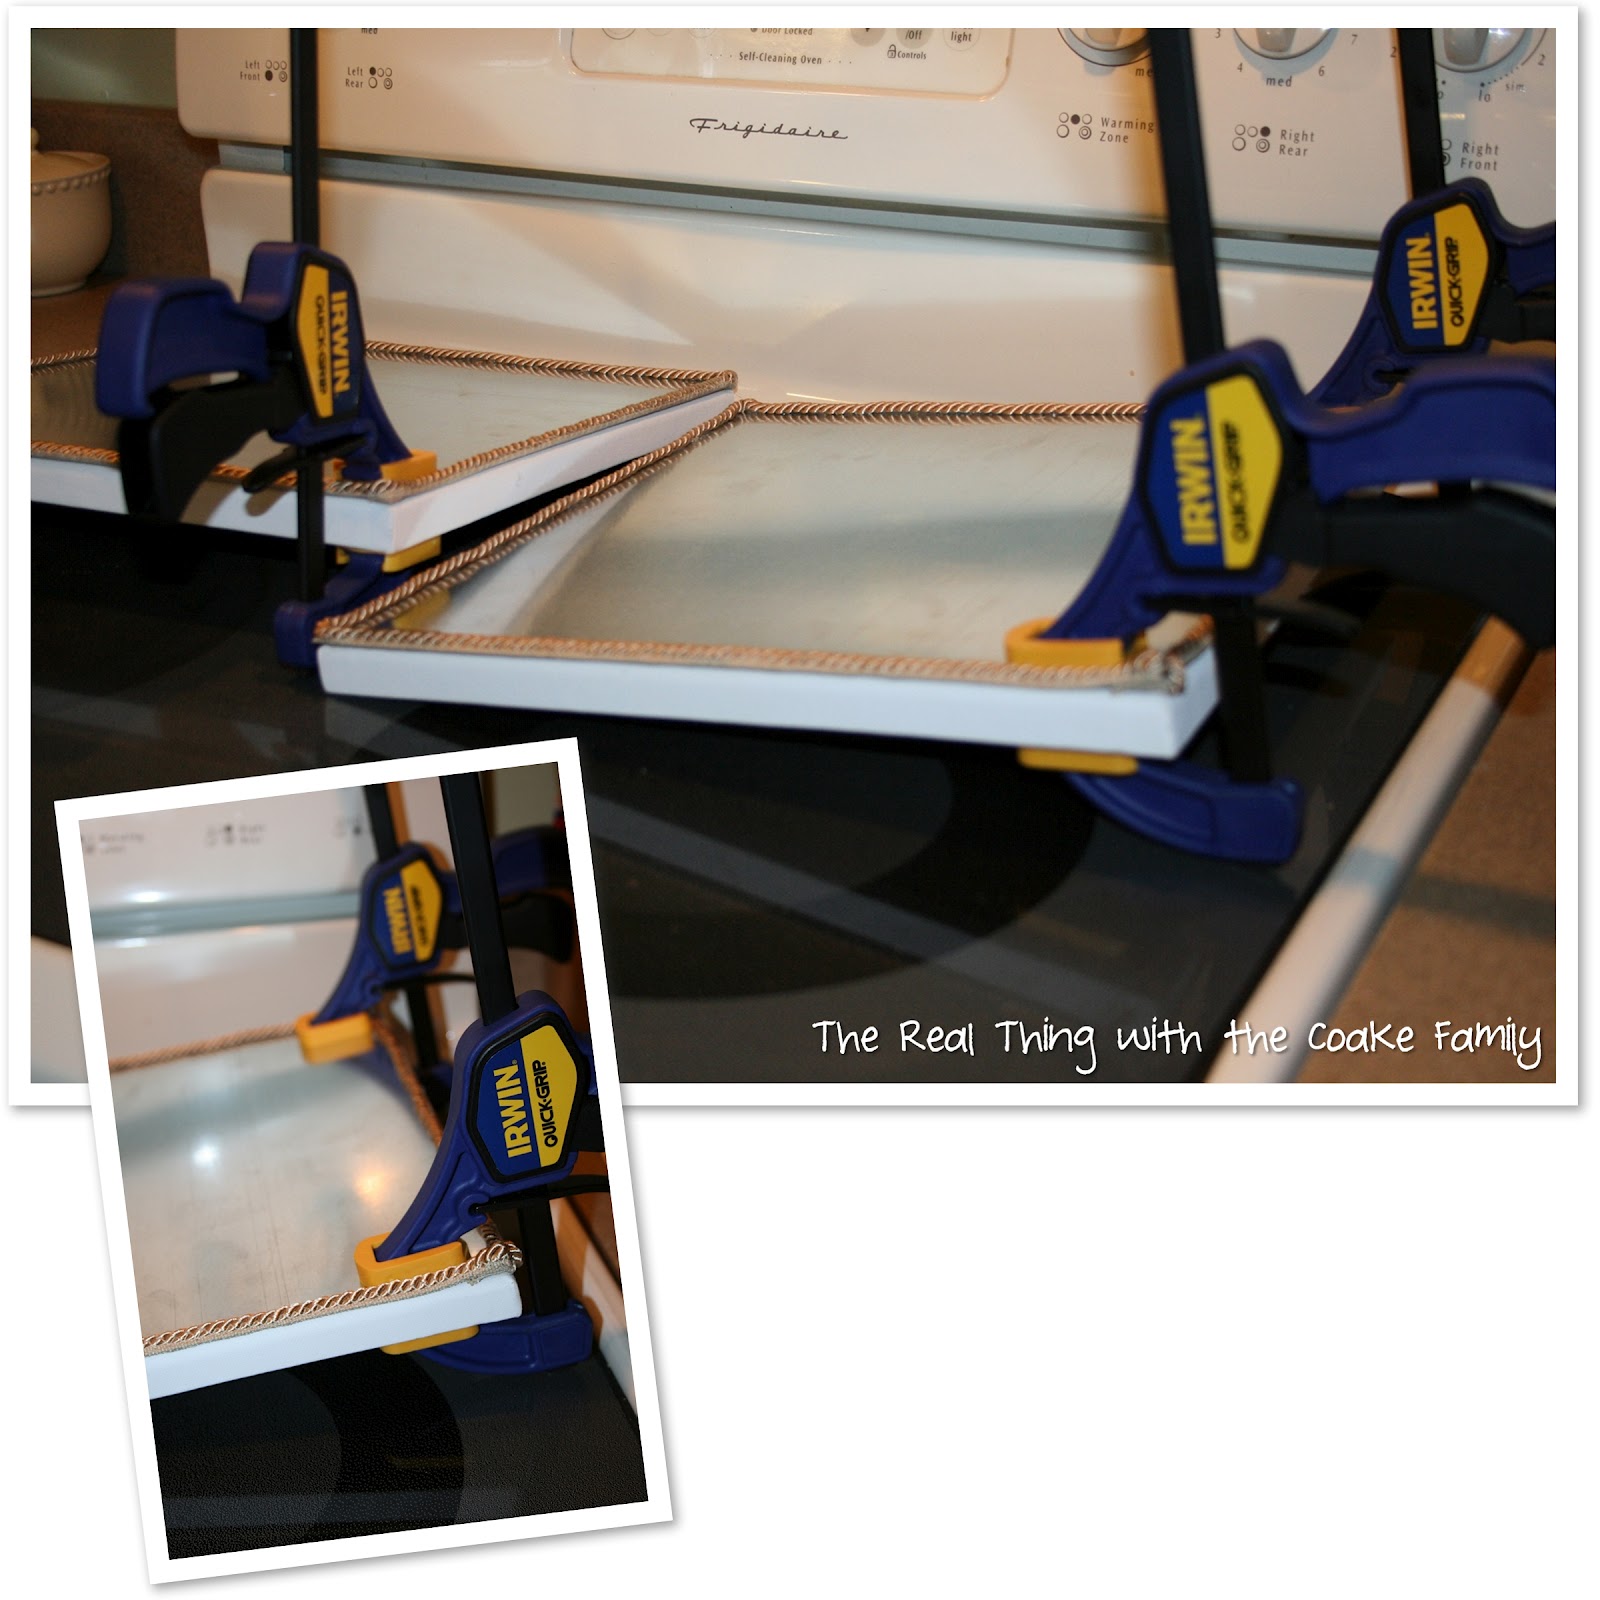
It was time to adhere the metal sheets to the Artist Canvas(affiliate link) . Mr. T did this part for me. He loves his clamps(affliliate link) and will do any project that involves one of his new toys! He tried both Gorilla Glue(affiliate link) and E6000(affiliate link) . He did not like the Gorilla Glue . He said it expanded a bit and got to be a bit messy. He preferred the E6000. We (by we, I mean he) clamped them over night. I wanted to be sure the metal sheets would lay flat on the canvas and that it would look nice.
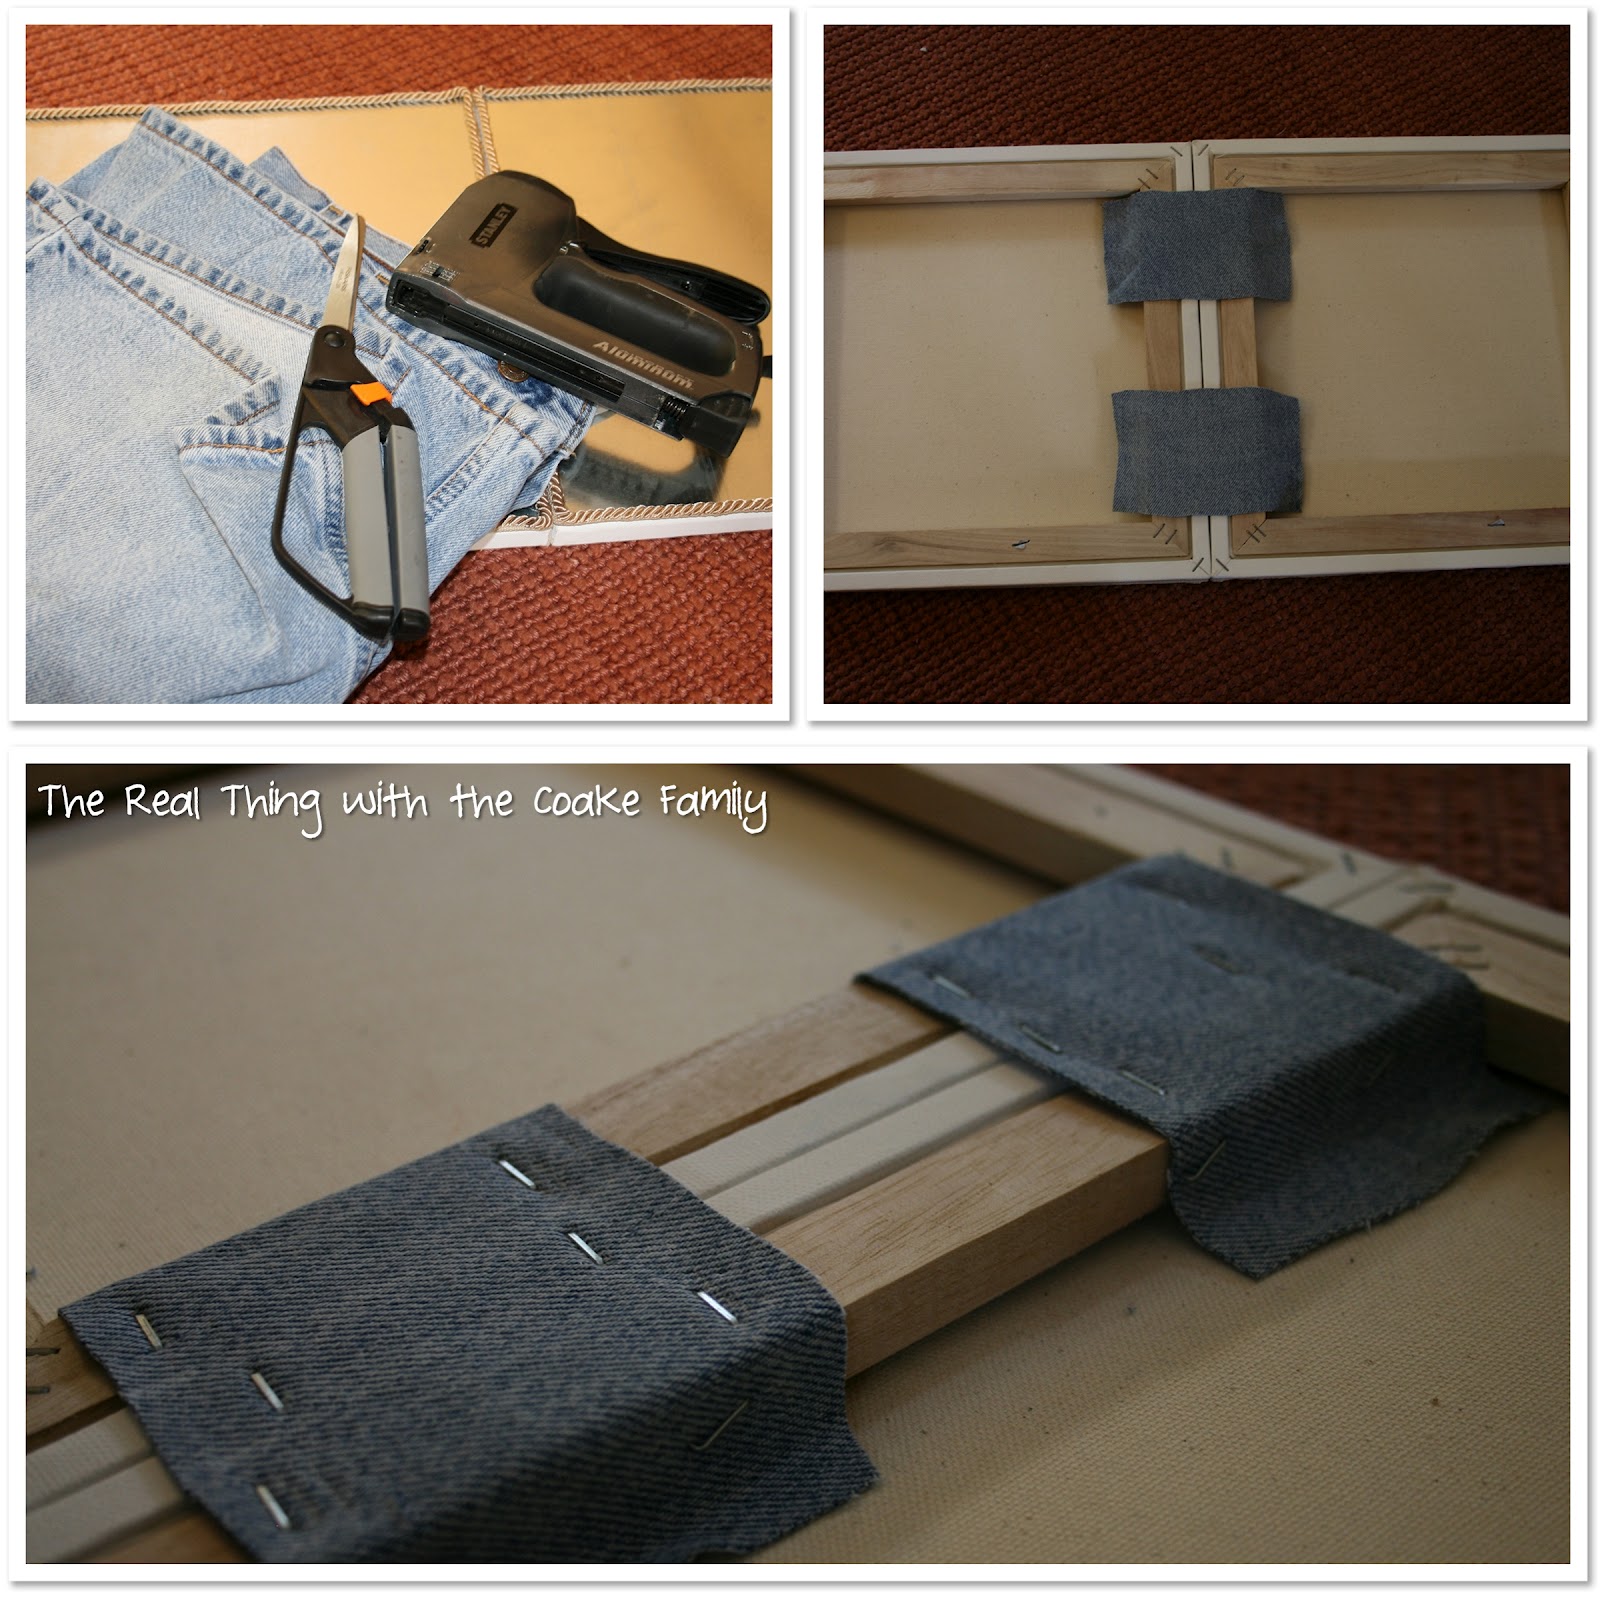
The last bit of the project I needed to figure out was how to join the two boards together. I could just put them up on the fridge(with magnets or Command Picture-Hanging Strips – affiliate link) and hope they would stay together and that by some miracle, my kids wouldn’t yank them down and apart, etc., etc. Umm, but one of the points of this was to reduce clutter and take my sanity back. So, it was necessary to figure a way to join the boards together. Mr. T was willing to sacrifice a pair of his shorts for the project (because he knew I wouldn’t be seen in public with him in these shorts – the 80’s had already called and asked for them back…haha…Love you honey!). I cut strips out of the shorts and used my trusty staple gun(affiliate link). Problem solved, the boards are now attached together.
There you have it! I created these magnetic chore boards for $20.34 plus the cost of the ribbon (which I couldn’t find the receipt for, but I think it was between $4 and $6) and the cost of the portions of glue that were used.
Next week, tune back in and I will show you the chore chart as well as the magnets I made out of magnetic paper. If you are interested, I might talk about some of the new parenting things we were trying to implement (and why) either next week or in another post.
Read more posts in my Command Central Series:
Awesome! I would be happy to have you share this and any other idea you would like to link up to “One Creative Weekend” at OneCreativeMommy.com.
Thanks so much!
You are so organised! I will have to read your other post about your new parenting strategies too-I love hearing advice from other parents!
If you have a minute to spare I’d love it if you could pop by and visit me at my blog and perhaps you could even link up your post to my weekly Say G’day Linky party!
Best wishes for a lovely weekend,
Natasha in Oz
Such a GREAT idea!!! First of all I really need to start having Gabrielle do chores..
Thanks so much for sharing this at The DIY Dreamer.. From Dream To Reality!
I hate to sound crazy but the metal went on the canvas and how did it stick to the Frig? Thanks Tam
Not crazy at all. I used command adhesive. The kind that are for picture hanging. I could (and did with other portions of the command central) have just used magnets. You can buy sheet of magnets that are sticky on one side. You will need strong magnets if you go with that option. I actually ripped the ones that were on my old calendar and old dry erase boards off of them and used them as they are stronger than the magnets I could get in the sheet form.
HTH,
KC