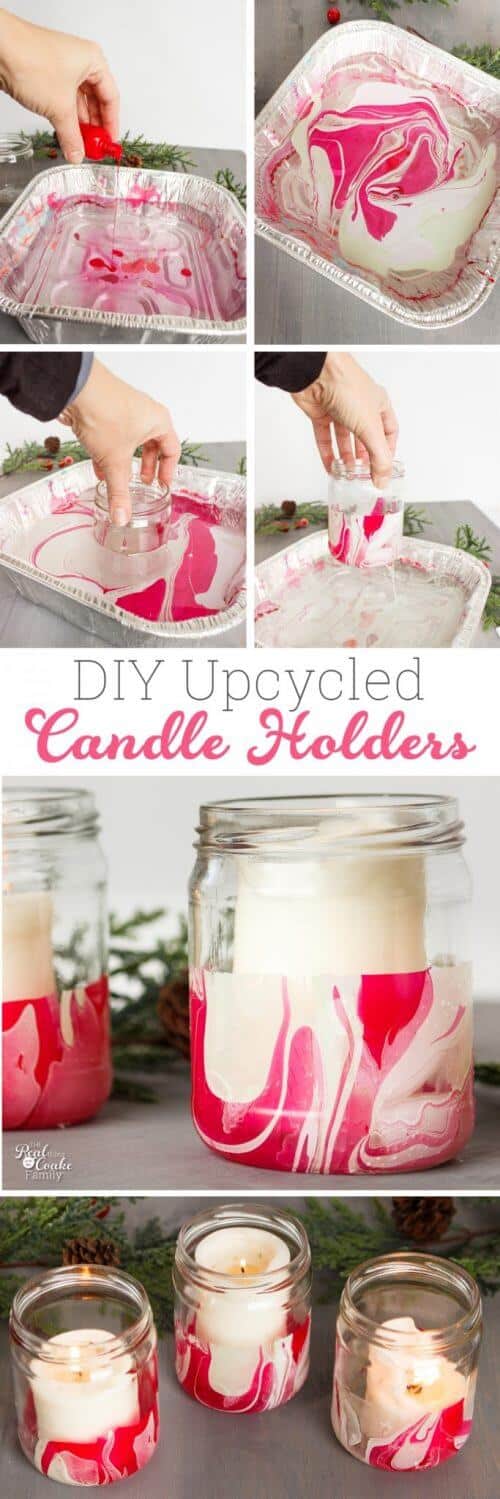
Oh my goodness! I’ve got a fun and addictive upcycled craft idea for you today! I’ve used this same idea on stemless wine glasses and think the possibilities are endless of things you can make using this idea, however, today I’m going to show you just one idea to make DIY Christmas Home Decor.
My daughter saw this idea on YouTube (follow me with that link) and gave me some stemless wine glasses and the supplies to have some fun making them for Mother’s day this year. She and I had fun making the wine glasses together. We found the craft to not only be fun but the patterns you can make could be endless and totally addictive.
Since then, I had the idea to make some candle holders for Christmas. That is what I’m showing you today, but like I’ve already said, you can take the idea and the instructions here and use them for almost any glass item you want to cute-ify.
DIY Christmas Home Decor
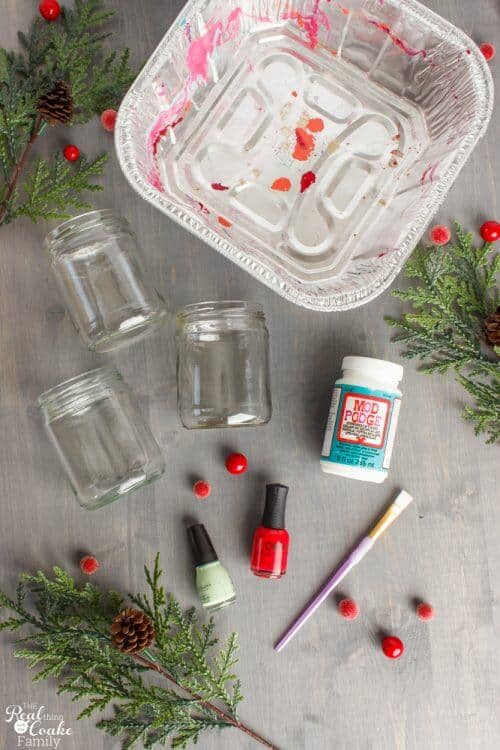
Supplies:
- Empty jars that will hold a candle or tea light (mine are salsa jars)
- Nail polish
- Deep disposable pan
- Warm water
- Dishwasher Safe Mod Podge(affiliate link)- I couldn’t find it locally, so Amazon Prime(affiliate link) to the rescue!
- Paintbrush
Step 1:
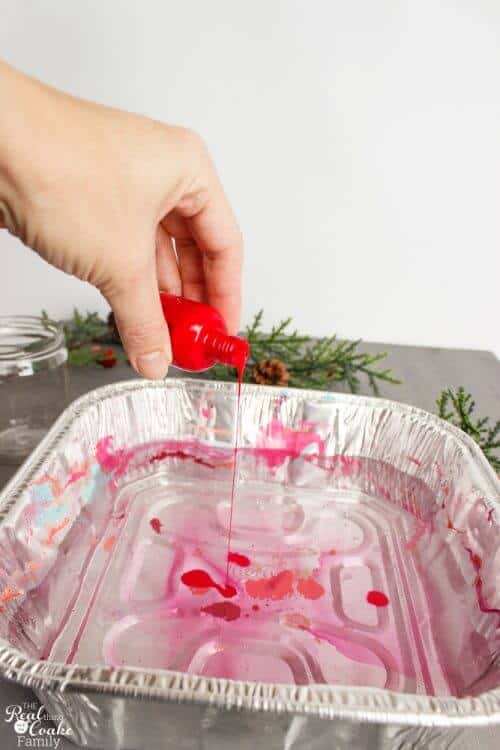
Fill up your disposable pan (which I have used quite a few times…no need to waste it on just one use) with warm water.
The water temperature makes a big difference in this craft, so be careful. You want the water to be just a little bit warmer than room temperature.
Add the nail polish to the pan. A spin around the pan should be a good amount.
Step 2: Swirl the Nail Polish
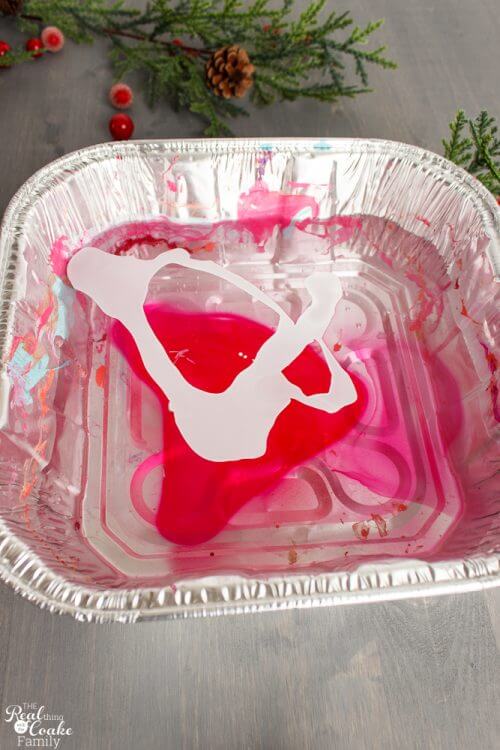
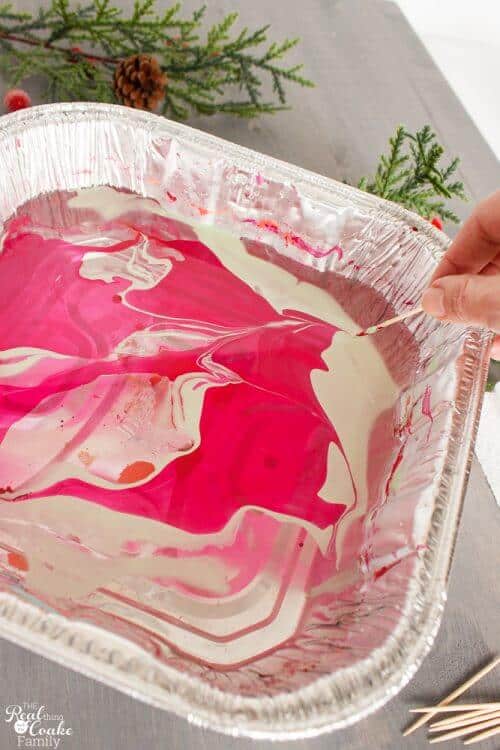
You need to work quickly with this craft as well. As soon as you have added your 2 to 3 colors to the pan. Use a toothpick and pull or drag it through the nail polish to swirl the colors together.
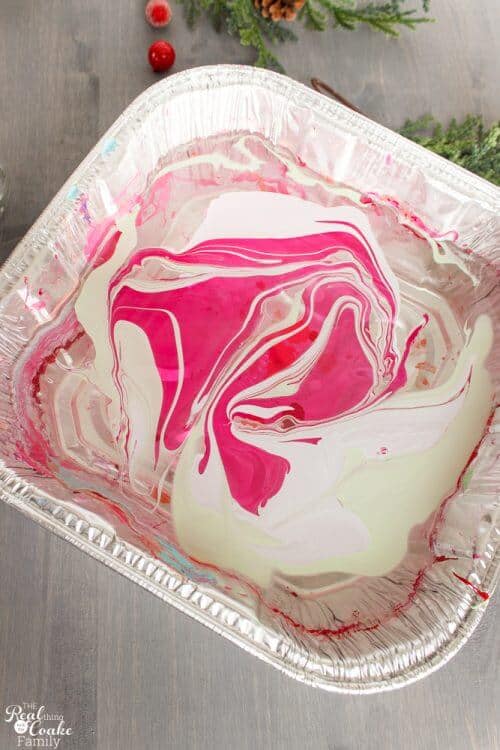
It should look like this when you are done. Beautifully swirled.
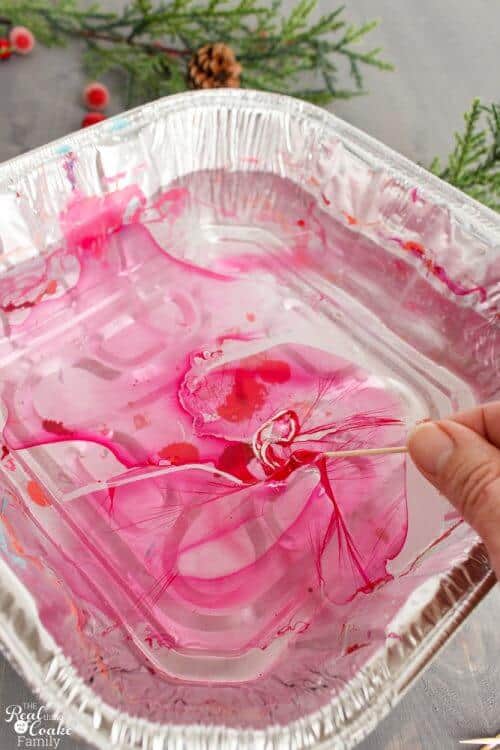
However, as I mentioned you need the right water temperature as well as to work quickly.
If either is off, when you drag your toothpick through the water, it will not go well.
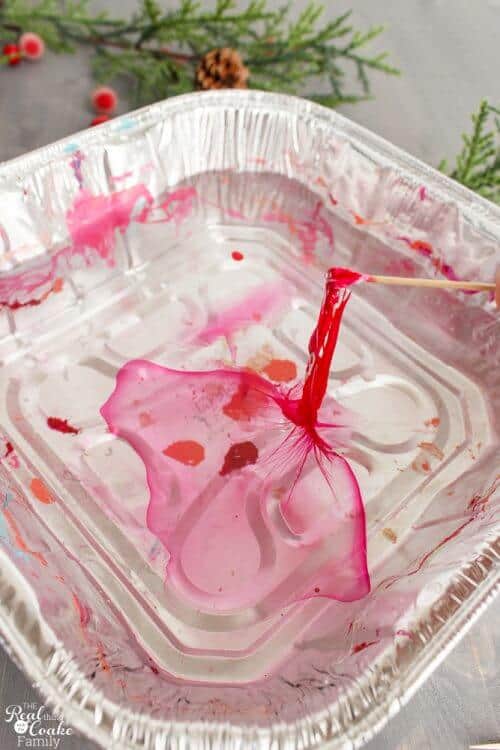
You will have a gloppy mess on your hands.
Just clear that out of your pan.
Thent, either adjust your water temperature or your speed to get the swirl effect.
Step 3: Dip your Item
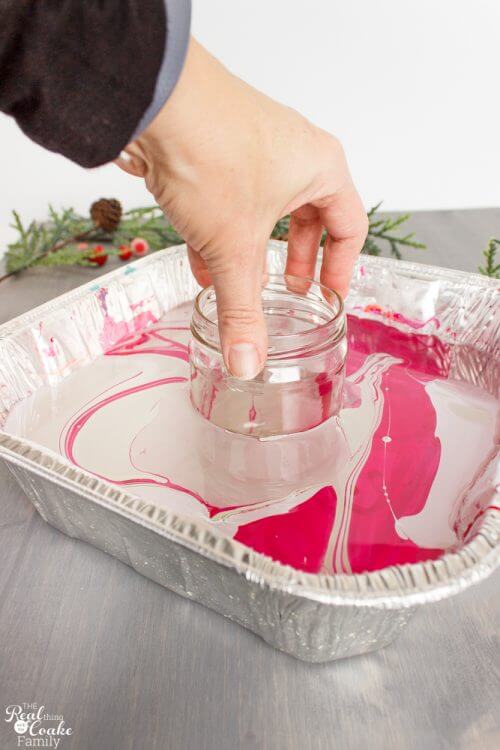
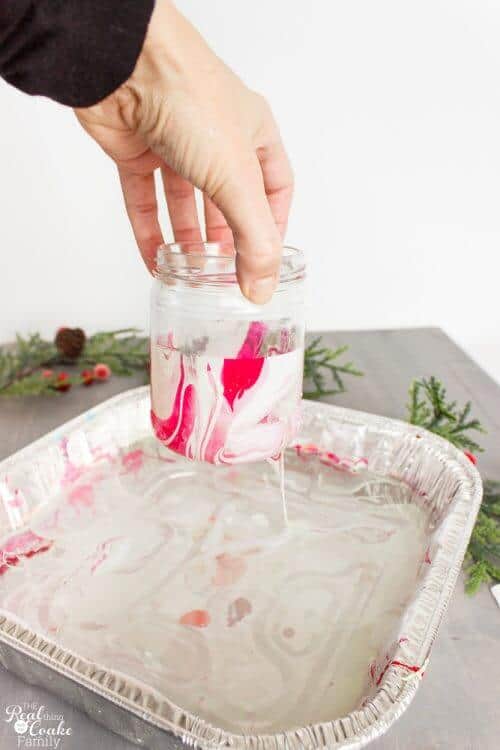
After getting your desired swirl effect, keeping in mind we are working quickly, dip your jar into your water.
As far as you dip it will be as far as the nail polish will be on the jar.
I prefer to dip it as far as I could and would love to find a deeper water bath someday because then you could go even higher up the jar and I think that would be pretty.
Step 4: Remove the Jar

This step is quick like the others, just remove your jar from the water bath and see the beautiful pattern that is created.
As you remove the jar, you can turn it to add to the swirl effect as well.
Step 5: Touch-up and Dry
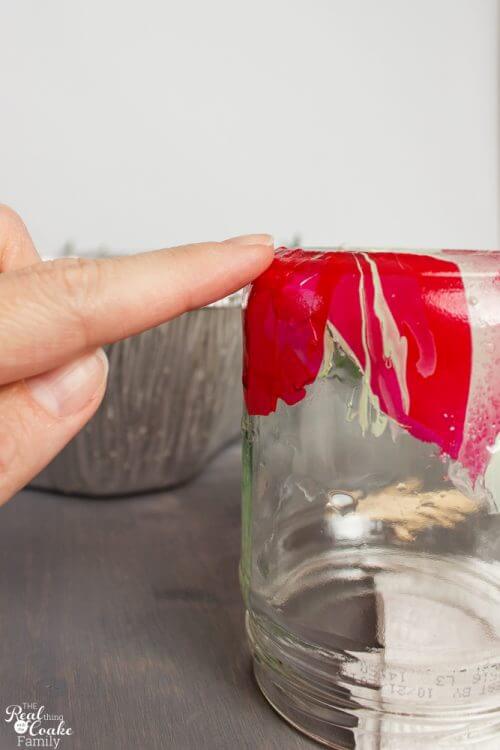
You may have noticed in the picture of removing the jar from the water bath that there are some string of nail polish hanging down.
If you have those, just turn your jar over and gently press them into the glass and smooth out.
Leave the jars upside down until they are fully dry.
Note: If you end up with a jar or pattern you don’t like, just use nail polish remover to take it off your jar. Wash the jar and try again….it is why this can be so addicting!
Step 6: Protect
To keep your jars looking great for a long time as well as make clean up easy, you will want to coat them with a protective coating.
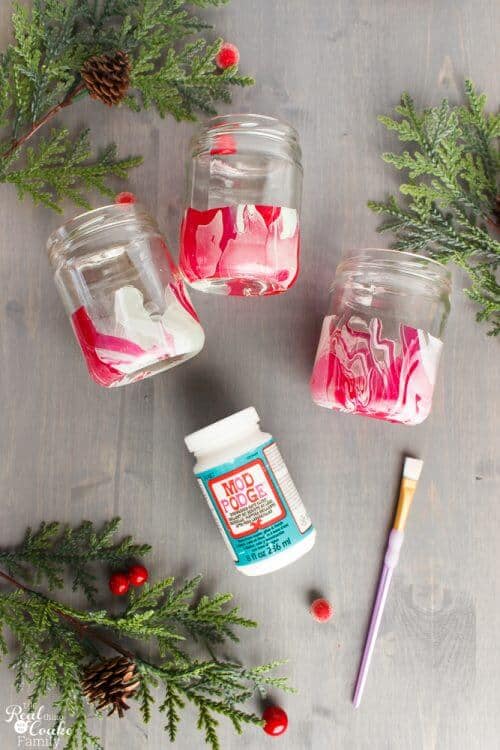
I used Dishwasher safe Mod Podge (affiliate link) for mine because there really isn’t anything easier than putting them in the dishwasher to get them clean. You could also use regular Mod Podge or I’ve heard that this spray works (affiliate link) as well, but neither is dishwasher safe. So, if you are doing this with wine glasses or other things for which you want quick and easy cleanup, I’d go with the Dishwasher safe Mod Podge.
Add 2-3 coats of Mod Podge onto your jars.
The drawback with the Dishwasher safe Mod Podge is that it has to cure for 28 days before you can actually put things in the dishwasher. Kind of a long time and a pain, but for me, I still did it. I have my jars on my kitchen table and at the end of the holiday season, they will be cured and I can run them through the dishwasher before packing them away for next year in my cutely organized bins.
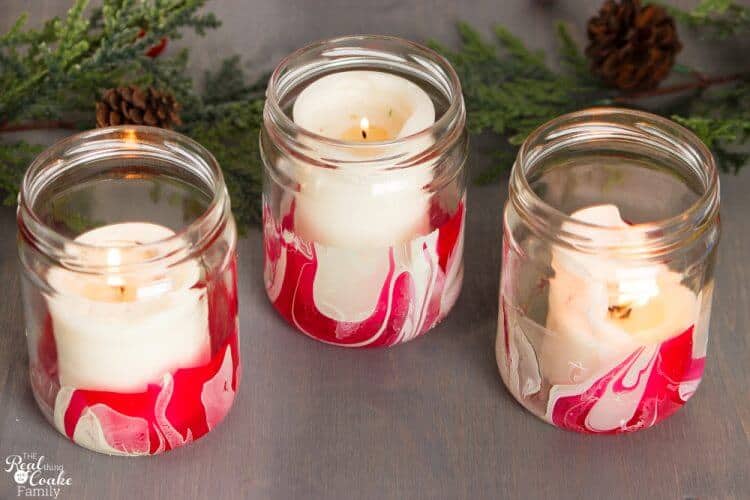
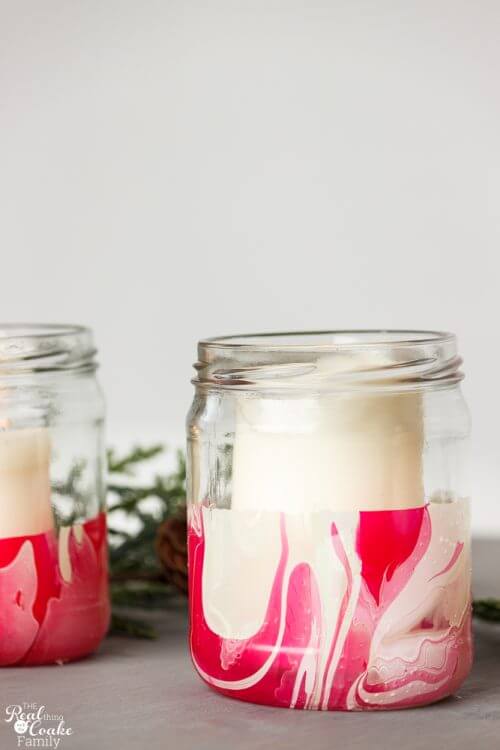
It was surprisingly harder than I thought it would be to find a good red and green for this craft. As you can see I found more of a pinky red and a light minty green.
While they weren’t my original color choices, I like how the look and look with the white nail polish as well.
The wine glasses I did, we used blue, pink, and gold. They look so fun. So, keep in mind that you can use metallics with this as well and they work and look great.
The deeper colors seem to look better, mostly because they show up more, but I think it is nice to have light colors to balance the dark.
It is so fun to try different color patterns together and learn which you like and which are what you are looking for. I’d have way more than 3 jars on hand for this fun DIY if I were you. That way as you get going and seeing what you like, you can keep going and having fun with it.
Enjoy your new craft addiction!
Great idea KC! I love this tutorial. These are beautiful and your post is well-written. Could I share this idea with my readers? I am creating a post for my blog about repurposing jars and would like to include the link. Thank you for the inspiration!
Thank you! Of course, you can share it as long as you make sure to do the usual attributing it to me and sharing a link back to my site. Send me a link when you get it together and I’ll share it as well.