Springtime is the perfect time to spruce up outdoor areas in your home. There are so many fun ways to add personality and fun to your outdoor space, though sometimes they can get a bit pricey. I found a way to save some money on expensive pots and add a ton of cute personality and color by painting plastic flower pots.
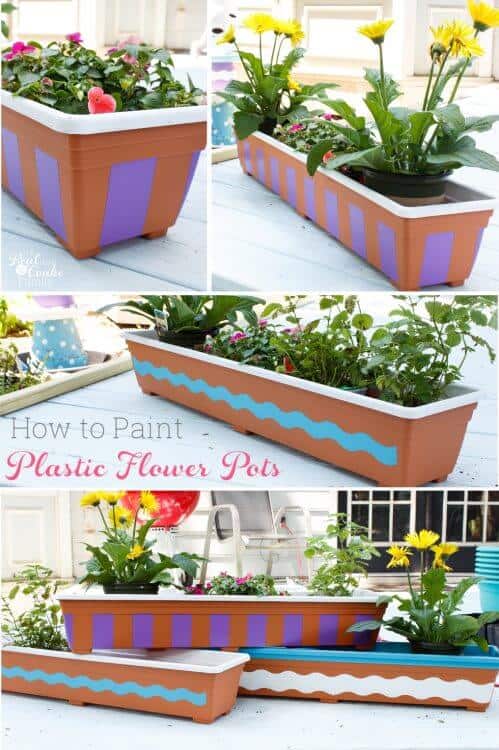
Last year when we were working on our deck makeover (part 1, part 2, and part 3), I wanted to add some additional color and personality to our deck. I also didn’t want to break the bank. What is it with pots that they can get so expensive? and heavy?
I decided to buy some plastic terra cot looking pots and paint them. It was a simple project and it sure added fun and color to the deck, which I totally love. If you want a craft and to add some personality to your outdoor spaces, just follow this simple tutorial to learn how to paint your plastic pots.
Painting Plastic Flower Pots
Supplies:
- Plastic Terra Cotta Window Box Planters (affiliate link)
- Frog Tape (affiliate link)
- Frog Shape Tape (affiliate link)
- Paintbrush
- DecoArt Americana Decor Outdoor Living Picket Fence (affiliate link)
- DecoArt Americana Decor Outdoor Living Pansy (affiliate link)
- DecoArt Americana Decor Outdoor Living Turquoise Sky (affiliate link)
If you prefer, I have a video showing the process near the end of this post.
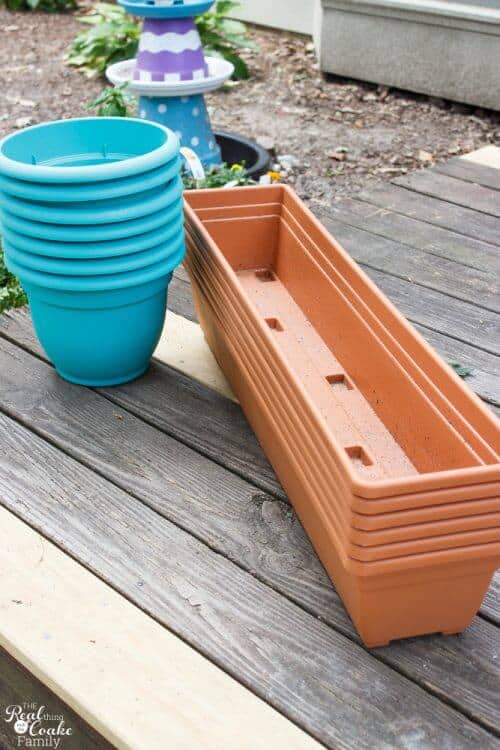
Step 1: Tape pots
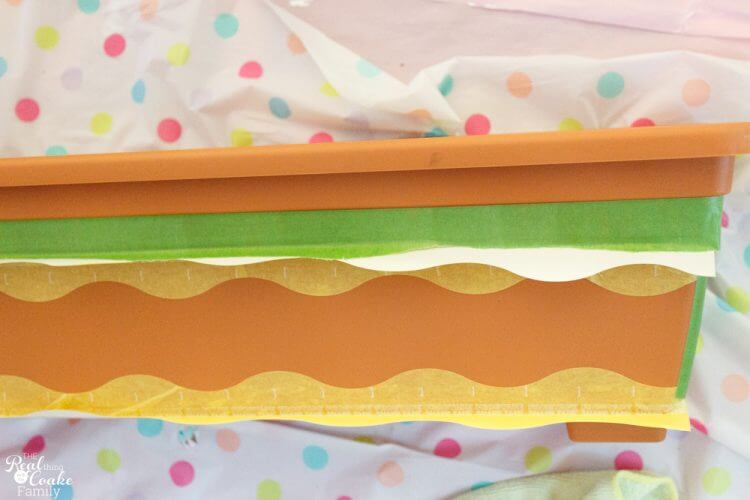
You will start this project by taping off your pots. You can use the Frog Shape Tape to make this super fast and easy. It is available in chevron, scallop, and wave.
I used the wave for my pots.
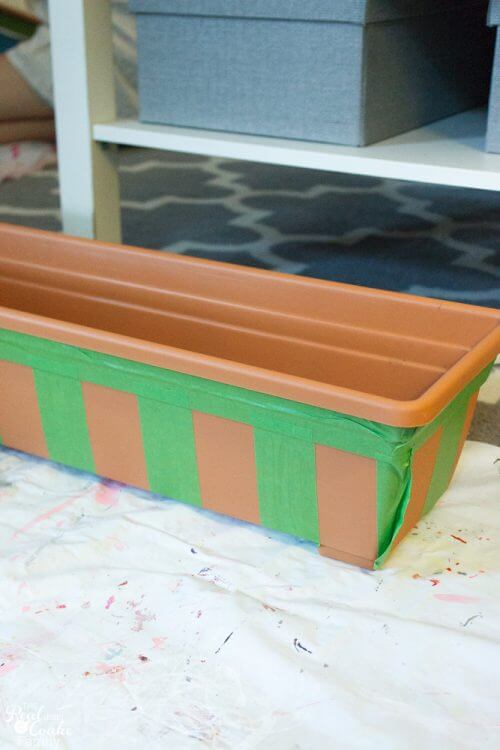
You can also use straight painter’s tape to mark off any design you like.
I like the Frog tape the best as I have had the least number of issues with paint leaking under the tape and the best results with it for clean lines.
Step 2: Paint
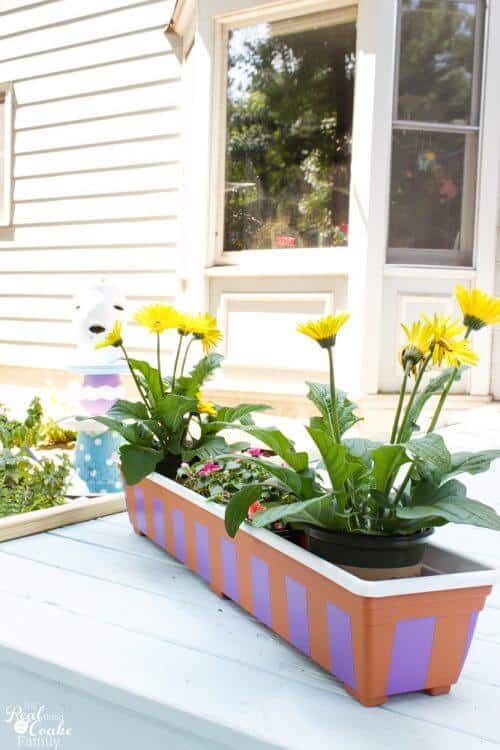
Paint your pots. If you use the Americana Outdoor Living paint, like I did, you will want to give your pots a good 2 or 3 coats.
I generally do 3 coats and get really good results with that, like with my DIY Water Fountain in which I used these same paints.
Step 3: Remove painter’s tape
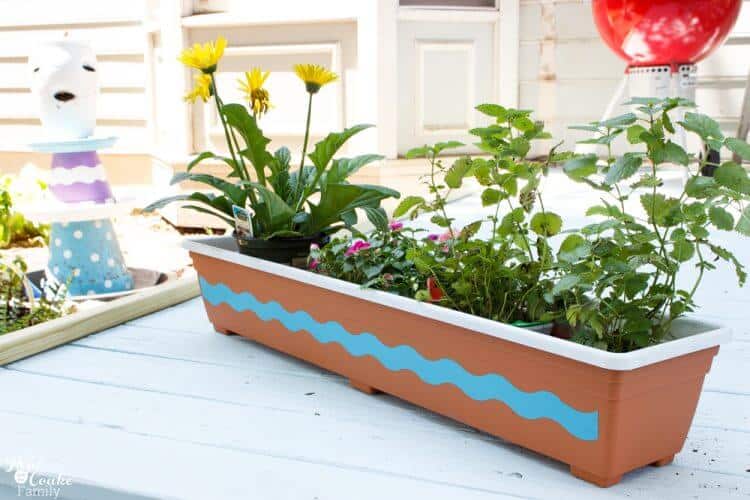
As soon as you have finished your final coat of paint, remove the painter’s tape.
You will get the best results by removing the tape immediately.
Step 4: Fill pots
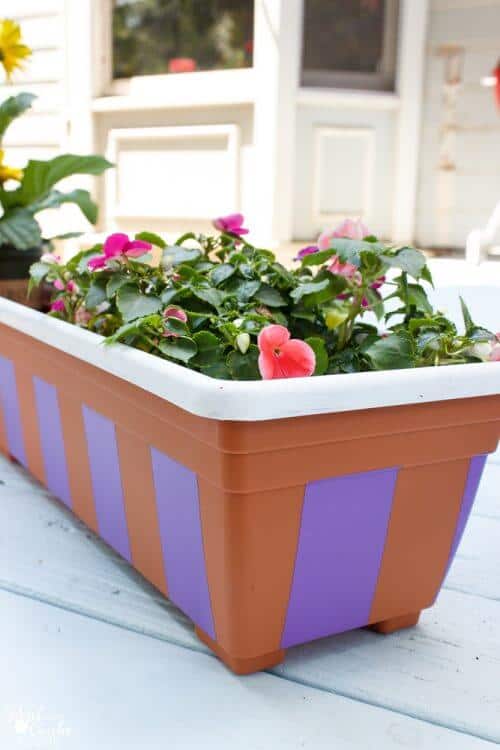
Allow the paint at least 24 hours to cure. Then fill your pots with potting soil and your desired plants.
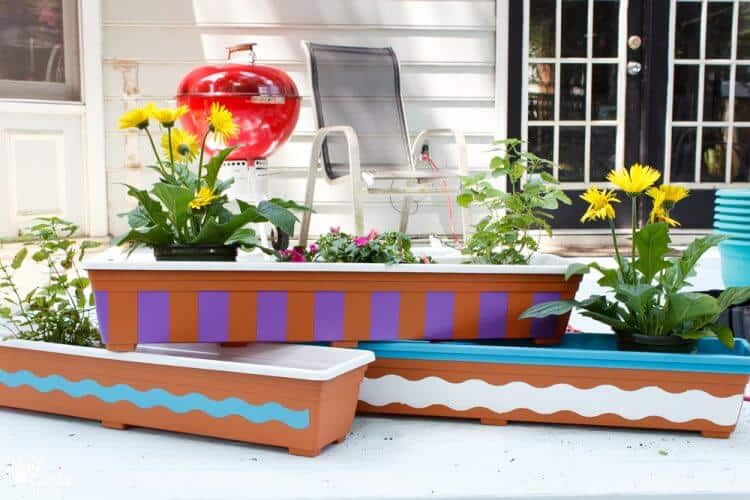
I completed this project with my two daughters. I painted a total of 6 pots, so we each painted 2 pots.
We ended up with 3 different designs. They go together and with the deck and water fountain perfectly.
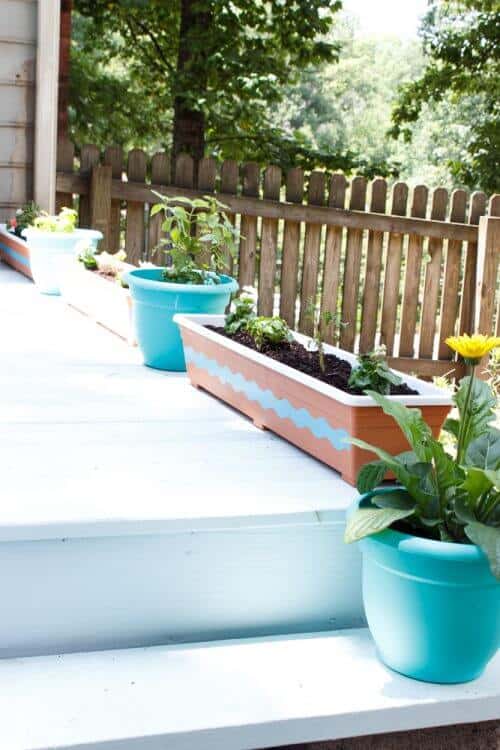
I love the color and fun that painting plastic flower pots added to my deck. It just makes it looks so cheery and inviting to me.
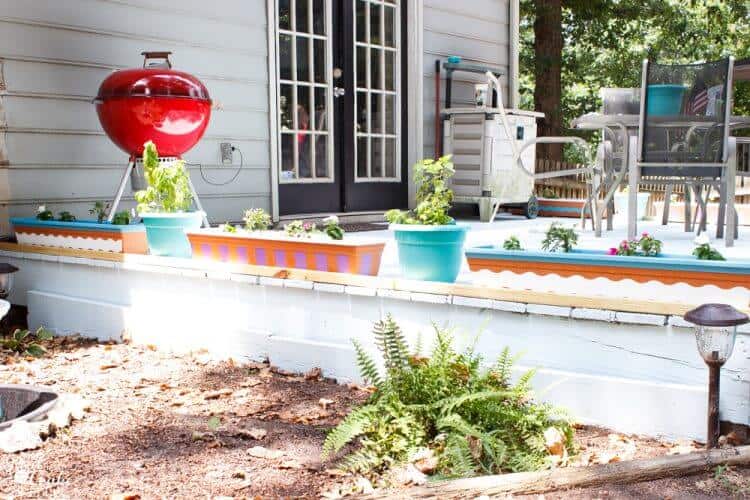
See what I mean?
For me, using this style of pot as well as the number and how I arranged them adds a bit of a barrier to the edge of the deck and helps define the space.
Exactly what I wanted.
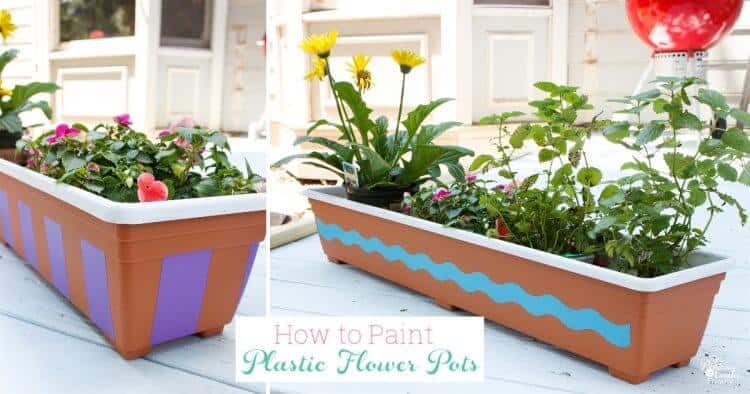
You can paint any shape or size plastic pot. Just make sure you are using an outdoor paint like the Americana Outdoor Living paint that I used.
I love the look. I have large 25 gallon black rigid pots I’d like to decorate. They’ll be in the yard, full sun and rain, year round. How long does the paint last??? THANKS
I painted these 2 years ago. There is some chipping, but overall, they still look great. I’d say it depends on the surface because I also painted a basket weave type plastic hose pot that same summer that all the paint chipped off before the summer was over. It was the exact same paint and the only thing I can figure is that the basket weave not being smooth allowed the paint to chip off more easily. These have lasted well and where they have chipped has been small little bits.