We are making progress on our deck restore! Yay! We are almost done. We just have a few small projects we (mostly I) need to complete before I can give you the final reveal of our ‘new’ deck.
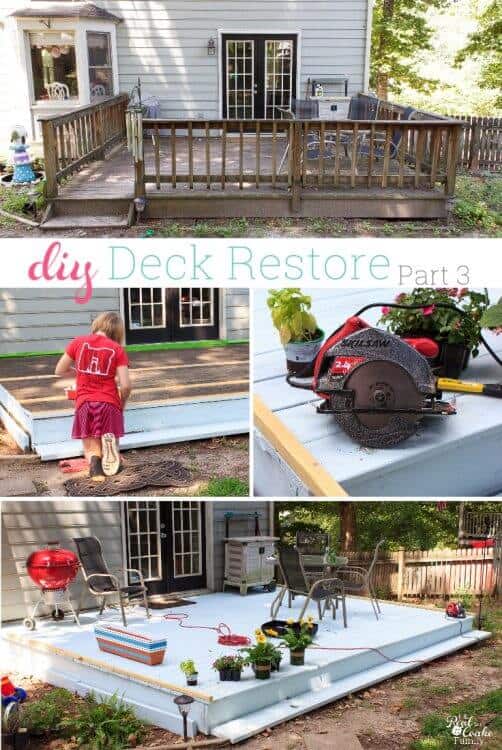
Once again, I’m sharing two weeks worth of work with you in this post. My daughters and I have just broken things down into one task or project each week. It has made the deck restore take longer, but it has made things more manageable especially in the heat and humidity. So. let me show you the pretty we have added to our deck this week.
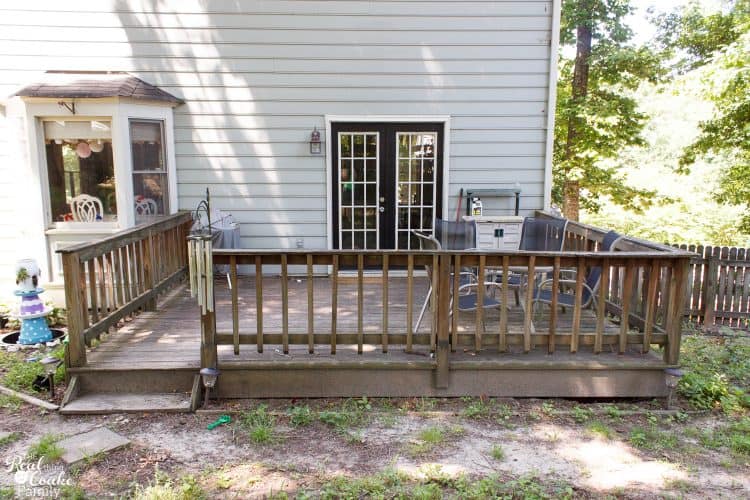
I felt the need to give you a reminder of how ugly our deck was, to begin with. I never liked the look of this deck and can’t believe I waited 10 years to finally do something about it.
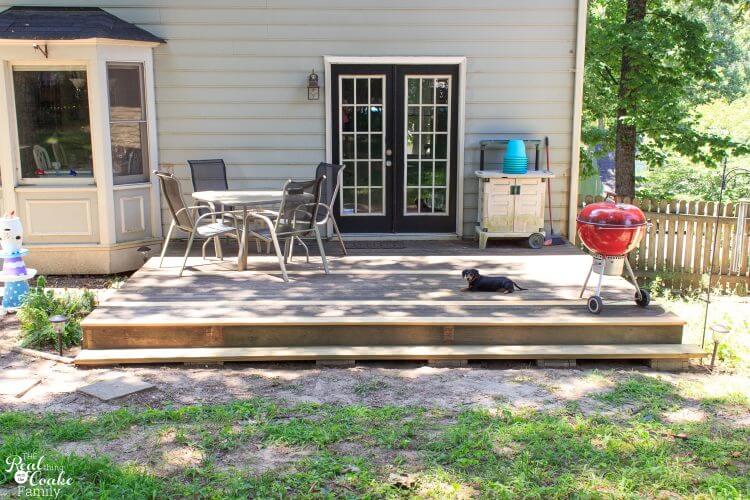
In the last post about our deck restore, I showed you how I replaced a few really bad boards and how we built a step the full length of the deck.
Next up it was time to make things look better.
I totally debated which direction to go at this point. Initially, I was going to go with a solid color stain, then I thought I would go with a deck restore product that would also leave a textured surface. Then I contemplated painting it out to look more like a rug. I was all over the map and had a hard time deciding what I thought was best.
In the end, the money won out and I’m glad it did as we are loving the end results.
Officially, you should wait until any new boards have weathered, which allows them to off-gas the chemicals that are now used to treat the wood. I didn’t do that. I may end up needing to go back and re-stain the 3 boards I replaced as well as the step. I’m OK with that.
Usually, weathering is about 6 months. I wouldn’t recommend doing your staining earlier if you have all or even the majority of your boards are new. It wouldn’t be worth it, but as I only have 3 boards that are new, I was willing to take the chance.
The deck restore product was nearly $50 per can and I was going to need 2 or 3 cans. Painting the rug on the deck was also going to end up being quite costly. So, I thought that one can of the solid color stain would be enough and it was only $35 (plus there was a $10 rebate at the time I purchased the first can).
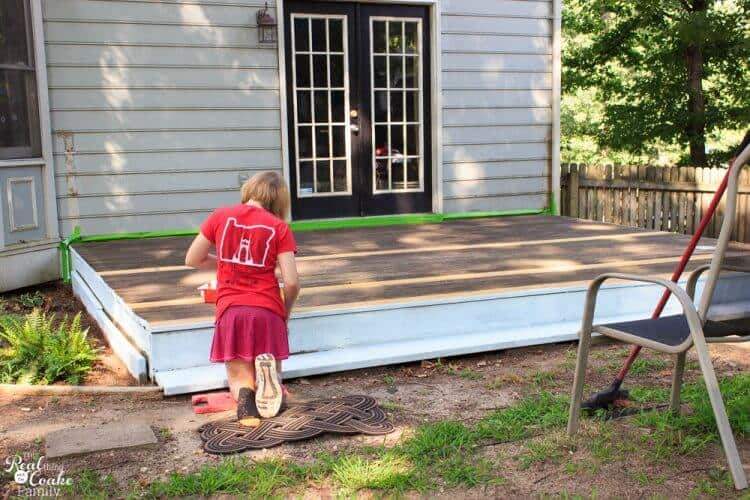
On an exceptionally hot and humid day, we set out to stain our deck. My daughters both took turns helping me. Pumpkin, pictured above had recently ripped open her foot on a bad nail sticking up out of the deck and her foot wouldn’t fit in a shoe, but she still helped out….after I nailed the hell out of all the nails in the deck. They are in there good now and not going to cause any more injuries.
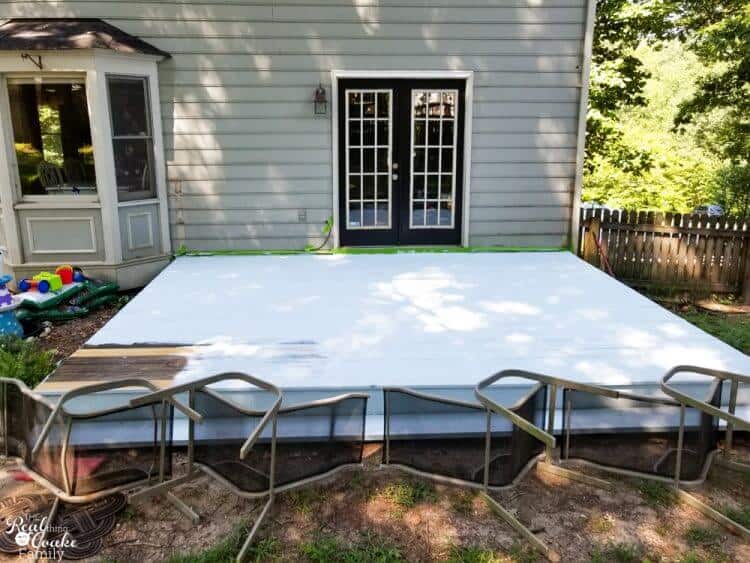
I selected Olympic Maximum Solid Color Stain in the color Island Sky.
The Olympic Maximum had temperature and rain ready applications that worked for our area and current temps. It also offers some extra durability and protection so that, in theory, it will hold up longer than their basic solid color stain.
I did the math based on the cans coverage expectations and thought that one can was enough. I’m not sure why one can wasn’t enough. It wasn’t even enough for the first coat as you can see above.
I was kind of cranky this day! Between the heat and humidity as well as needing to run back to the store to get more stain….my kids were preferring their breaks versus actually helping me and I totally can’t blame them.
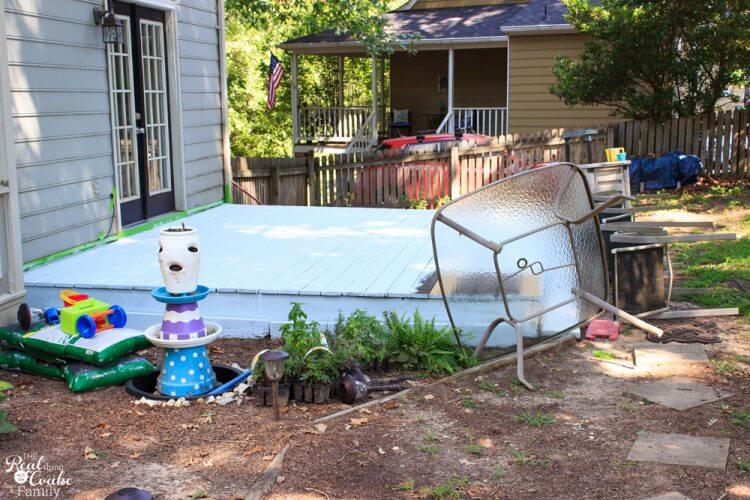
This was our make shift way to keep our dogs off the deck. We lined everything up and had to take the dogs out our side door on leashes and bring them into the backyard. We did that for 2 days as it says to wait for light foot traffic for 24-48 hours and I didn’t want to take any chances on messing up all our hard work.
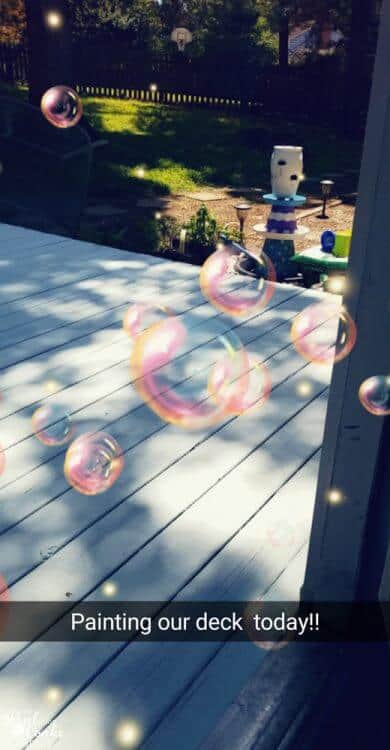
Of course, since I Snap like a teenager, I had to take to Snapchat and share a little glimpse of what we were working on.
The Island Sky blue is so much like the blue you would see at a beach or island resort. Love it! It is quite bright on super sunny days, which seems both good and bad. The good is that it makes our living room a bit more bright, but we may need sunglasses on the deck now. 🙂
Once we finished the first coat, then we had to wait the recommended time for recoating and do a second coat. The solid color stain can does state that you will need 2 coats in most cases to get full coverage.
Whew! Finished for that hot humid day.
About the time we were working on all of this, I shared my first post about our deck restore. Thankfully, one of my readers left a great comment on this Facebook post. She told how she used 2″ x 2″ boards to keep deck chairs from sliding right off the deck. Genius! Though I had another plan….
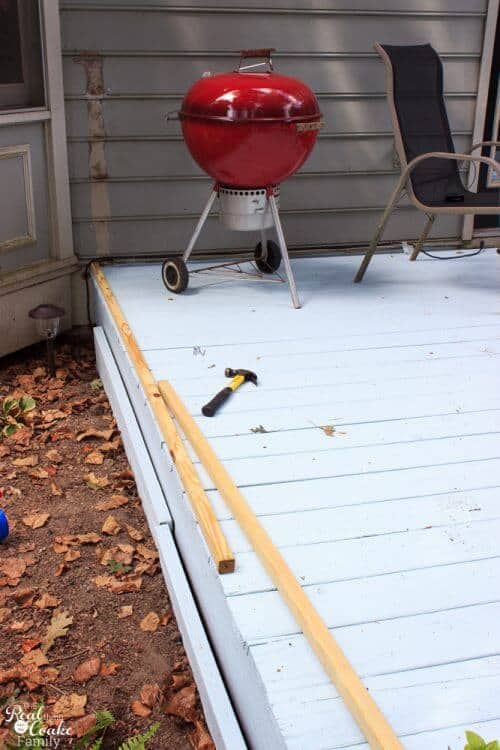
but, I kept thinking about her comment and realized it was the perfect addition to my initial plan(which I will show you next time…but you can get hints of it in the pictures to come).
This step is super simple, The most critical step is to select boards that are not curved or bowed at the store. Then this is just nailing the 2×2’s in place and staining them.
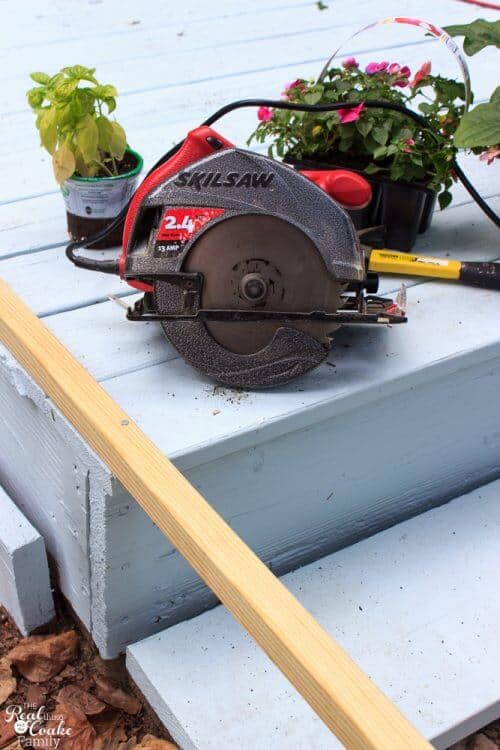
I selected boards that were treated to be in contact with the ground. They weren’t an exact fit and I knew they wouldn’t be.
It is just a quick and easy cut with the circular saw (affiliate link). I did saw off a tiny bit of the stain on the deck when I did the cut. You could measure and cut and then nail your board in place, but this felt so much easier to me. I also knew I was going to need to stain the 2×2 so, needing to patch up a small bit from the blade on the deck board was fine with me.
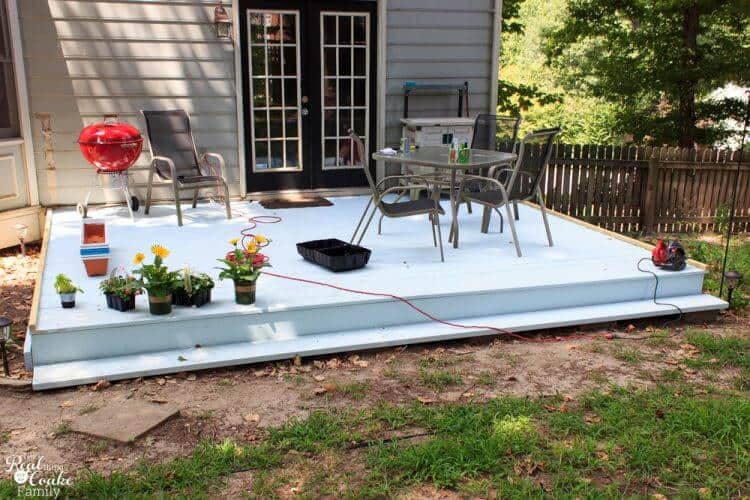
And we have prettiness! Totally not done, but can you believe how much better things look from where we started? We love it! It is so much better!
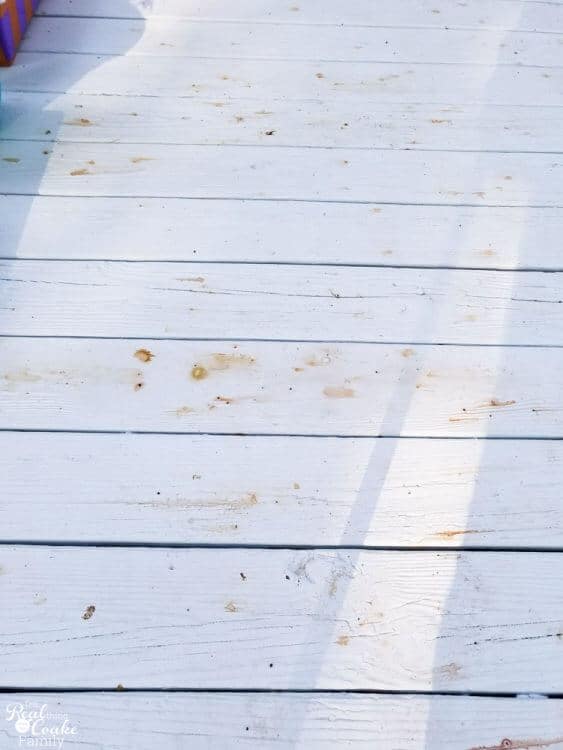
Then, within days of staining, this is what began to happen to the deck. Uugh! Are you serious? At first, I thought it was a stain from leaves or other debris falling on the deck. I was a little worried to try using the hose to wash it off, but we gave it a try as the can said it was rain and water ready within 8 hours.
Washing it did nothing. 🙁
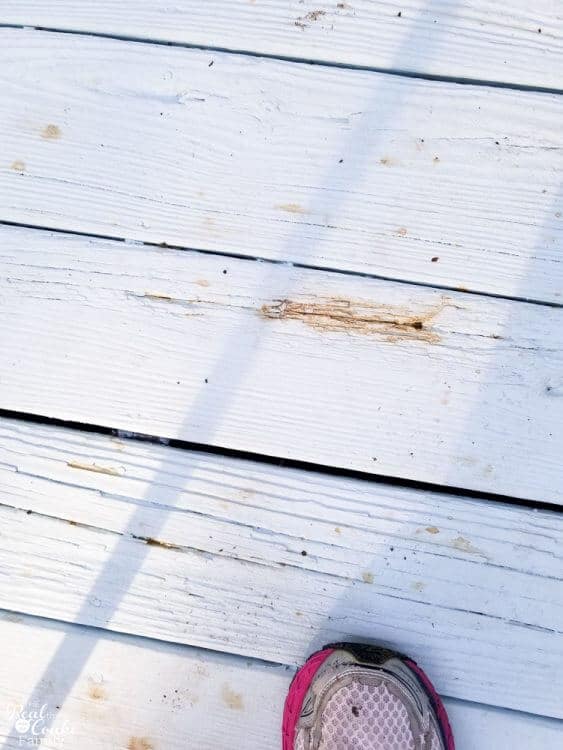
In looking at it more, I think it is stuff coming up from the deck through the stain. I’m still not sure. I have contacted Olympic and am playing email tag with them to get some answers. So far, I haven’t gotten any info. from them about what is going on. Hopefully, by the time I do the final reveal, I will have heard back from them and can give you and me some answers and solutions.
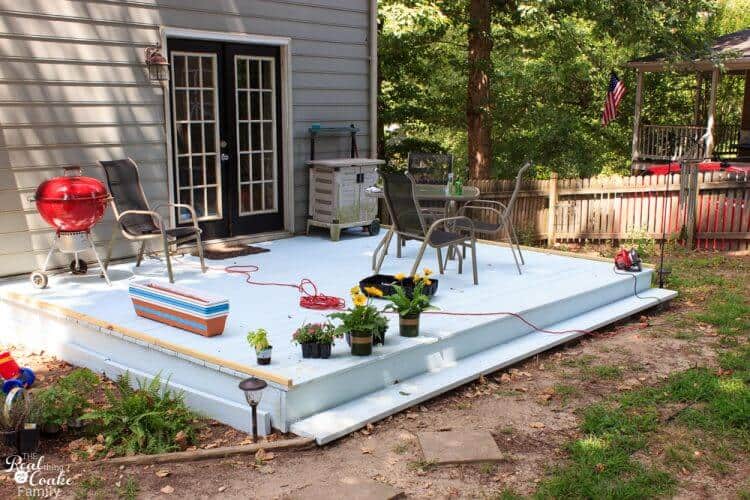
So, this is where our deck restore stands. Actually, in real life, we have got a bit more done and I just need to finish two projects in order to take the final reveal pics. Hopefully, I will get those done quickly and I can share the great reveal of our ‘new’ deck. Until then, I have a few some other projects we completed as we have been working toward finishing the deck that I will show you. Fun!
Leave a Reply