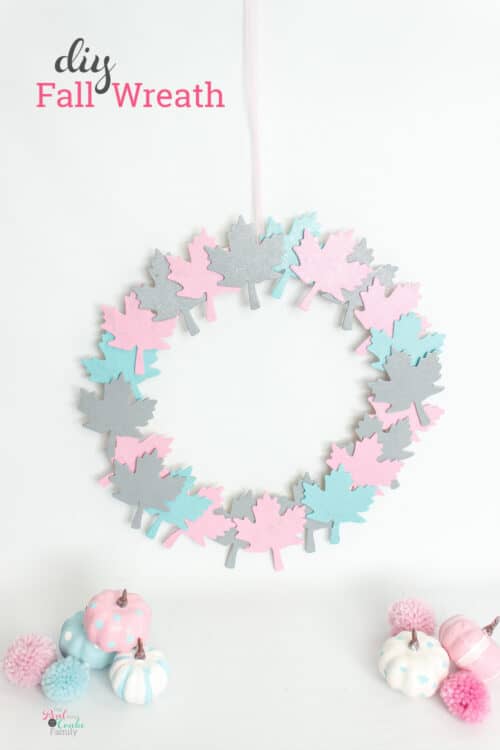
As a busy single mom, finding a little crafty time can get a bit challenging. Yet, I need some crafty time because it helps me destress and feel human again.
I’ve been crafting and figuring out how to break a craft up into little bits here and there. It’s a lot like breaking my to do list up it manageable small chunks and using the Mom To Do List to get crap done. It all helps me feel sane.
Instead of feeling like I have no time for things I enjoy, like crafting, I’m changing my expectations and finding a way to make it fit into my life. Yay!
I’ve loved my year long journey to make cute stuff that matches my home decor. If you remember I started with the little pumpkins, then added the Christmas Ornaments and the valentine’s wreath. We can’t forget the cute 4th of July craft! It’s been fun to craft and make things that match my home. I also discovered that it’s a lot less noticeable when I leave the decorations up too long since they match my home versus the season or holiday. Love that side benefit! ?
Let me show you how to make this cute and inexpensive fall wreath and to fit it into your busy mom life. I’ll make sure to break it down into the small steps so you can craft one step at a time and get it done. I’ll also make sure to tell you what worked and what didn’t to save you time and money.
At the bottom of this post is a checklist you can download that has all the steps and directions for this craft. It has handy checkboxes, so you can keep track of what’s done. That way if it’s been a month, a week or a year since you last got to work on this craft, you’ll be able to remember exactly where you left off and pick right back up.
Pink, Blue & Gray Fall Wreath
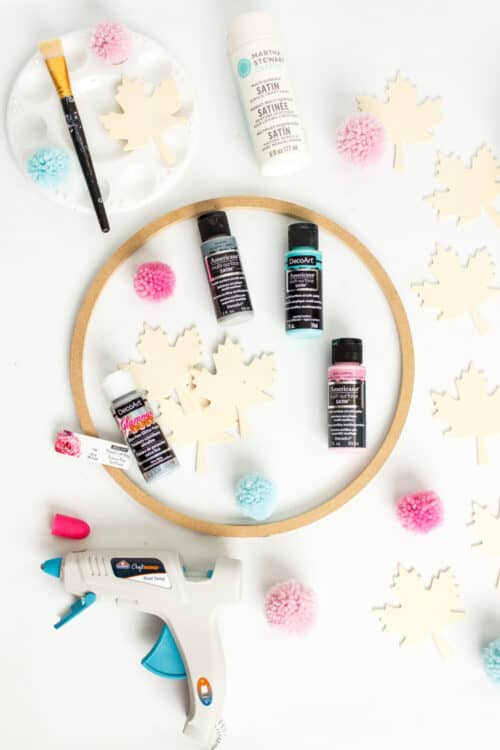
Supplies:
- Wood wreath form
- Wood leaves (I used 23 and bought every one I could find at the 3 Michael’s in my city!)
- Paint – Acrylic Satin – I used Americana Multi-surface Satin, dolphin, coastal waters, and pink cadillac, and Martha Stewart Satin, wedding cake(affiliate links)
- Paintbrush
- Glitter Paint – I used DecoArt Glamour Dust Silver Bling(affiliate link)
- Ribbon
- Hot Glue(affiliate link)
Step 1: Paint wreath form
TIME: About 5 minutes
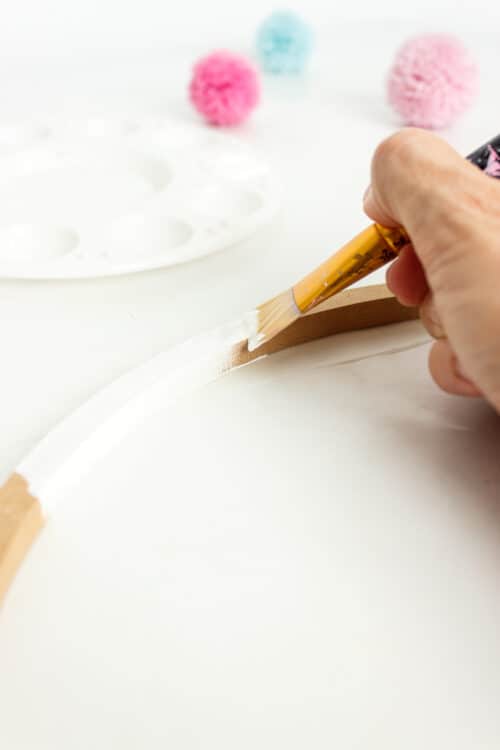
Start off by painting your wood wreath form. That way if it shows in your final product, it matches.
I painted mine with one coat of white paint. Had I been trying to get great coverage or coverage for something I’d see, more coats would have been necessary.
Step 2: Paint leaves
TIME: About 30 minutes per coat
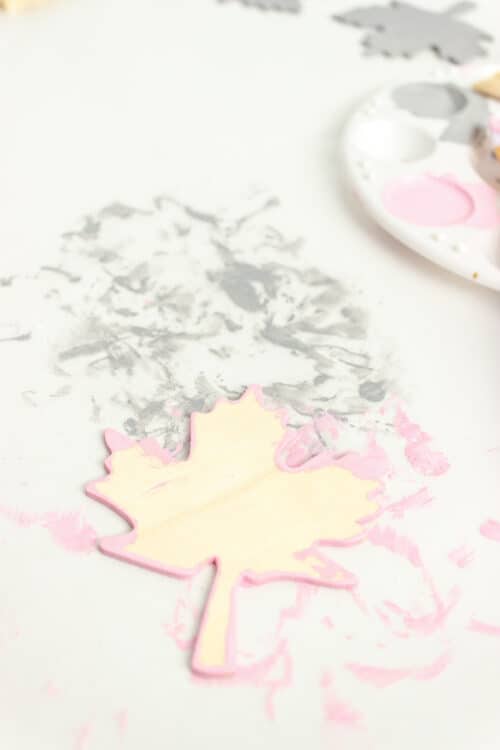
Paint your leaves the colors you want for your wreath
TIP: Paint the side of the leaves first. Then lay them down flat and paint the tops.
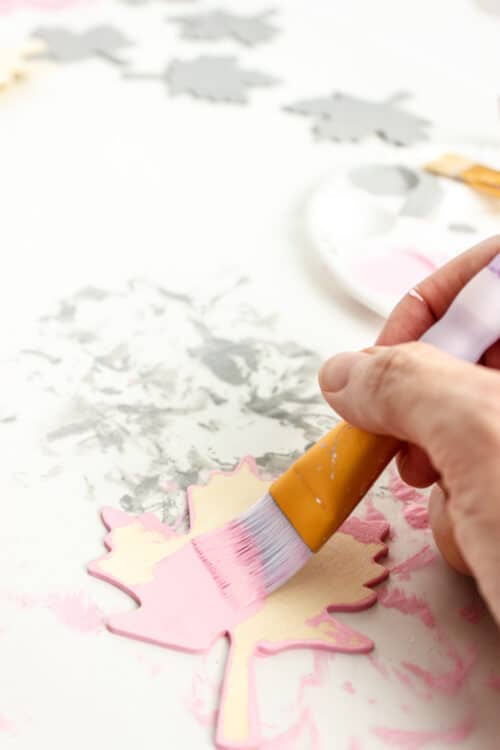
You’ll most likely need at least 2 coats to get good coverage.
Step 3: Add glitter paint
TIME: About 5 minutes
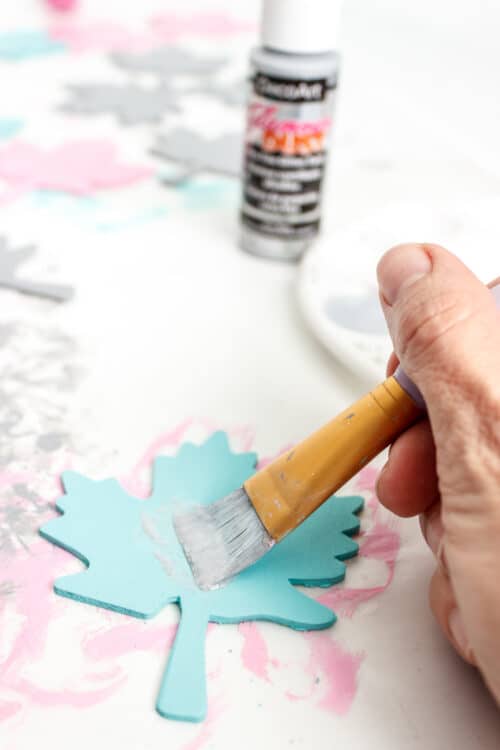
Add a coat of the Glamour Dust paint to each leaf to add some glitter fun and dimension to your wreath.
Step 4: Add ribbon for hanging
TIME: About 5 minutes
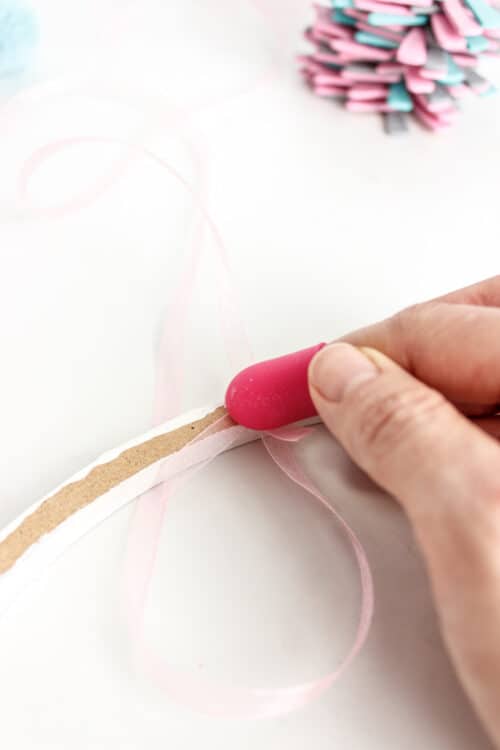
Flip your wreath form over and add a dab of hot glue.
Press your ribbon into the hot glue to secure it. The Mod Podge Finger Caps are perfect for this.
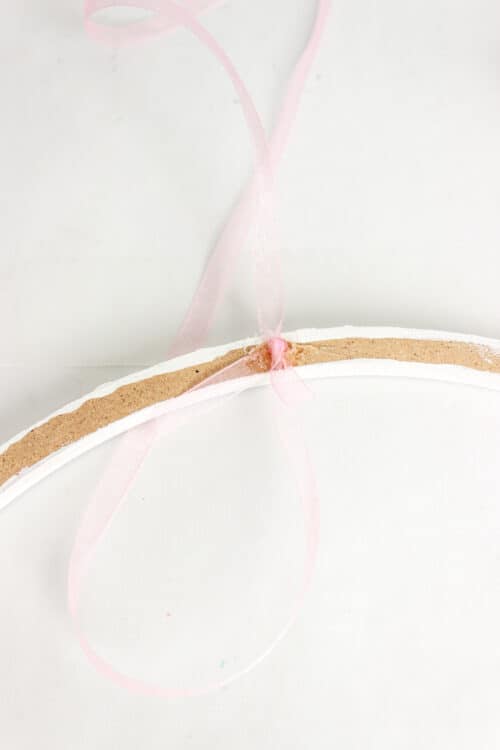
Don’t forget to measure the length of ribbon to make it the correct length for hanging your wreath.
Step 5: Dry fit wreath
TIME: About 5 minutes
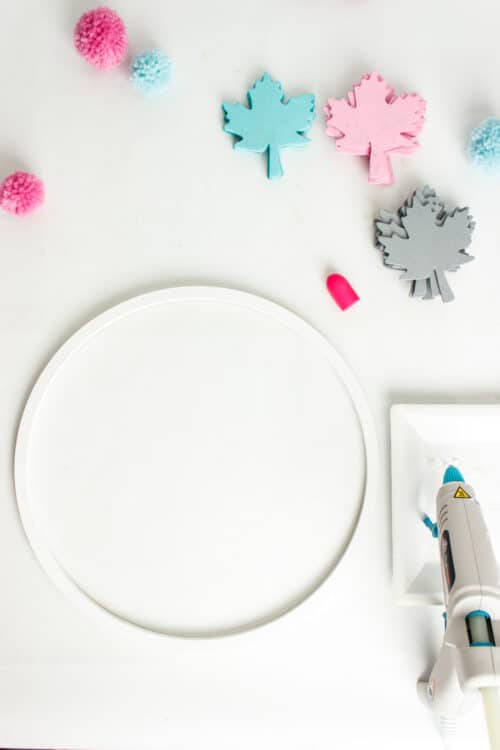
While you’re waiting on your hot glue to warm up, gather everything you need for putting your wreath together.
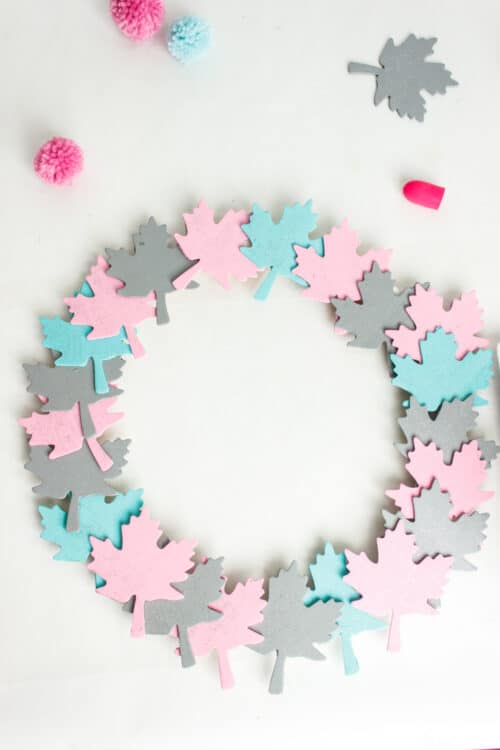
Then take all the leaves you have, and dry fit them on the wreath. Change anything that looks strange and play with color patterns and combinations.
TIP: When you like how it looks, take a picture so you can remember what you wanted once you’ve taken it apart.
Step 6: Glue leaves
TIME: About 15 minutes
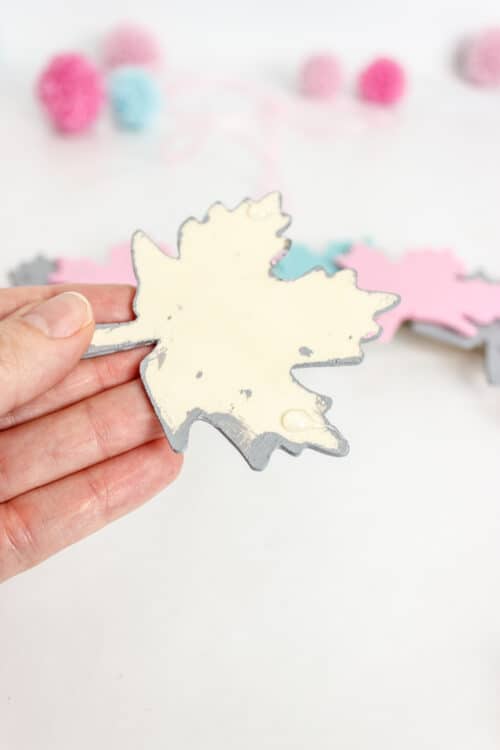
There’s nothing fancy about it. Add dabs of glue to the back of the leaves and add them to the wreath.
You’ll want to check about where the leaf is going to contact the other leaves or the wreath form and add your glue to those spots. Sometimes it’s easiest to add the glue to the wreath form, but for the most part, you’ll be adding glue to the back of the leaf.
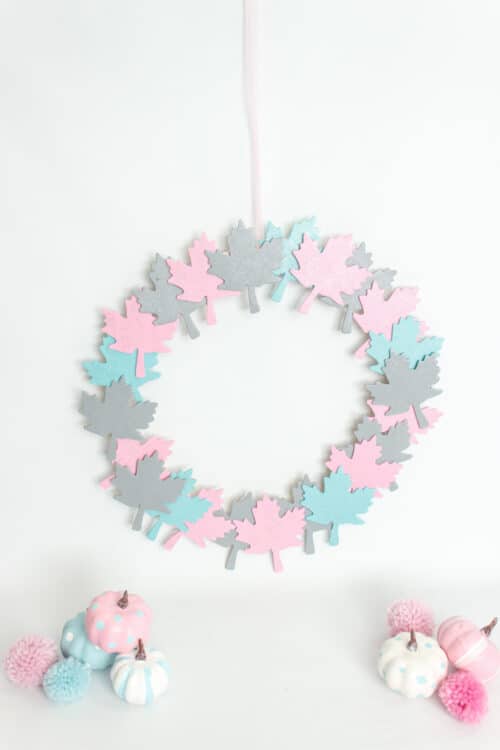
You’re done!
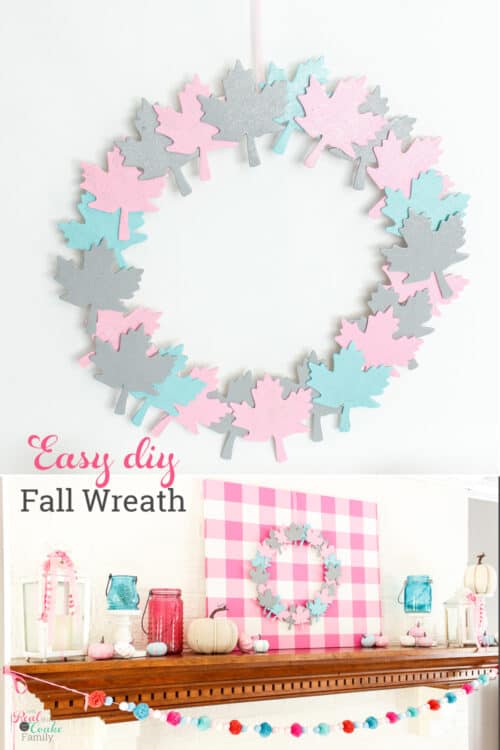
I’m not doing many complicated crafts these days because I don’t have the time, but it’s still fun to craft even if it’s simple.
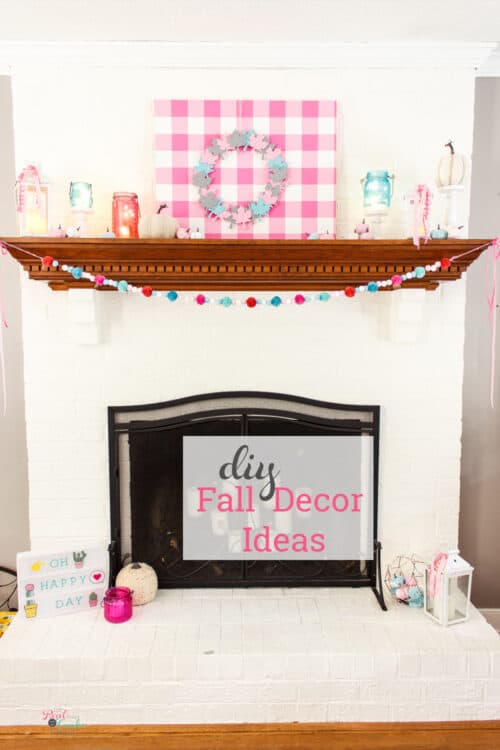
While I was at it, I went ahead and took down my 4th of July decorations and got my mantle ready for fall. Since it’s only August, it felt WAY too early, but because it’s the pink, blue and gray, it works. I also know school starts in a week, and I’m going to get busy, and I’ll be glad I changed things out now.
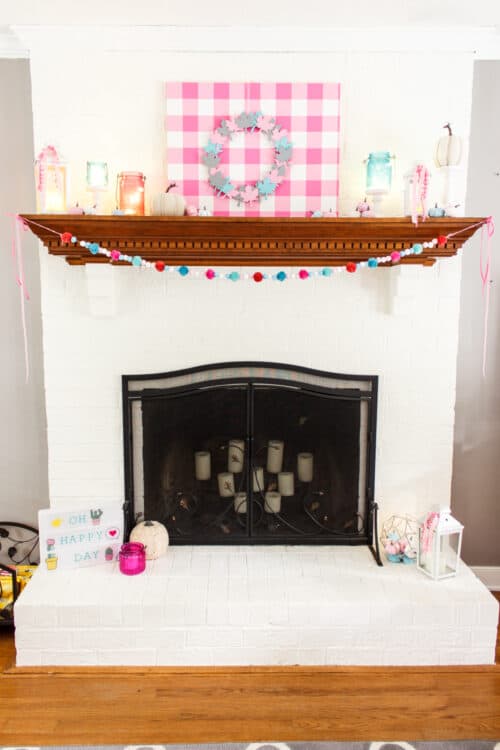
I added the pumpkins I made last year to the mantle with a few neutral colored store bought pumpkins.
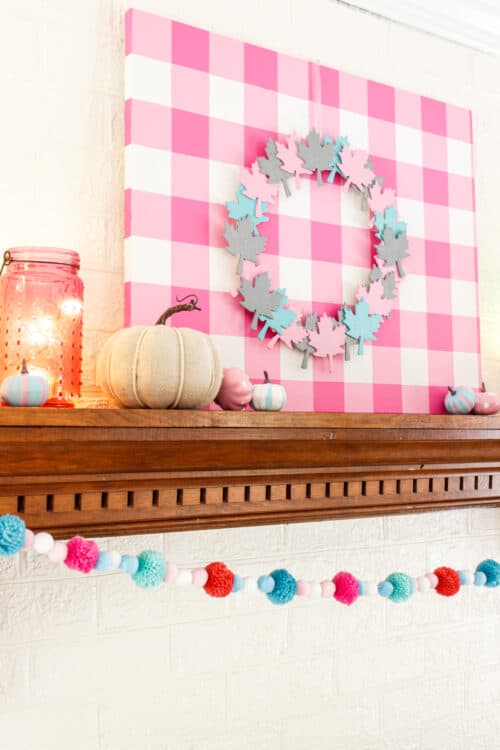
Of course, I hung the wreath on the pink gingham wall art I made earlier this year.
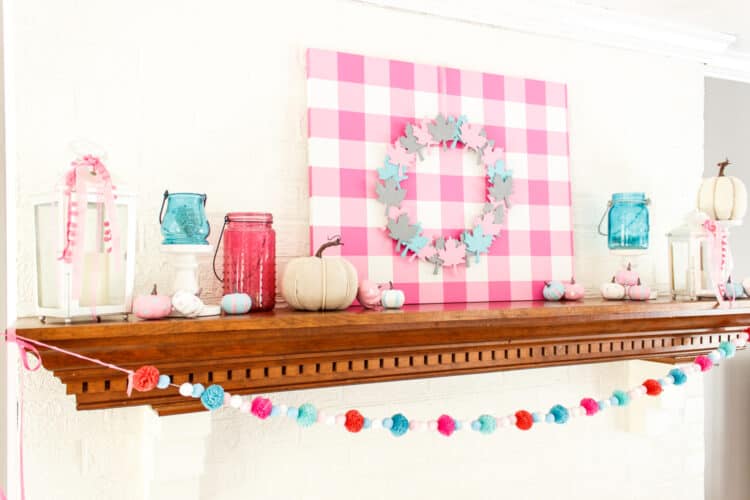
It looks perfect!
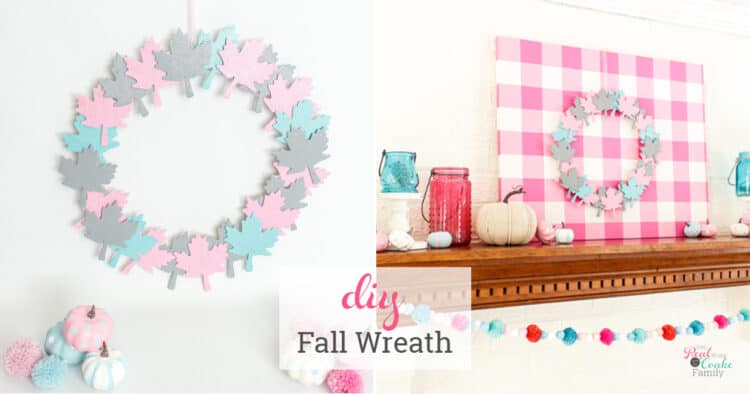
I love that changing my mantle for each season has gotten a lot faster and easier since I switched my seasonal home decor to colors in my home. Instead of lugging big boxes of decor from the attic, I swap out a couple of things and call it done.
I’m sure someday I’ll go back to the full change of the mantle because it’s fun. For now, this quick change works for my lifestyle.
Sign in below to get your craft checklist and get started on your cute fall wreath today!

This looks like such a fun craft that’s easy to personalize and doesn’t take up too much time! Thanks for the idea!
Thanks! Yes, it is super easy and super easy to personalize as well. Perfect fall craft for busy moms!