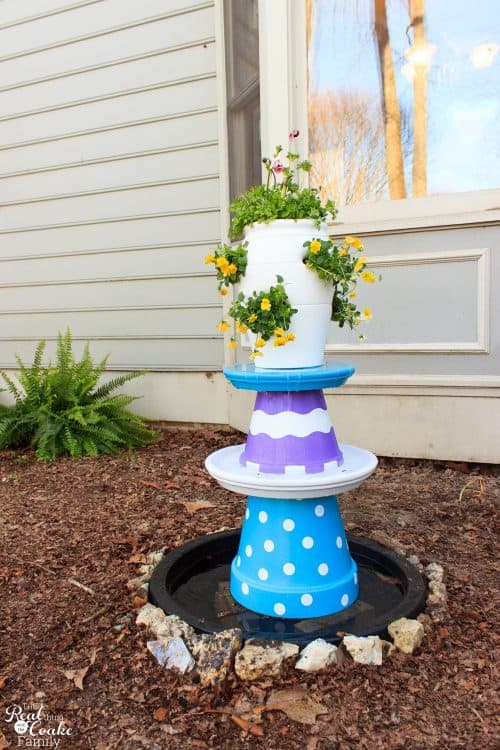
Has spring sprung where you live? We had spring and then back to winter and now sort of back to spring. I took advantage of our early spring to do some sprucing up in our backyard. I made this adorable DIY water fountain that adds pretty water sounds and fun colors to our yard. I’m hoping that the birds will use it as a bird bath as well when it gets hotter.
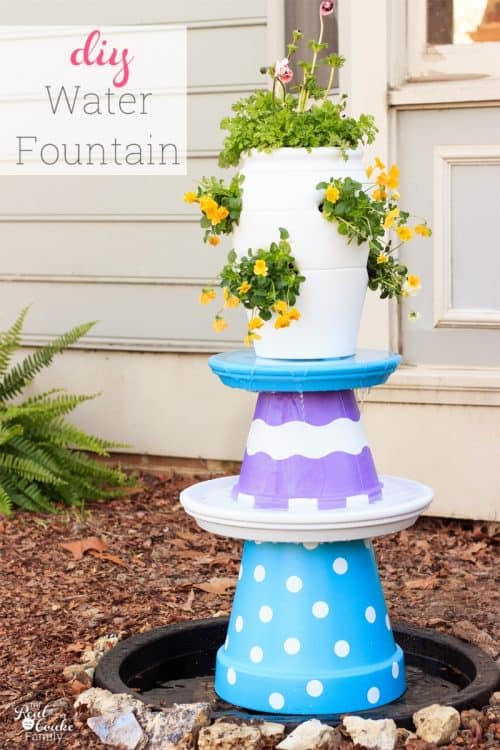 I was originally going to just make a bird bath with this same idea, so you can totally leave the water fountain part of this DIY off and simplify this project a lot. However, where I live there are tons of mosquitos and having standing water is just providing a breeding ground for more mosquitos. Since my daughters and I already get eaten alive by mosquitos, it is totally worth it to make this a water fountain. I’ll show you how to make this colorful DIY water fountain and if you don’t need the fountain, just skip those steps and be grateful for no mosquitos!
I’m going to be the first to admit that our yards look awful. I may be great at coming up with crafts, DIY projects, recipes and organization ideas, but I’m no good at keeping plants alive. Between that and the fact that were I live is humid and we have plenty of mosquitos in the summer, our yard gets neglected because I just won’t go out and get eaten alive by the bugs to take care of things.
My kids hate it. They want a nice looking yard. They even took on a corner of the yard one year and did a great job. Then we left to go on our second road trip and everything died. When I was approached by DecoArt to work with their new Outdoor Living paints available at Hobby Lobby, I knew I wanted to take on a project and do something to help spruce up our yard. My kids were SO excited. Thanks DecoArt for not only sending me the paints and sponsoring this post, but also for making my children so happy to see their mom attempting to make the yard look nice.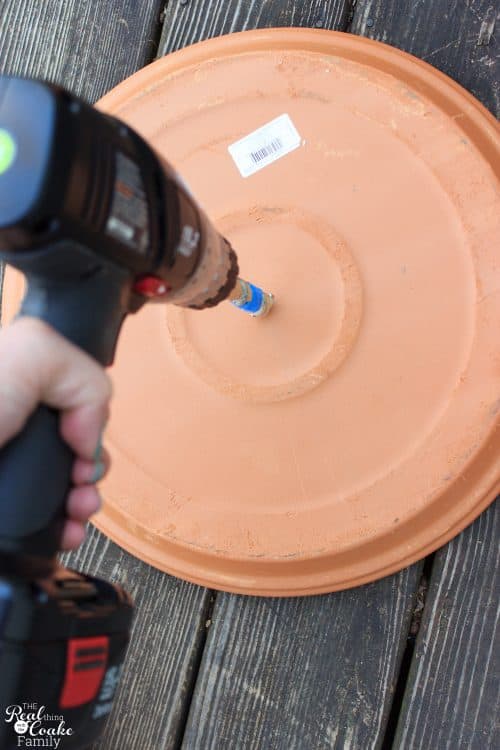
Bird Bath or Water Fountain Supplies:
- 2 – Terracotta pots in graduated sizes
- 2 – Terracotta pot saucers in graduated sizes
- 1 – Terracotta strawberry pot
- Deco Art Americana Decor Outdoor Living Paint – Turquoise Sky – 8 oz.
- Deco Art Americana Decor Outdoor Living Paint – Pansy – 8 oz.
- Deco Art Americana Decor Outdoor Living Paint – Picket Fence 8 or 16 oz.
- Paint Brush
- Painter’s Tape
- E6000 Glue
- Potting Soil
- Flowers
- Water
- **Optional for Water Fountain – Drill
- **Optional for Water Fountain – Water Fountain Kit
- **Optional for Water Fountain – Water Fountain Extension Kit
- **Optional for Water Fountain – Parchment Paper
- **Optional for Water Fountain – Duct Tape
- **Optional for Water Fountain – Small Pond Liner
- **Optional for Water Fountain – Extension cord if water fountain kit is not long enough
- **Optional for Water Fountain – Shovel
If you are doing this project and making it a water fountain, you will need to start with a power tool. Always a great place for a project to start!
In order for you to get the water fountain tube up to the top of your fountain, you will need to drill holes in your terracotta saucers. Drill a hole in the center that is large enough for your fountain tubing. You will want a masonry drill bit in the size of your tubing.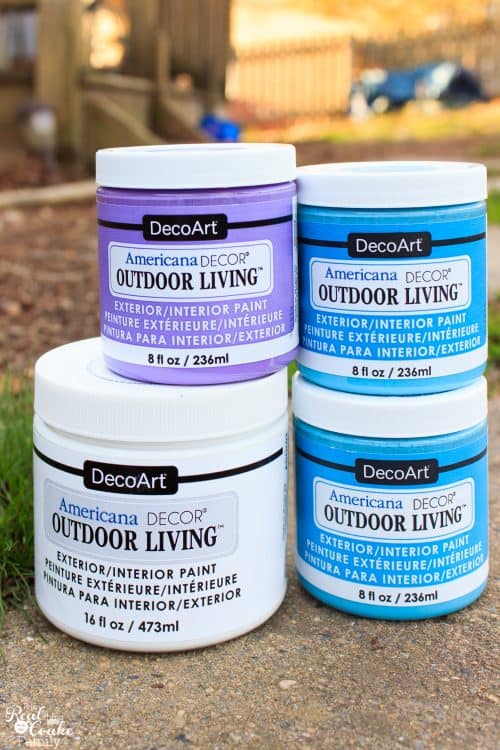 Following drilling, it is time to paint. I love painting. It is always soothing to me. You can find the Americana Decor Outdoor Living Paints I used at Hobby Lobby.
I wasn’t totally sure how much I would need for this project. I was worried I had not gotten enough when I got started because you never know how well paints will cover and often I end up needing more than I anticipated.
I was super happy with the coverage of this paint. It did a great job at covering the terracotta. I did not need the second Turquoise Sky that you can see pictured.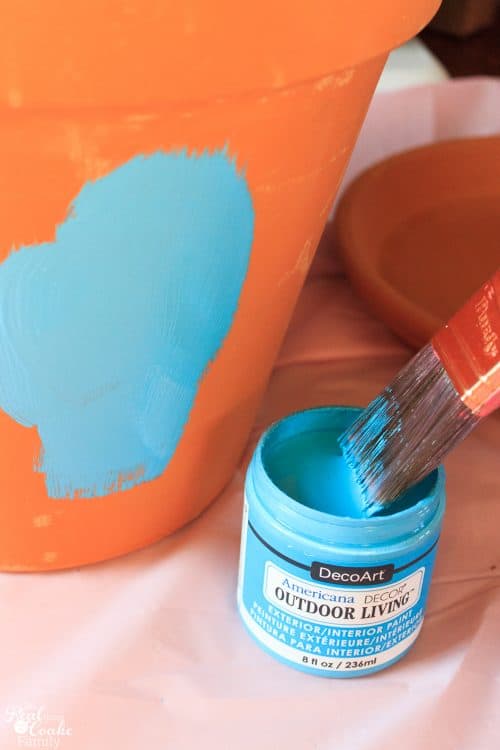 If you are going for a whimsical look, like I did, pick out 3 or maybe 4 colors from the Americana Decor Outdoor Living Paint line. Paint your pots in your selected colors.
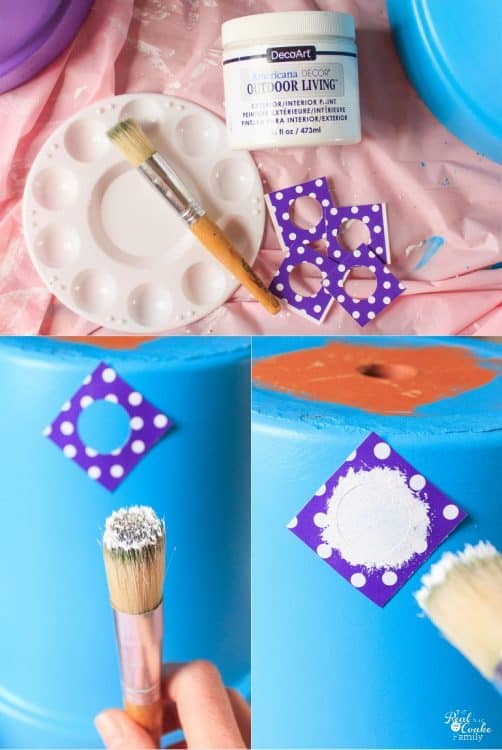 Then have some fun adding whimsy to your pots. I went with polka dots for one pot.
To paint the polka dots, I used some adhesive vinyl I had on hand. If you don’t have any, you can snag some at Hobby Lobby while you are getting your paint and other supplies.
Always use a dry brush when using a vinyl as a stencil. That way the paint won’t leak underneath the stencil or circle in this case.
I just used a circle punch to create my stencil. I was able to move it all around the pot and only used the additional stencils when I did my second coat of paint.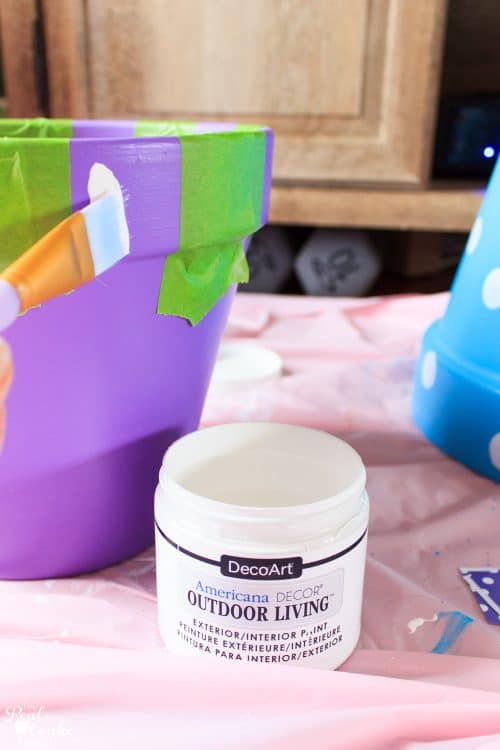 For the purple pot, I started with painters tape at the top of the pot to mark off the stripes. I found that I was able to save myself time, but painting the first coat and going back over it while it was still tacky for the second coat. This paint did great and gave me good coverage that way (which not all paints work well this way).
I then went back and painted the wavy portion that you may have noticed in the first picture with the finished fountain.
As a side note, DecoArt did tell me to be sure that your terra cotta pots are fully painted, if there are areas left unpainted the moisture could over time seep in under the paint and cause damage.
I had meant to not paint the bowl part of the terracotta saucers since I’m hoping the birds will use this as a bird bath in the summer. I tend to be overly cautious when it comes to animals and paints, but again DecoArt did tell me that the paints are all non-toxic, so it should be OK. The way it is, I painted all sides of the bowls, so that should help with the potential issue of moisture seeping into the paint and damaging the look my fountain currently has. Over time if I get a chippy terracotta look, I’m fine with that and think it may add more character and whimsy to the look of my water fountain.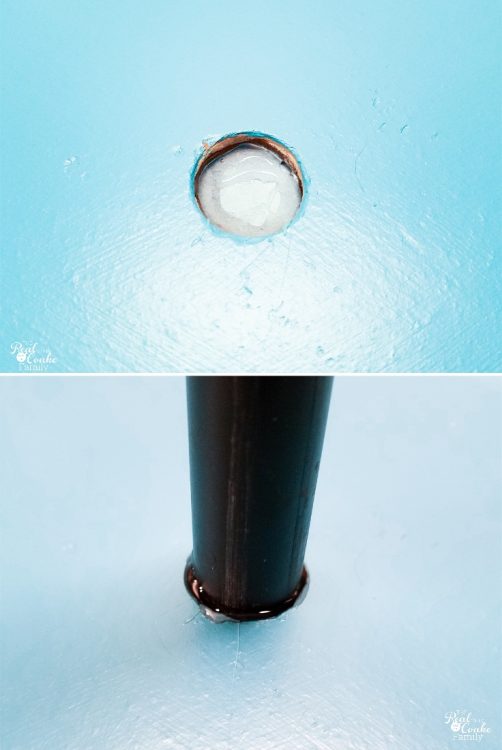 I bought a water fountain kit that contained a pump and a kit that contained additional extension tubing. I had to get the tubing to the top of the saucer so that the water would run out and down from there. I wanted to make sure that water didn’t run back down around the sides of the tube. I used a small piece of parchment paper on the top side of the saucer so that it wouldn’t stick to the glue. I adhered it in place with painter’s tape. I then added E6000 glue around the edge and placed my tube into the hole from the bottom side of the saucer as you can see pictured above.
Allow that to dry and remove the parchment paper.
My tubing still had a small gap, so from the top, I filled that in with the E6000 and allowed it to fully dry and cure (which is 72 hours for E6000).
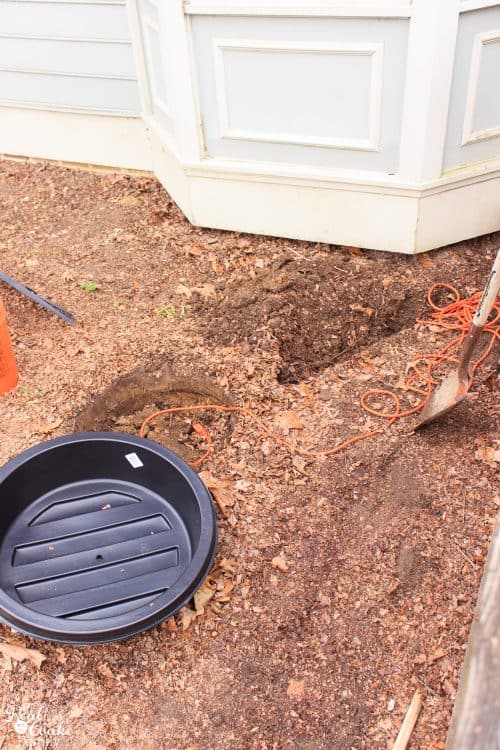 While waiting for paint and glue to dry, I worked on digging the hole for the pond liner as well as the trench to bury the electrical. I also worked on sprucing this whole area of our yard up, which I will show you next week.
 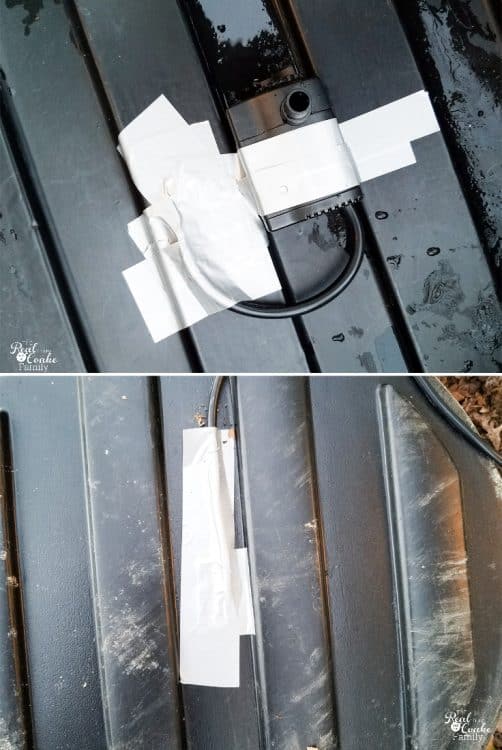 I had to use a drill to make a hole in the bottom of the pond liner in which to get the plug through. That then required figuring out how to place the pump and seal up the hole so water wouldn’t leak from the pond liner.
In the end, I went with duct tape. I taped the pump in place and then taped over the hole and around the cord on both sides of the liner. It tested dry, but I seem to be losing more water than I would have thought, though we have had windy days, so that could be it as well.
When looking for a pump, I’d recommend that you get one with an auto-shut off feature. That way if your fountain runs out of water you won’t destroy your pump.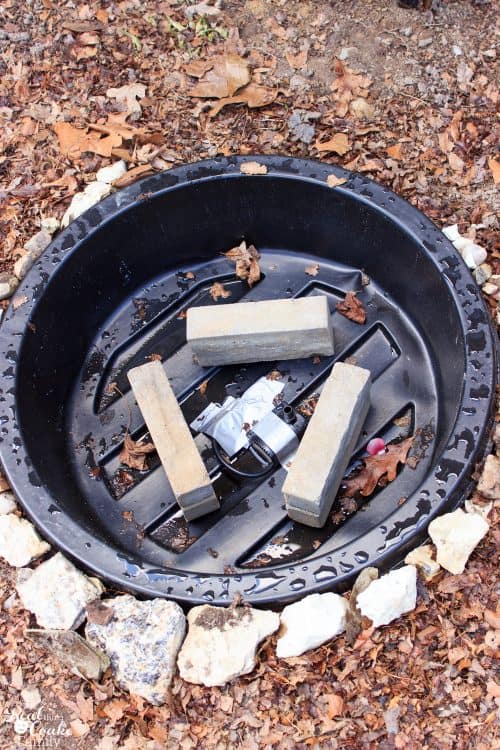 Because I had not really thought through the need for the pump to sit submerged in water initially, I hadn’t been planning on my fountain being below ground level in a small pond liner. I ended up needing something to lift it up to the height of the pond liner.
For now, I’ve used some bricks I had on hand. I still haven’t come up with something that looks better and is a bit more stable. When I do, I can write about it if you guys are interested. If you have any ideas for me, I’d love to hear them. Just let me know in the comments.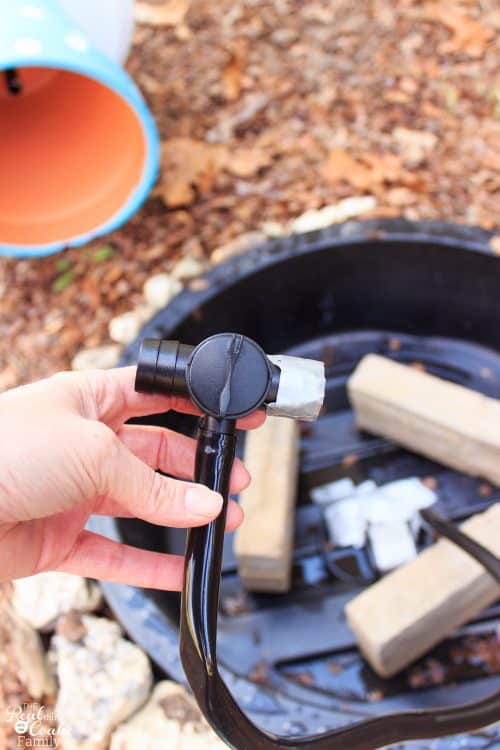 The fountain kit I purchased had 1/2″ flexible tubing going into the pump, but the extension tubes were a different size. I thought I needed the tubes in order to get a fountain head at the top and get the water to flow better. I didn’t.
You could just use the flexible tubing right to the top of your fountain. Though it may be hard to glue the flexible tubing into place. If you find that, you will need to get one of these couplers. It will take you between the two sizes of tubes. It has a valve that is supposed to shut the water off from going toward the right in the picture. You can see I duct taped it because I found that no matter what, water still leaked out of that end. I taped it up to stop the water leaking. Probably using caulking or E6000 would be better long term.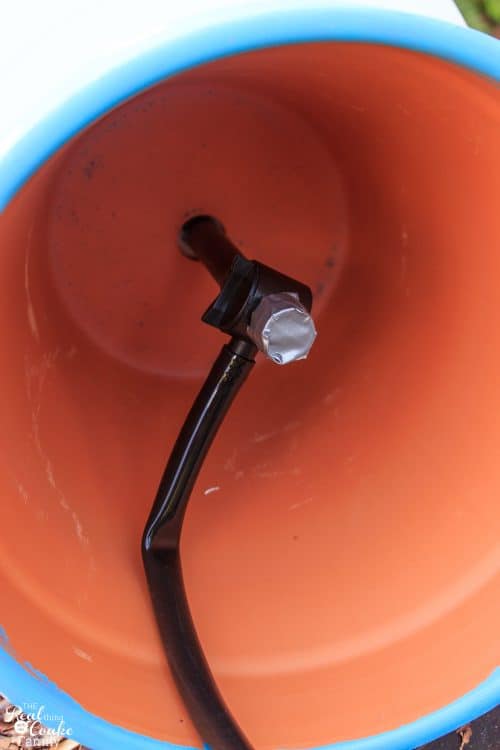 You can see how the various tubing works and fits inside the pot.
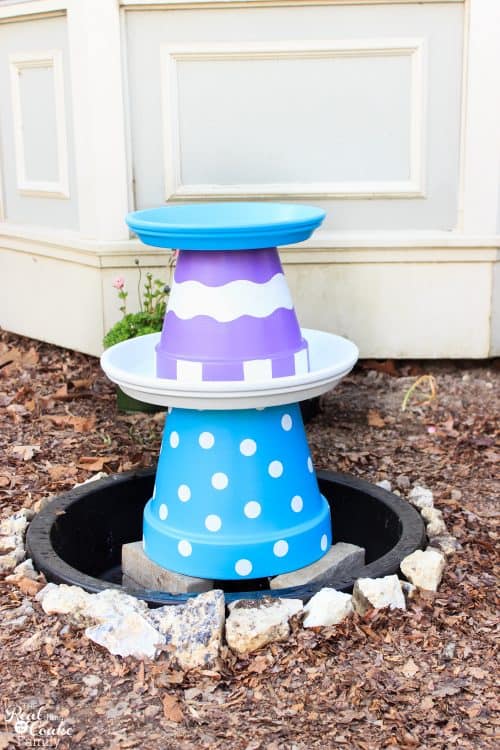 Dry fit everything together (except that tube that leads to the top saucer) and test if your fountain is working. You want to make sure everything is working before you secure the pots together.
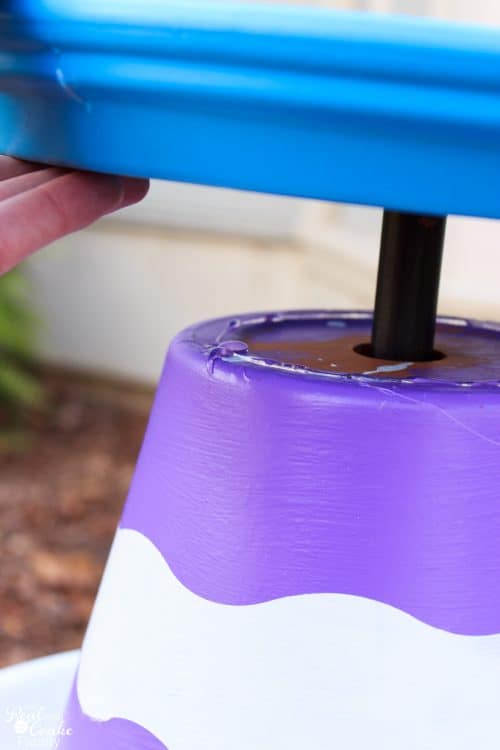 Once everything is working properly, use your E6000 glue and glue the layers of pots together. DO NOT glue the bottom pot to your base support so you can access the pump and tubes if needed.
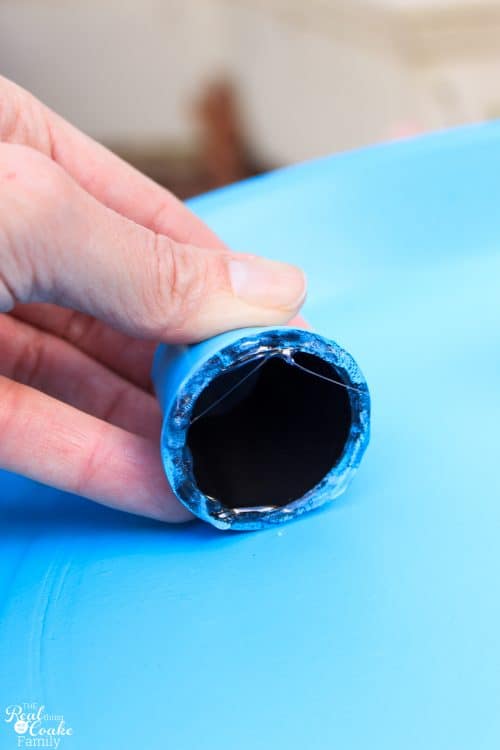 One of my fountain kits came with these risers. You will need risers of some sort to keep your strawberry pot from blocking the water coming out of the top saucer. Paint them with the same DecoArt Americana Decore Outdoor Living Turquoise Sky Paint as the top saucer.
Test the width of the strawberry pot and glue them into place using E6000.
When you are done with all the gluing, you need to wait the full cure time for the glue, which is 72 hours. You want full strength before you add water. This also gives your paint full cure time as well and will lead to a longer finish for everything.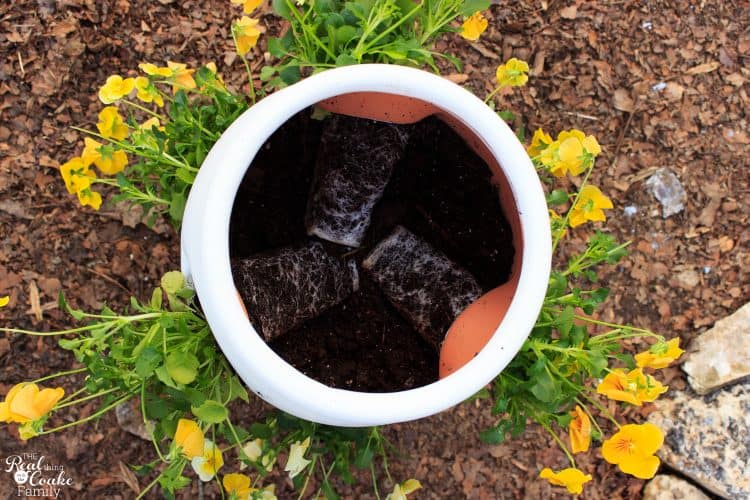
While you are waiting for cure time, you can get your strawberry pot ready. I decided to put some annual flowers in mine. I was thankfully able to keep most of the flowers alive for the week while I was working on this project….go me!
I found it easiest to fill the pot to the first level of holes, then squeeze the plants into the holes and add more potting soil, then add more plants.
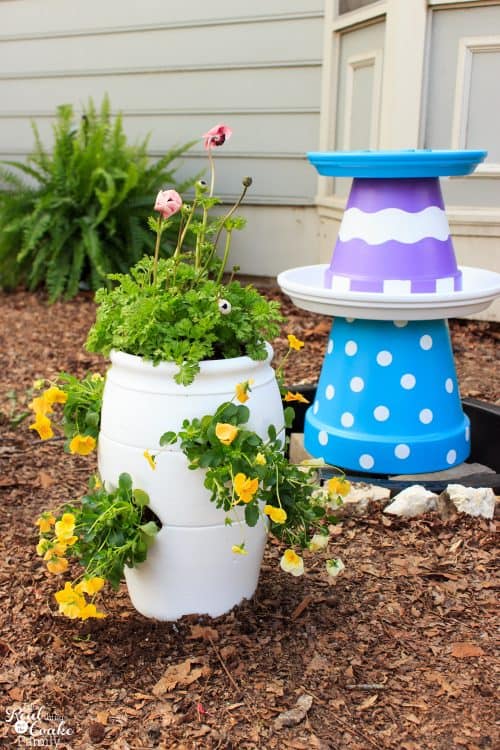
Don’t glue your strawberry pot to your water fountain. That way, you can easily take it down to change out your plants/flowers. I have found that the three risers I used keep the pot very secure and I’m not concerned about it not being glued down (though if we get a hurricane or tropical storm, I am sure I will pull it down and leave it on the ground).

After your 72 torturous hour wait 😉 , you get to have the fun of filling up your water fountain and turning it on….and hoping everything functions as it should.
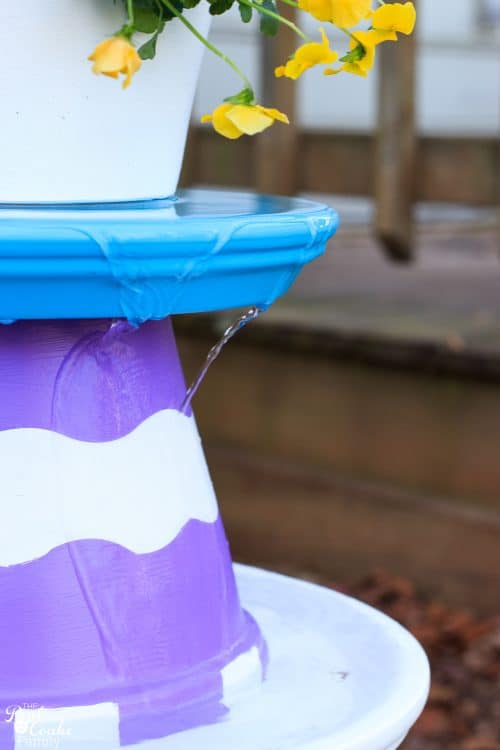
My fountain is working perfectly. I am slightly disappointed that the water tends to run more down the side of the pot rather than directly down to the saucer below.
My daughter had the suggestion that I could drill holes into the sides or bottom of the saucer to help the water drop straight down. I may eventually go back and do that, but for now, I am happy with the fun colors and sound of water in the back yard.
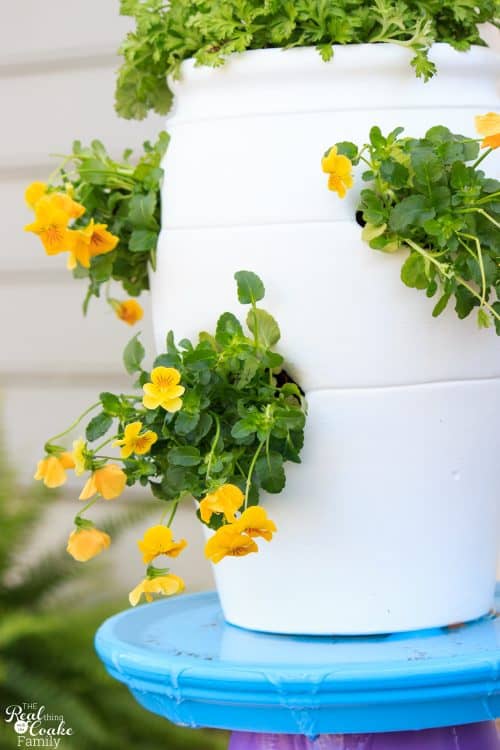
I also love the bright color of the flowers. They have managed to stay alive for a few weeks now! Woot, woot!
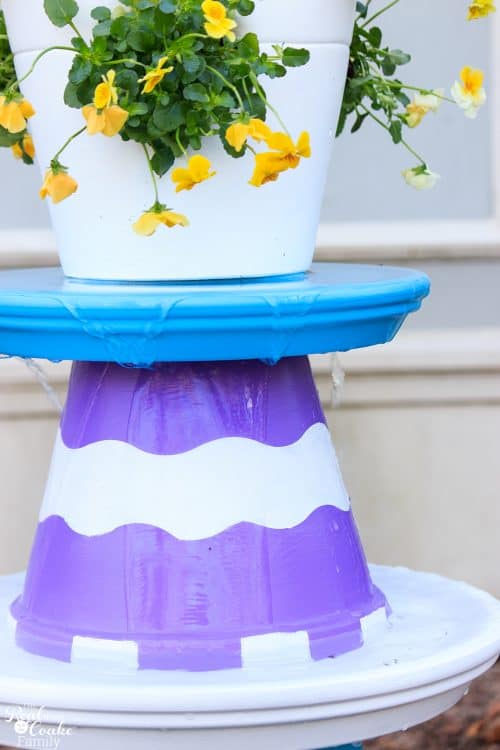
The bright colors add such fun to our yard. I love when I walk out on our deck and hear the sound of the water. I’m super hopeful that birds will so be enjoying this water fountain as well. That could be the great benefit of the water more running down the side of the pot, the birds may be more willing to visit because the water is gentle.
Now for a little sneak peak….I did more work in this area of our yard as well. A little spring spruce up. I didn’t go overboard and do too much as I know stuff won’t live, so I kept it simple. I’m going to show you all of that next week. Yay!
Want more great pics and ideas? I’ve got a great Instagram feed full of more pics and fun ideas. Come follow me.
That is just perfect for Spring, I love it!
Thanks so much!
KC You always have the cutest projects, this one caught my eye as I love terracotta pots!! ?
Dont forget to stop by and show off your ideas on Friday Features, 11AM PST Thursdays!?
Have a wonderful weekend!
Thank you! That is so sweet of you to say!
You did a beautiful job on your fountain. I love it! I have a thing for fountains. For years I have had them in my garden – I have to have at least one or I feel like the garden isn’t complete. I have never made my own but I think I may give it a try this year.
Thank you so much for sharing at Project Inspire{d} and have an awesome weekend!
Thank you! I think having fountains in a garden seems so perfect! We used to have one and it broke, so it has been years now. It is so nice to hear the water again.
This is really bright and pretty. And a lot of work. Thank you for sharing at What’d You Do This Weekend?
Linda
Thanks!
I love it! Your color choices are awesome!
Thanks! The colors sure are fun in our yard!
This is great, I love all of the fun, spring colors. Thank you for sharing at the Creative Muster party. PINNED
Robin | Fluster Buster
Thanks so much!
Fun garden DIY. Thanks for sharing at the Inspiration Spotlight party. Pinned & shared.
Thanks!
Great tutorial! I really like how you explained the steps so clearly. Your fountain looks so cheerful! It must make you smile every time you walk outdoors to see it in your garden.
Oh, Thank you! I love hearing that I explained these clearly because I never know if it translates well from what I did and what is in my head or not. We do love the fountain. It is fun!
Very fun and creative flowering fountain. I’m sure it adds a great statement piece to your garden. Love the strawberry planter at the top! Visiting from Happiness Is Homemade party.
Thanks! Yes, it does add color and fun to the yard.
love the fountain the paint is so colorful and fun
Thanks!