My daughters and I have been working on our deck restore all summer. It is really taking shape and I’ve got another part of our project for you today.
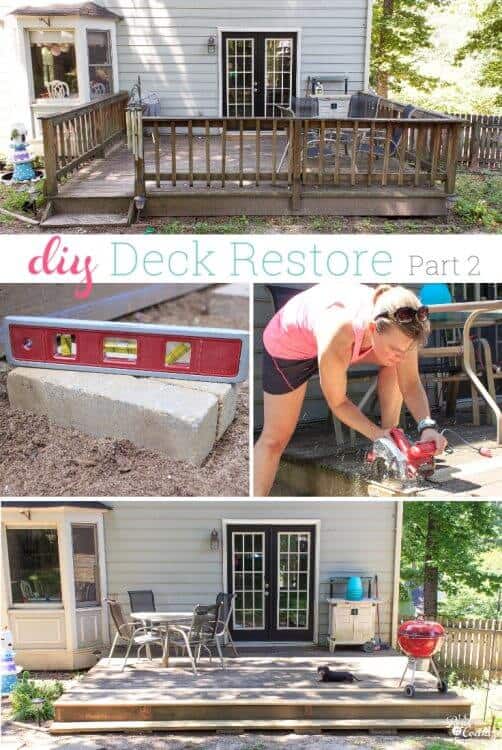
As you can see in the picture above, we started with an old dilapidated deck and we are working on making it pretty but doing so on a limited budget. So far we have gotten through demo day as well as cleaning the deck. We have been working on one part of the project each week. It makes the big project feel just a bit easier to only look at one step at a time and only take on one task at a time. It also means that we can pick whatever day of the week is going to be the coolest and work on the deck that day. Which considering how hot and humid our summer has been this year, has been the only way we could possibly work on the deck this year.
In this post, I’m going to show you two week’s worth of projects that we have completed in our deck restore.
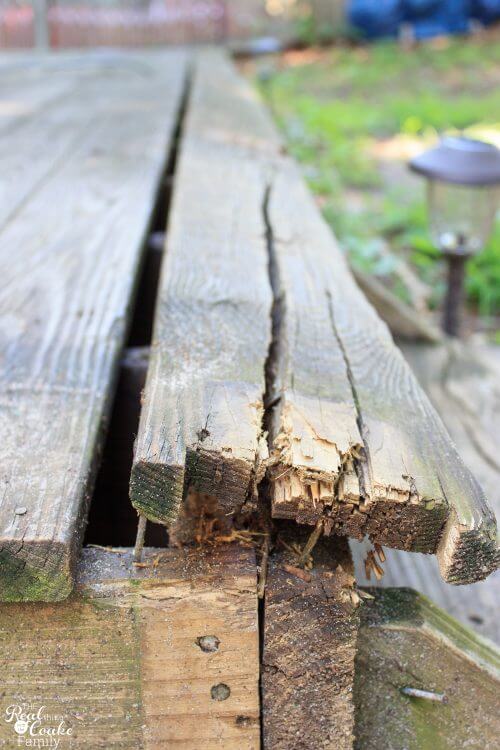
When we took down all of the railings and posts, there were some boards that didn’t fare so well.
This board, in particular, was already a hot mess and cracked.
Ideally, I would be replacing all of the boards on our deck, but as DIY often goes, when you start with one ‘simple’ thing, like replacing all of the deck boards, it can often lead to a much larger project….say replacing the entire deck. So, I opted to just replace three boards on our deck and not open pandora’s box. It was the best way for me to save money. I know it may not be the ideal way to restore a deck, but it works for me and my budget at this time.
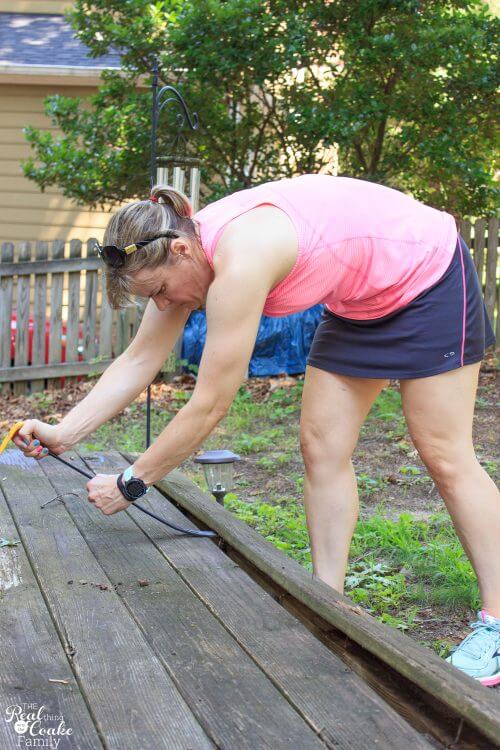
If you are working on a deck restore project as well, you will likely have a few boards that need replacing as well. In order to replace the old boards with new boards, you will have to get the old boards out.
You will want your trusty crow bar (affiliate link) for this again.
I found that I had to be patient and that I had to try both ends of the board to find which one was a bit looser and would pry up more easily. Once I found the end of the board that would pry up, it was just patiently working my way down the board loosening and prying until I got to the end.
When you buy replacement boards, you want to take your time to pick boards at the store that are straight and not bowing or curved.
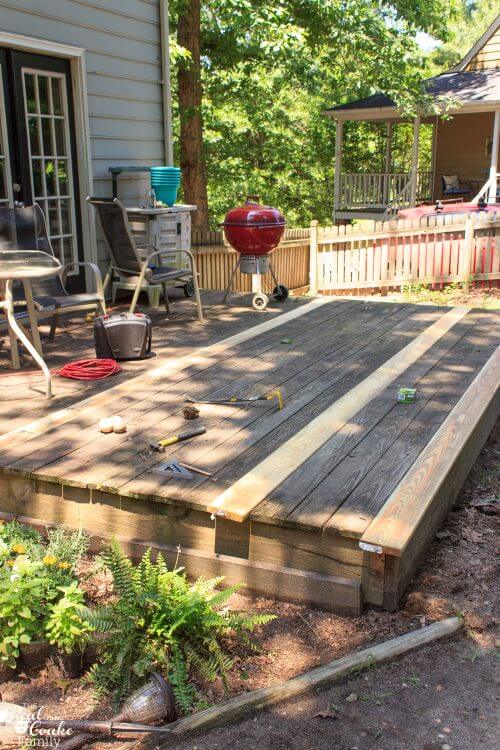
Once you have the old boards out, you will want to dry fit your new boards into the deck. Which just means, putting your boards into place and making sure they fit and work in the space.
I had to try a couple of mine in different locations to make them fit.
If you look carefully, there are 3 boards that I replaced. The middle board is slightly up on the left side in this picture. It was such a pain to get that board into place. This is what dry fitting is for. I ended up needing to sand that board over and over until I finally shaved enough off that it would fit into place.
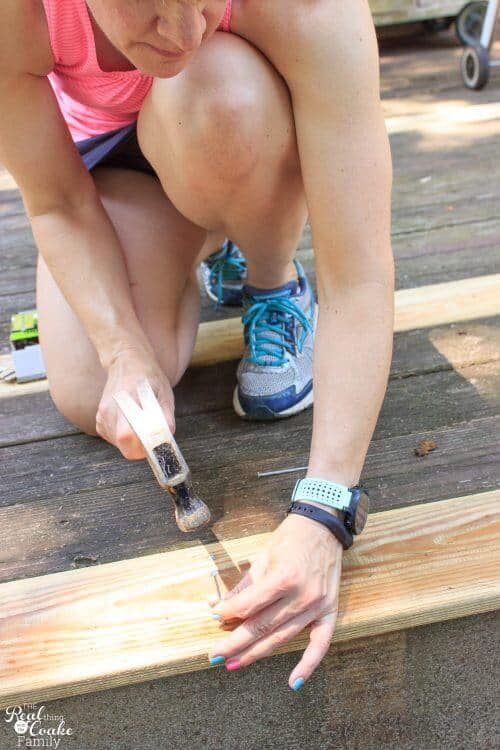
Once your boards are dry fitted, you can nail or screw them into place.
Current practice with decks is to screw the boards into place. My deck was originally built with nails, so I went with deck nails rather than screws. I just thought it would look better if they were all the same.
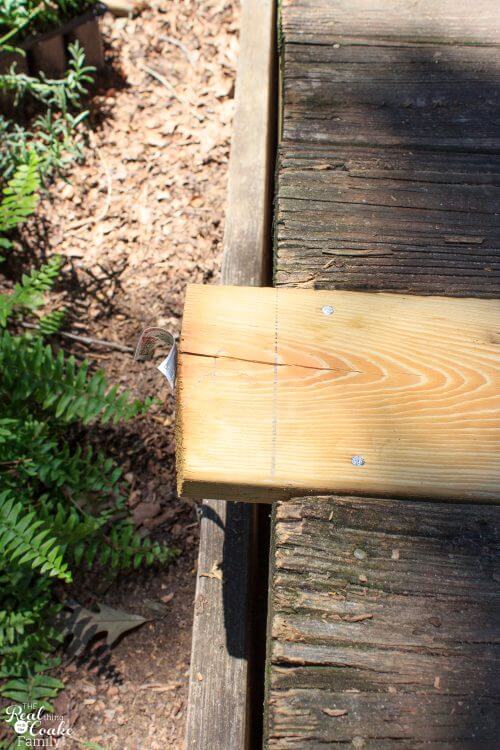
The boards were just a touch too long for our deck. Use a carpenter’s or speed tool (affiliate link) to mark the line for cutting.
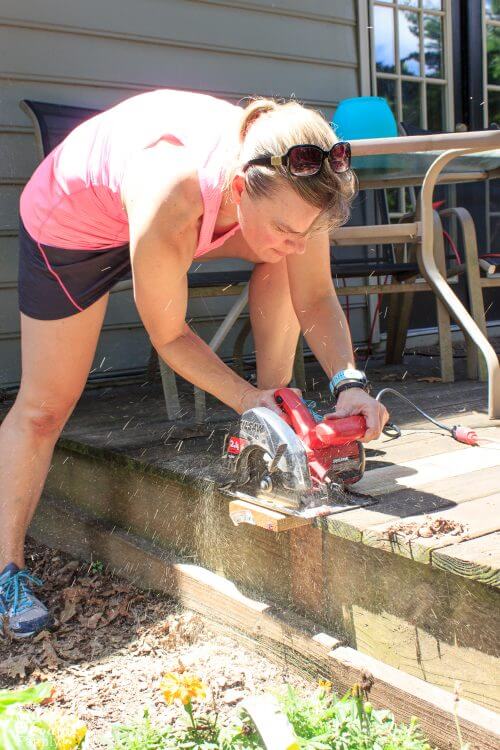
Then just use your circular saw (affiliate link) to cut off the excess. Make sure you wear safety goggles or at least the sunglasses on your head for this process (in other words, don’t do this like you see in the picture above…It was really dumb to not be wearing any eye protection).
If you don’t have a circular saw….you should totally buy one because power tools are fun, however, if it isn’t in the budget, just use a regular or a hack saw.
Sand the rough edges smooth.
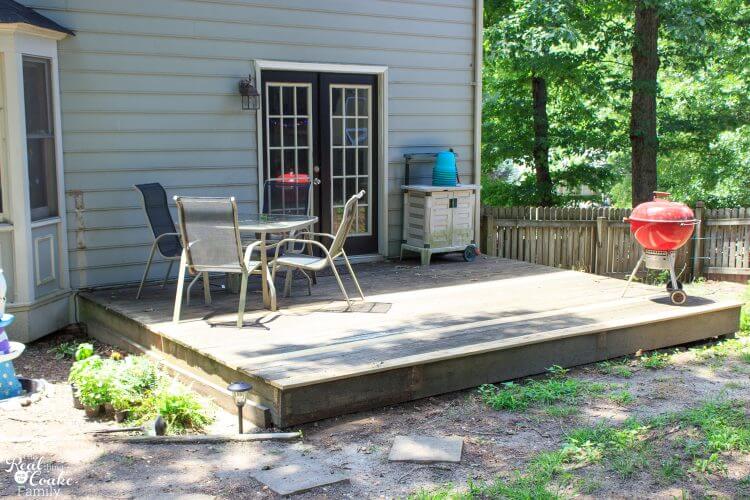
This was one day worth of work for me. My girls really didn’t help much with this part of the deck restore.
As much as the deck looked a bit like a zebra for a while, it still looked so much better than where we began. Making progress!
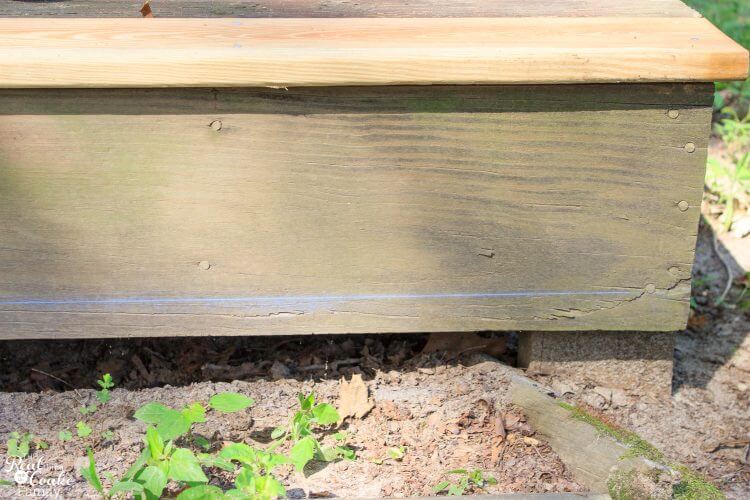
The following week we set out to add a step to the deck. If you scroll back up to the top of the post, you can see the before picture. You will notice how we had a small step on the left side of the deck and that the land slopes down to the right.
I knew I wanted a step to make it easier for our small miniature dachshund to get on and off the deck and just to make it feel a bit nicer for the humans as well.
Again, I’m trying to do all of this for as little as possible, so when I was buying the replacement boards, I bought another wider board with which to make the step. I already had small concrete bricks on hand and decided to use those as the base for our step versus building something else that would require more supplies.
To start, mark off the step line using a chalk line reel (affiliate link). (The blue line you see above) It is a fun little tool that is super handy.
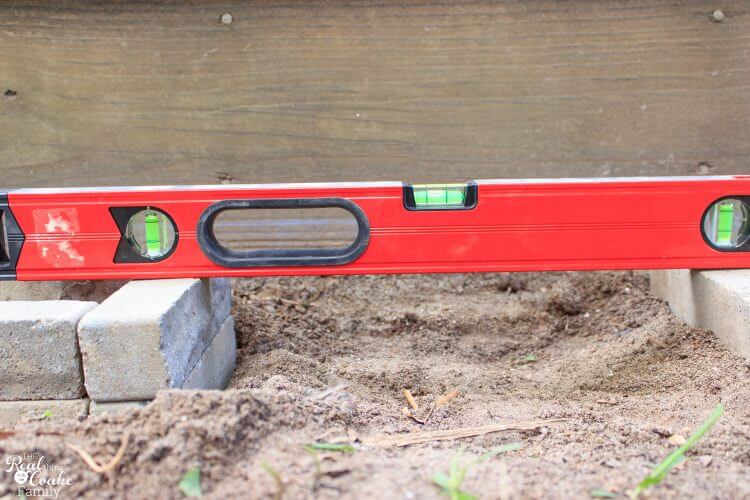
This process was a pain…not gonna lie. It was trial and error to either dig down or add dirt to build the concrete blocks to the right level.
We ended up doing it twice because at first, I had the bricks a bit away from the deck. Then I realized I had to have the bricks snug up to the deck….so yes, this was not a fun project day at our house.
Start at one end and get those bricks level, then move to the section next to the one you just completed and get those level.
You will want to level your bricks with the brick grouping next to them. When you do this make sure they are level in the front, back and diagonally.
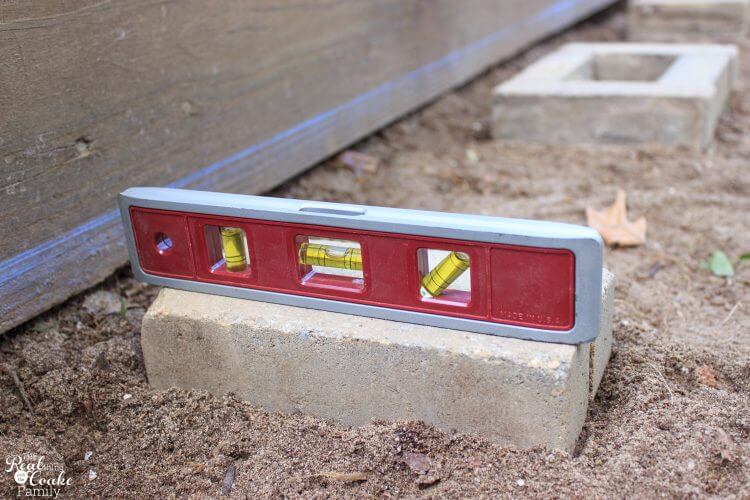
You also need to level each brick grouping. This picture is the first time we did the bricks and we had this group of just two bricks, but in the end(which you can see 2 pictures down), we ended up with all of our bricks in a square pattern.
Regardless of the brick pattern, you want to make sure that each set of bricks is level from front to back as well as side to side.
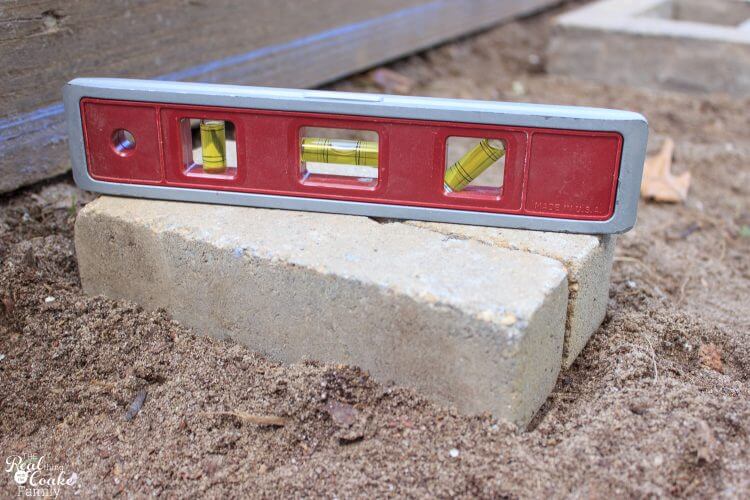
You also want to make sure they are level diagonally.
Basically, you need to be super patient with the process because if you don’t get each brick grouping level and each grouping level with the bricks adjacent, the whole step will be wonky and not solid AND you will have just wasted all that time and money.
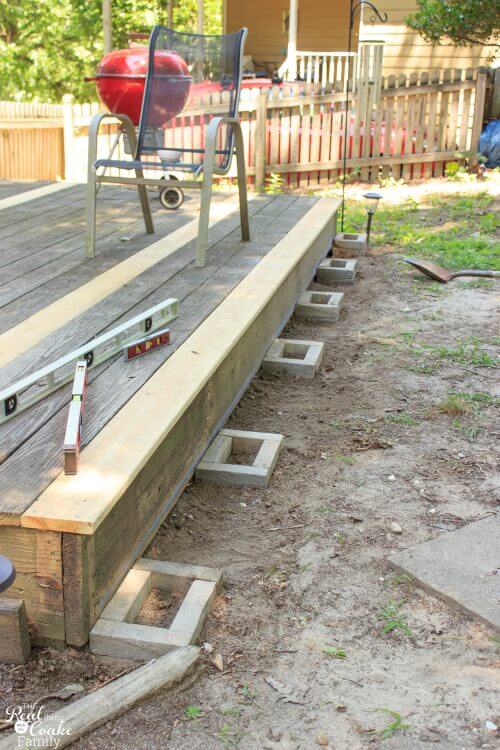
In the end, this is what the base for our step looked like. It is super level and sturdy.
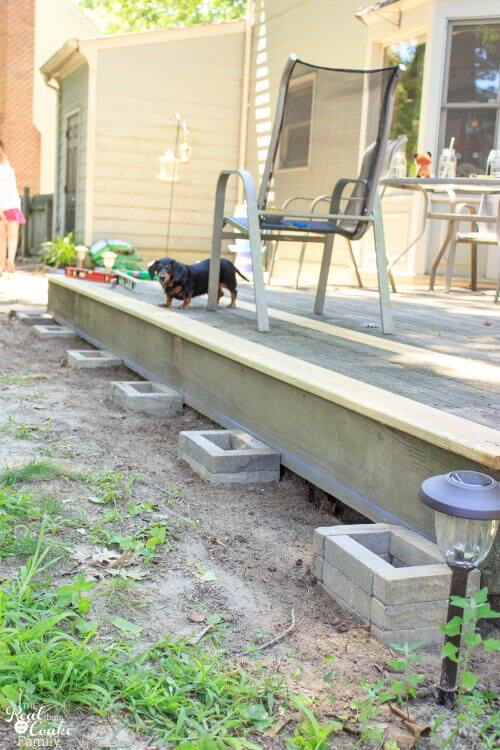
You can see how the land slopes from this weedy angle. Do you see how the bricks closest to us in the picture used 3 layers of bricks? The bricks all the way at the other end are only one layer, but they are all level.
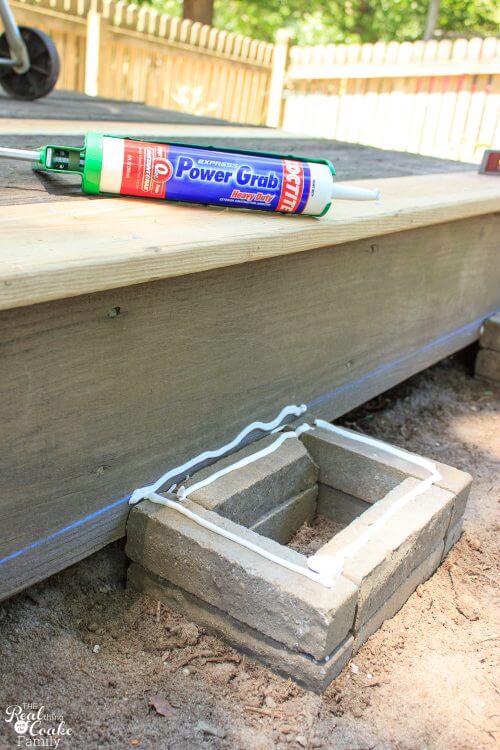
Once you have everything level, you will want to use a construction grade adhesive to adhere the bricks to each other.
If you have sandy soil, like we do, you will need to make sure to wipe the bricks down first so that the adhesive is adhering to the brick, not to sand.
After you adhere the bricks to each other, wait the drying time on the adhesive packaging. Then add the adhesive to the top brick as well as a bit on the deck board. All of this will be the adhesive to hold your board in place.
As a note, I don’t recommend the adhesive I used in this picture. It said it was construction grade and that it worked with both concrete as well as wood, but it has not held up and I need to find a new adhesive and do the whole adhesive process again. Boo!
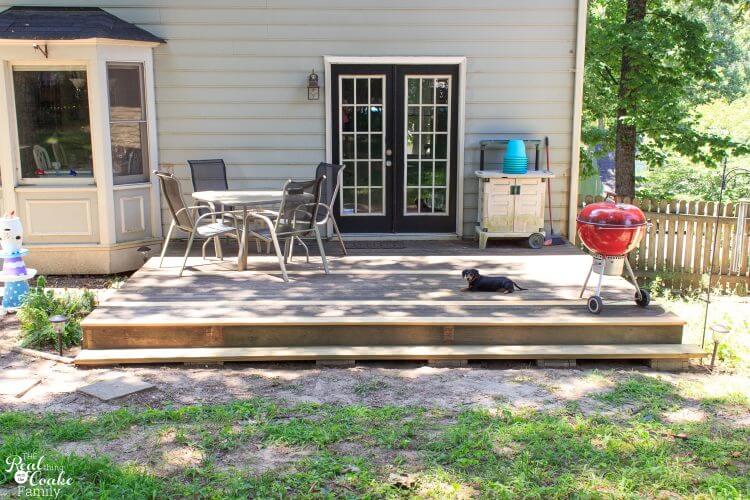
Yay! We have a nice level step!
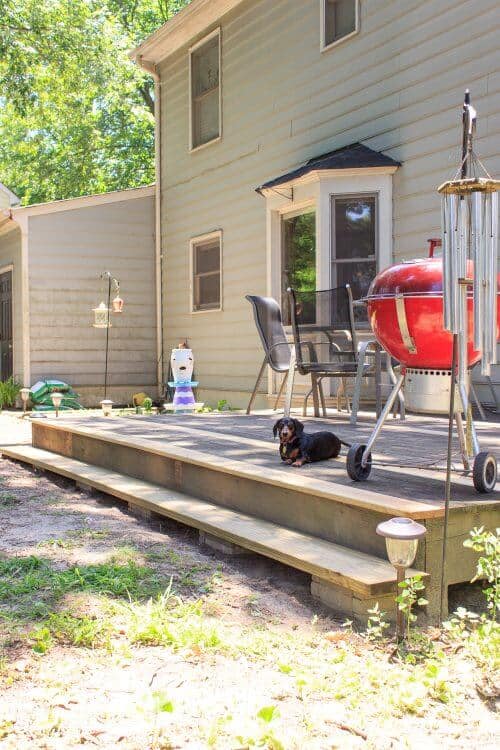
Daisy approves of our work. 🙂
We still have a bit to go on this deck restore. I have a couple of small projects to finish and then I will show you the next big step and the final reveal. We are getting really close to the final steps of this project and it is looking SO good.
We are so glad that we took on this project and are working to make our yard look better. You can see the next step of our makeover in this post about our DIY deck restore!
Leave a Reply