My girls and I have been working on a project this spring and summer. We are working on a DIY deck restore project!
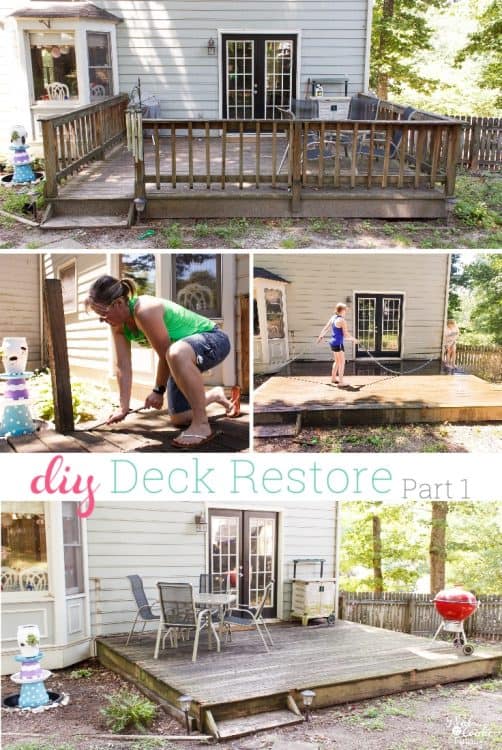
We have known since we moved into this house 10 years ago that we needed to do something with this deck, but it seems like the money is always needed somewhere else. There has also been a lack of help in getting this deck restore completed.
One Sunday a month or so ago, I just decided the deck railings were coming down and we were just going to go for it with this project. My girls were totally on board as they have been wanting to make our yard more pretty for years. They loved the little spring refresh I did on the yard and the DIY fountain I added this year, but it still needs a lot more work.
I’m trying to do this project for the least amount of money possible. It means I will be salvaging what I can and trying some possibly more non-traditional things with our deck. I’m fine with that. I just want it to look better than it currently does… and it will. 🙂
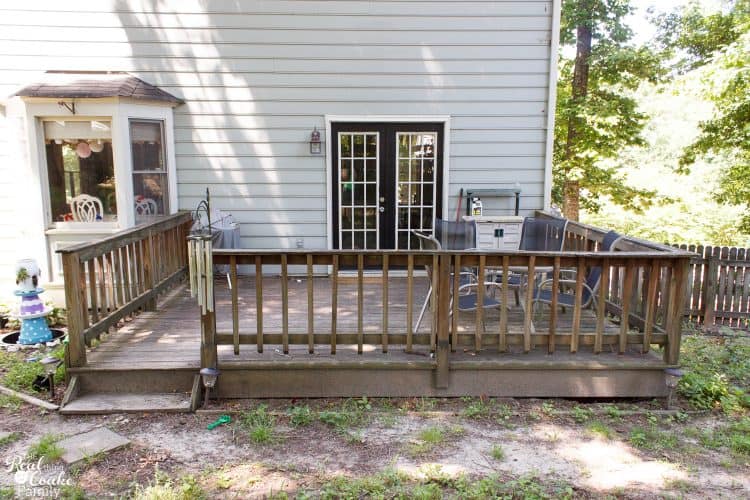
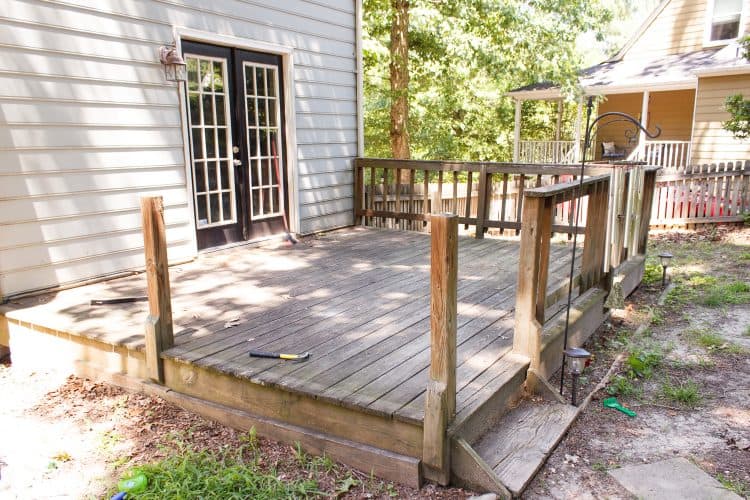
Much to my embarrassment, I need to show you how the deck looked when we started. Yep. Pretty sad sight.
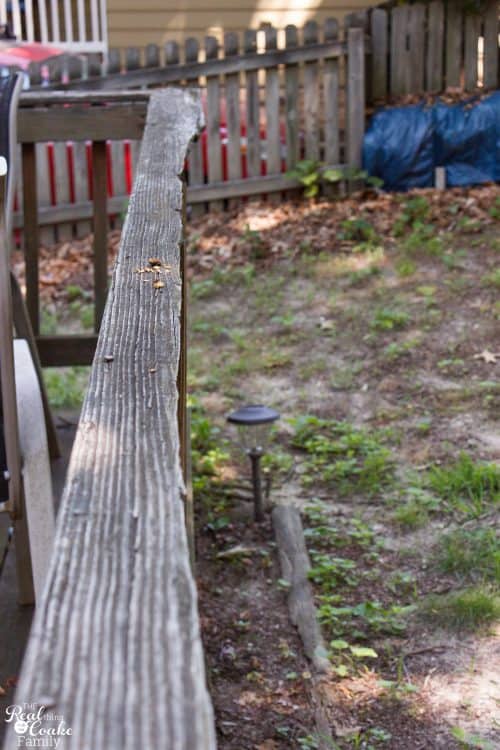
The top railings are in bad shape as well. We have a ton of trees in our yard and a few years ago one of the big branches that fell in a storm cracked part of this board in half. I had asked my husband to replace even just this board, but he never would get around to it, so it has stayed like this for years now. I’m kind of embarrassed to be admitting this to you, but I’m hoping you understand.
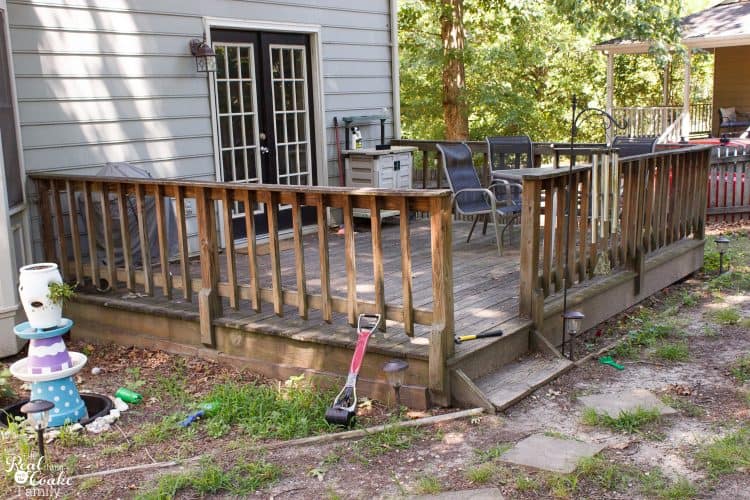
Just another angle to show you. You can see that the area where I did the spring refresh needs me to get out there and weed. I will take care of it for sure as I work to make the backyard look better.
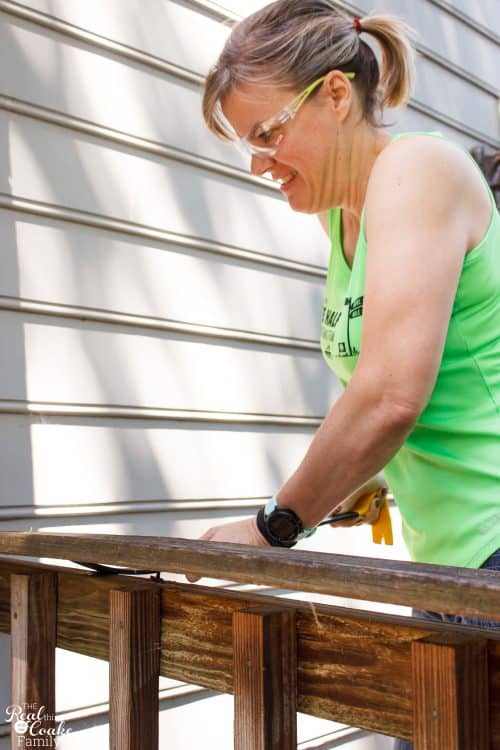
I decided that since our deck is close enough to the ground and I’ve always hated all of the railings and wanted something more open that the railings would just come down and not go back up. So, that was the first part of this deck re-do, pull down all the railings.
If you are working on a deck restore as well, you will want to start by removing the boards on the top of the railings.
To do that, you will use a crowbar and gently and patiently pry up the boards. Usually, you will be able to find one area that is a bit looser. Start there and loosen that area. Then work slowly and methodically to loosen the other nails holding the board in.
You could try to smash it all up, etc, but given that we are trying to use what we have, it is best to remove things carefully. That will minimize the number of additional boards and other supplies you will need to complete your project.
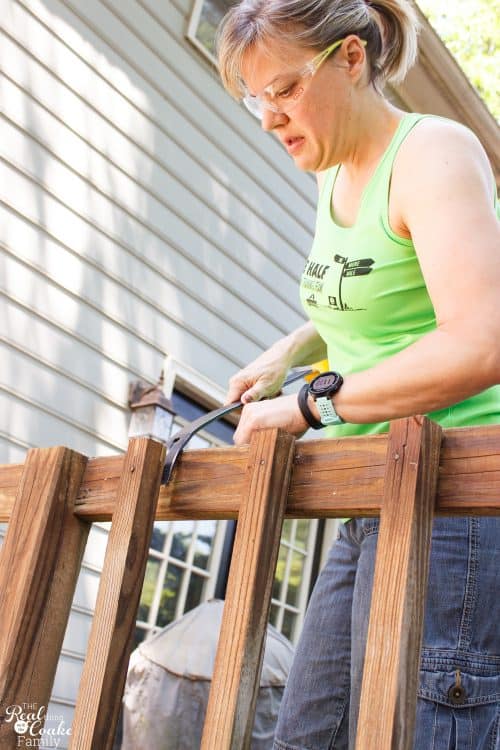
Next, you will want to remove the railings.
You may need to use a crowbar and use the same method of slowly prying them loose as you did with the top railing board.
We are making progress. My girls were helping the whole time. The three of us rocked this out! It was fun taking out 10 years of aggression on an ugly deck and removing all the ugliness!
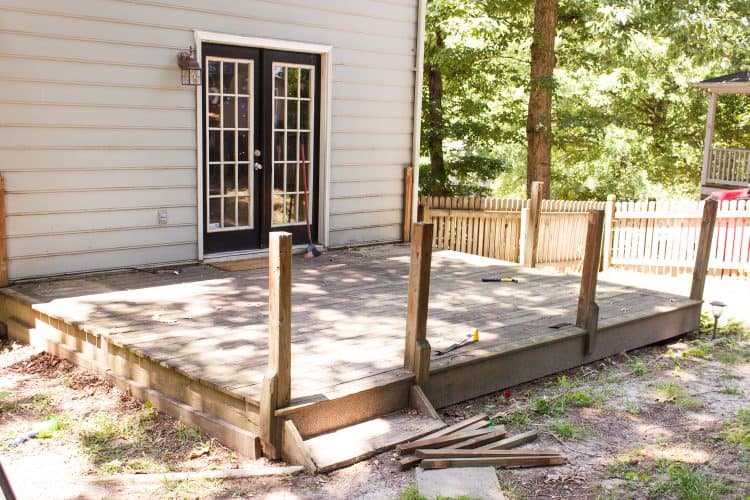
Already looking better!
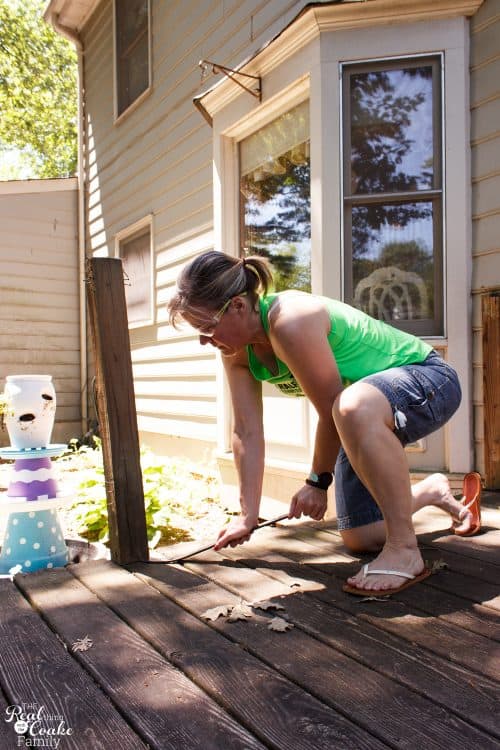
Next up is to remove the posts.
They were the hardest thing I had to remove.
Our deck was put together using nails. The demo will possibly be a bit easier if your deck is screwed together. Then you will take your drill and use it in reverse to pull the screws out.
In my case, the crowbar was used again to pry the posts up. Whoever built this deck was really generous with the nails in the posts. There were at least 7 to 10 in each one….going all different directions. It made it pretty challenging to get the posts up without damaging the deck.
Patience is the key here….something I’m not the best at, but when I settle down and know it is going to take time, then I am usually OK.
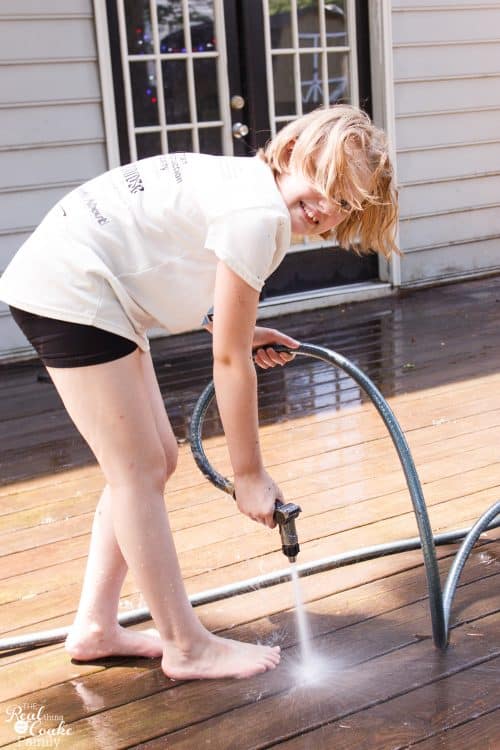
For this first day of working on your deck restore, finish up by giving it a detailed wash.
To do this, you will want a power wash type of nozzle for your hose.
In this case, we were just trying to clean most of the leaves and debris that has gotten stuck between the boards over the years.
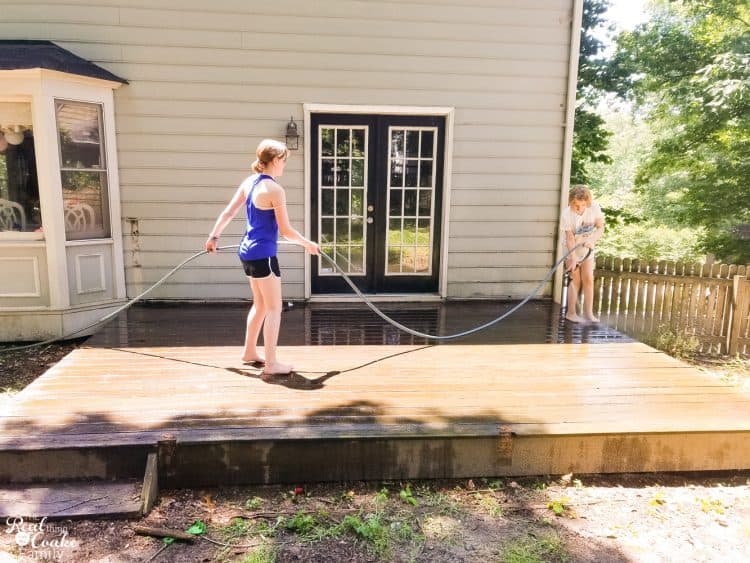
My girls worked together on that portion.
Finally, use a deck wash to clean your deck.
I did the deck wash(affiliate link) to help clean up the surface. I would recommend that an adult do that job just because most deck washes have chemicals in them and I think it is best to not have kids near the chemicals (or adults either…but sometimes you just have to use them).
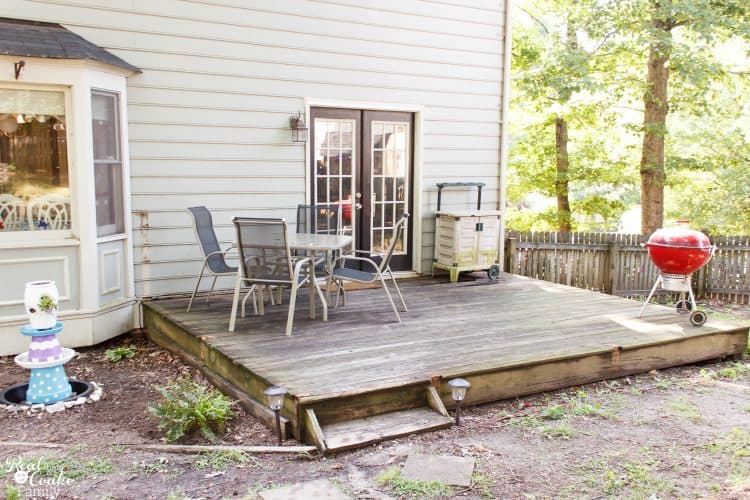
I know this isn’t a great dramatic before and after yet, but it will get there.
After removing everything. I left the deck like this for a few weeks. Trying to figure out what I wanted to do.
Honestly, I already love it! I love the openness and that it doesn’t feel so closed off to the rest of the yard. Yep, the wood is still ugly and not looking so great, but I already love it so much more than the before.
 I have now figured out what I want to do and am a couple of steps down the road on this project. I don’t quite have enough to show you just yet, but I will get another post together in a few weeks and show you where I’m going with this deck restore. Fingers crossed it turns out as cute in real life as I picture it in my mind.
You can see more of our deck makeover in part 2 and part 3!
Have you done a deck restore? What did you do to save materials and money? I’d love to hear. Leave me a comment below.
Follow me on Instagram, where I share more of our DIY projects and fun going on in our lives.
Leave a Reply