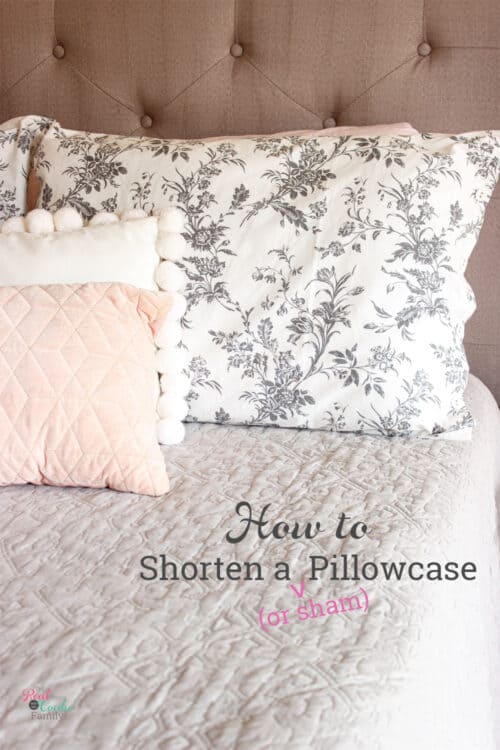
In my very slow quest to update my room following my ex moving out, I changed my bed from a King to a Queen size. I still really like the IKEA duvet I have and find that it still fits the bed just fine. To fit the bed better, I changed the decorative pillows from King size to standard size pillows. That left me with the issue of the pillow shams that match my duvet being too long.
I lived with them like that for about 7 months. Then while I was making the Halloween, Thanksgiving, and Christmaspillows, which I did all together all in one sitting, I figured out how to shorten a pillowcase (or sham in my case). I did it like how I hem curtains in 10 minutes. It was so easy.
I thought I’d share it with you in case you have pillowcases or shams that are too long as well.
How to Shorten a Pillowcase (or Sham)
Supplies:
- King Sham or Pillowcase
- Sewing machine(affiliate link)
- Thread
- Disappearing ink pen(affiliate link)
- Measuring tape
- Cutting mat and wheel(affiliate link) or scissors
Step 1: Measure and mark
TIME: 4 minutes
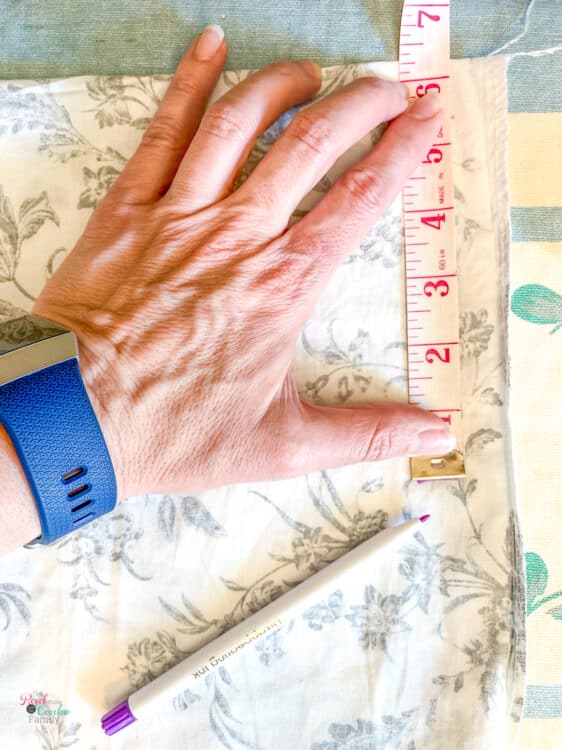
First, determine how much you need to remove from your pillowcase or sham.
I did this the very simple way of stuffing the pillow in the sham and getting it all to the end with the opening. Then I pinched off the end that had no pillow and measured the amount of pillowcase that I needed to remove. I added a little back to this measurement to make sure I left room for the fattness of the pillow.
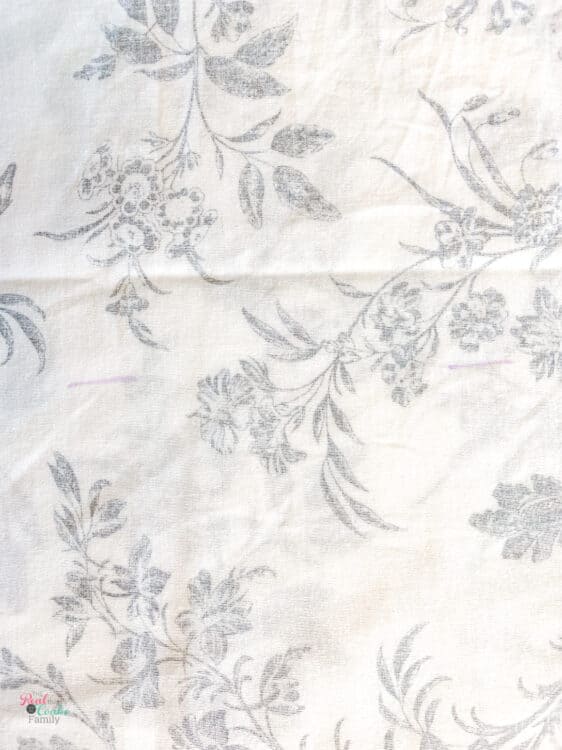
In my case, I was taking a King pillow sham and changing it to a standard size pillow sham. I marked at 6 1/4″ along the entire end of the pillow sham.
Step 2: Draw line
TIME: 1 minute
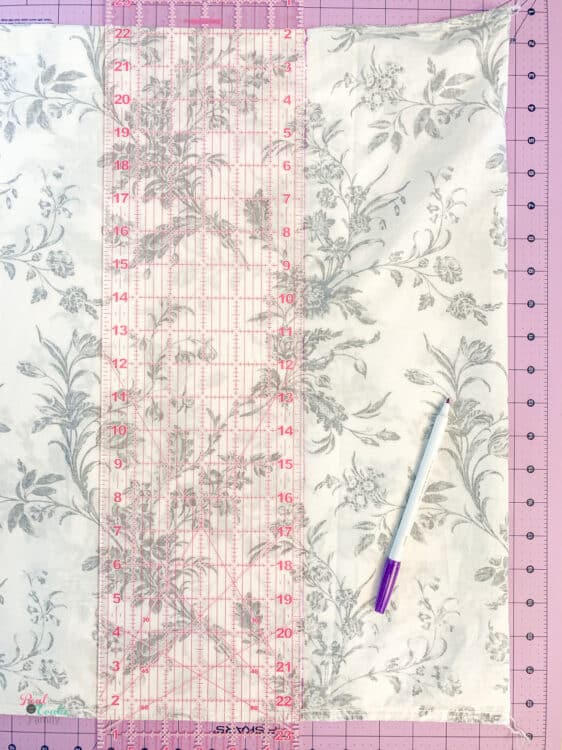
Now you’ll want to connect all those lines you marked along your pillowcase.
It’s easiest to use the ruler part of a cutting mat set, but if you don’t have that, you can use a yardstick or the side of a box or book. Use what you’ve got.
Step 3: Sew
TIME: 3 minutes
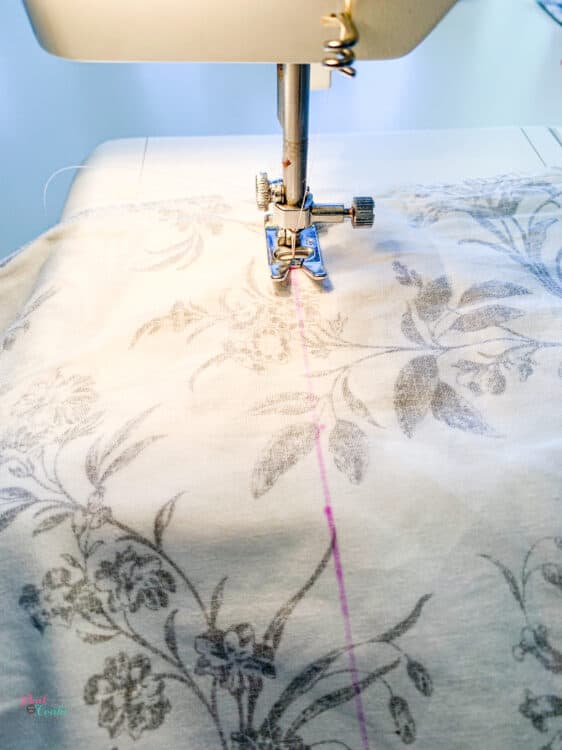
Sew along the line of disappearing ink.
Step 4: Cut excess
TIME: 1 minute
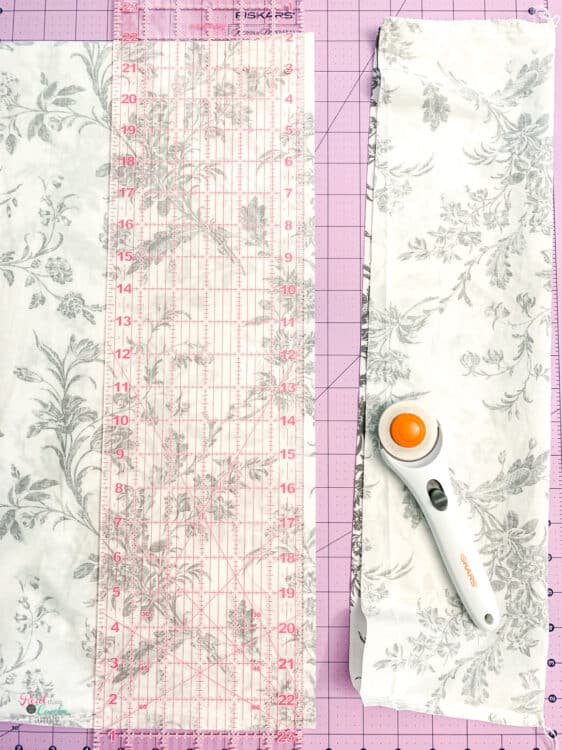
Cut the excess fabric from your pillowcase or sham.
Once again, it’ll be easiest and fastest if you use the cutting wheel and mat, but if you don’t have one, use your sewing scissors. 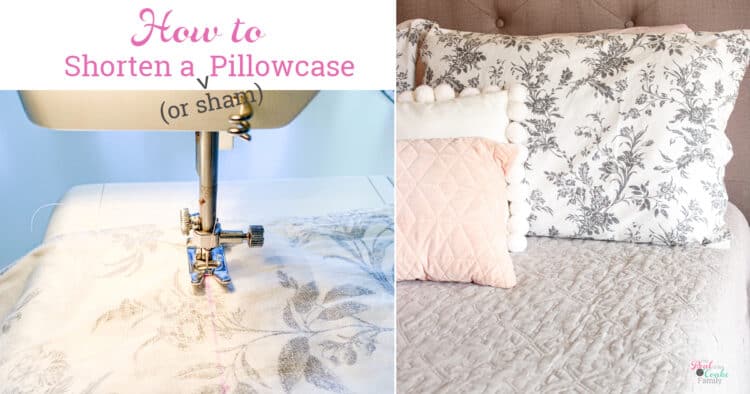
And there you have it…turn your pillowcase or sham right side out and stuff that pillow back inside.
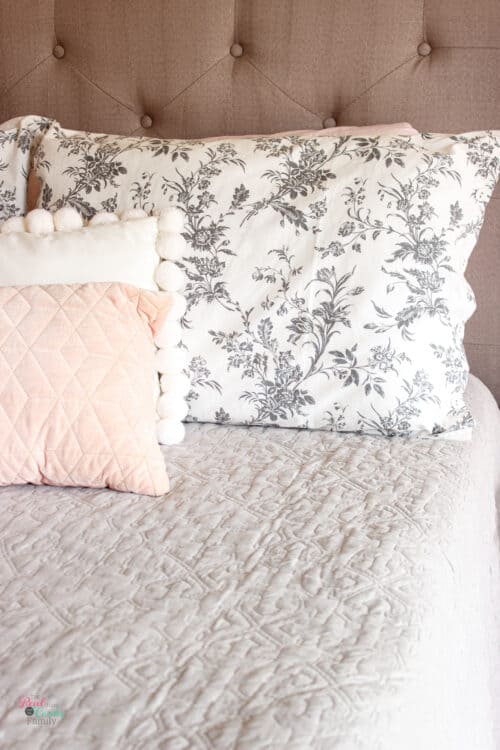
It’ss so easy to do when you know how to shorten a pillowcase or sham.
You can’t even tell that I didn’t buy them this way. And the little buttons that I love so much at the end of my pillow sham are still intact and look great. 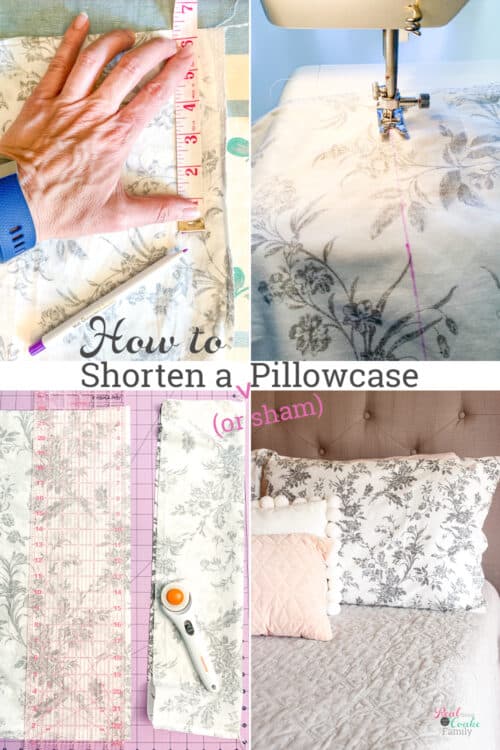
This goes down as one of the easiest DIY projects I’ve done in a long time.
If you want to know how to make a pillowcase, I’ve done that as well. It’s actually pretty easy. That link is to an old post that you shouldn’t judge the pictures too much and just read the directions. It’s not as easy as how to shorten a pillowcase, but do-able.
I’d love to see your successful project! Share on Instagram and tag me @realcoake and use the hashtag #RealDIY so everyone can cheer your success!
I shorten one pillow case and after washing it the material from the pillow sort of shredded/fell apart passed the stitches. What do you think happened?
Mchensley
It was probably a fabric that needed to be hemmed or finished with a serger first. Some materials will hold up to this and others will need a little more care, such as hemming the end first or using a serger to finish the end.