• Home
  • Contact
  • Privacy Policy & Disclosures
  • Nav Social Menu

    • Instagram
    • Pinterest
    • YouTube

Real Creative Real Organized

Creativity and Organization for Mom Life

  • Crafts
  • DIY
  • Organization
  • Travel
  • Mom Life
  • Holidays & Special Days
    • New Year’s
    • Valentine’s Day
    • Mother’s Day
    • Easter
    • Father’s Day
    • Fourth of July
    • Halloween
    • Thanksgiving
    • Christmas
    • Seasons
      • Spring
      • Summer
      • Fall
      • Winter
    • Olympics
    • Birthdays
  • Recipes
  • Shop
Home » DIY » How to Hem Curtains in a Snap

How to Hem Curtains in a Snap

April 23, 2015 by KC Coake 4 Comments

Share away! 😍

538 shares
  • WhatsApp
  • Email
  • Facebook

Don’t you hate it when you buy curtains that are perfect for your home, but they are too long? It’s such a pain to hem curtains, but I figured a way to make it easier. Today, I’m going to show you how to hem curtains the easy way. 

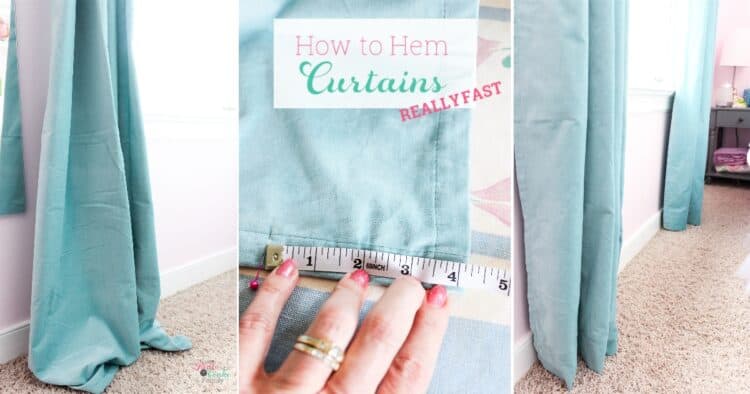
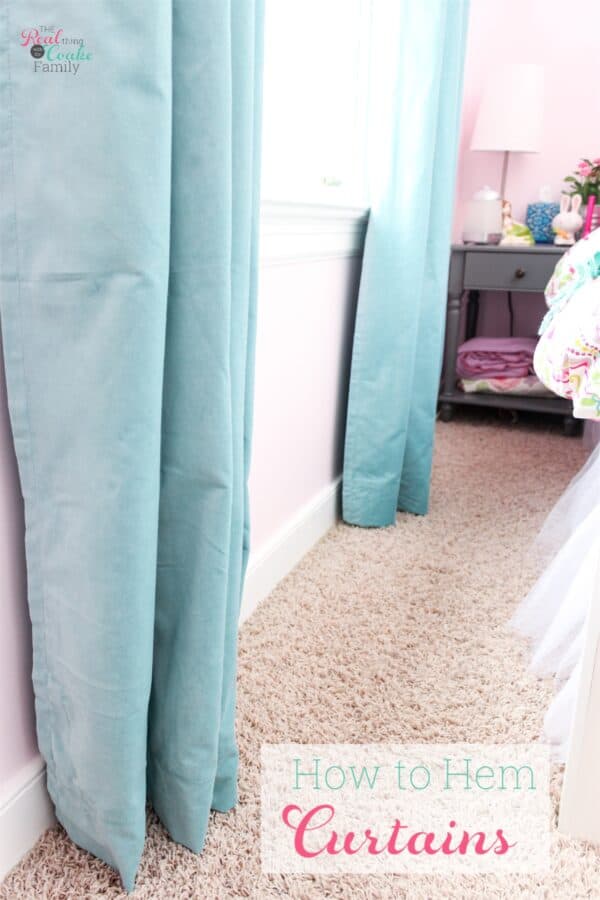
hemmed curtains

I decided to finally tackle hemming the curtains in my daughter’s room and to find a way to get it done in 15 minutes. I like sewing some things, but curtains are not one of those things. I’ve sewn plenty for the dolls, pillows for the house, and even a bed skirt, but it has been a long time since I’ve done anything with curtains. I have my curtain battle stories…they never seem to turn out right for me.

Challenging myself to figure out how to complete it in 15 minutes per panel got me to finish this last project in my daughter’s room. You can see the final reveal here.  

Let me tell you this is NOT the way a seamstress would hem the curtains, but it works, it’s quick, and it still looks good. Perfect mom win!

How to Hem Curtains

Supplies:

  • Curtains(affiliate link)
  • Sewing machine (affiliate link)
  • Thread
  • Pins
  • Iron(affiliate link)
  • Ironing Board(affiliate link)


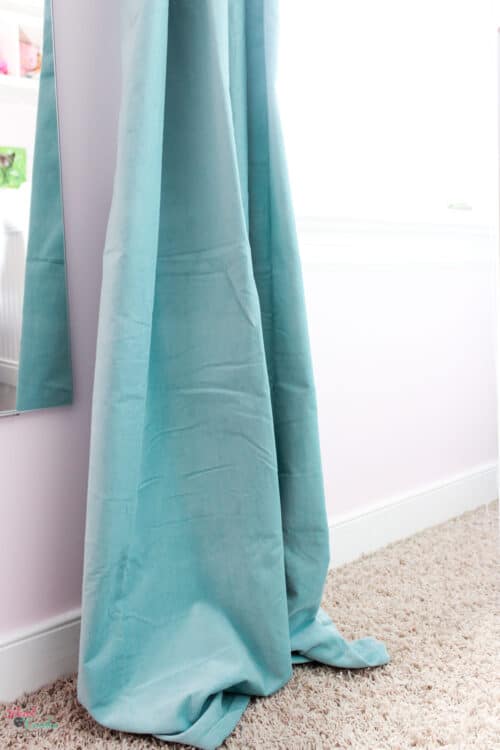
curtains too long hanging on the ground
As you can see the curtains from IKEA that are perfect for my daughter’s room are too long.

We contemplated leaving them long as that pooled look can be fine as well, but pooled curtains in a kids bedroom is not a great idea, in my opinion. 

Step 1: Hang curtains
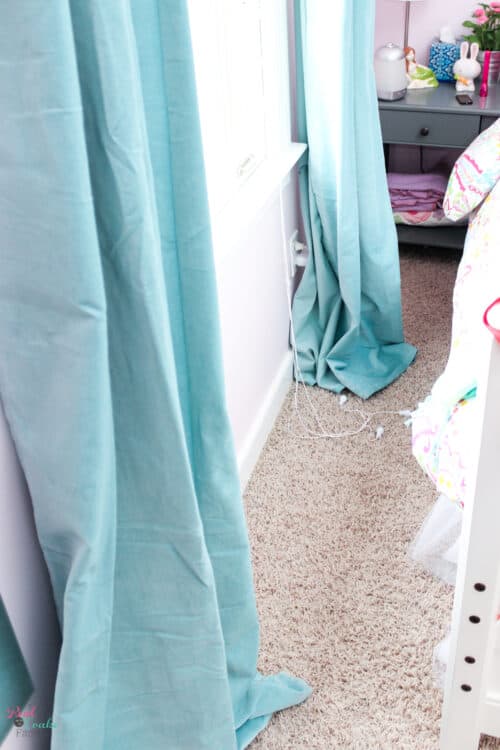
curtains too long hanging on the ground

If you haven’t already, you need to start by hanging your curtains up on the rod that you plan to leave them on. 

Step 2: Pull curtains
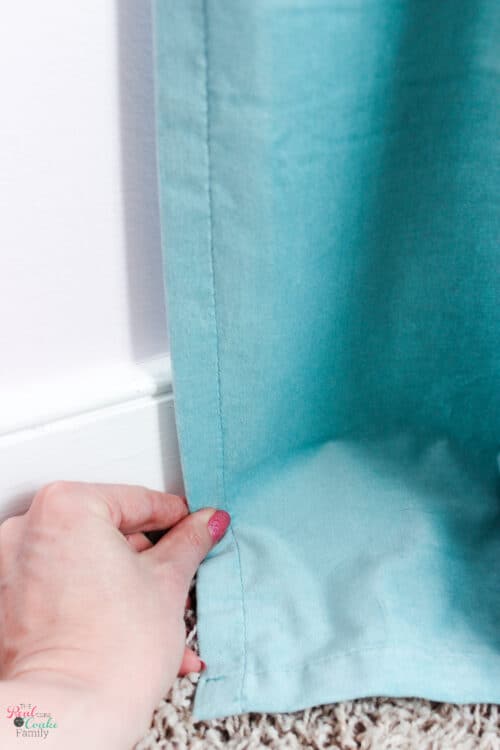
pulling curtains at floor length

Gently pull your curtains toward the ground. 

Don’t pull hard, but pull enough to take out the slack. 

You want to get the slack out, so you can figure out which part of the curtains will hit the ground when the excess fabric is gone. 

Step 3: Pin curtains

pin in curtains right at floor length
Pin at the spot where the curtains hit the ground.

Do this on both sides of each panel you are hemming. 

Step 4: Figure out length for sewing
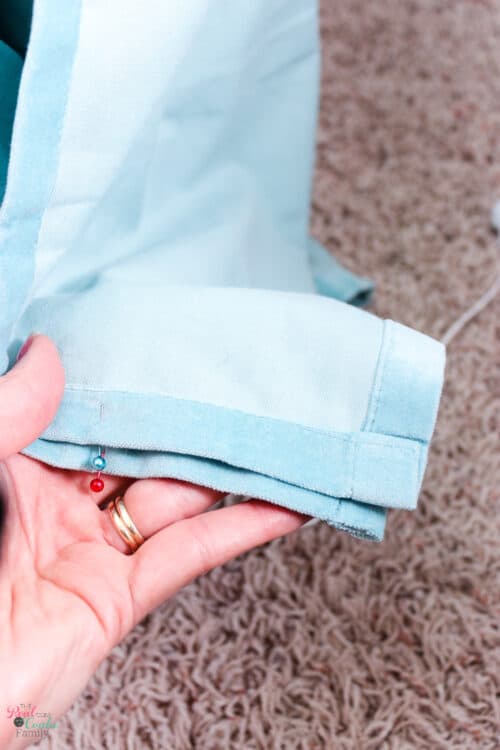
pins on both sides of one panel of curtains
If you look at the bottom of the curtains with the pins lined up, you’ll see that they are off. This is because the floors aren’t level. Most likely your panels will look like this as well.
It’s OK and doesn’t need a professional seamstress or a math degree to solve what to do.

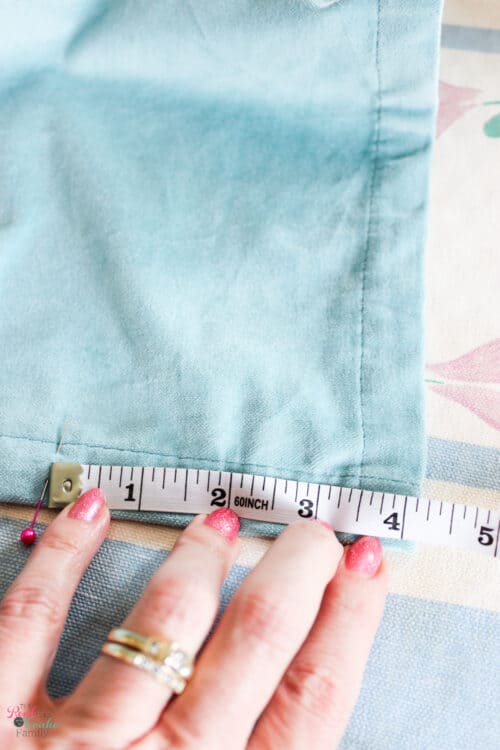
measuring below the pin line of the curtains

Measure all your pins.
Mine ranged from 4.5″ to 3.9″ – I told you we have wonky floors. 

Split the difference or pick a measurement you think will look nice. 

In my case, I went with 4.0″.

Step 5: Pin for sewing
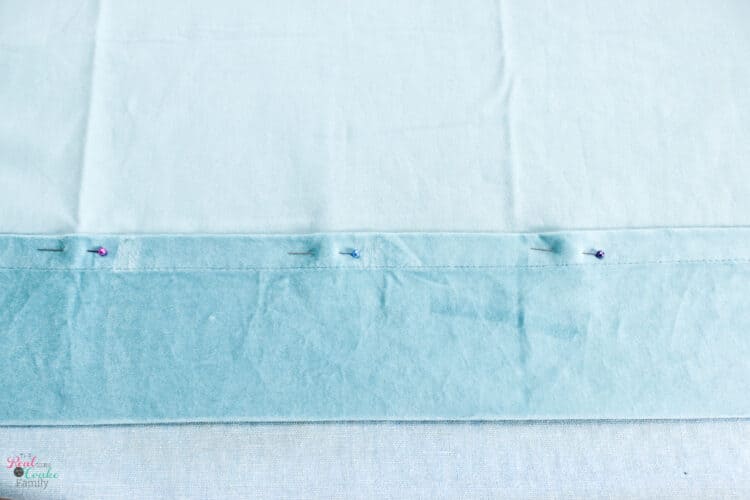
pinned curtains ready to sew

Use your measuring tape to pin the bottom of the curtains at the length you plan to shorten. 4″ in my case.
Iron the bottom.
You can cut the extra fabric off, but it isn’t necessary and will make the project take longer.

Step 6: Sew

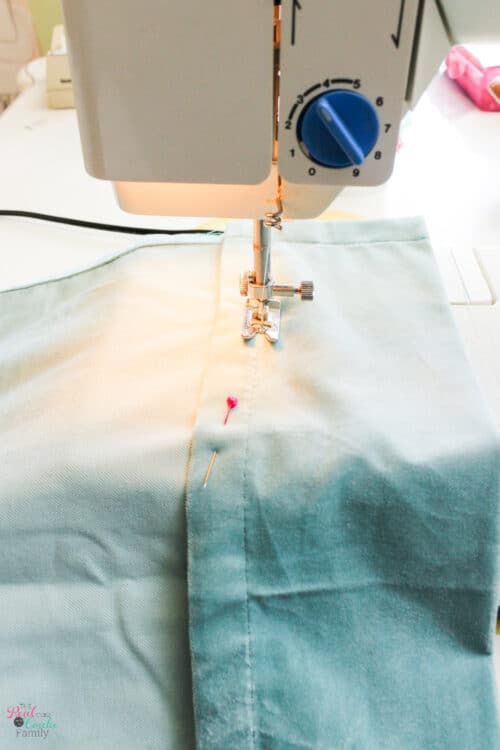
sewing hem in curtains

Sew the hem. You’ll find it easiest to use the original hemline as your guide to get a nice straight line (another bonus for not cutting off the extra fabric).

You can sew the ends as well. It’s not required, but in my case, I did sew the ends closed.

I figured that since my kids tend to be hard on things and jump around and do wacky things with their friends in their rooms, if I sewed the ends closed it gave less chance of a foot getting stuck in the curtains and ripping them opening or hurting someone….the things I think of….yet it’s all from experience.  ?

Step 7: Rehang curtains

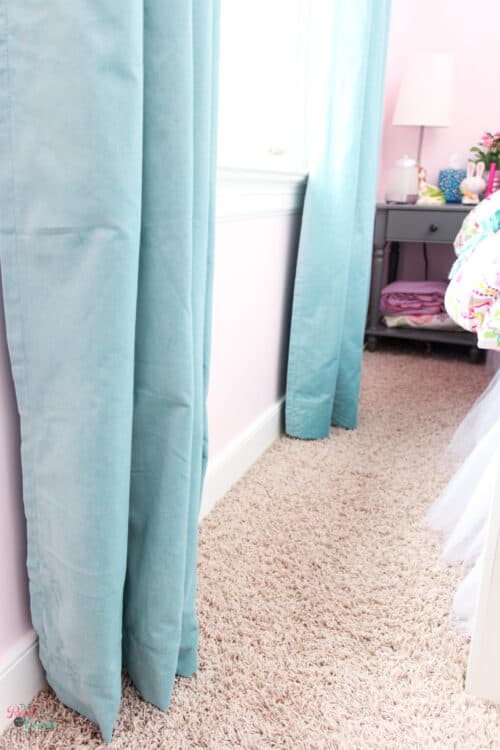
curtains all done with curtains the right length

Voila – hemmed curtains in 15 minutes per panel. They look so much better!
how to hem curtains collage
Hemming curtains can be a more precise process and take more time, but I’m super happy with my quick and easy way to hem them up.
They look great. They don’t look perfect, but they work for us and I didn’t even feel like pulling my hair out while hemming them. It was a win-win for sure!

What’s your trick on how to hem curtains quickly? Leave a comment below. 

Don’t forget to share your curtain hemming success on Instagram and tag me @realcreativerealorganized. I’d love to see!

More to Enjoy! 😍

19 Fun American Girl Crafts

DIY Dresser Personalization an IKEA Hack

Share away! 😍

538 shares
  • WhatsApp
  • Email
  • Facebook

Hi! I'm KC. I'm a single mom of 2 girls who loves all things creative. Whether it's making something crafty or tackling that DIY project, I'm gonna have some fun and stay organized in the process. 😊 Read More…

Follow Me:

  • Instagram
  • Pinterest
  • YouTube
Previous Post: « Home Decorating Ideas ~ Giving the Hallway a Little Makeover
Next Post: ‘Caste’ing Fun Teen Book Club »

Reader Interactions

Comments

  1. Fran R. says

    May 18, 2015 at 10:22 am

    As a novice I’m confused as to what is meant by “pin on both sides”. Does that mean the right side and the wrong side or something else? Thank you for sharing a great 15 minute curtain hem.

    Reply
    • KC Coake says

      May 19, 2015 at 9:07 pm

      No worries. Thank you for leaving a comment to clarify. Hopefully it will help others as well. I just meant that when you go to pin the curtains, you will want to pin on the right side of the curtain while it is hanging and on the left side of the curtain. If your floors are wonky like mine, you will get pins at different measurements. Then you will have to decide where you want to pin, iron and sew based on those initial pins on the right and left side of the curtain. Does that make more sense? If not, just ask some more questions and I’ll do my best to explain further or in a different way. Take care.

      Reply
  2. Paul says

    July 17, 2019 at 10:23 am

    Hi I love the directions- simple and easy to understand!! Thanks! My curtains go to the floor in the bedroom. I want them to come up to the window sills ( that’s quite the HEM, hu?) I’m not crazy about cutting them but not out of the question. My problem- I don’t own a sewing machine!?‍♂️ Can I use some kind of “double sided tape? – glue? -Velcro? Trying to keep it simple and still do it myself . Any advice would be helpful!!
    Paul

    Reply
    • KC Coake says

      July 25, 2019 at 1:38 pm

      Yes, there are double-sided tapes you can use instead of sewing. I believe you iron them on. I’ve never tried them so I can’t give you a recommendation. I’d suggest doing a search on Amazon and looking at ratings to find what will work well

      Reply

Leave a Reply Cancel reply

Your email address will not be published. Required fields are marked *

Primary Sidebar

Meet KC

Hi! I'm KC, Welcome to my blog!
Click here to Learn More About Me…

Let’s Be Social

  • Instagram
  • Pinterest
  • YouTube

Copyright © 2025 · Sprinkle Pro Theme on Genesis Framework · WordPress · Log in