I’ve got a super fun post for you today. This post started with something I saw on Pinterest that I wanted to find a way to make. They are these beautiful glass trays made from wine bottles.
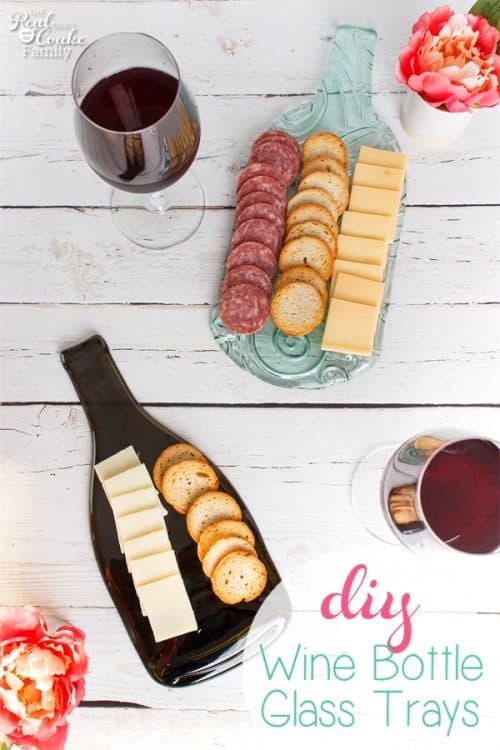
The issue I had when I looked at the pin I saw on Pinterest (you can find it on my DIY board)was that they said you needed to buy an electric kiln that is meant for use in your home. I didn’t want to buy a kiln nor does that seem safe to me. Fortunately, one of my friends owns a pottery studio and she has a kiln as well as works with glass and likes to experiment. Perfect! Now, most of you aren’t going to have such a friend, so I have details on what to look for and ask for at a pottery studio near you so you can give this a try as well.
I’ve had some fun with wine bottles crafts over the years. If you are new, my favorites are the winter wine bottles and the spring wine bottles. For any wine bottle craft you will need to start with clean empty wine bottles. I know, I know…it is a hard job, but someone has to do it. Though I suppose, you could buy empty wine bottles (affiliate link). Seems silly to me, but you could do it that way. 😉
Make sure your bottles are all the way clean from both the wine and the labels.
To find a studio near you, go to Paint Your Own Pottery’s website. Click on the link to find a studio. Then choose to find a store in North American or Internationally. Enter your zip code and have a look through the studios that come up. You will want to look at the services they offer and see if they have glass listed.
You can always call and ask as well. You will want to find out if they slump bottles as well as if they have molds. If you like the techniques I show you as well, you will want to ask if they have fiber paper and if they will let you use some.
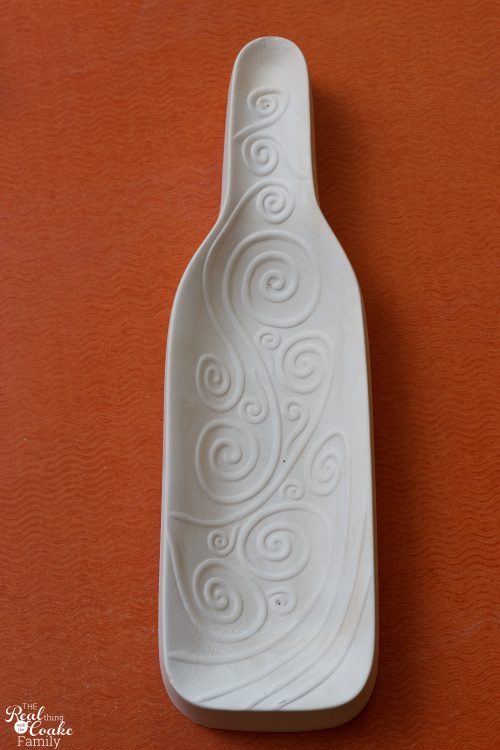
This is what one type of glass mold looks like.
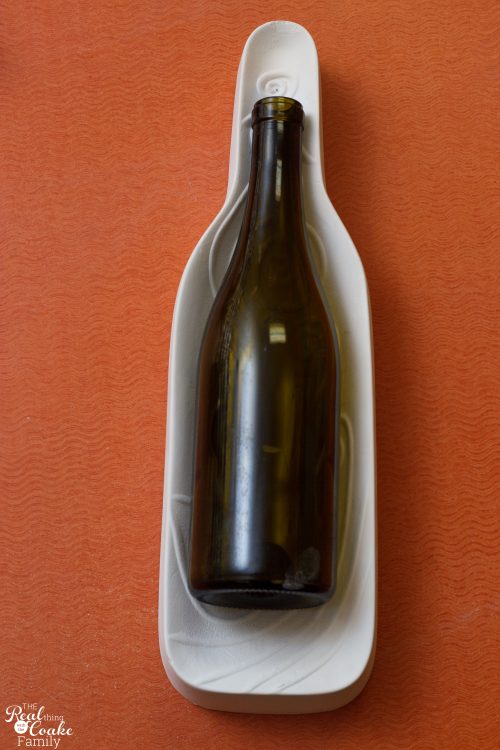
The bottle goes into the mold and then into the kiln. This particular mold is to make a bowl.
The thing that you have to know and remember is that glass has a mind of its own and you never know exactly what it will do when it is slumped (the term for shaping glass over/in molds at high temp)
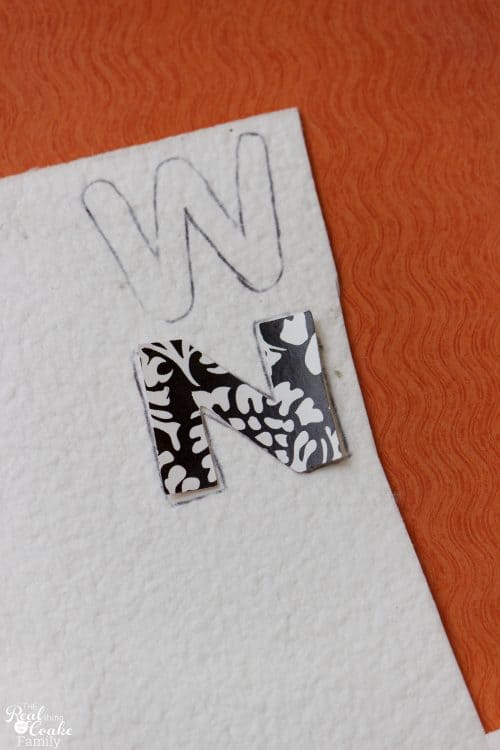
I was hoping to slump two wine bottles for friends with their initial in the glass. I thought it would be a really neat idea for a gift. To do this, I cut the initials out of fiber paper.
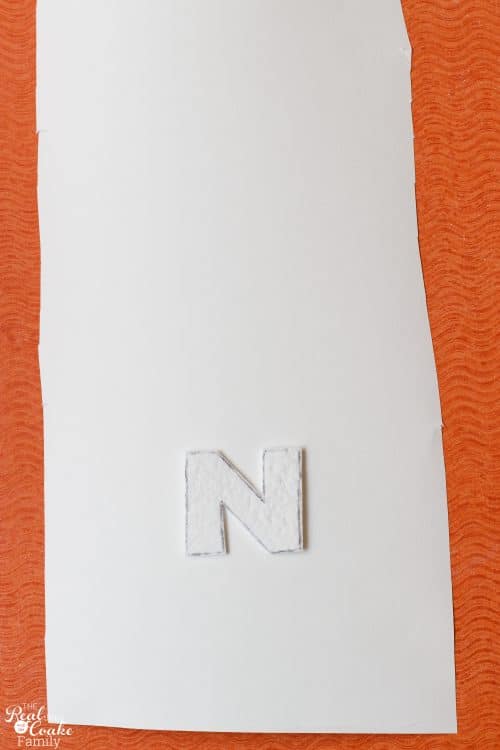
The fiber paper was put on top of the kiln paper and the bottle was placed on top of that in the kiln.
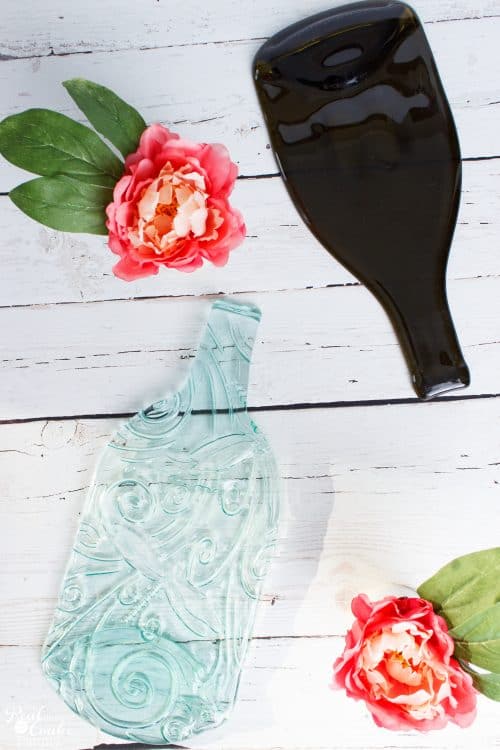
These are the two bottles that worked out pretty well. The darker bottle has the initial in it and the lower bottle was done using a flat mold.
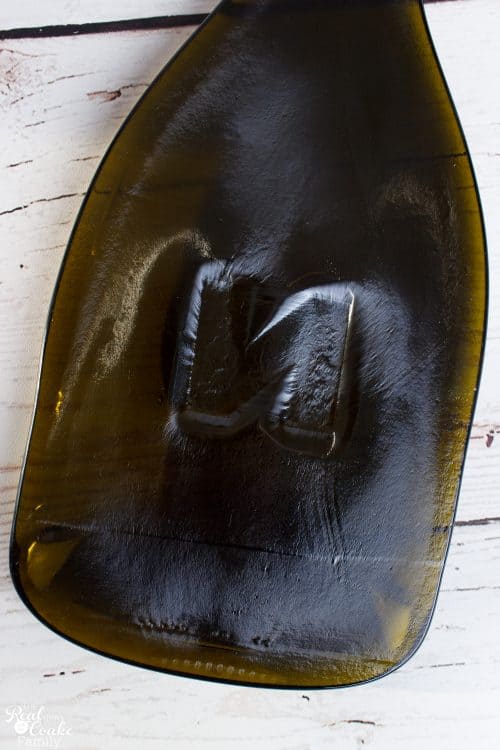
This is the reverse side of the bottle that was slumped with the fiber paper initial. You can clearly and easily see the initial.
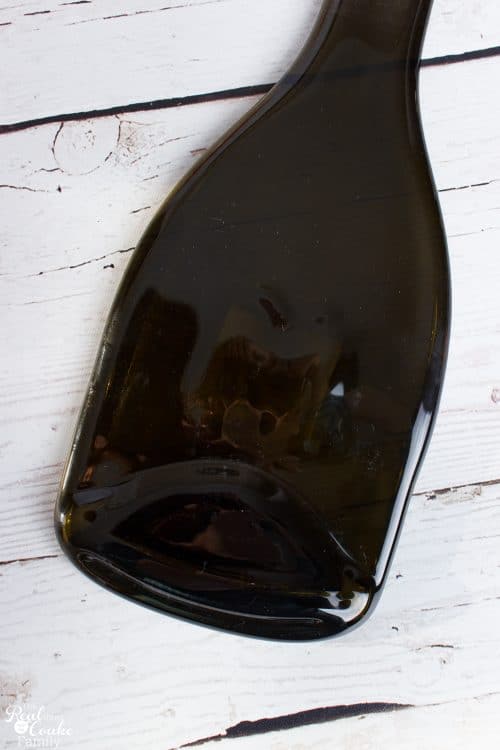
From the front side though, it is much harder to see the initial. If you also notice the bottom of this bottle, the glass slumped more together. It makes a bit more of a smooth finish.
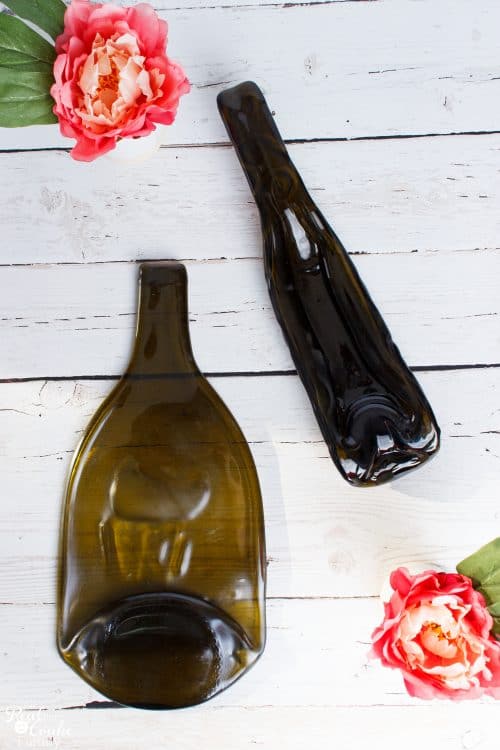
The larger bottle here is another that I tried to do an initial in. It didn’t work nearly as well. You can also see how this bottle slumped with the bottom much more just laying on top of the bottle versus melting into it. There is no way to know what your bottle will do. So any bottle slumping you do will be an experiment of sorts.
The other bottle that was done in the mold really fell in on itself. It didn’t work out too well for a bowl.
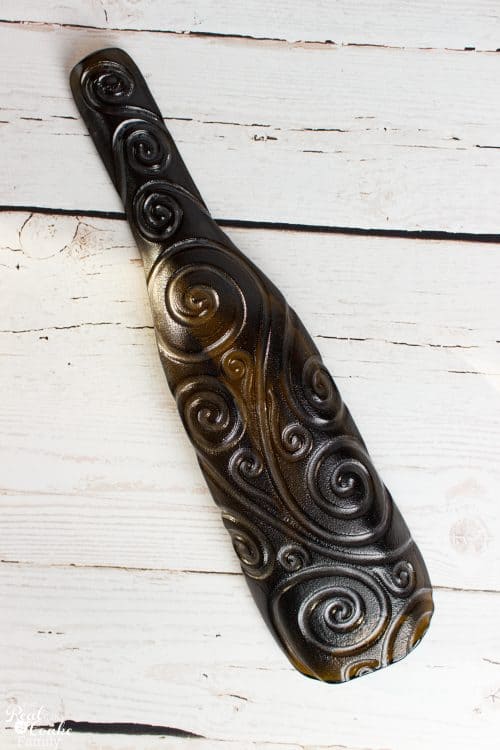
However the mold side is really pretty and I decided to hang this up on a wall in my kitchen for some fun decoration.
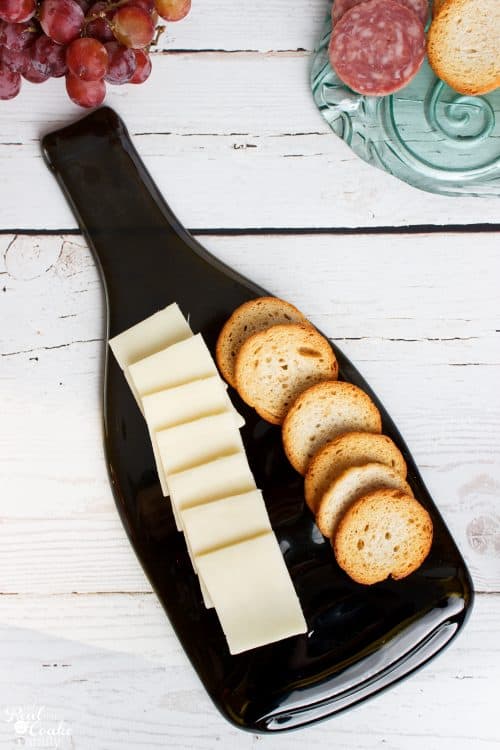
The glass bottles make great trays. I think they are really pretty and will be fun to use.
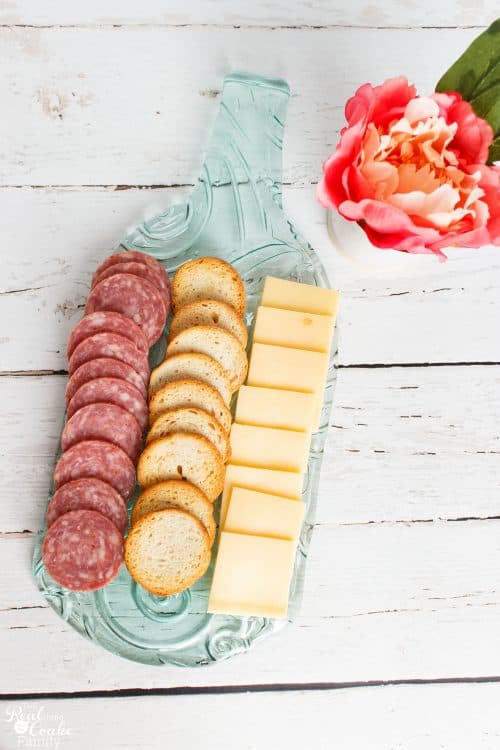
Once the bottle is slumped, if you like, you can add paint to add some color. You could also add some wire or wire and beading around the bottle neck for another embellishment. Take a look on Pinterest and I am sure you will see ideas.
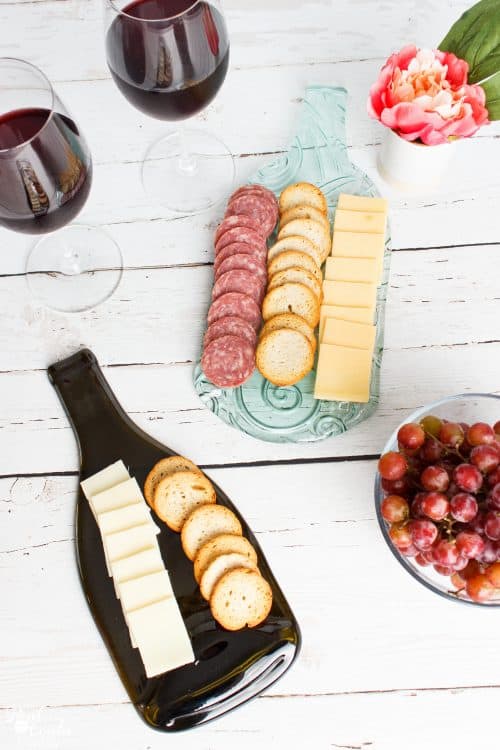
The one of mine with initials that did work will be going to my neighbor as a gift. The other I will keep. I think I will serve donuts on it for Easter. Yum! I’m sure I will find many other uses for it as well.
I totally plan to experiment some more with glass slumping and wine bottles. It is a fun experiment. I think you will enjoy it as well. Just keep in mind that what you have in mind may not be what the bottle will do for you.
I love it hear trays unfortunately there are no pottery or glass places anywhere near by
I think the clear one is terrific. Great size to use for all kinds of food or snack dishes
That is so cool!
Wow,, there is one of these studios very near me in New Zealand, that is good to know as my mum would love one of these trays!
That is great news! So glad you could give glass slumping a try. You never quite know what you will get, but I think it is kind of a fun experiment. 🙂
I wonder if an art teacher at a nearby school would be willing to help out.
Love this idea, have to share it with our pottery studio and maybe she’ll let us try it…..of course we’ll have to make the mold first, but could be great! thanks for sharing on craft schooling Sunday!
Thanks! I hope she will let you give it a try. It is fun to see how each type of bottle or glass slumps and what you get from them. Enjoy (if you get to give it a try).
This is way too cool!
Thanks! Aren’t they fun?!
Those are so cool! Would make great gifts!
Thanks! I agree, fun gifts!
Oh I love these!!! Thanks so much for sharing your idea with us at #overthemoon link party. I’ve pinned and shared.
Thanks!
This looks like a fun craft to try. And I do have the bottles.
Yay! Have fun with it!
I love the clear wine bottle, it is amazing!
Thanks for sharing on Friday Features this week!
Thanks!
I had no idea how these were made. I have one of my own that’s a spoon rest that I like. I liked your post so much that you’re my choice for Featured Blogger at this week’s Over the Moon Link Party. Stop by sometime between Sunday evening and Thursday evening to grab your Featured Blogger badge and to share your posts with us. Congratulations!!!
Thanks so much!
This is awesome. I didn’t know you could do this. Thank you for sharing at Dishing it and Digging it link party.
Thanks! Yes, they are so interesting to see how each one turns out.
These are so cool! Nice to see a change from the usual wood and marble trays. Thanks for sharing at the #HomeMattersParty
Thanks!
This is so fun!! Thanks for sharing
Thanks!
Thanks for sharing at the Inspiration Spotlight party. Pinned & sharing.
Thanks!
This looks so cool. Please tell me how to do this? Do I need specific tools, ovens to do this?
Thanks! If you just read the post, all of the info. you need to know how to do this is in the post. Enjoy!