• Home
  • Contact
  • Privacy Policy & Disclosures
  • Nav Social Menu

    • Email
    • Instagram
    • Pinterest
    • YouTube

Real Creative Real Organized

Creativity and Organization for Mom Life

  • Crafts
  • DIY
  • Organization
  • Travel
  • Mom Life
  • Holidays & Special Days
    • New Year’s
    • Valentine’s Day
    • Mother’s Day
    • Easter
    • Father’s Day
    • Fourth of July
    • Halloween
    • Thanksgiving
    • Christmas
    • Seasons
      • Spring
      • Summer
      • Fall
      • Winter
    • Olympics
    • Birthdays
  • Shop
Home » Crafts » How to Make Cute Halloween Pillows

How to Make Cute Halloween Pillows

September 30, 2019 by KC Coake Leave a Comment

Share away! 😍

  • WhatsApp
  • Email
  • Facebook

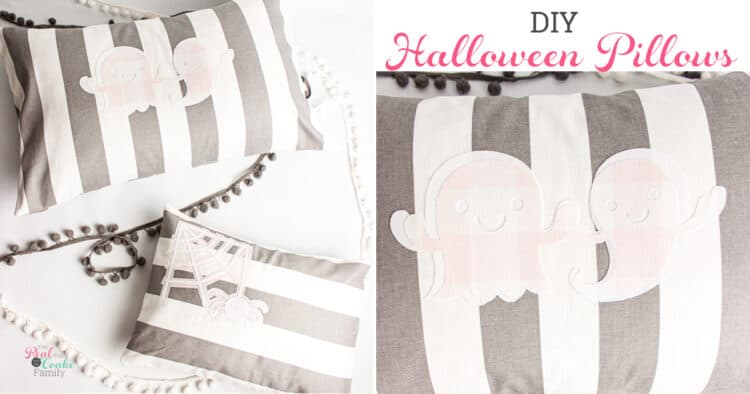
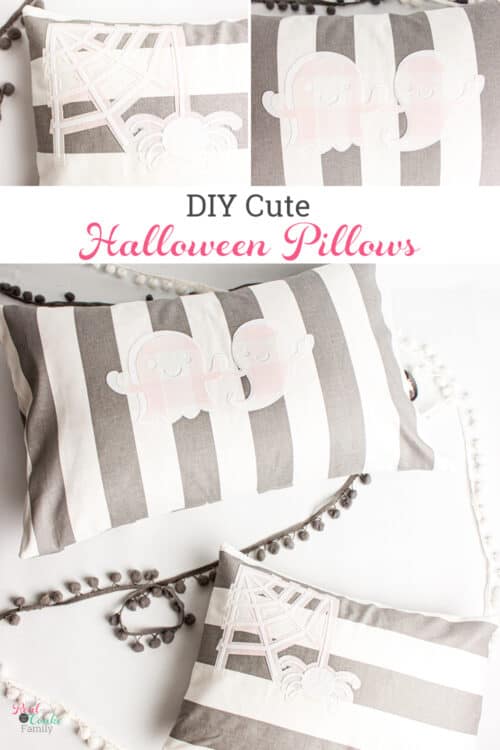
Oh, I can’t wait to show you these adorable Halloween Pillows!

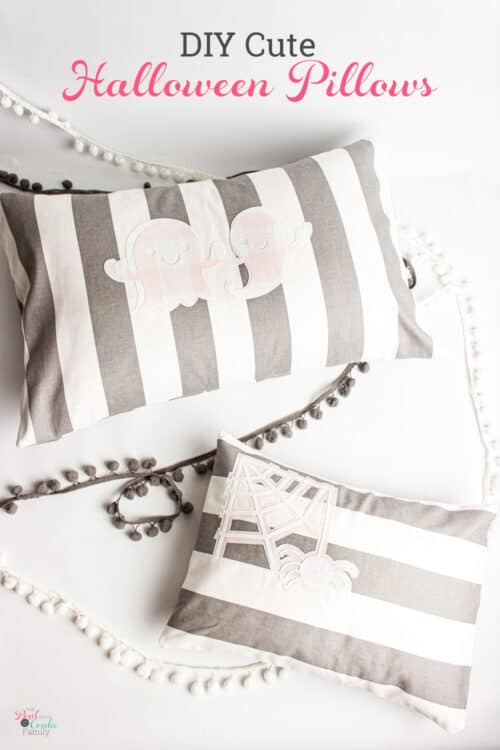
grey, white and pink halloween pillows

I’d been thinking of what I wanted to make or craft for Halloween this year and hadn’t come up with any ideas. 

Then inspiration hit! I have a little grey and white pumpkin pillow that I bought at the Target dollar spot last year. It looks perfect in my living room, and I thought, “Why not make cute pillows for the couch that are the colors of my living room?” I’ve been looking for cute pink pillows forever to add more pink to my living room and haven’t found any I love. This seems like the perfect way to add some holiday fun and some pink. Yay!

As always, I’ve got the step by step tutorial for you with estimated times so you can fit some Halloween craft fun into your busy mom life!

If you’re struggling to find time to have some fun mom craft time, you’re going to love the organization I show you in the Real Organized Mom class. Using what I show in that class, I’ve reduced my mom stress from extreme levels to mild levels. It feels so much better! I know it’ll work for you, too. 

Halloween Pillows

Supplies:

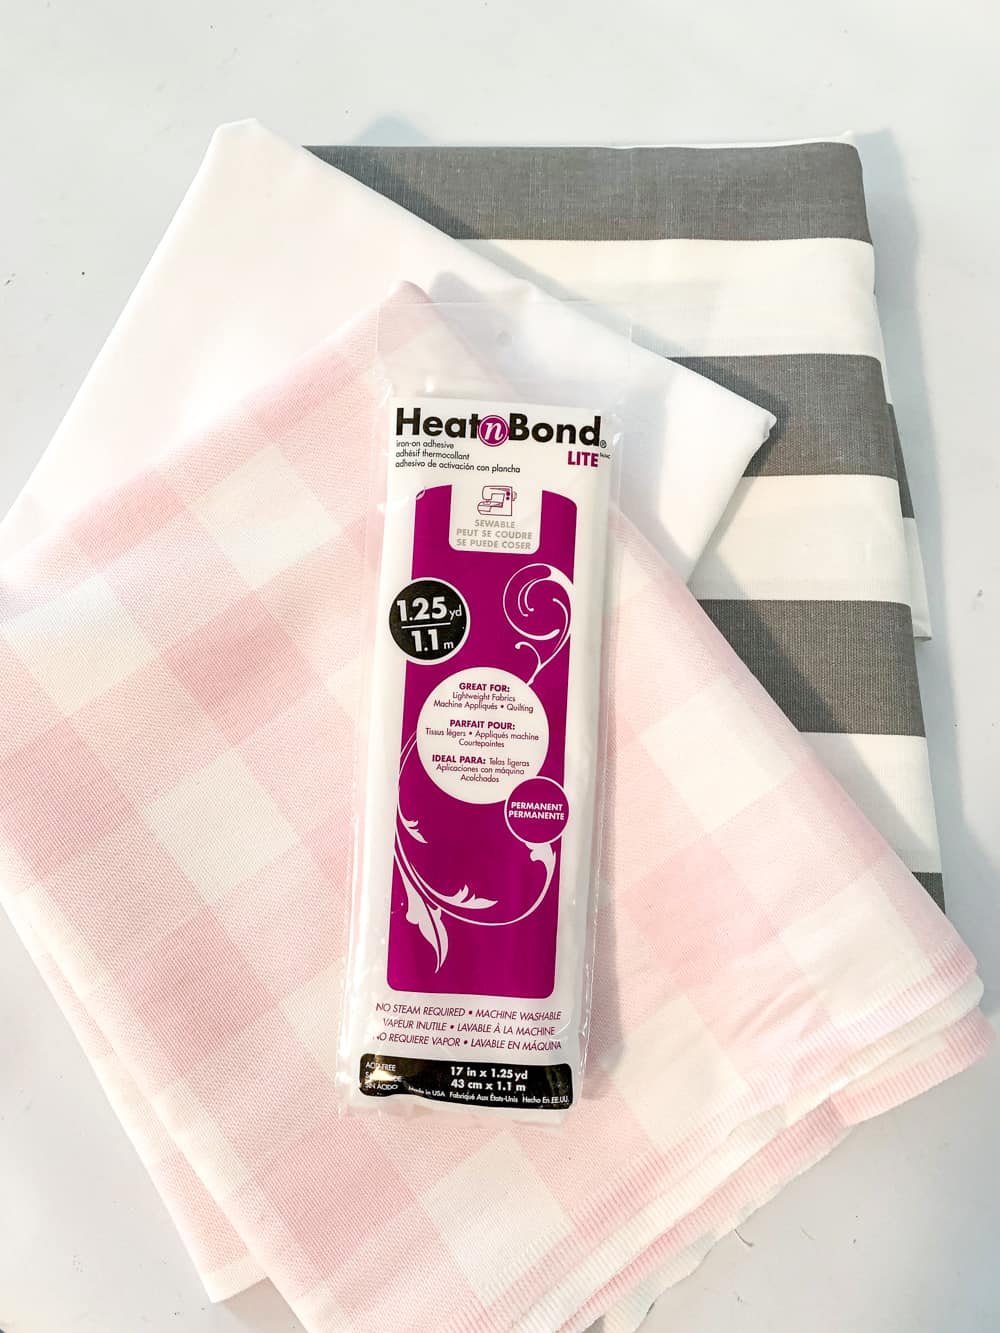
  • Fabric – 3 coordinating fabrics
  • Scissors
  • Cutting wheel and mat(optional) – affiliate link
  • Heat n Bond Lite(affiliate link)
  • Iron (affiliate link)
  • Cricut(affiliate link)
  • Pins
  • Sewing machine(affiliate link)

pile of fabric with heat n' bond

Before we get started, at the bottom of this post, you’ll find a printable version of these directions. It has checkboxes for each step so you can remember where you left off when you get interrupted while working on these Halloween pillows. 

Step 1: Design your applique

TIME: 5 – 15 minutes

You may not even need the 5-15 minutes to design your applique because I have the Cricut cut files for you at the bottom of this post. Use them if you like the appliques I used. I spent $2.97 to get the designs I used in Cricut Design Space that are in the file. If you don’t already own them, you’ll need to buy them as well. 

I’ve got some design tips for you in the video you can hit play on at the top of this post (it may already be playing on the left or bottom of your screen).

Step 2: Cut fabric & Heat n Bond

TIME: 15-20 minutes
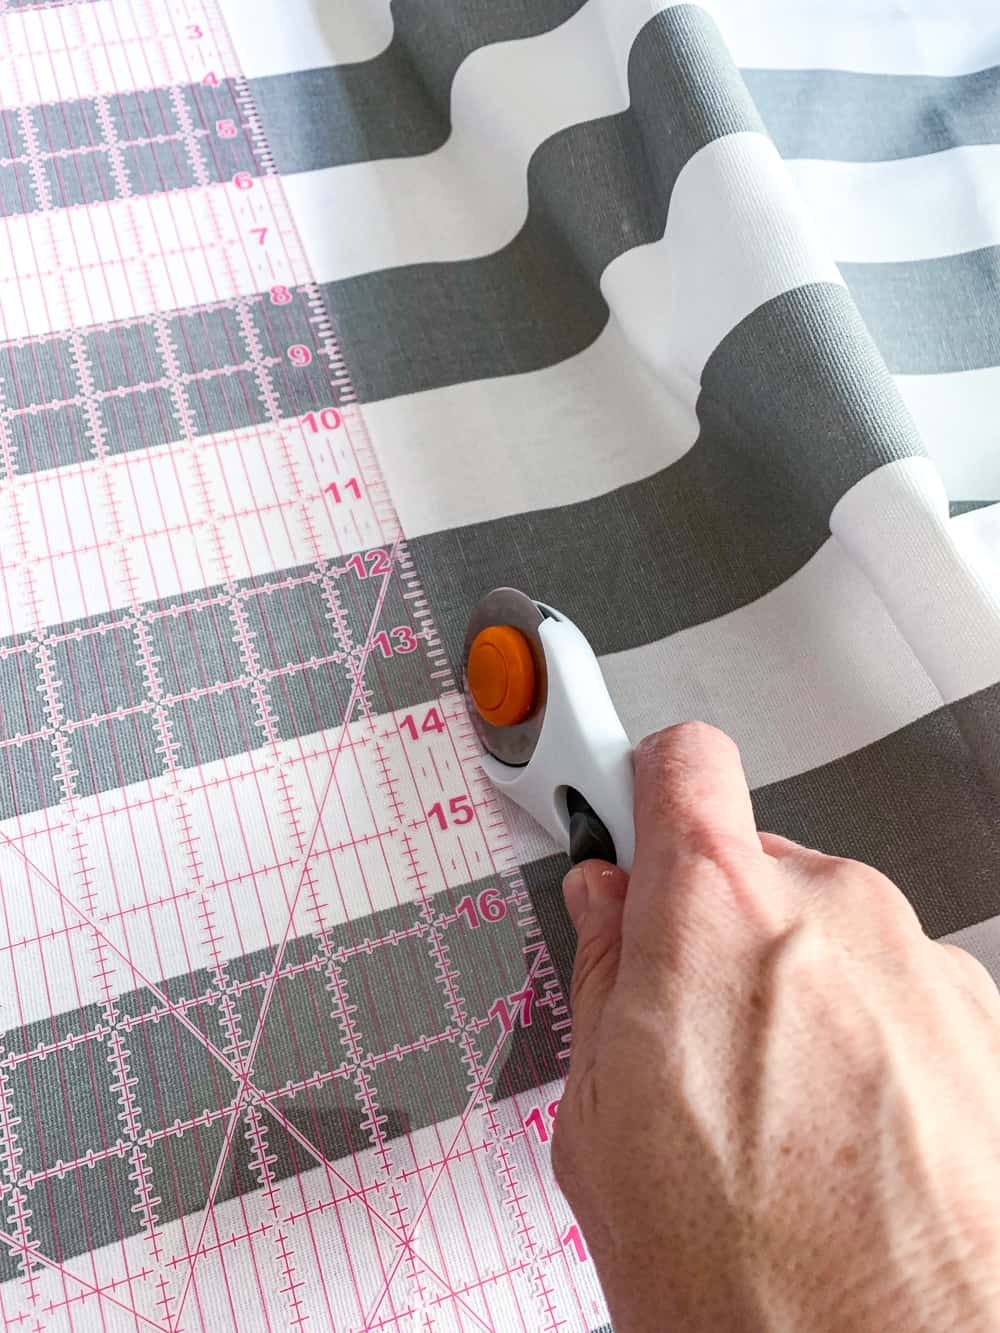
cutting grey and white striped fabric

I had you design your applique first because then you can take a look at the cuts the Cricut wants to make and cut all your fabric at one time. 
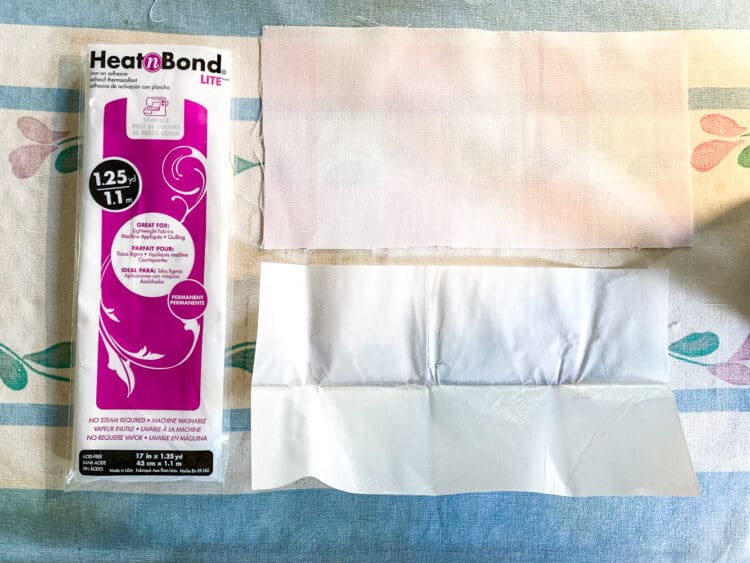
fabric cut to size with heat n bond cut to size

Cut fabric both the size you need for the Cricut to cut the appliques as well as the fabric for making your pillow covers. Then cut Heat n Bond the size you need for the appliques

I have a full tutorial on how to make the simple envelope style pillows here if you need more details. 

Step 3: Iron Heat N Bond

TIME: 5 minutes
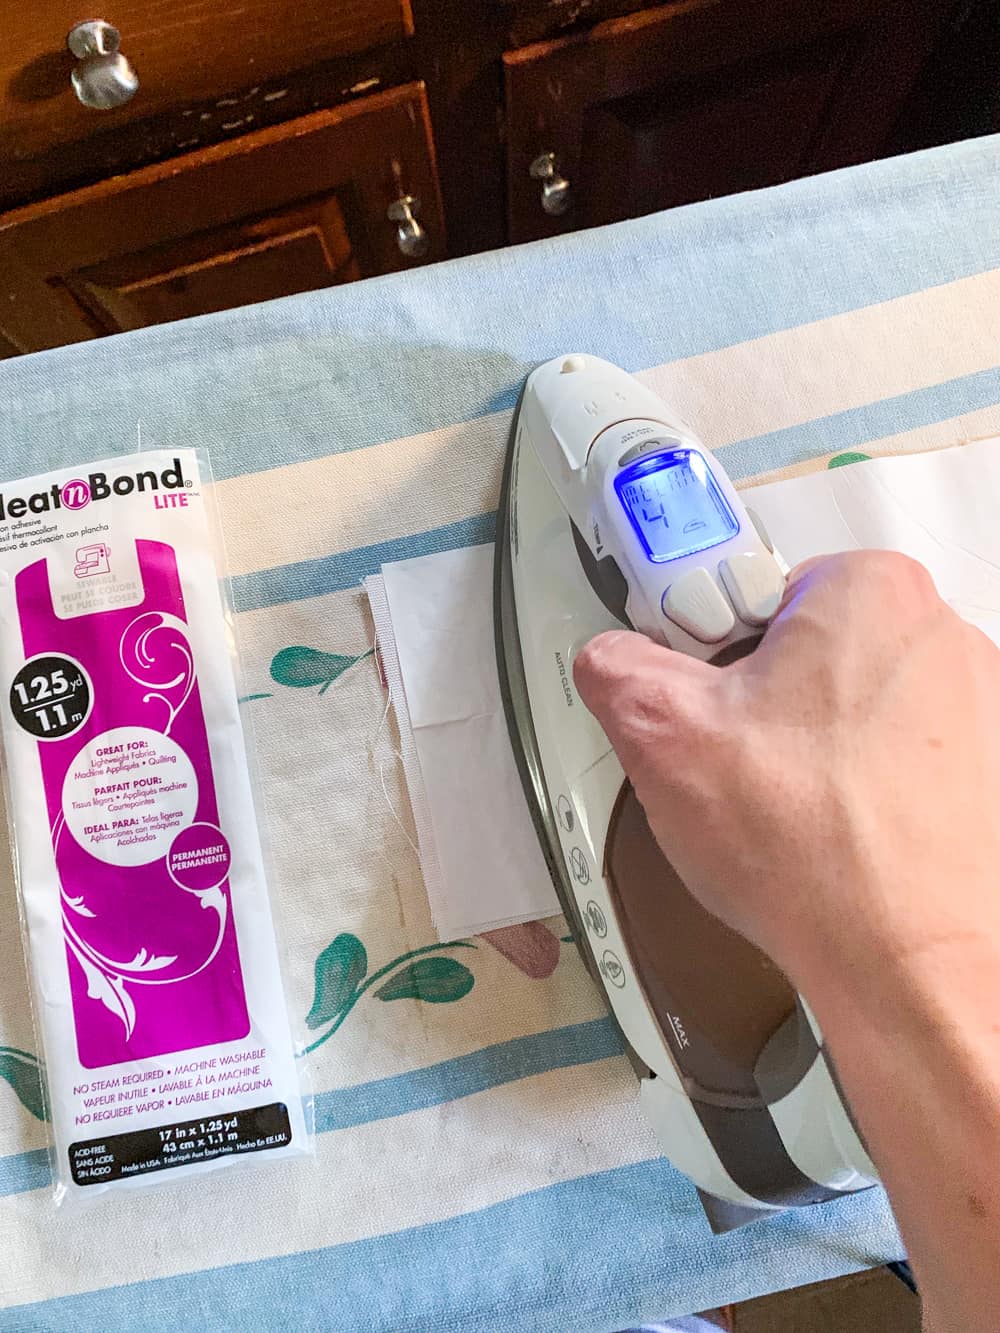
 

ironing heat n bond to fabric

The hardest part of this step is getting out the ironing board and iron… at least if your house is like mine. ? 

You’ll want to put the plastic-y side of the Heat n Bond to the back or wrong side of your fabric. You’ll place the iron on the paper side of the Heat n Bond and follow the directions on the package for how long you need to heat things up. 

Step 4: Cut applique

TIME: 10 – 15 minutes
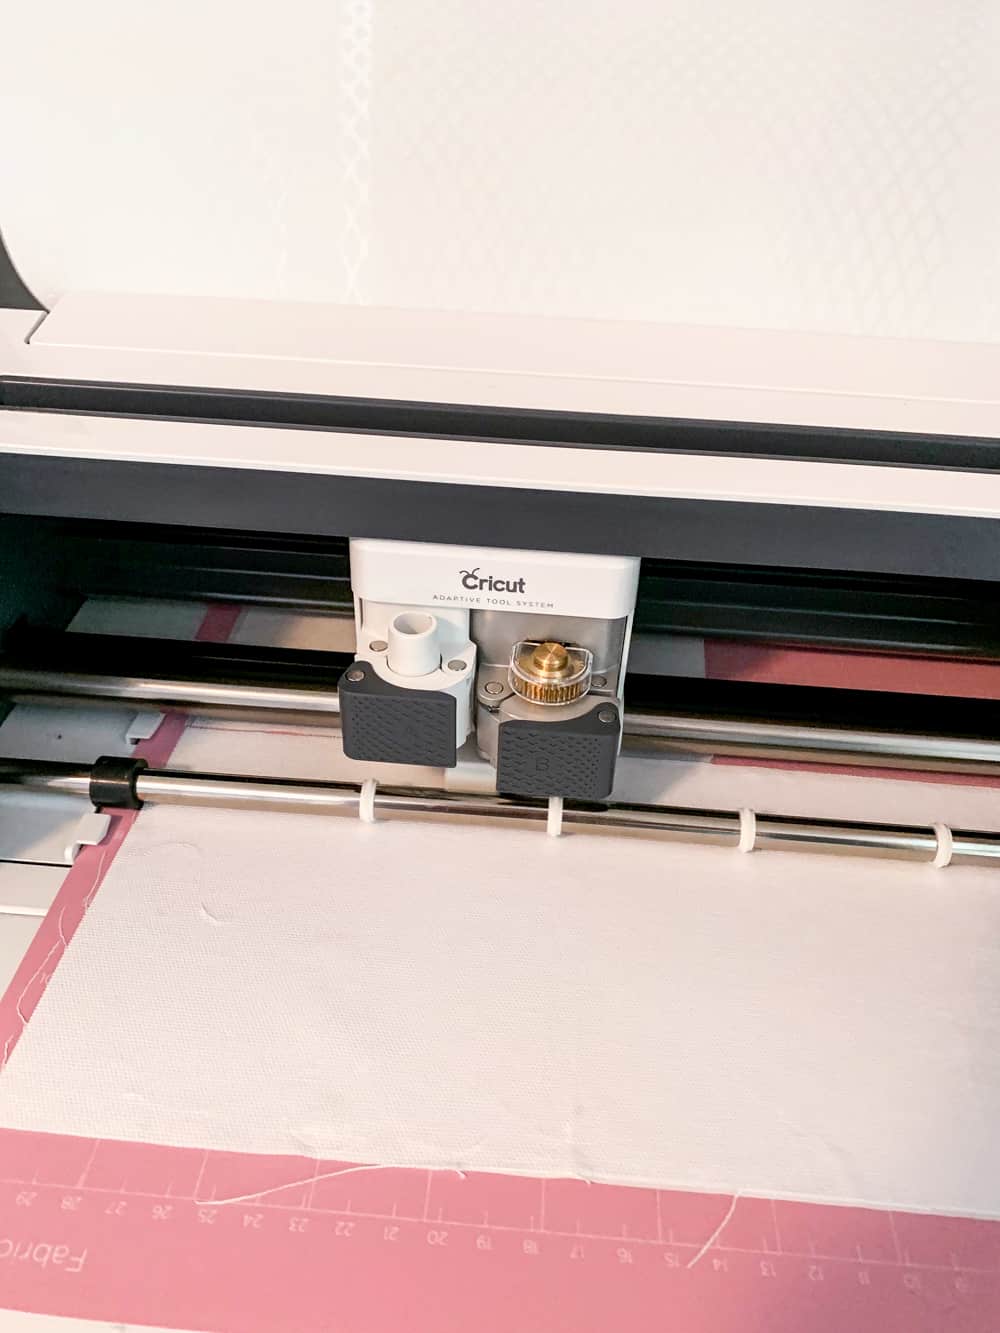
cutting fabric with Cricut machine

Now you’ll let the Cricut(affiliate link) do the work for you and let it cut out your design. 

I have a whole post on cutting fabric with the Cricut. The new Cricut maker makes it super easy, but if you have an older Cricut, you can still cut fabric. Just take a look at that post.

I wish I’d looked at my own post before I’d done this step. I forgot to remove the paper backing, and the paper stuck so badly to the fabric mat. Ugh! Then I still banged my head on the wall again and thought I try the Light Grip mat instead. It worked so much better, but still, I had to peel paper from the mat. If only, I’d read my own post and removed that paper backing I’d have made my life so much easier last week!

Step 5: Iron 1/2″ seam into back panels

TIME: 5 minutes
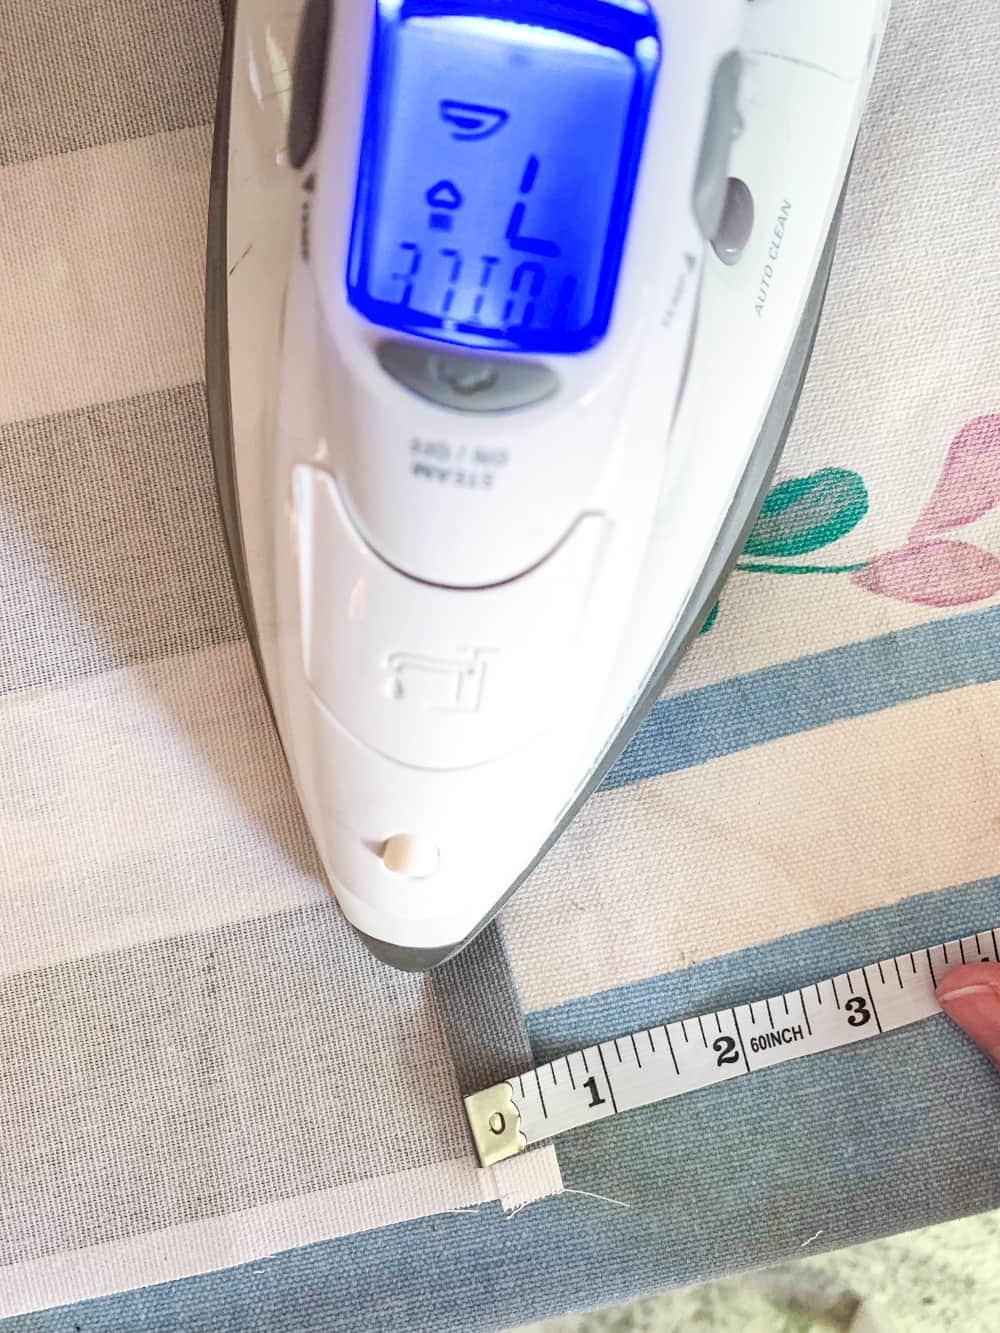
iron 1/2" seam into back panel

If you read the post about how to make these envelope pillows, this will make more sense, but you’ll want to iron a 1/2″ seam into one side of your each of your back panels. 

TIP: If you have patterned fabric, try to match up the patterns as you determine which panel will go on which side of the back of your pillow.

Step 6: Iron applique

TIME: 10 minutes
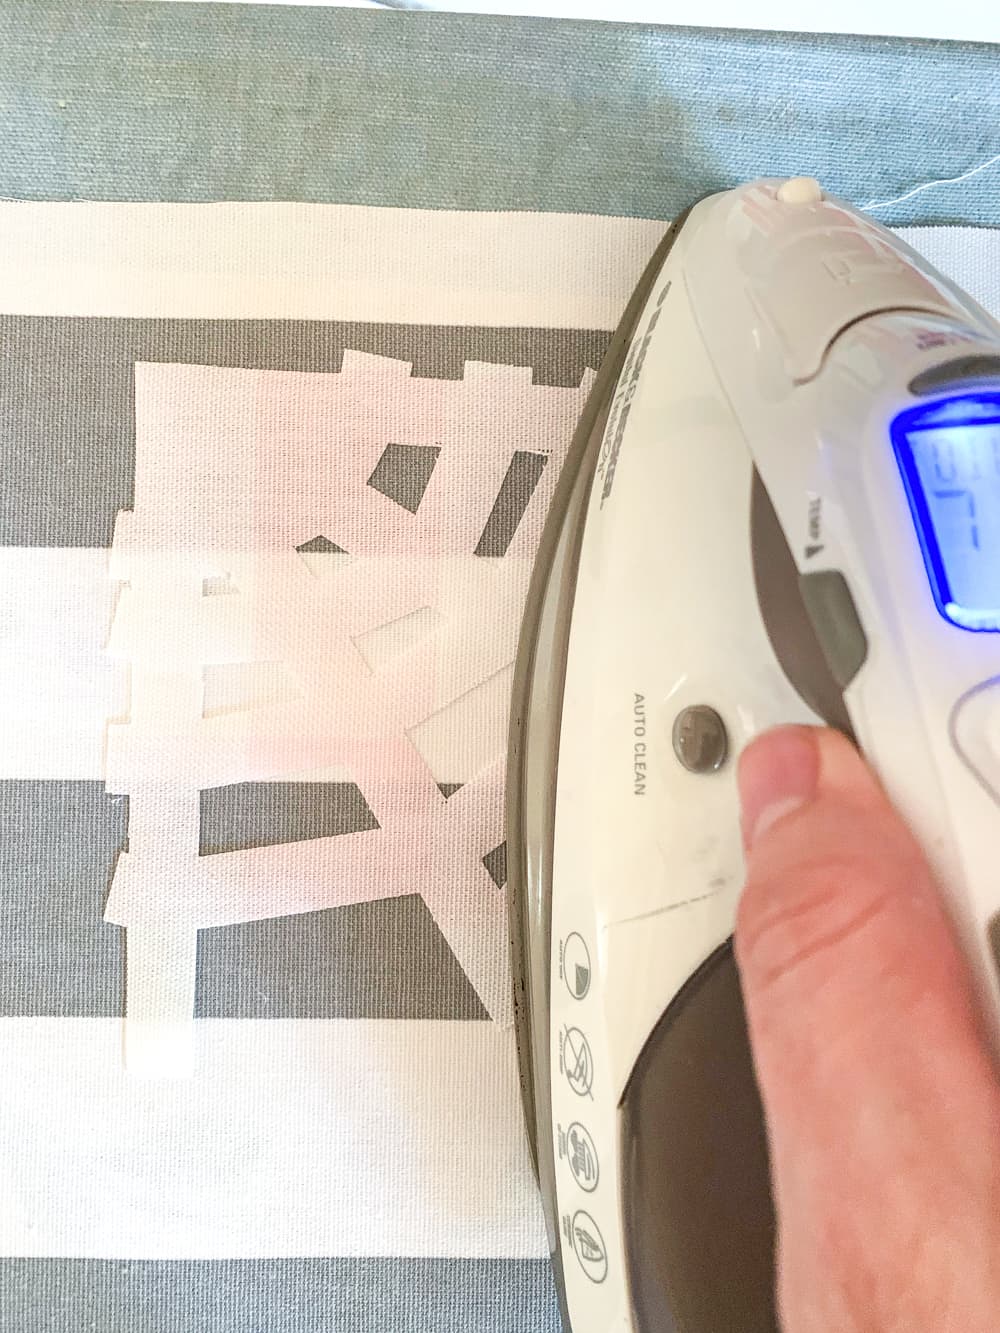
ironing on applique

While you have your iron hot, you’ll want to get the front panel of your pillow and iron on your applique. 
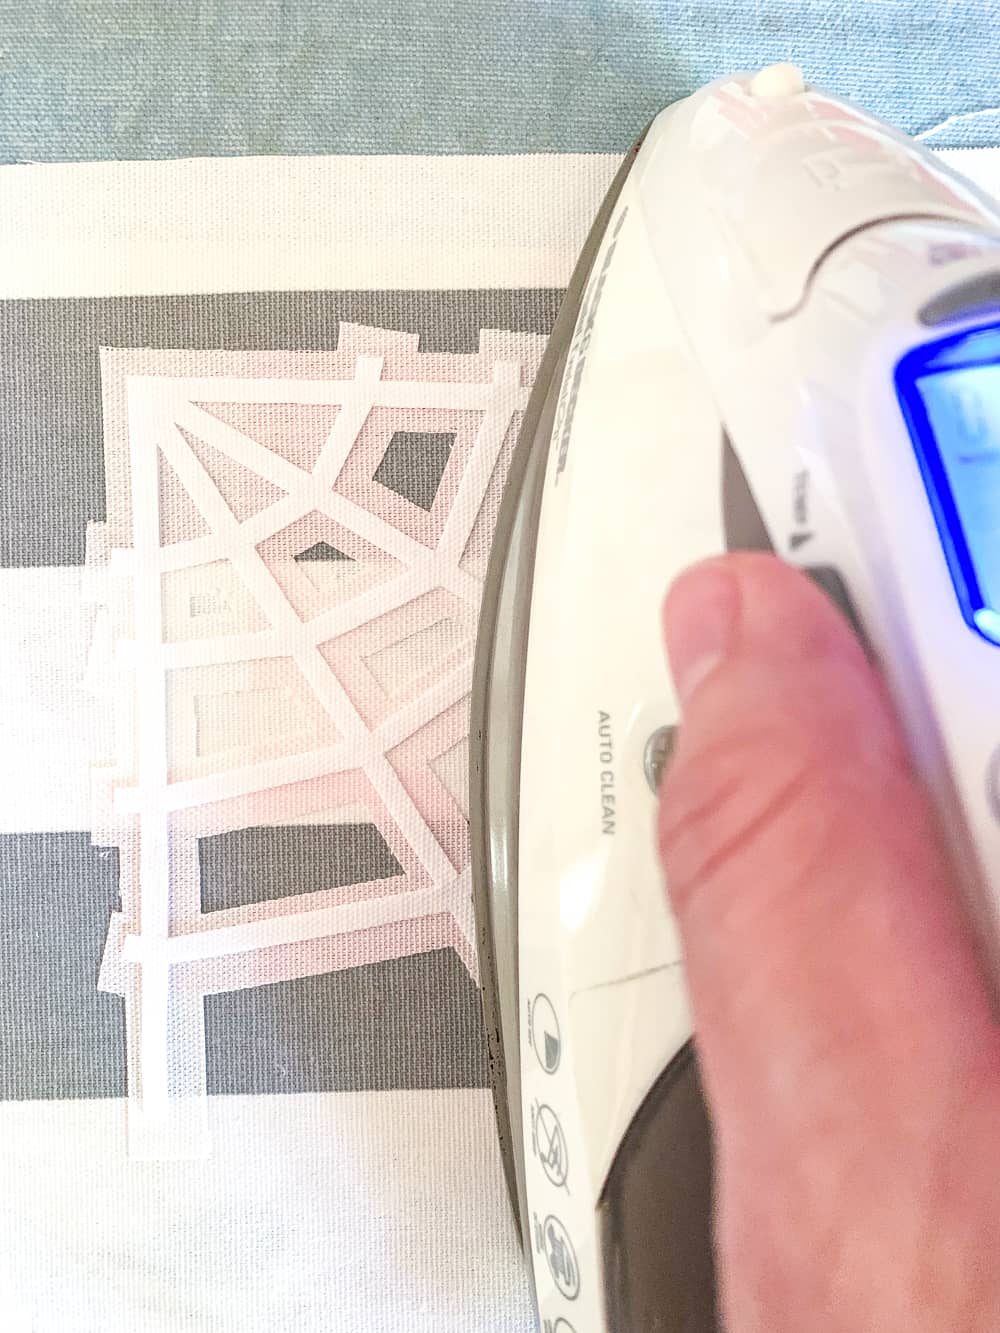
ironing on second layer of applique

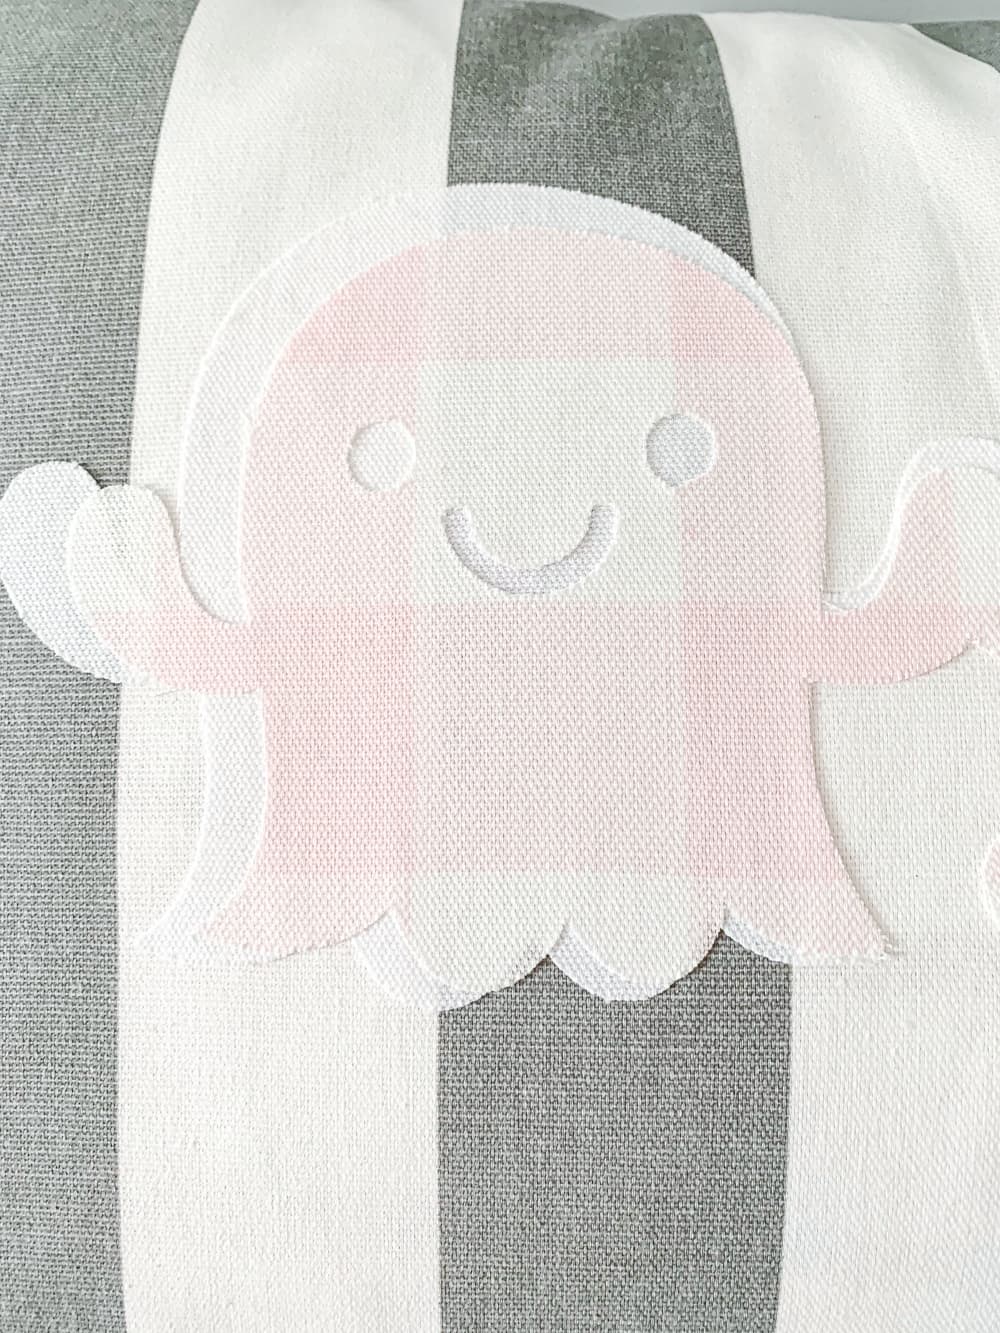
My pillows had double appliques, if yours do as well, iron the bottom piece first, then the top piece. 

I found that if you miss a piece and go back later to re-iron, the whole thing comes loose again, so try to get everything at one time. 

Step 7: Pin and sew back panels

TIME: 10 -15 minutes
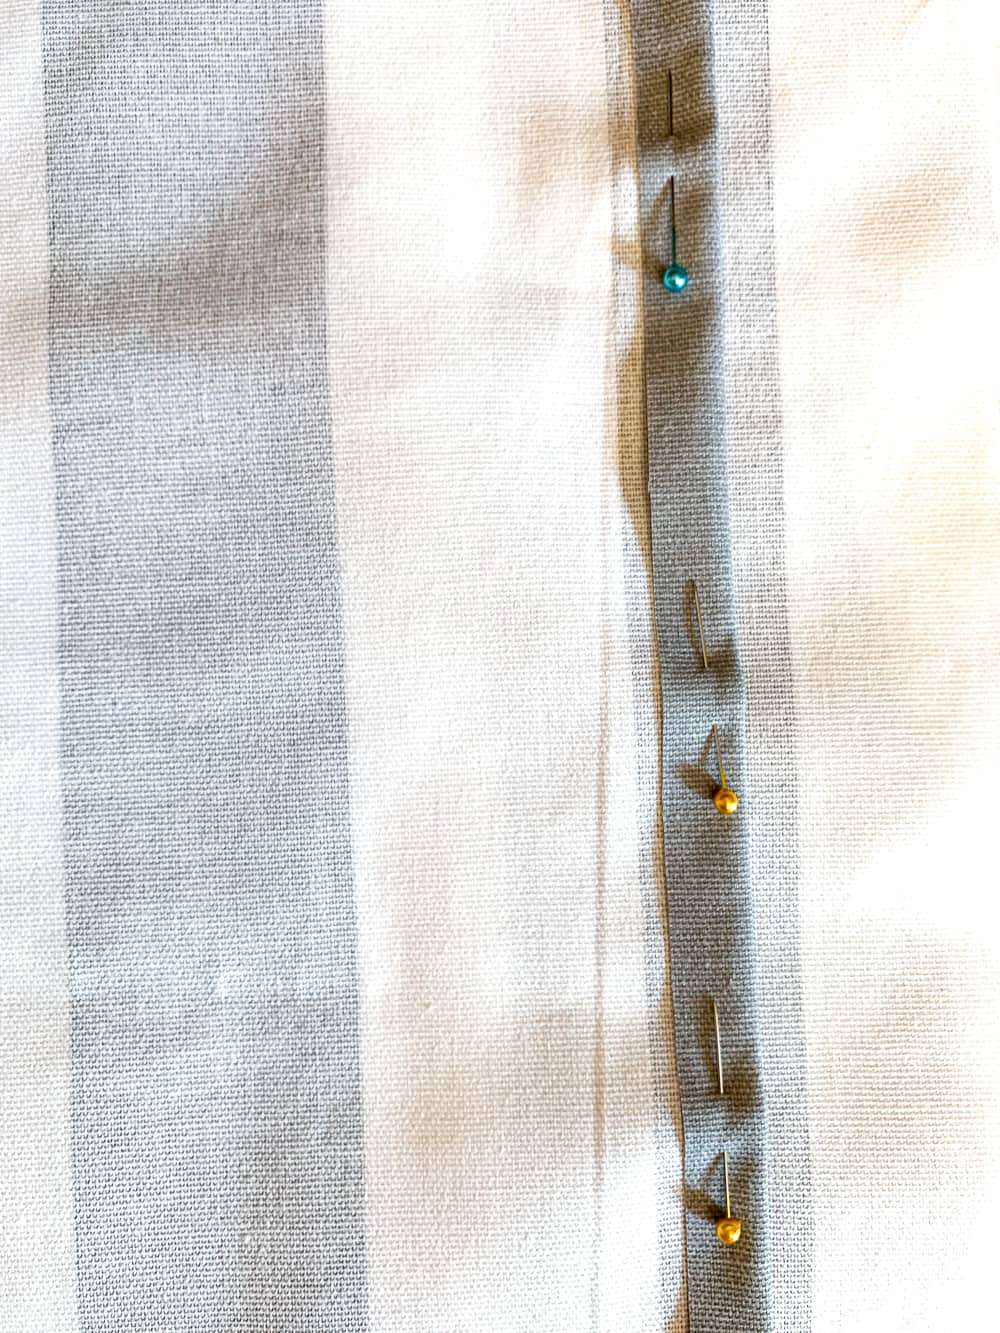
pins in fabric for 1/2" seam

Now the 1/2″ hem you ironed into both of your back panels needs to get sewn. 
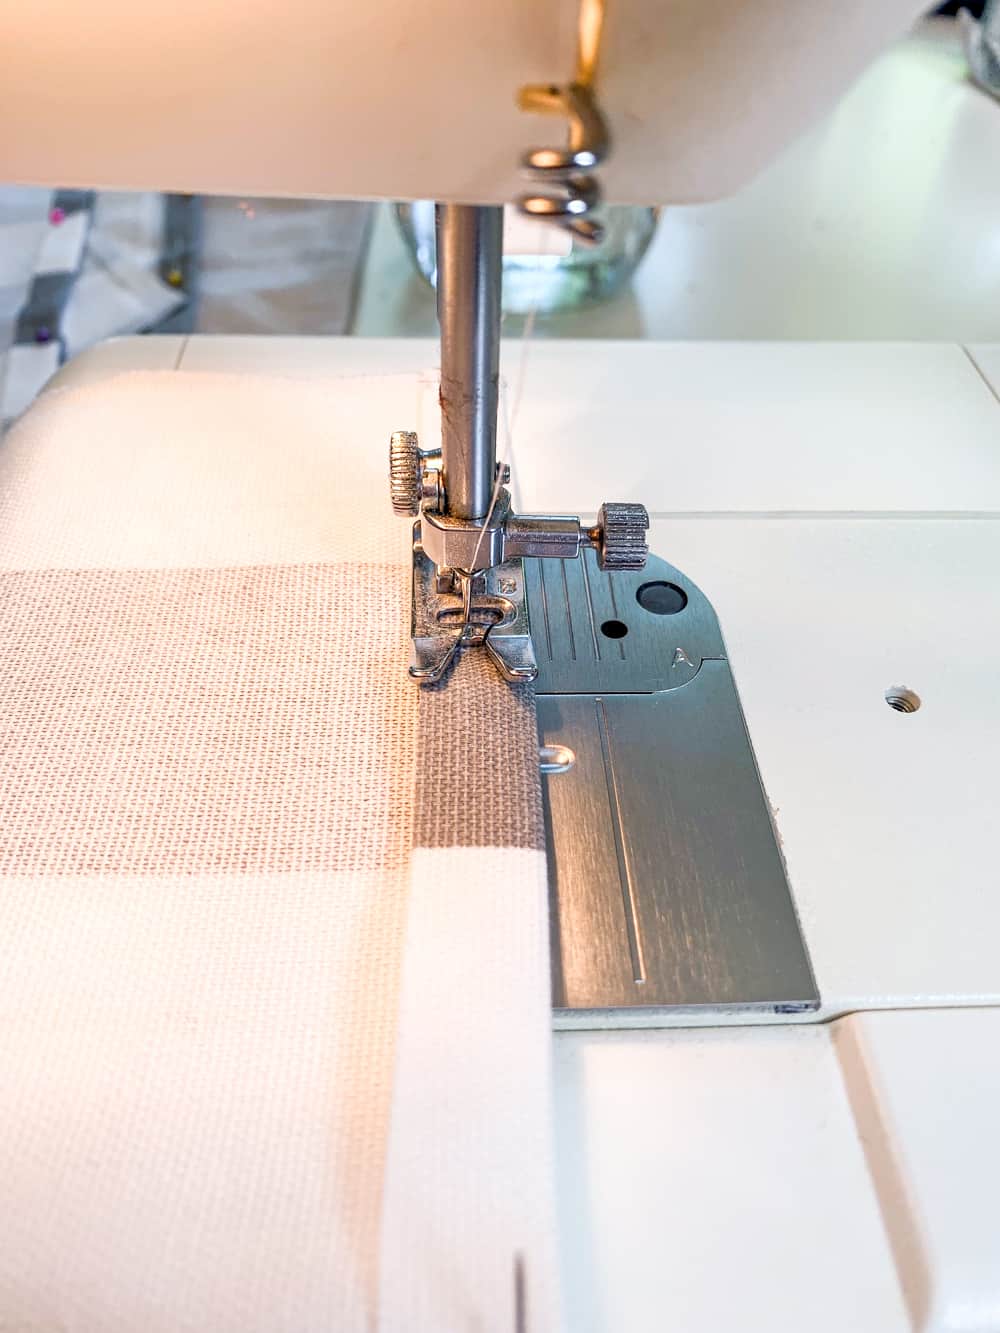
sewing machine sewing 1/2" seam

This is where you’ll shove the pillow into the cover, so you’ll want a sturdy hem here. 

Step 8: Pin panels together

TIME: 10 minutes
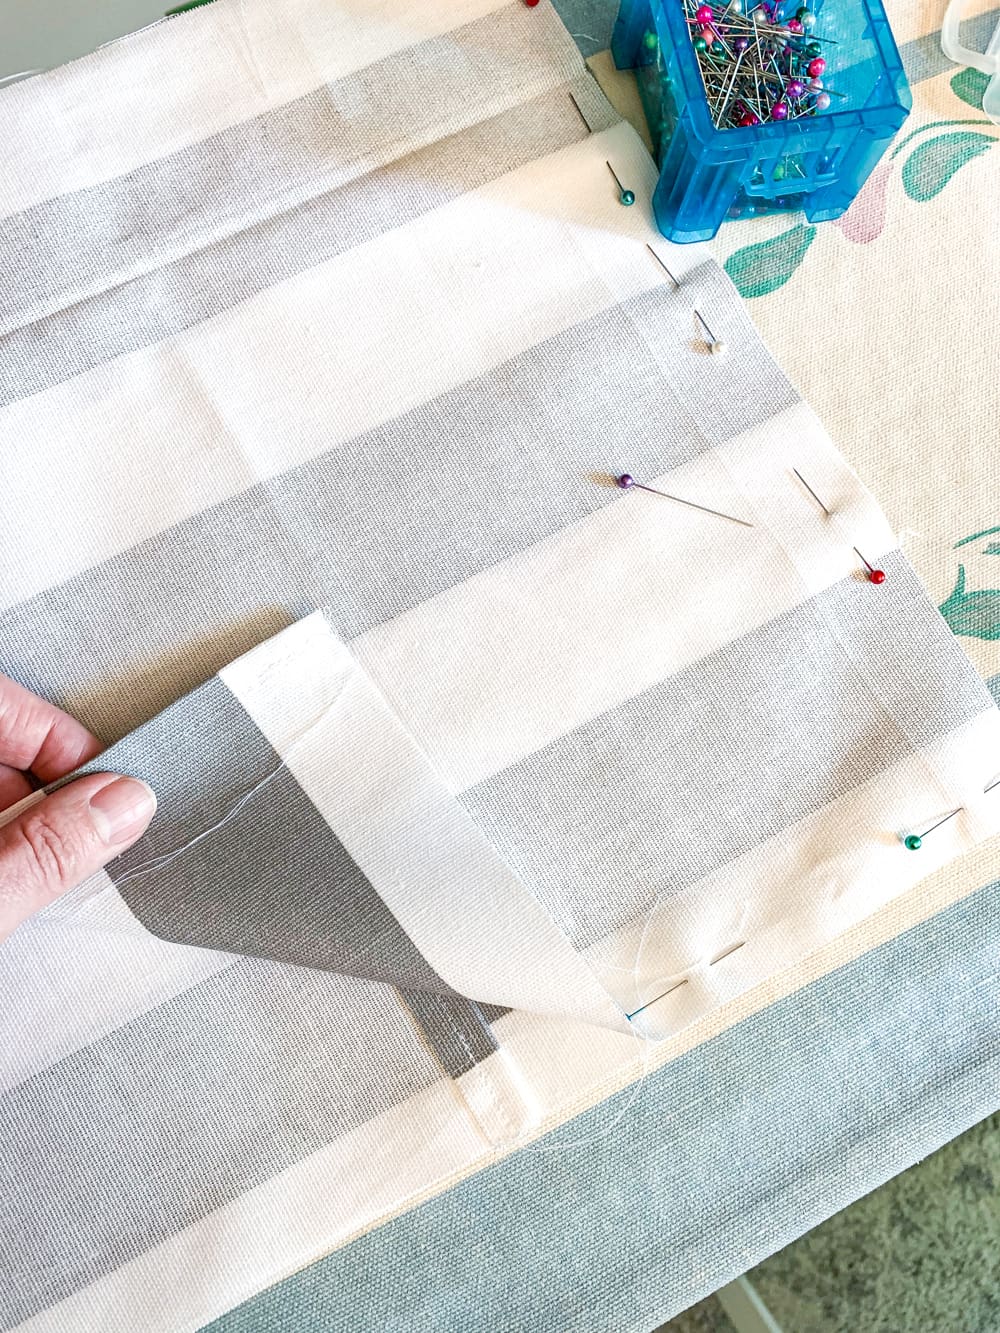
pins in fabric

Pin your panels together. Make sure the patterned or right sides are facing each other. 

You’ll want your back panels overlapping like the picture above. 
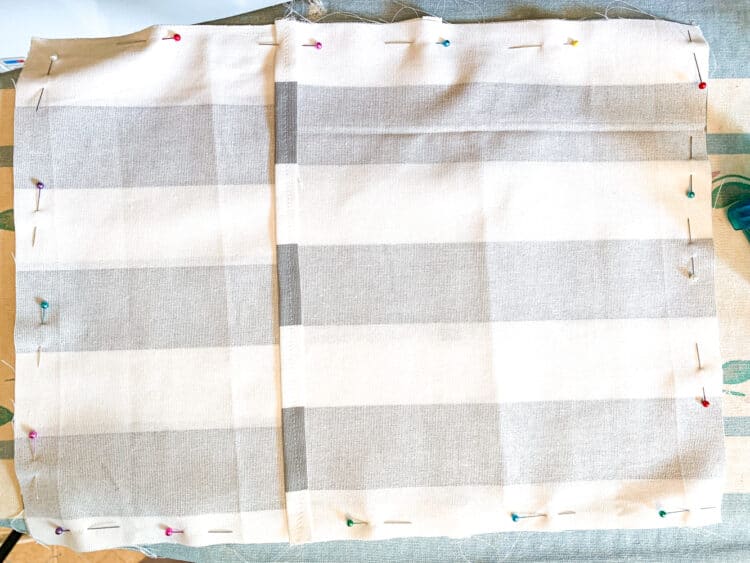
3 panels with pins pinning together for sewing

The pillow should look like this when you’re done pinning. 

Step 9: Sew

TIME: 10 minutes
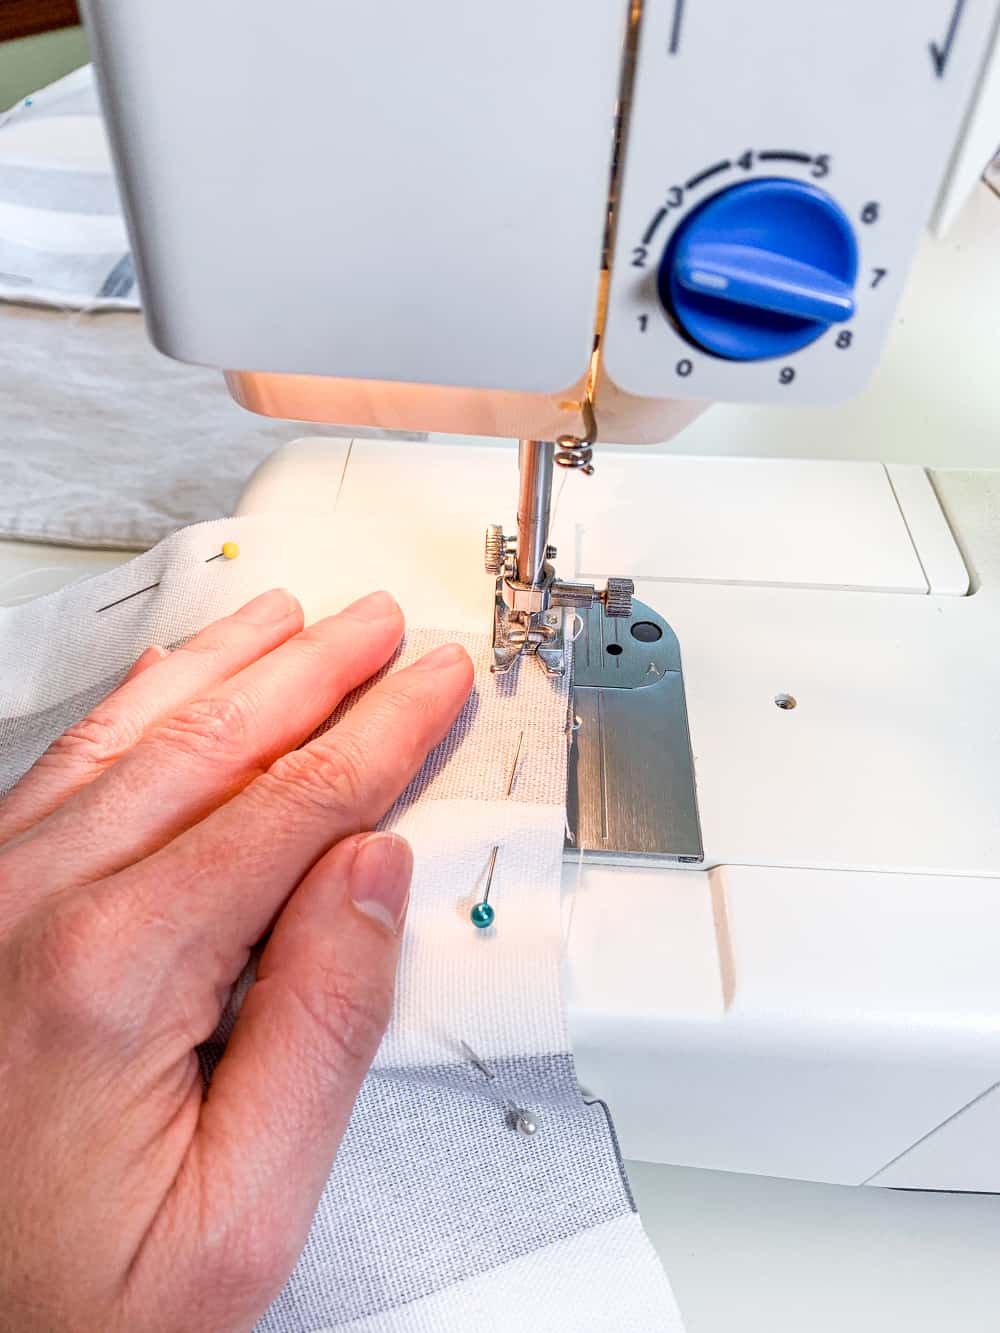
sewing machine sewing pillow

Sew a 1/2″ seam all the way around your pillows.

Backstitch over each point that the back panels overlap. That gives some extra strength in those spots that strain when you shove the pillow in. 

Step 10: Clip corners

TIME: 2 minutes
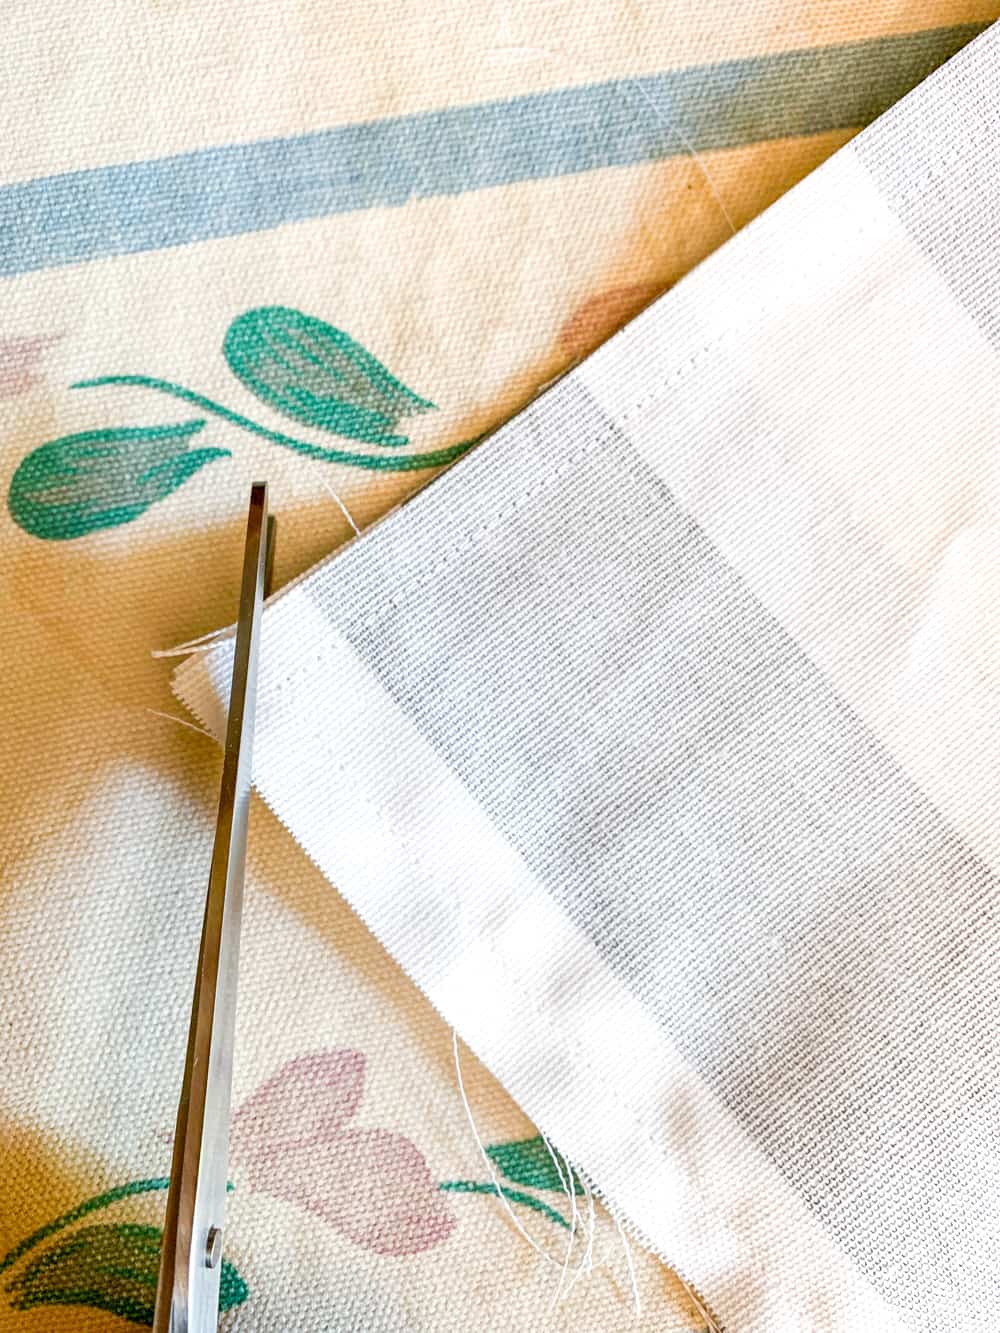
scissors clipping corner of fabric

Clip the corners of your pillows to cut some of the bulk in the corners. Be careful not to clip your seam.

Step 11: Iron seams

TIME: 10 minutes
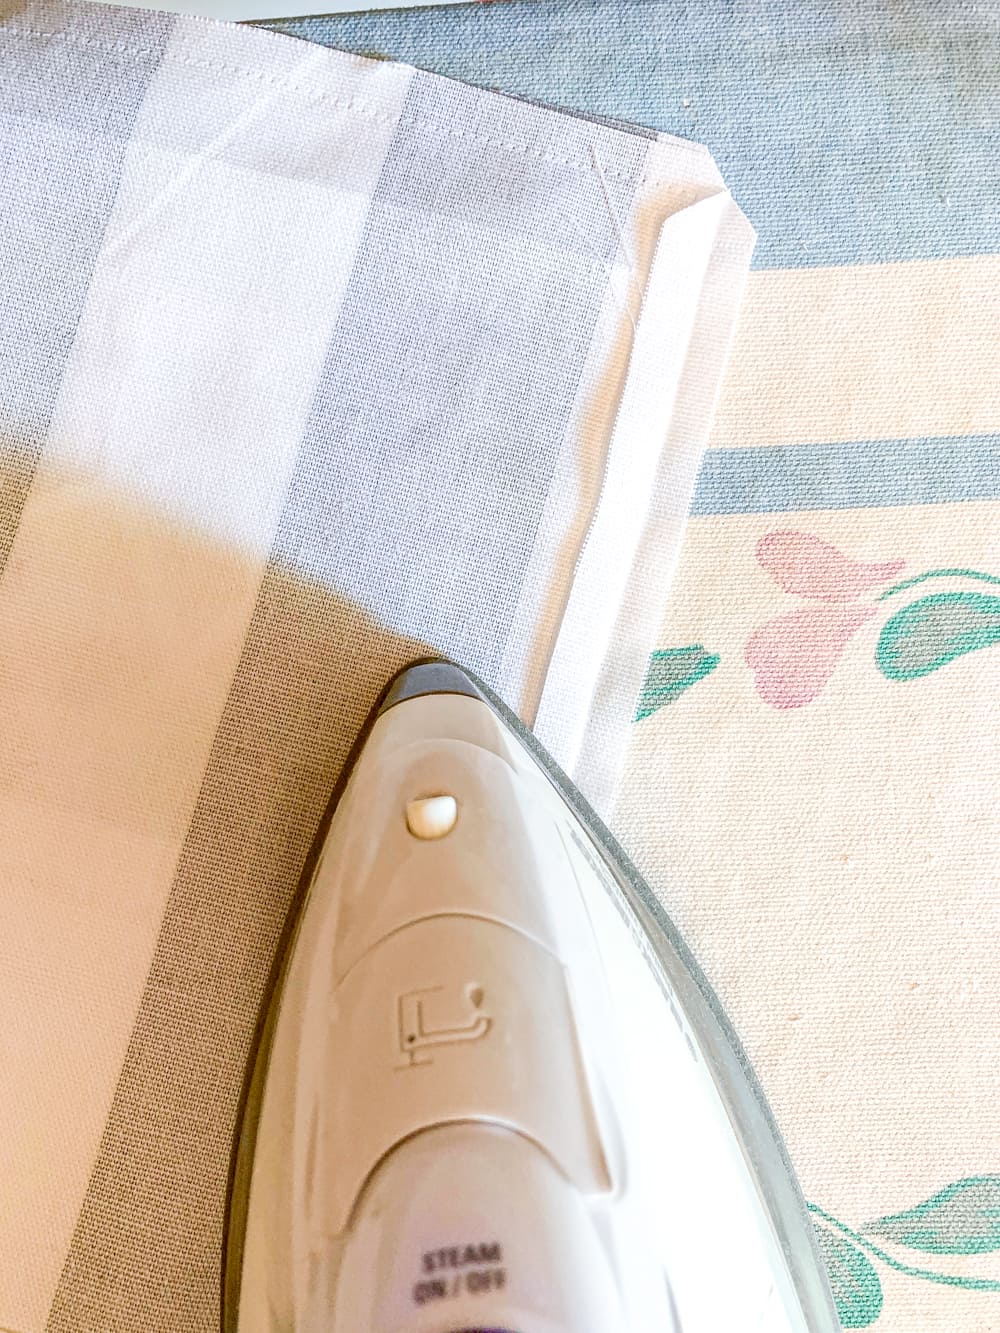
Iron shown pressing seam open

To get the pillow ready to turn, iron the seams open. 

I cheat by ironing one seam flat as you can see above. It makes it faster and still works fine, IMO.

Step 11: Turn and iron

TIME: 10 minutes
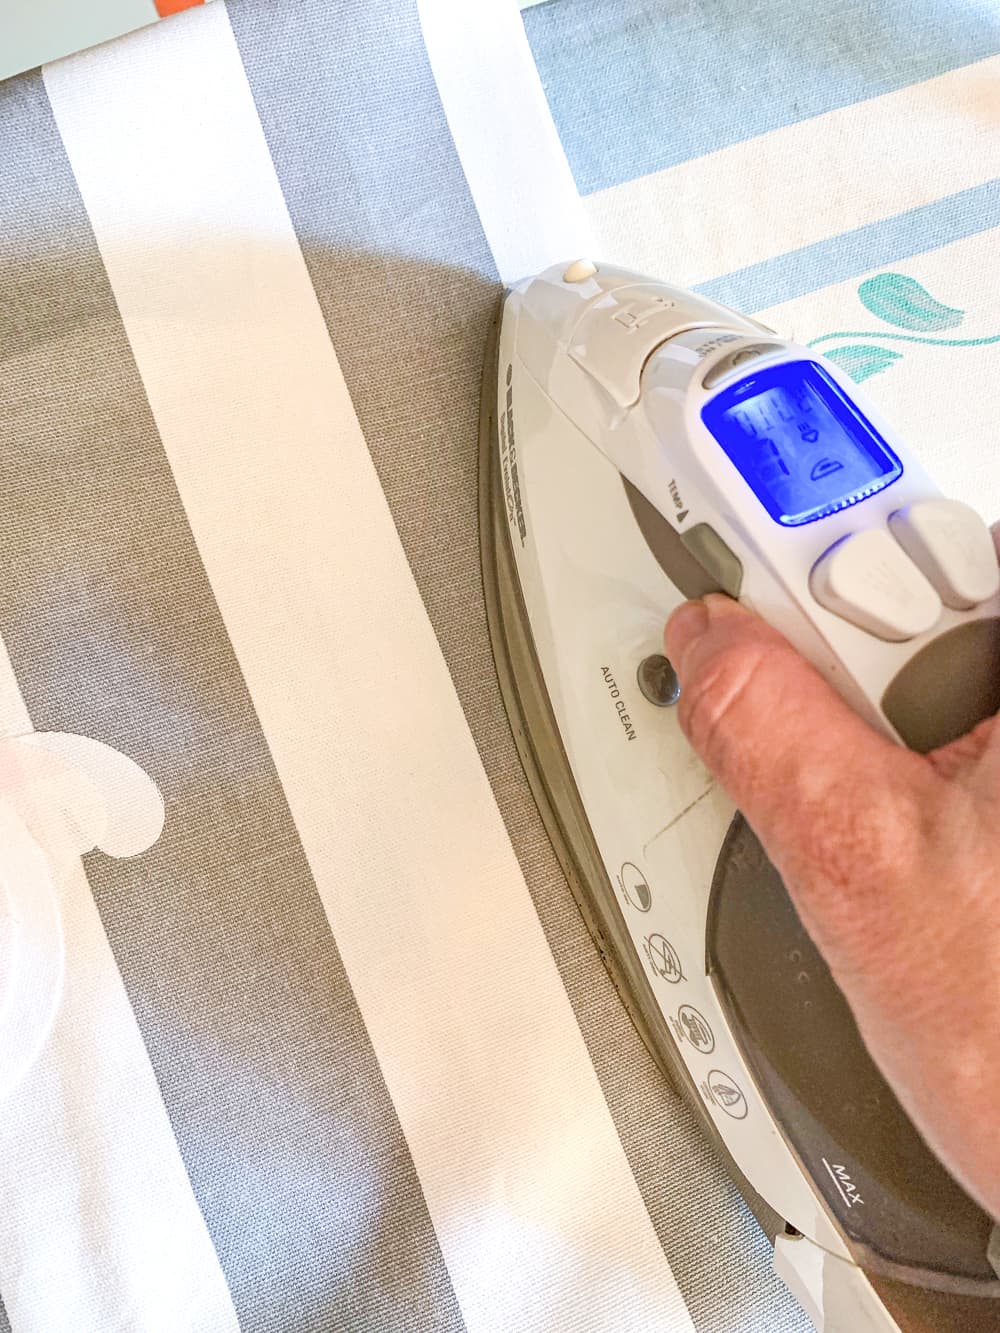
iron on pillow

Turn your Halloween pillows right side or decoration side out and iron being careful at the edges to iron the seams flat and not bunched or overlapping.

TIP: Use the tip of your scissors or the end of a pencil to get into the corners and get the bunch of fabric pressed out a little bit before you iron.
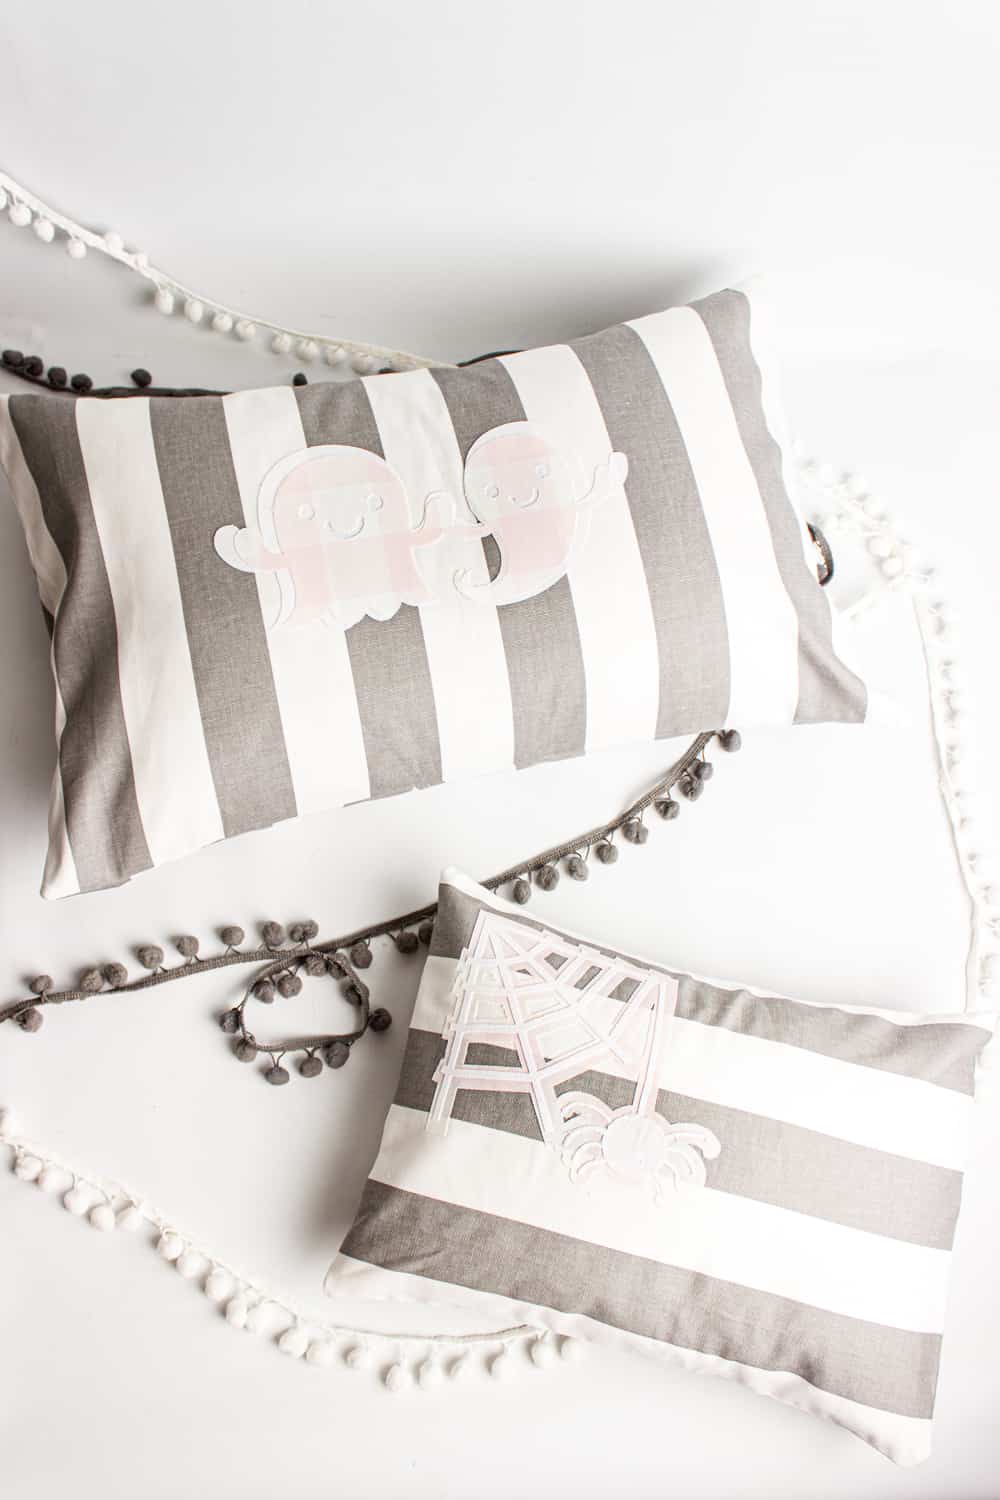
pink and grey halloween pillows

You’re done! And you have the cutest Halloween pillows on the block!
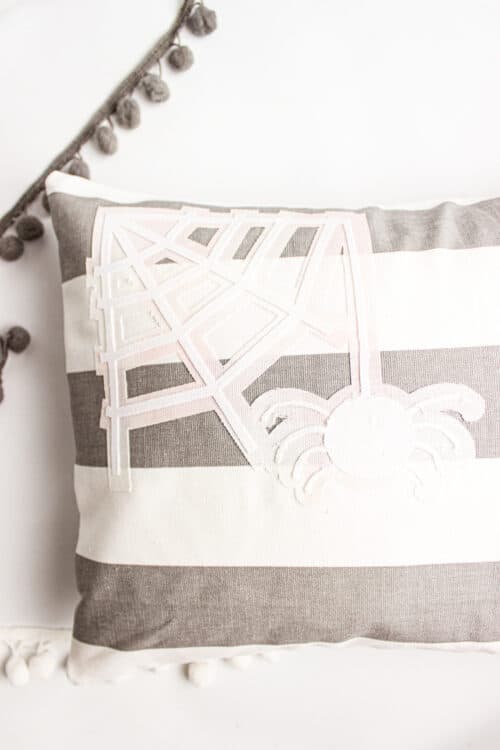
pink and white spider applique

I made 2 of these cute little spider pillows since I have 2 smaller pillows that I made from one bigger pillow years ago. 
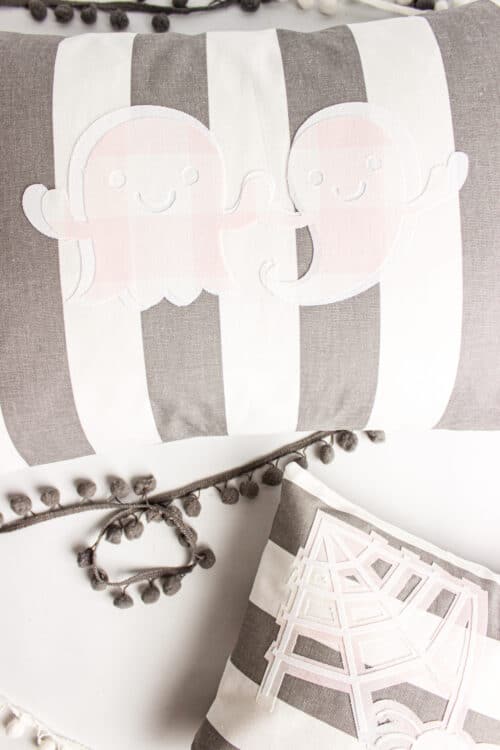
pink and white ghost applique

I like happy little decorations versus the scary stuff…I’m a wimp. Plus cheery little decorations make me smile and why not add some happiness to my house, right?
grey, pink and white halloween pillows

So far, I’ve only been able to chuck these Halloween pillows on the couch and can’t how cute they look because the kids have left stuff all over the couch. 
Soon, I’ll get the kids to clean up their crap and take a shot. I’ll share that on Instagram, so make sure to follow me there for more real life pics and fun. 
 

pink and white ghost applique

This little ghosty says…”See you in the next craft, sesh!”

Sign in below to get your printable checklist, and the Cricut cut files and don’t forget to tag me on Instagram or DM me pics of your pillows. I’d love to see them!

Click here for Cricut Cut Files

More to Enjoy! 😍

Recipe: Light & Fluffy Mashed Potatoes
Real Easy Rapunzel Banners/Pendants

Share away! 😍

  • WhatsApp
  • Email
  • Facebook

Hi! I'm KC. I'm a single mom of 2 girls who loves all things creative. Whether it's making something crafty or tackling that DIY project, I'm gonna have some fun and stay organized in the process. 😊 Read More…

Follow Me:

  • Email
  • Instagram
  • Pinterest
  • YouTube
Previous Post: « Fun Northeast Family Road Trip – Week 3
Next Post: How to Meal Plan Quickly & On Budget »

Reader Interactions

Leave a Reply Cancel reply

Your email address will not be published. Required fields are marked *

Primary Sidebar

Popular Posts

  • collage showing how to paint a stairwell The Inexpensive Way to Paint a Stairwell
  • Your How to Guide for Painting Stairs

Meet KC

Hi! I'm KC, Welcome to my blog!
Click here to Learn More About Me…

Free Member Program:

Let’s Be Social

  • Email
  • Instagram
  • Pinterest
  • YouTube

My Latest Insta Posts:

Best family tradition for the holidays. We been ma Best family tradition for the holidays. We been making these since I was 5 years old. Now making them with my kiddos. So fun! Recipe and directions at the link in my bio.  https://realcreativerealorganized.com/christmas-activities-gingerbread-house_19/  🎄 
#christmastradition  #RealCoake #RCRO #gingerbreadhouses #gingerbreadhouse
Happy Valentine's Day! I've been meaning to post t Happy Valentine's Day! I've been meaning to post the pic of my winter/valentine's day mantel since...well a while now. That's life sometimes, right? Hope you have a good weekend with some relaxation and that someone in your life shows you how much you mean to them, even if that means you show yourself the love. It still counts!⁣
PS. The tutorial on making the wreath is in the link in my bio.⁣
💖
Merry Christmas! 2020 sure has been a wild ride fo Merry Christmas! 2020 sure has been a wild ride for so many reasons. I'm sure you have your story just like I do and then there is the collective world story. I won't be sad to see it go, but for now, I'm just gonna sit in my living room enjoying my cute Christmas decorations and a glass of wine. Here's hoping you have a great holiday week. Stay Safe and Healthy. If you want a craft to get you through the long Covid winter, the link to the cute gingham canvas is in my bio. ⁣
🎄 ⁣
#RCRO #RealCoake #RealMoms #RealCrafts #Christmas #ChristmasCrafts #Christmas2020 #ChristmasMantle #ChristmasMantel ⁣
#christmasdecor #HomeDecor #ThatsDarling #PursuePretty #ABMAtHome #BHGhome #MyHouseBeautiful #HappyHouseDreams #ElleDecor #ApartmentTherapy #CraftyMom #CreativeLifeHappyLife #becreative #colorfullycrafted #abmcrafty #bhgcelebrate #diyblogger
If you decorate for Christmas, are your decoration If you decorate for Christmas, are your decorations traditional colors or other colors? I love walking into my living room and seeing all the cute Christmas decorations! I ❤ my non-traditional colors and pom poms!! 😍 You can make that cute little gingerbread house out of a birdhouse. All the details are at the link in my bio.⁣
🎄
2020 being what it is, I set up a sanitizing stat 2020 being what it is, I set up a  sanitizing station by our back door. It involved an easy DIY and some cute printables. Do you have an organized sanitizing station at your house? 😍 You can see it all on my blog via the link in my bio. ⁣
😷 ⁣
#RCRO #Organizing ⁣
#organized #organize #organizer #organization #covid-19
Do you decorate for the seasons? My pom pom wreath Do you decorate for the seasons? My pom pom wreath is my favorite thing to add when there isn't another season or holiday to decorate for. This was my mantel last spring. ⁣
Learn how to make a pom pom wreath at the link in my bio. ⁣
#RCRO #RealCrafts⁣
🧶
Who else is struggling to stay organized right now Who else is struggling to stay organized right now? It feels like there is so much less going on and it 'should' be easy, but I'm struggling to stay focused and organized. Thank goodness for my mom to do list to help keep me sort of on track and actually getting some stuff done. Snag yours at the link in my bio. #RCRO #RealOrganized #RealOrganizedMom⁣
📋
Who could use some fun about now? It's been a roug Who could use some fun about now? It's been a rough year for literally the world. As moms, I think we have taken a huge hit as well. The demands placed on us this year seem to have tripled. I think it's time to have a sucker - maybe made out of wine 😂 and plan something fun or maybe even just 5 minutes alone or without a kid needing us. 🤣 #5minutesformom #realmoms⁣
🍷 ⁣
#honestmotherhood #uniteinmotherhood ⁣
#motherhoodunplugged #momLife #StayHome #weareallinthistogether #ohheymama #our_everyday_moments

Copyright © 2022 · Sprinkle Pro Theme on Genesis Framework · WordPress · Log in

Posting....