I’m starting to think that maybe I should have named my blog The Cheapskate Blog rather than The Real Thing with the Coake Family because I feel like so much of what I write is about how I did things to save money.
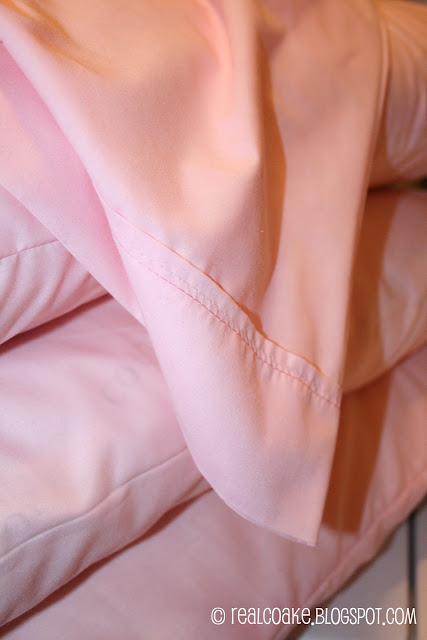
As I write this it is Snowflake’s 10th birthday(It will be published on another date). She is having her first slumber party next weekend. We found this great idea to use pillowcases and fabric markers and make a cute friends pillowcase at the party. The idea is that the girls would decorate their pillowcase then sign it and take home a momento from the party. I thought this sounded like a cute idea. Snowflake loved it. I bought the fabric markers with my 50% coupons at Michael’s last year when I thought I would be all efficient and get things done well before the holiday’s and before Snowflakes birthday. Of course, I got rid of the receipt, so I can’t return them now.
About a week or two ago, I started to panic realizing that I didn’t have the pillowcases AND that I can’t get them at Michael’s with a 50% off coupon AND that I had nil of a budget left to buy them. I paniced further when on a trip to Target I saw what pillowcases cost. Apparently, I just don’t pay attention to these things because I was shocked to see that the cheapest set of pillowcases were $10 and of course they went up from there. I tried a few more stores and found a set for $6 which I could have made work for my budget, but they weren’t in a color that met with Snowflake’s approval.
On an accidental trip to JoAnn’s, I hit gold. The store here is moving down the street. They are selling everything in their store at GREAT prices so they don’t have to move anything. I looked for a pattern for a pillowcase but as the pattern was $18 (I didn’t realize that all patterns were only $2 at that moment) and they didn’t have anymore of that particular pattern…I came up with plan C. I found this very nice older couple that seemed like they knew what they were doing. (The man had been helping Snowflake look for patterns…really nice people.) I asked them how I could make a pillowcase without a pattern. The man told me to use a pillowcase I already had and make my own pattern with newspaper. I gave them my idea for how I would make the ‘band’ at the top of the pillow. They said they thought it would work.
Off to the what was left of the fabric department to find some inexpensive fabric. I found a really cheap white fabric, but I thought it would be a bit too flimsy and Snowflake also really wanted pink. We found a pink fabric and with the 25% they were offering, I was able to get 4 yards for only $12. Which would work for my budget.
Next was my late night work to make the actual pillowcases with fingers crossed that this would actually work.
Here is what I did.
I used one of my ‘real’ pillowcases to make a ‘pattern’ using a piece of newspaper, which you can’t see very well here, but I traced it on this newspaper and added for seams.

After that I used a 45″ wide fabric folded in 1/2 length wise, just like it was on the bolt at the store.
I cut the fabric at 36″ or 37″.

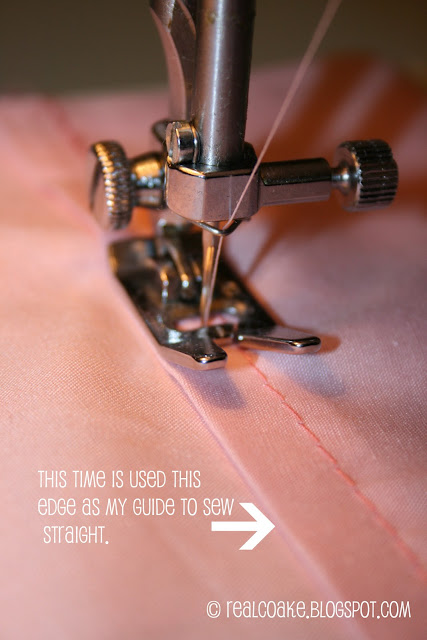
Iron or pin down a 5/8″ edge.
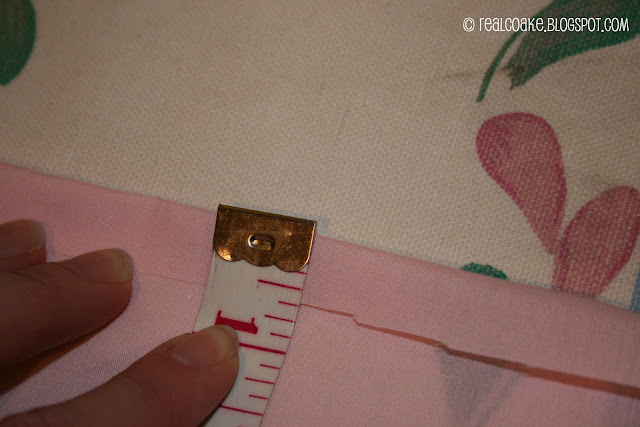
Now take that edge and fold it down with the seam you just sewed hidden or facing in. Iron or pin a 3″ fold and sew this.
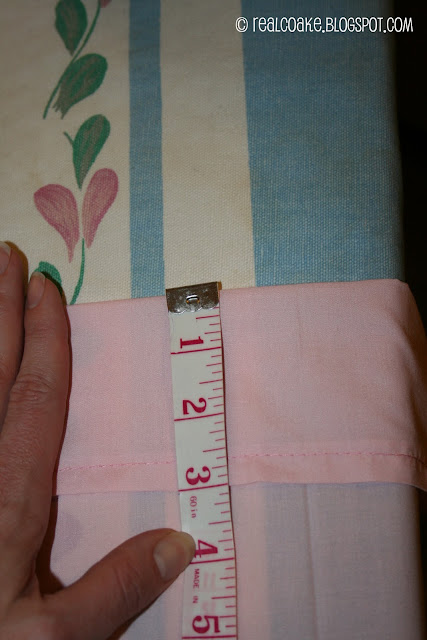
I used 2 different colors of pink because I was too lazy to wind a bobbin of the same color thought it would look cute. Even though I hadn’t really planned this 2 color thread thing, I think it added a cute touch.
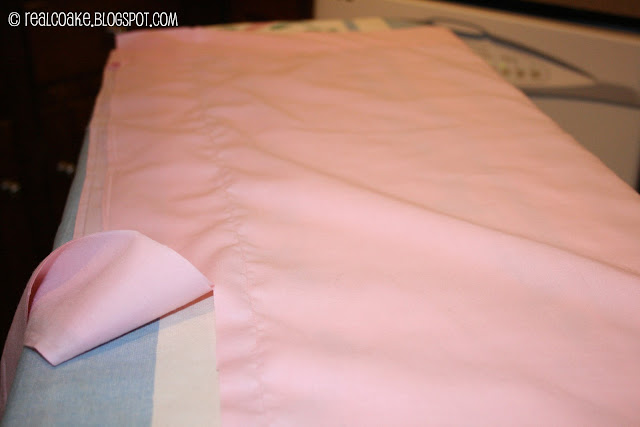
Lay the now completed top banding right sides together. Use a ‘real’ pillowcase as a guide and pin to show you where to sew. I added 1/2″ from the bottom to allow room for my seam and to make sure my pillowcase would not end up too small. Sew along this line. (There is probably some way more official way to do this, but this seemed the easiest to me.)

Turn the pillowcase right side out and voila! You have made yourself a pillowcase(or 4 in my case)!
Hopefully, your seams match up. If not, your pillowcase will still work just fine and probably no one will notice. 😉
This project took me about 2.5 hours from the ‘making of my own pattern.’ To being done making 4 pillowcases. Not bad!
Visit My Other Hello Kitty Slumber Party Posts:
Hello Kitty Slumber Party: Part 1
Hello Kitty Slumber Party: Part 2
Hello Kitty Slumber Party: Part 3



Leave a Reply