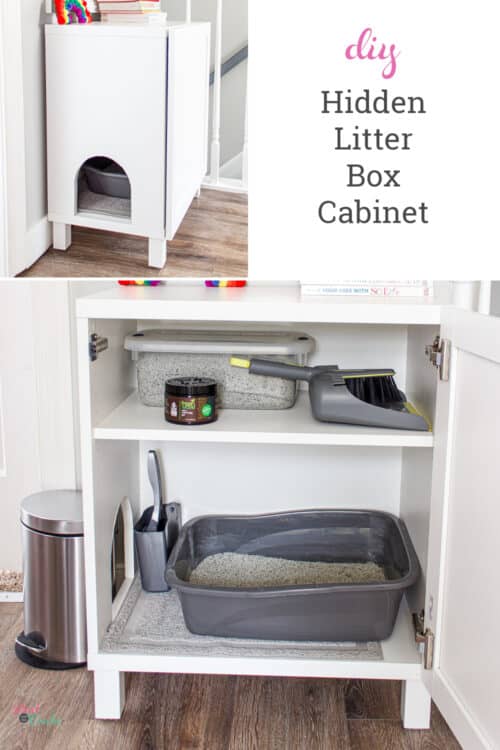
The story started last summer when my girls and I went on our Northeast road trip. My now ex-husband got rid of the decent looking cat box and bought a hideous looking litter box. It looked so awful sitting there in the hallway, but I couldn’t find anything else available in stores or on Amazon that I thought looked nice and would help keep the dog out.
As I worked on painting the stairs and hallway this year, I knew that to finish the hallway, I needed to find a way to make the litter box look better.
I did some searching on Pinterest and Amazon for furniture I could buy, but they were expensive, so I decided to make a DIY hidden litter box. My girls and I took a quick trip to IKEA before this school year started and found what we needed to make a litter box cabinet for the hallway.
DIY Hidden Litter Box:
Supplies:
- Besta Cabinet Base – mine measures 23 5/8 x 15 3/4 x 25 1/4
- Hanviken Door
- Besta door hardware
- Besta shelf
- Stubbarp legs (2 packages)
- Template for cutting opening
- Jigsaw
- Saw Horses (optional)
- Band-It Melamine Veneer Edging – 3/4″(affiliate link)
- Brayer (affiliate link)
- Iron or Cricut Mini Press(affiliate links)
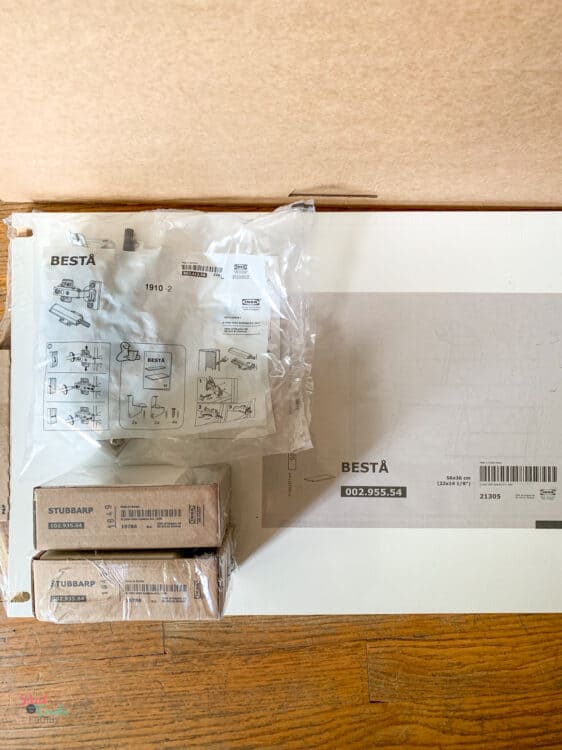
Step 1: Unbox Besta
TIME: 5 minutes
First up, you need to unbox your Besta cabinet and find the side panels.
The Besta cabinet side panels aren’t specific to one side or the other. So you can select either panel from the box.
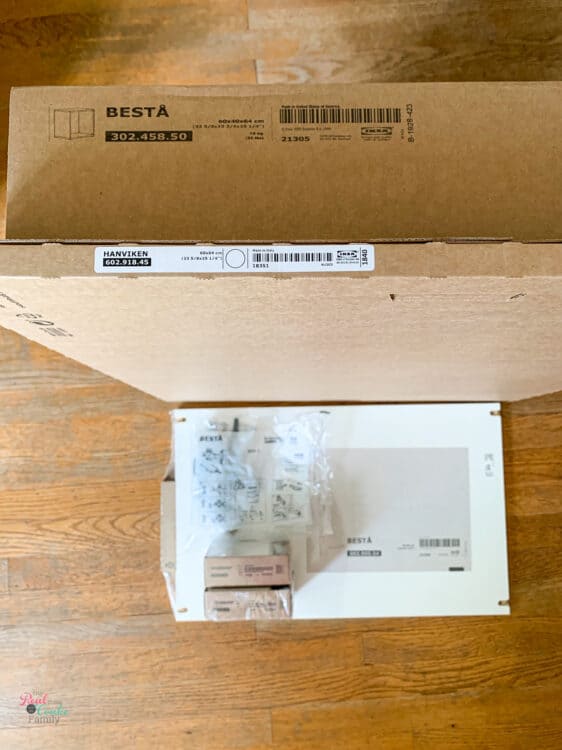
Step 2: Determine opening placement
TIME: 5 minutes
Now that you have your side panel, you need to think through which side of your cabinet, you want the opening for your cat.
In my case, the cabinet sits at the top of the stairs, and I knew that, the cat would get litter on the floor there. I faced the opening for my DIY hidden litter box away from the stairs. That way we don’t have to see the cat box while walking up the stairs, but also the cat litter doesn’t end up sprinkled on the stairs.
Once you’ve determined which side you want your opening, figure out which end of the panel will be the bottom.
Step 3: Trace opening pattern
TIME: 2 minutes
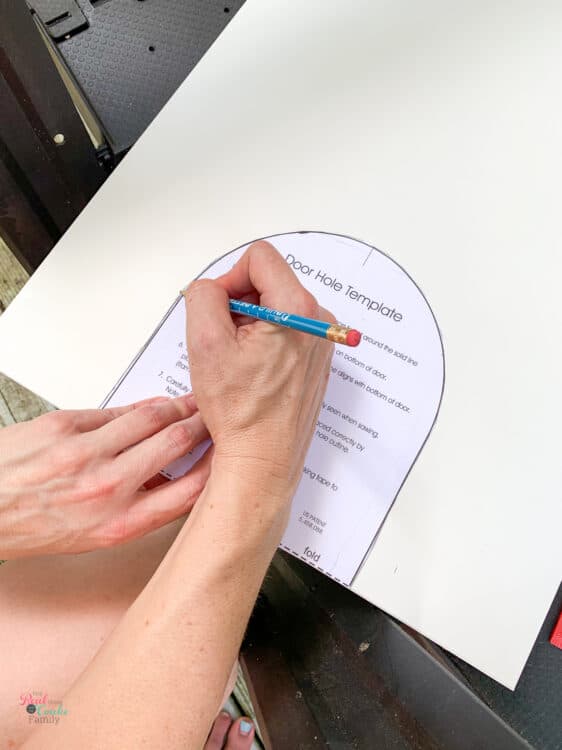
My daughter found this template that we used to determine the size of our opening. It’s for placing a cat or dog door(affiliate link), which you can buy and use in this project if you’d like. Update – Linked to a new template as the template we used is no longer available.
Trace the pattern onto your side panel. Make sure you’re using the correct end of your panel.
Step 4: Cut panel
TIME: 5 minutes
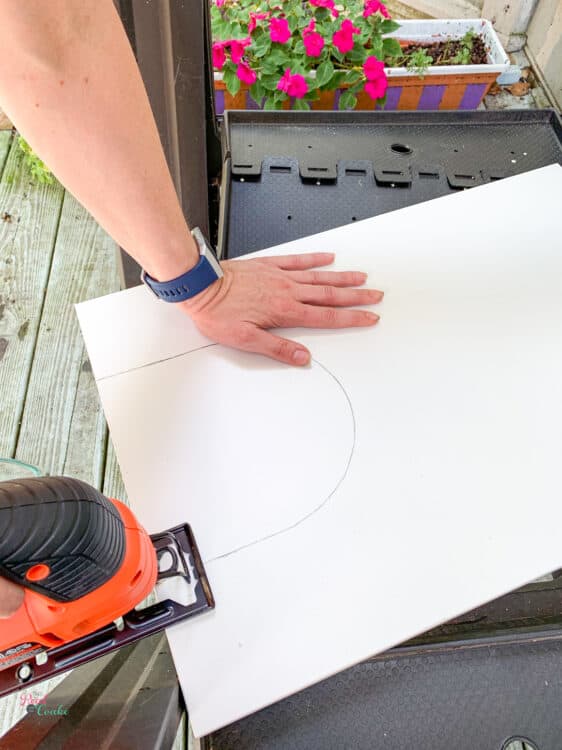
Use your jigsaw and cut on the line you traced. 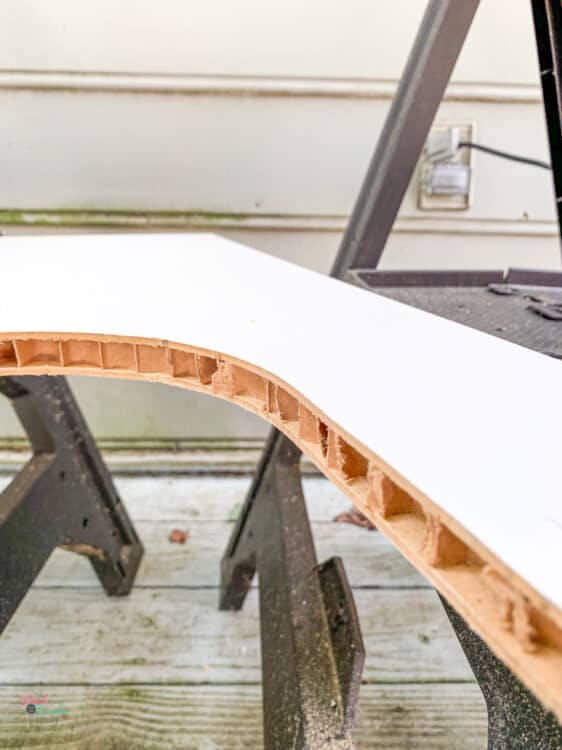
Step 5: Add veneer edging
TIME: 5 – 10 minutes
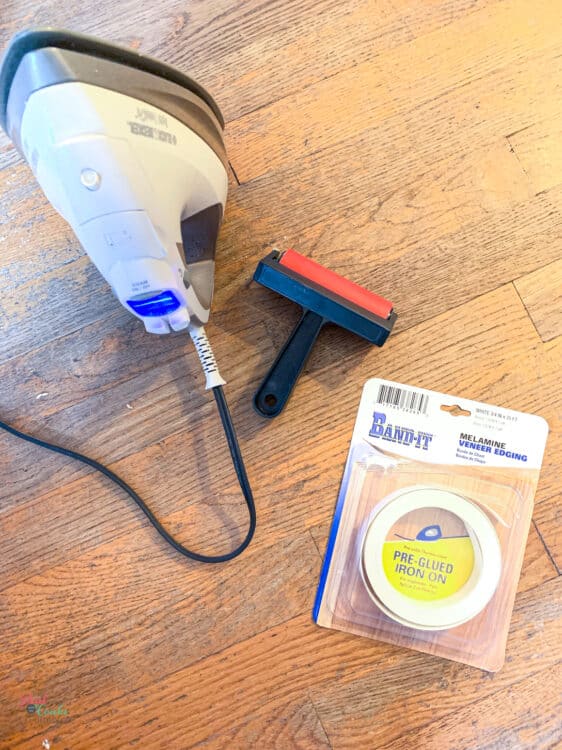
Now you’ll want to use the veneer edging(affiliate link) and add it to your cabinet.
Make sure you buy white and 3/4″ veneer edging. If you do, it’ll fit and match perfectly. 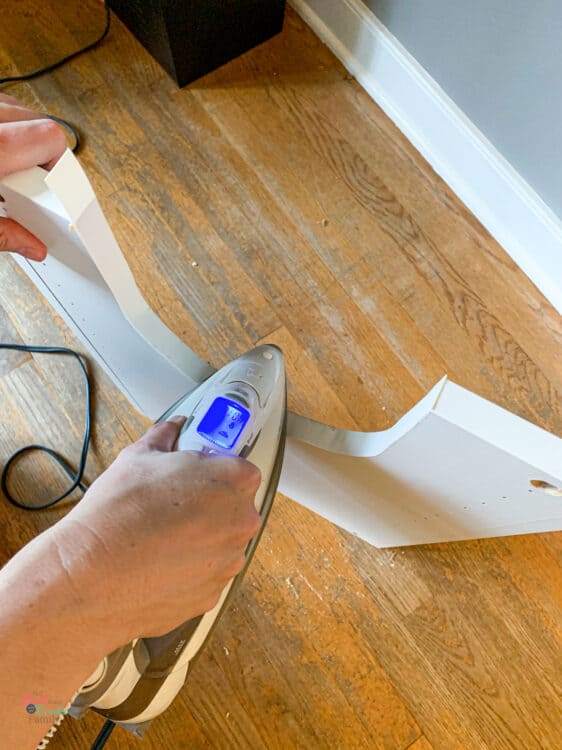
Follow the directions on the veneer edging package. You’ll use an iron to heat the veneer. It’s pre-glued, so you’re heating the glue to make it stick.
A regular iron will work for this job, but the Cricut Mini Press(affiliate link) would’ve made the job SO much more manageable. It would’ve fit in the small and curved space of the opening much better. My ironing job using a regular iron looks a little rough.
Use a brayer(affiliate link) to press the hot veneer to the panel.
Work in small sections to make sure you got things hot enough and can use the brayer while the veneer is still hot.
When you’re done, trim the ends to the edge of the panel.
Step 6: Put Besta cabinet together
TIME: 30 minutes
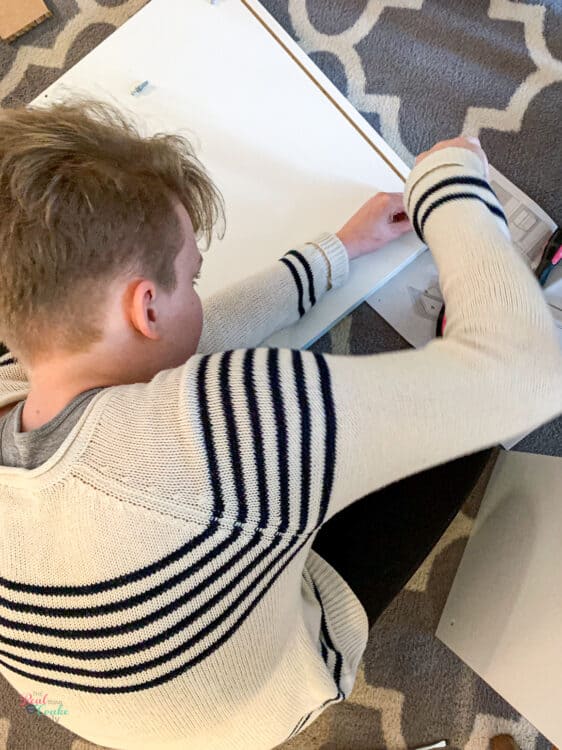
Now, you’ll need to follow the directions that came with your Besta cabinet and put it together.
Step 7: Place cabinet
TIME: 5 – 10 minutes
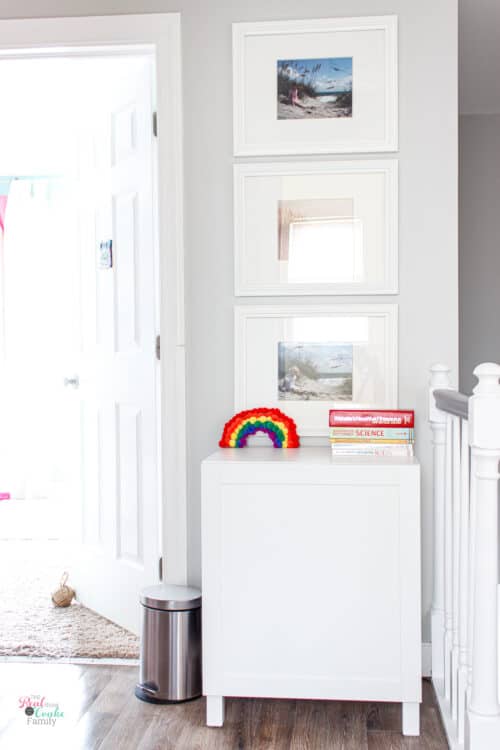
Of course, then you’ll need to find a place to put your cabinet.
Step 8: Fill cabinet
TIME: 15 minutes
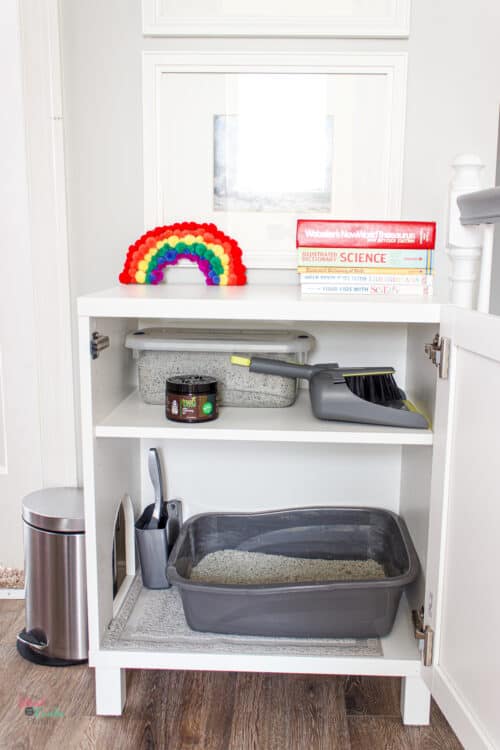
As far as what goes in your cabinet, that’s up to your preferences.
I wanted ours to be self contained.
We have the obvious litter box(affiliate link) with a litter trapping mat(affiliate link) under it. Next to the litter box in the corner is the scoop. It does partially obstruct the door, which we want. Our dog likes to hit up the cat box, so having the trash can on the outside and the scoop on the inside makes the opening big enough for the cat and small enough that our Beagle can’t get in.
The trash can to the left of the cabinet has scented poop bags(affiliate link). That way, when the kids scoop out the litter box, they have everything they need right there.
The shelf has a plastic bin with extra litter my girls refill when it runs out. I also have a dustpan(affiliate link) on the shelf so that sweeping up litter both inside and outside the cabinet is quick and easy.
Finally, to help keep things smelling pleasant, I added a natural air freshener(affiliate link).
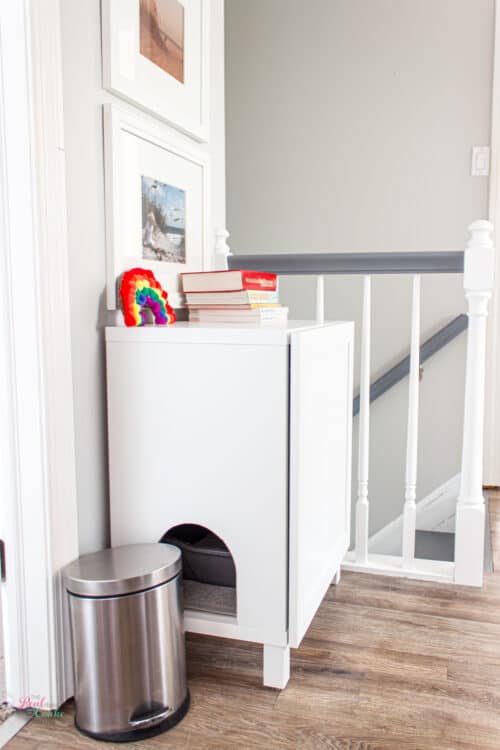
As you can see, the trash can blocks part of the opening. That works for us because our cat can get in and our dog can’t.
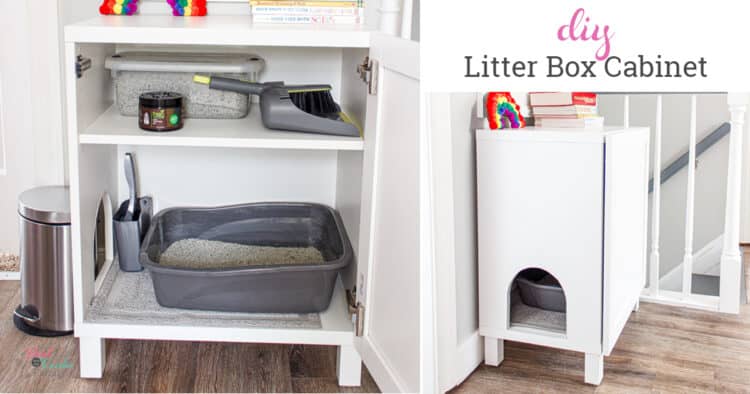
All in all, we’re happy with our new DIY hidden litter box cabinet.
The only thing that’s a little frustrating is that the litter is messier this way than when our cat had a top entry litter box. He seems to fling the cat litter, so we have to sweep it up often. It isn’t a big deal since I’ve got the dust pan right there, but something to note if you’re also switching from a top entry litter box. You’ll most likely have more litter mess on the floor and need to keep up with it….or make the kids keep up with it. ? ?
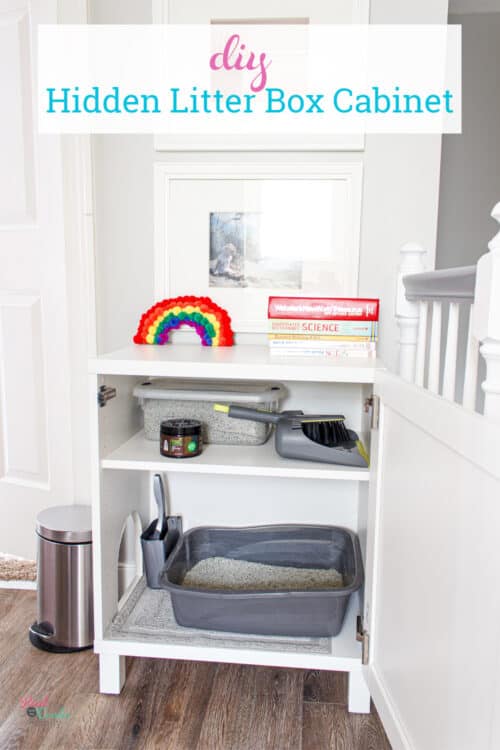
I love how it looks! It looks so much better than any litter box I’ve ever seen.
When I priced litter box furniture, they were all in the $200+ range. I managed to make this for between $60 – 100 (sorry, I don’t remember exactly). I was also able to pick something that matches my home and fits in the space I have. Everything else I’d looked at was either too wide or too long for the space.
When you make your DIY hidden litter box, take a pic and post it on Instagram and tag me or DM me. I’d love to see! Also, use #RealDIY so everyone can see. I can’t wait to see your creative takes on this project and hear how it went!
Leave a Reply