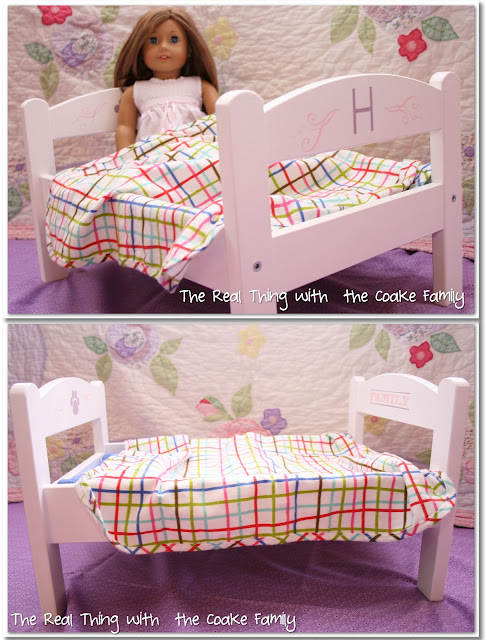
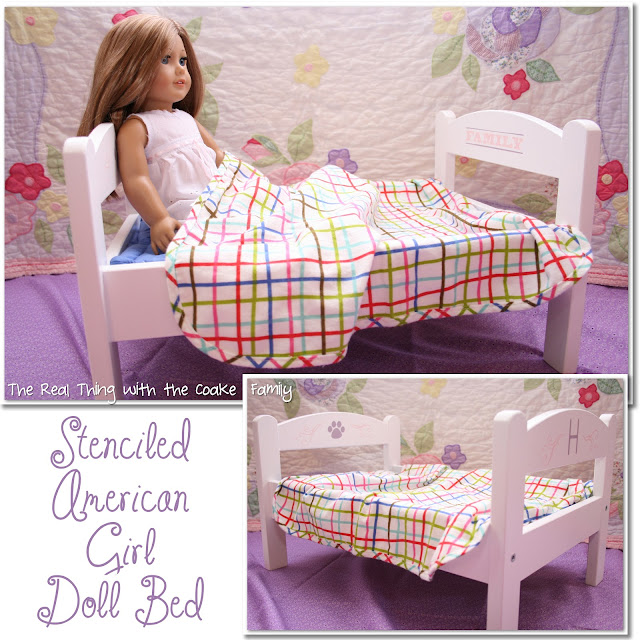
I mentioned in another post that both of my daughter’s had bought doll beds at IKEA. You may have seen my post about the first bed I finished: Polka Dot American Girl Doll Bed. That is Pumpkin’s bed. She knew instantly what she wanted. Snowflake needed more time to figure out exactly what she wanted.She figured it out and decided about a month ago, then kept asking me everyday if I was going to paint her bed today. I finally got it done, much to her delight! She picked out a more intricate design and is quite pleased with the result.
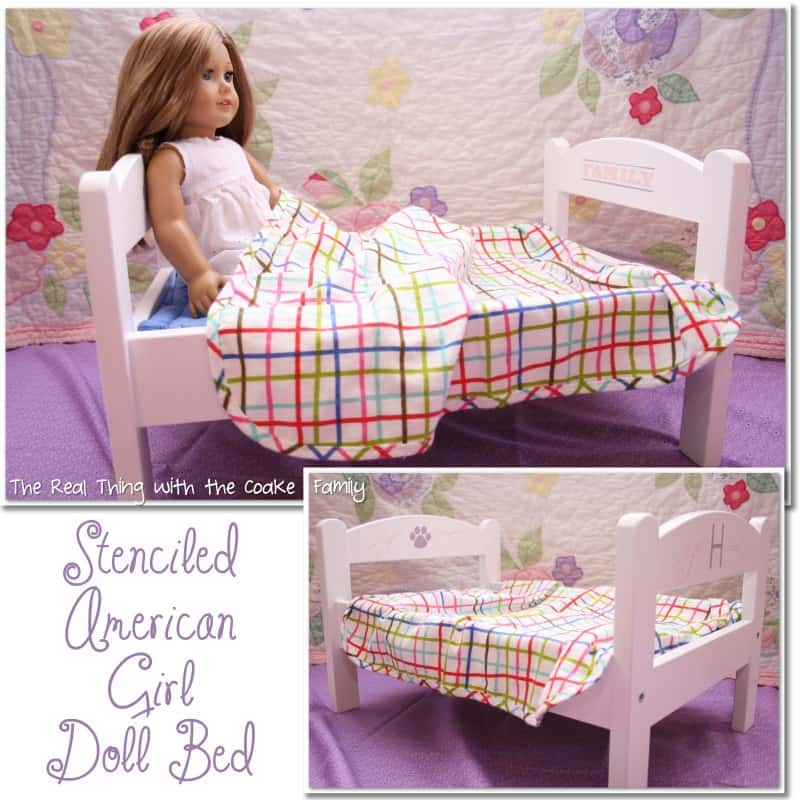
Now that you have seen the end result, let me show the how we got that elegant bed Snowflake designed.
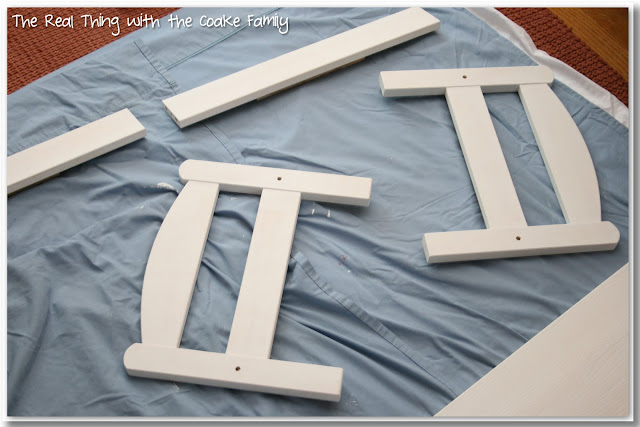
We started with this blank canvas. A $20 doll bed from IKEA.
Mr. T and I primed and painted the bed.
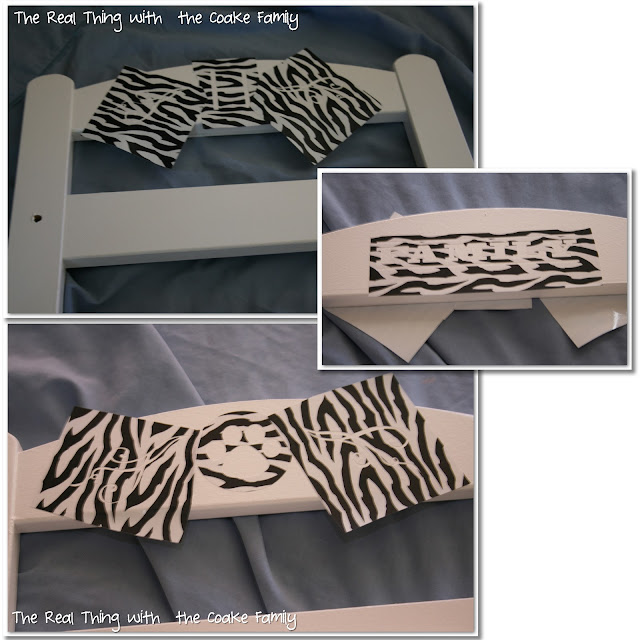
Next I had to figure out how to make my own stencil, using my Cricut and adhesive vinyl . I will have a post to teach you about that next week. Once that process was figured out, it was a pretty simple stenciling process. I showed a few of my stenciling tips in my other doll bed post: Polka Dot American Girl Doll Bed, so you could read those there if you need/want tips on stenciling.
I won a whole bunch of adhesive vinyl, so I used a patterned sheet I know I won’t want to use for other types of projects. Above, you can see the stencils cut out using my Cricut. Since they are adhesive, I just cut them on the cricut, cut a generous allowance around the ‘stencil’, removed the backing paper and placed them on the bed where Snowflake wanted them to go.
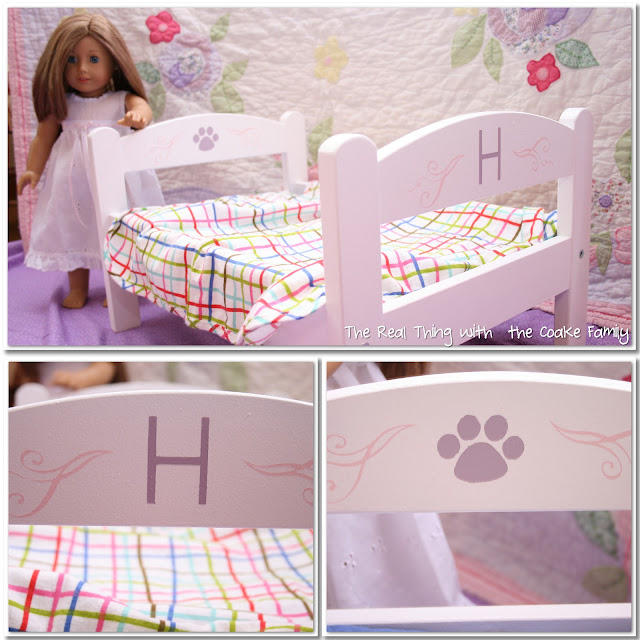
1. & 2. above, I completed one color at a time, but did all the stenciling in one session.
3. & 4. above, I removed the stencils while the paint was still wet. Can you see in #4 above, there are two tiny pieces that had to be removed from the swirl stencil. Tiny, precise work! Not my forte, but I got it done.
In #1 above, you can see a close up of the tiny parts of the swirl stencil still in place. Below in #2 you can see I removed them and with them came a little bit of the pink paint. Maybe not noticeable to others, but a problem for me and for Snowflake. No worries, I just used a super fine, stiff paint brush and touched it up freehand. Worked well. Whew!
The bed Snowflake designed. She wanted the ‘H’ because that is her first initial and the paw print because she also loves Build-A-Bear and has tons of those. She wants the bed to be for her whole family(AG doll and stuffed animals). That is why she included the word ‘Family’ on the bed as well. She really thought the whole thing through. She also LOVES the end result! Super happy about that!
The pictures in this post show the bedding that came with the IKEA bed. Next week, I’ll be back with another post to show off the new bedding my Mom and I made for both girl’s beds while she was in town! Yay! More projects done and bringing fun and happiness to my girls!
More American Girl Doll Fun For You:




I love it. I hear we’re getting an ikea here in 2014…hope they still have $20 doll beds! my dd wants bunk beds for her 2 dolls though!
Glad you are getting an IKEA…but what a long wait. This is the closest I have lived to one and ours is 1.5 hours away. Worth the drive though, but certainly don’t do it often. I’m sure if you or your husband are handy you could find a way to turn these into bunk beds, but as they are, it wouldn’t work. Hope they still have them for you as well.
Oh how cute! Little girls dream doll bed
Thank you! My girls are enjoying them a lot! 🙂
That is just an awesome idea! My daughter already has bunk beds (that I got with a gift certificate from some online place) and I need to figure if I can do this to them. I am getting her a 2nd doll for bday/xmas and plan on making matching bedding. My daughter’s bed is white like the bunk bed so I might stencil it too.
I’ve pinned & tweeted! Thanks for linking it up!
Diana
Diana Rambles
Bento Blog Network
Link Rink
I bet if you wanted to, you could stencil it. Then if you needed to you could use Mod Podge or something to seal it or make the finish similar. I just made bedding and a mattress as well. It adds so much to the bed…so cute!
Very nice, and a good solution to the high priced AG merchandise! I’m sure you daughter loves it!
Have a good day, Nancy
Thanks. It is a nice solution, indeed!
Congratulations! This post is featured over at Diana Rambles today and has been pinned in the Featured at Diana Rambles board at Pinterest. Please grab a featured button off my sidebar. Thanks for sharing this awesome idea!
Diana
Diana Rambles
Bento Blog Network
Link Rink
Thank you so much for the feature! I will head over and get the button. Have a great night.
So lovely!!! I love American doll so much! Thanks so much for sharing the great tutorial! I’d love for you to visit my blog.
Happy weekend!
Hugs from Portugal,
Ana Love Craft
http://www.lovecraft2012.blogspot.com
Thank you! Have a great week.
So cute and great tutorial, too!
Thanks!
That’s so cute… That reminds me that my dad built me a bed for one of my doll. I pinned and twitted this. And i’m a new follower from the linky 😉
https://ellecrafts.blogspot.com
Thanks! Oh how sweet that your Dad built you a bed. Thanks for the pin and the tweet. Have a great night!
What an incredible Ikea transformation. Seriously, it looks like it came right out of the American Girl Doll Cataglog…and I should know, I just got one in the mail yesterday. What a beautiful job. I am sure your daughter will treasure this.
Awww… Thank you! You are very sweet to say that. We got the same catalog and my girls have been looking at it non-stop. Have a great night.