I’ve got another fun craft for you today. If you want another break in the busyness and stresses of mom life, this one is for you! You can make these cute and unique DIY Christmas Ornaments.
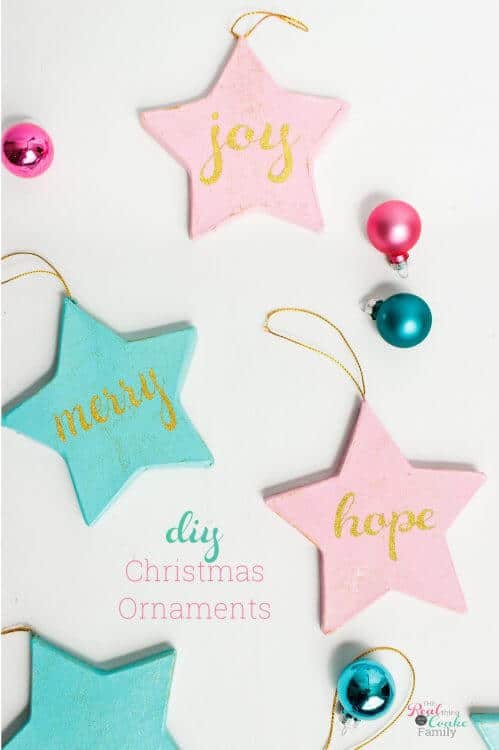
I mentioned to you when I made the pink and blue pumpkins for fall this year, that I’ve thought about going with a color theme and making decorations to match that color theme for the whole year. Well, I loved the pink and blue this fall so much that I went for it in a big way with my Christmas decorations. AND I LOVE ? the results!
This craft didn’t turn out to be all that quick, but I did enjoy making them and as usual, I broke things down and did a little bit at a time to fit into the busy schedule of my work/life and my girls’ activities. You can do the same thing. Do one step at a time and don’t worry that it takes you a few days to finish. Enjoy the craft and the end result!
If I had to give you a time (not including drying time), I’d guess that these ornaments took me 3 hours to complete. The biggest chunk of that time was weeding the words I cut out of the Cricut Glitter Vinyl. I picked a font that had some very delicate areas, so it took a long time to weed. If you pick a font that isn’t as delicate, you’ll be able to cut the time in half for this craft.
DIY Christmas Ornaments
Supplies:
- paper mache stars
- primer (optional)
- paint – I used DecoArt Americana in Pink Cadillac and Coastal Waters
- glitter paint – I used DecoArt Glamour Dust – Gold Glitz
- paint brush
- glitter vinyl
- Cricut Cutting Machine (affiliate link)
- Cricut Tools (affiliate link)
- transfer tape (affiliate link)
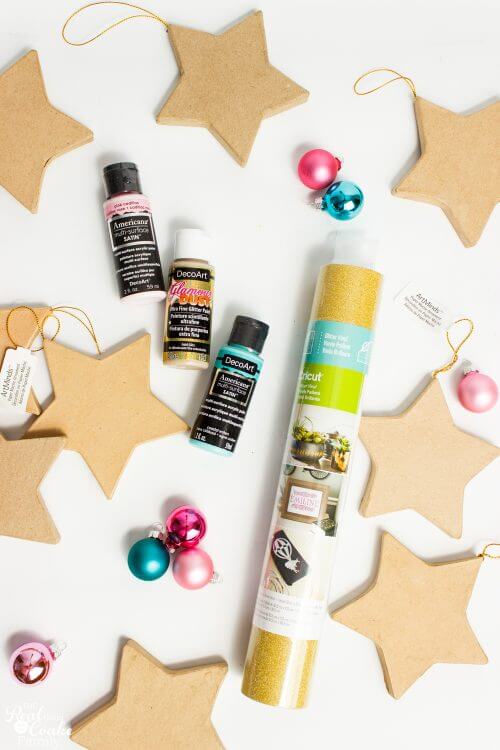
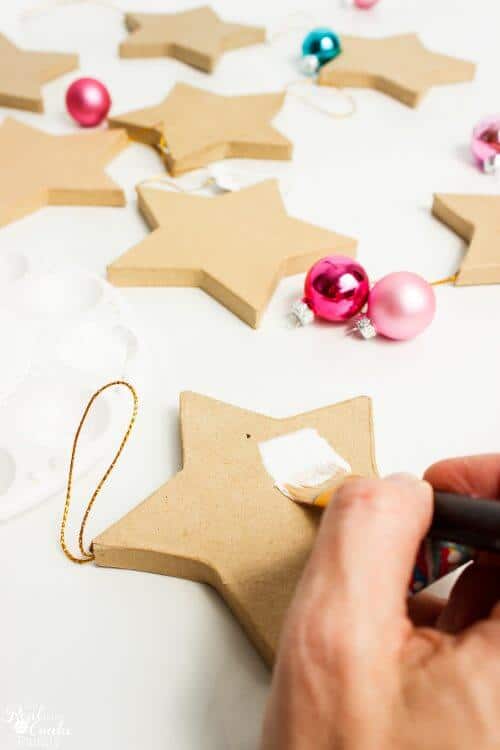
Step 1: Paint stars with primer (optional)
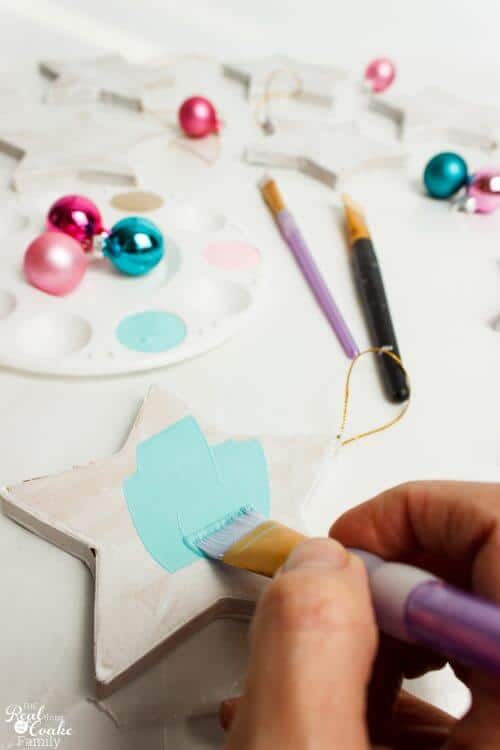
I’ve worked with paper mache before and usually, it takes a good 3 coats of paint to get the kind of coverage I like. I decided to start with a coat of primer first thinking that it would save me painting time.
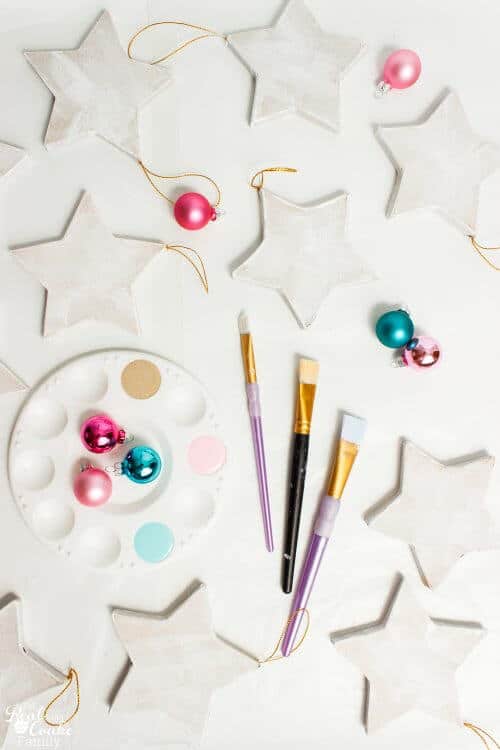
It still took 3 coats of paint with the pink color. The Coastal Waters color only needed 2 coats.
The funny thing is that I ended up buying some extra stars while I was part way through this project. I didn’t use primer on them and guess what? I needed 3 coats of pink and 2 of the Coastal Waters.
I do think that I got a more even color on the stars with the primer, but, I learned that it isn’t necessary or worth it to start with primer.
Step 2: Paint with selected color
Plan that a light color will take you 3 coats of paint and a deeper color will only need 2 coats.
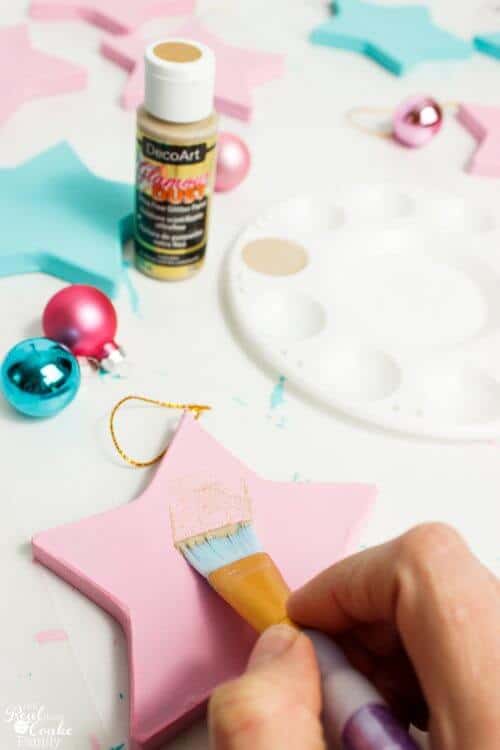
Step 3: Paint with glitter paint
Initially, I had thought of having stars that were only painted in gold, but as soon as I gave this paint a test, I knew it was too transparent for that.
One coat of the glamour dust worked perfectly to add some glitter and extra dimension to the stars after the paint.
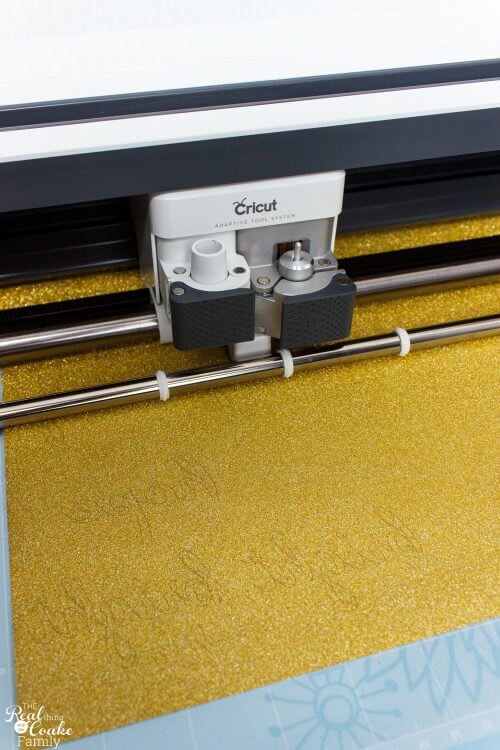
Step 4: Design and cut out wording
Use Cricut design space to create your wording and cut out of glitter vinyl.
Step 5: Weed cut out wording
My daughters are old enough now to ‘know’ things. They thought it was super inappropriate for me to be talking about weeding….so in case you don’t know what weeding is, like my daughters, let me explain.
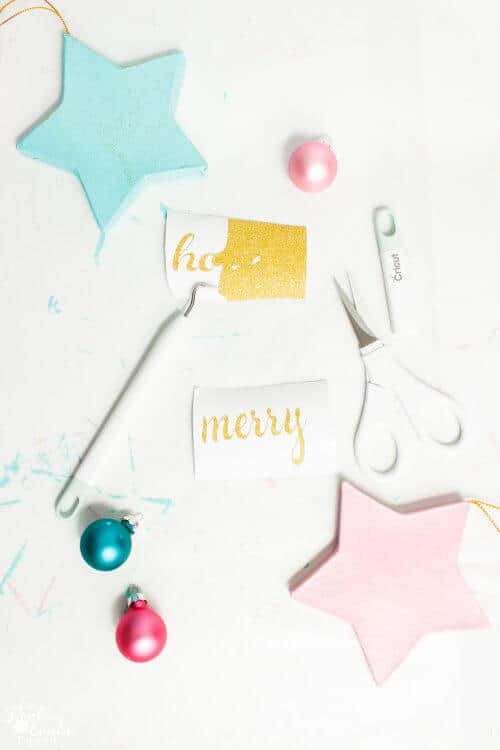
Weeding is a craft term that is when you pull away all the parts that you don’t need from what you cut. In this case, weeding leaves you with the words ready to go on your ornaments.
Step 6: Place transfer tape on top of words
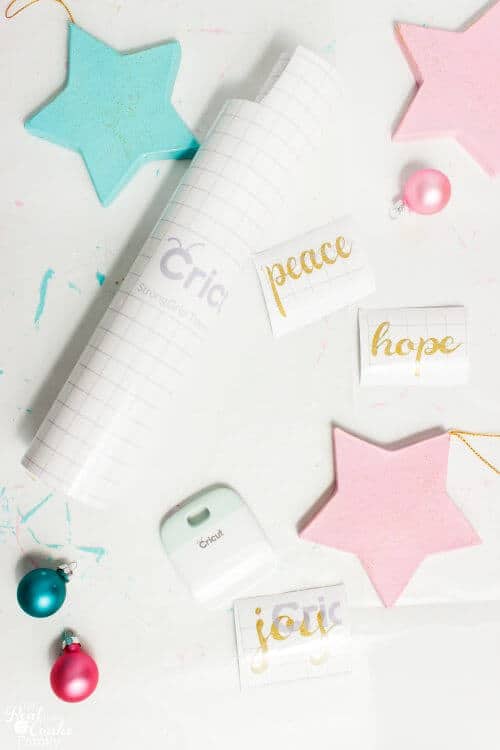
Transfer tape is the hero of this craft! Can you imagine trying to pick up these letters and delicate words bit by bit and move them to the stars? No thank you!
Cut small pieces of transfer tape and apply it to the front of your words. Press the transfer paper to the wording to make sure it has adhered.
Step 7: Remove from backing paper
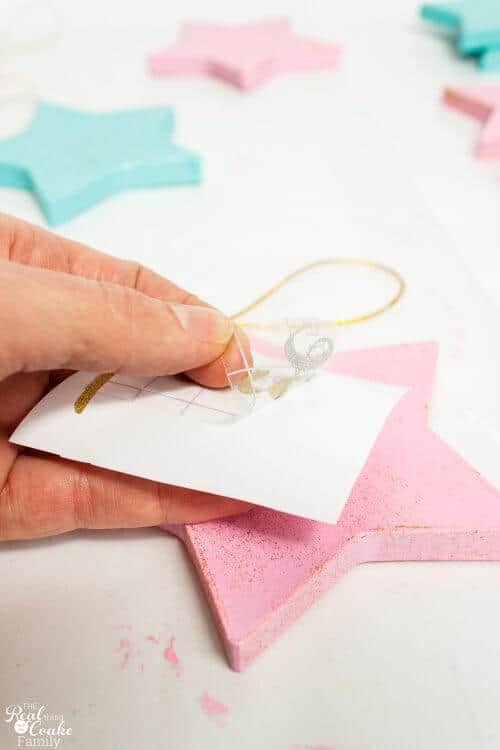
Now, remove your transfer tape from the vinyl backing paper.
TIP: If you have little bits that don’t seem to want to come up when you remove the backing paper no matter how much you press the transfer paper down, use your fingers or your Cricut Tools and help make the letter or piece come up and stick to the transfer paper.
Step 8: Place word on star and press down
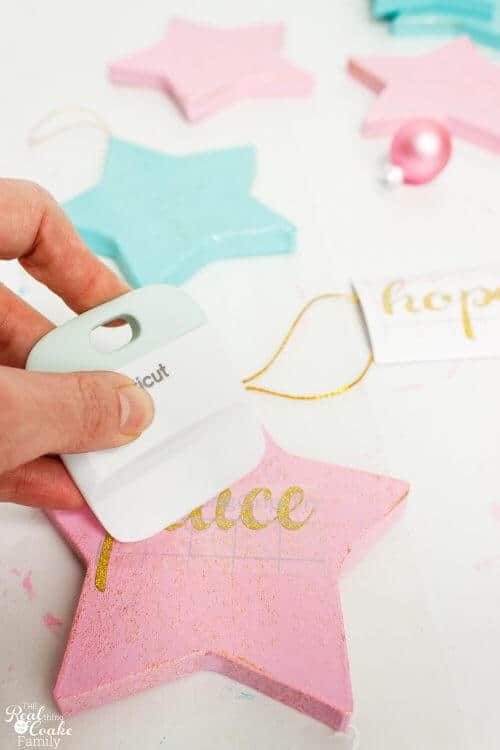
Place the word on the star and press or rub the word onto the star.
Step 9: Remove transfer tape
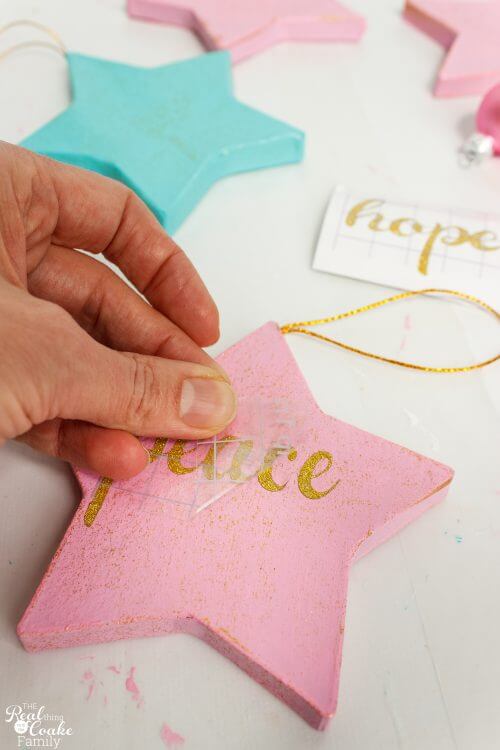
As you remove, make sure your letters are sticking. If some seem to want to stick with the transfer tape, once again, use your fingers or Cricut tools to help you press them down to the star.
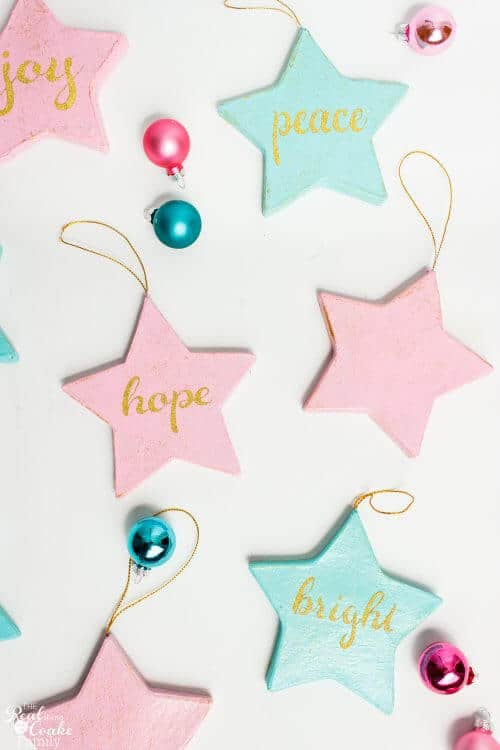
Voila! All done! And now you have cute ornaments that match your color theme for your house.
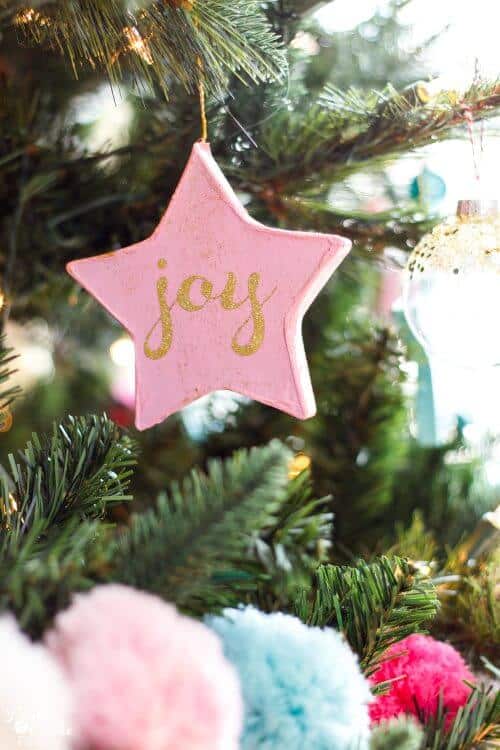
They look so pretty on my tree!
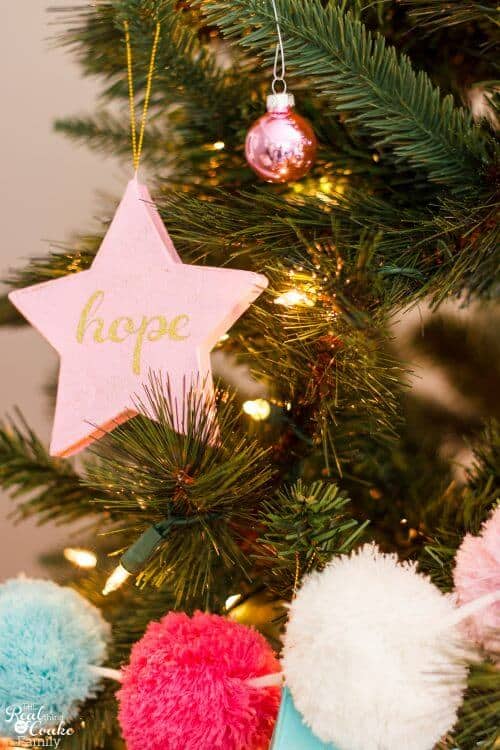
As you can see, they go with the pom pom garland I found at Michael’s this year.

The pom pom garland was the inspiration for me to make the stars and go for changing my color theme this year.

I mean, I’m kind of obsessed with pom poms and when I saw they had one in the colors I’ve wanted to use in my house, it was a no-brainer. Hello! You’re coming home with me and we are going to be besties!

I even found a new pom pom tree skirt (affiliate link) and some pillows (affiliate link) that go with my new color theme. I didn’t want to break the bank, so I still have some red and green and some of our favorite decorations around the house, but there’s a huge amount of pom poms and pink and blue. You can see more on my Instagram account.
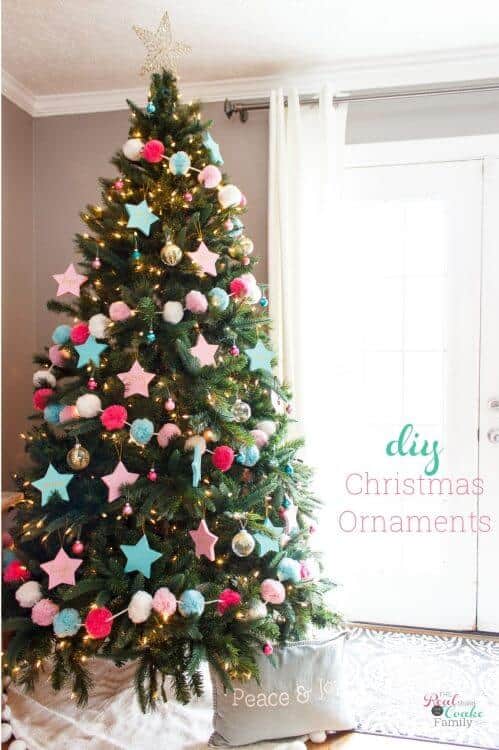
My oldest daughter told me she thinks our tree is Pinterest worthy this year. She said if she was scrolling through Pinterest looking for tree ideas, she knows she would stop at ours. Aww… ?what a sweet kid! She further flattered me by telling me that next year this pink and blue theme is going to be everywhere. Hmmm…let’s hope! ?
So, if you’re stopping by from Pinterest, let me know…well let me know and I will tell my daughter how right she was. ?
Leave a Reply