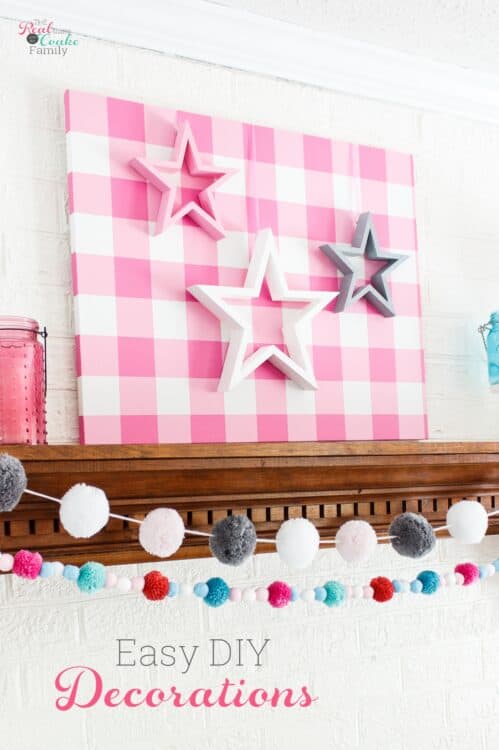
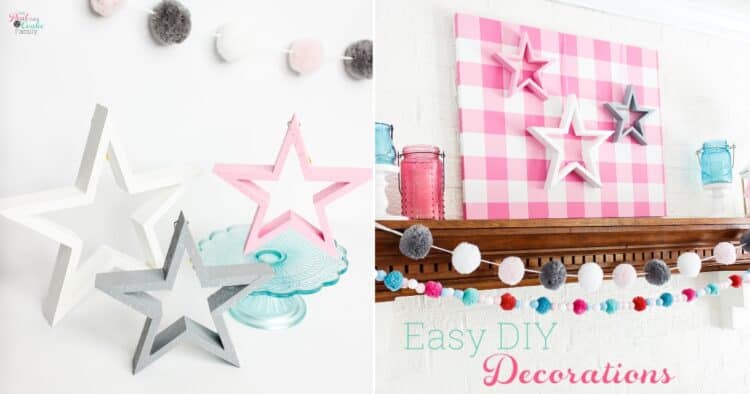
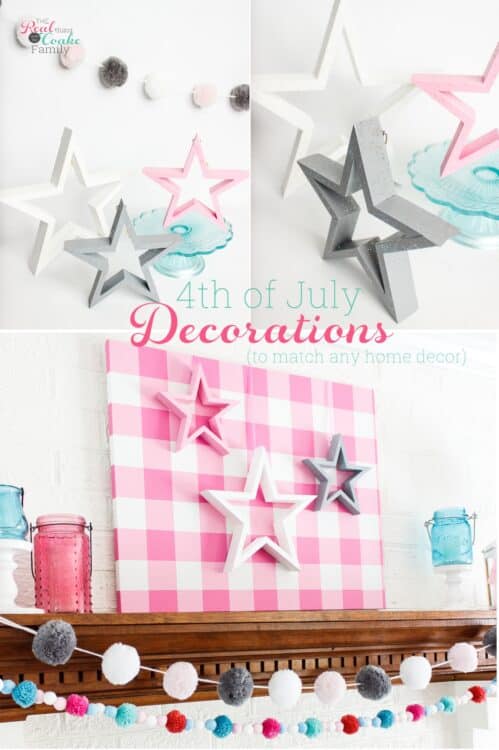
Have you been craving a little ‘me’ time or craft time? I know I have! Finding ‘me’ time seems to be impossible these days, but I work to find some craft time in and amongst #momlife. Today, I’ve got the cutest and easiest stars you can make for your 4th of July decorations.
As you may remember, I’ve had fun making decorations in non-traditional colors for each holiday this last year. It’s been fun to pick colors that I like and make things for the holiday in those colors. I started with fall decor and added Christmas decorations then a little something for Valentines Day.
If you struggle to find a way to pursue your creative side while raising a family, I’ve got you covered. I’m going to give you the step by step directions (even when they seem obvious). I’m also going to show you how to break this craft up in your busy life. All while keeping it real and honest with you to let you know what worked and what didn’t. That way, you can have some creative fun and a family at the same time! Woot, woot!
I’ve also got printable directions for you at the bottom of this post. That way you can keep track of what supplies you need and what steps you’ve completed as you work. No mom brain messing things up for your crafty time and no worries if 3 weeks go by before you get back to the craft. You’ll know exactly where you left off with this printable.
4th of July Decorations
Supplies:
- Wood stars (I got mine at Michael’s)
- Paint – Acrylic Satin – I used Americana Multi-surface Satin, dolphin and pink cadillac, and Martha Stewart Satin, wedding cake(affiliate links)
- Paintbrushes
- Glitter paint – I used DecoArt Galaxy Glitter Clear Ice Comet(affiliate link)
- Ribbon (optional)

Step 1: Paint
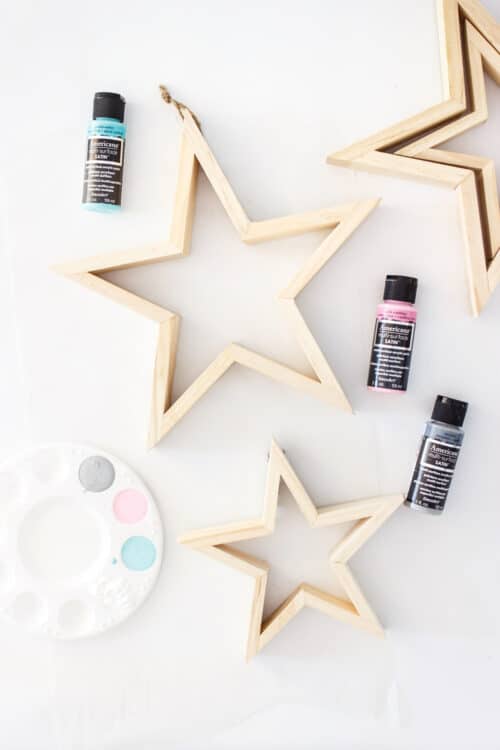
You’ll want to start by painting your stars the colors you’ve selected.
You can start with a coat of primer to help the process. This is helpful if you are painting a light color, like white. I didn’t start with primer, so my white star took 3 coats.
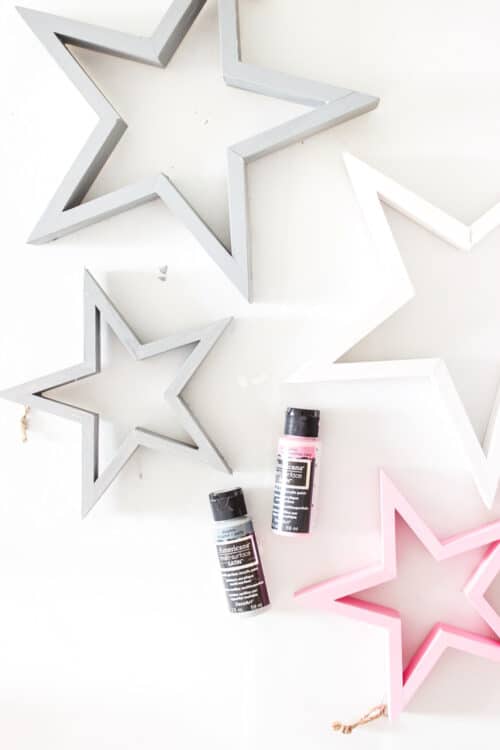
Expect that you’ll need 2 coats of paint to get good coverage. You may need 3 coats if you’re using lighter colors without a coat of primer.
Step 2: Add Glitter Paint
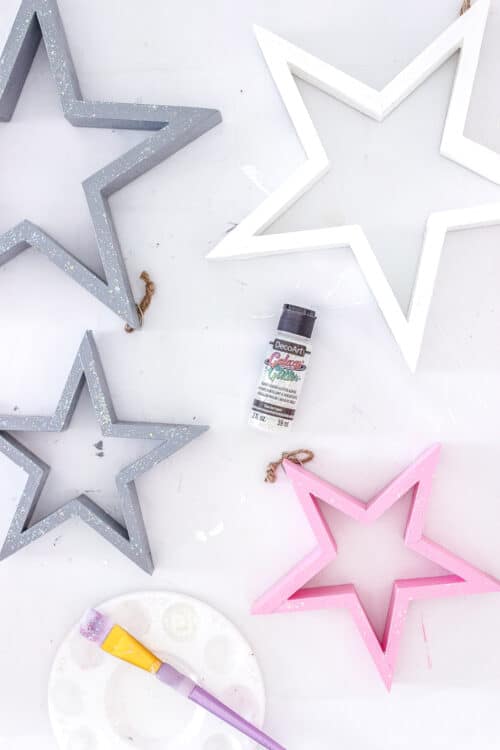
Once you have the paint coverage you like on the stars, you’ll want to add the glitter paint.
Plan to do 1 coat, but you can add more coats and add more glitter. That’s your preference.
You’ll want to plan about 15-20 minutes for this step. It goes a little faster than the paint color because you don’t have to be as precise with this paint as you do with the base color.
I used the DecoArt Galaxy Glitter paint in Clear Ice Comet which DecoArt sent me.

You can buy the Galaxy Glitter paint in a color that matches your base color paint. I didn’t plan ahead enough for that option, so I used what I had on hand.
The Clear Ice Comet looks nice with all 3 colors of paint because it’s a clear base glitter paint. You could use it with any color.
All that said, I only did one coat of the Galaxy Glitter, and I’m happy with it. I wanted a subtle bit of glitter that might add a little sparkle to my mantel.
Step 3: Add ribbon (optional)
Add ribbon to the back of your star to allow you to hang them.
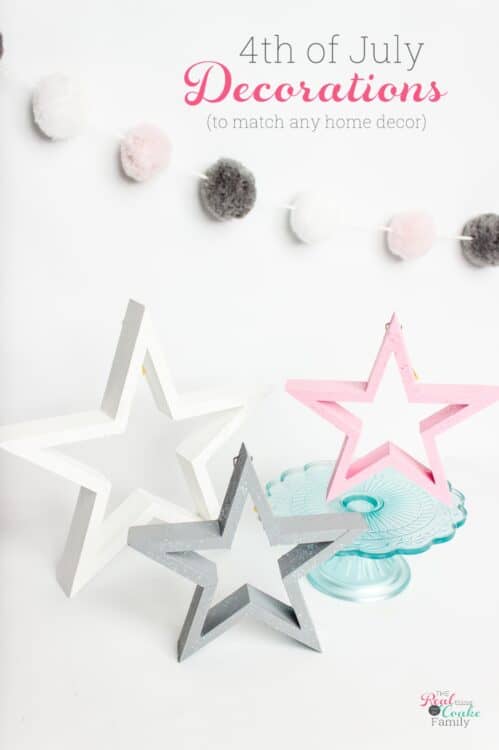
Guess what? You’re already done!
2 simple steps to some cute 4th of July decorations.
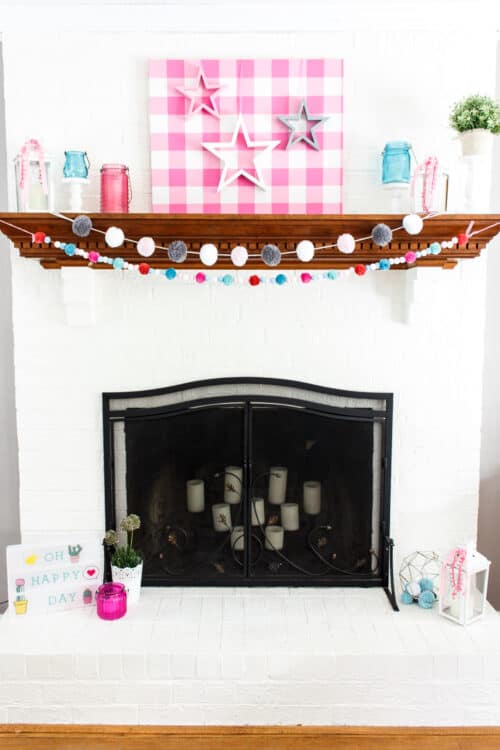
I added my 4th of July decorations to my mantel on the pink gingham wall art I made last year.
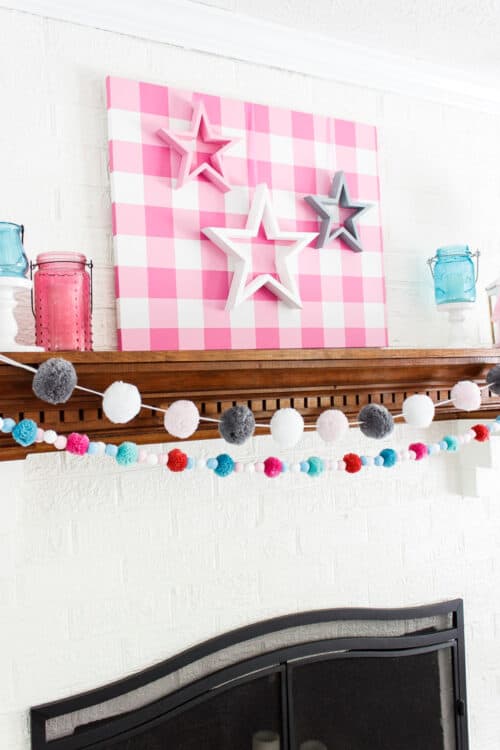
I know all the pink may not be for everyone. That’s the beauty of making your own 4th of July decorations (or other home decor), you can make it any colors you want to match your home and your style.
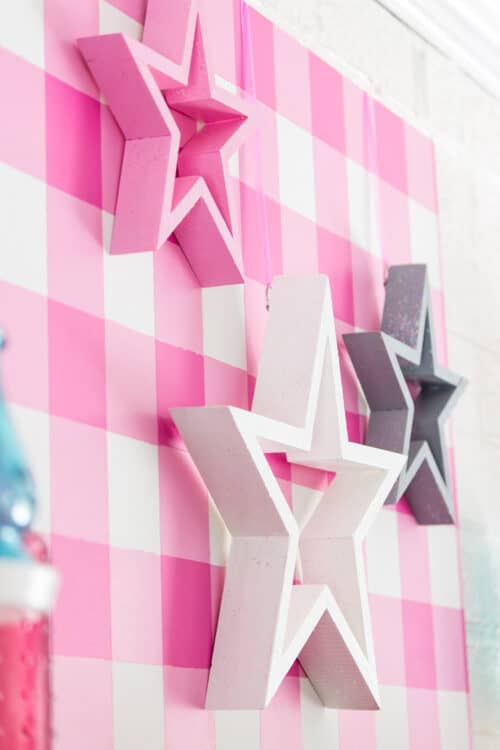
I love the way the stars add dimension and a hint of the 4th of July to my living room.
I know it might sound silly to call this a mom win, but it feels like it. With a busy teen (who doesn’t drive yet) and tween….finding creative time is getting harder and harder, so I’m gonna call any craft or DIY a win. It helps me to have some creative time that I can fit into my life.
When you make your 4th of July decorations, post a pic on Instagram. Make sure to follow and tag me @realcreativerealorganized and use #RealCrafts. I’d love to see and cheer your mom win!
Sign in below to get your step by step directions sheet for this craft.

Such cute ideas! Thanks for sharing at the Weekend Blog Hop at My Flagstaff Home! Hope to see you again next week. –Jennifer
Thanks!
These decorations for July 4th are so cute, easy, and fun! I love how you put your own color twist on it! Blessed to have you at Tuesday Turn About! Hope to see you each week!
Thank you! The other benefit I’ve discovered….it doesn’t matter that I still haven’t taken down my 4th of July decorations because they match my decor and aren’t overtly 4th of July. lol!
These are so cute! Thank you for sharing. You are one of the features at the Make it Pretty Monday party at The Dedicated House. Here is the link to this week’s bash: http://www.thededicatedhouse.com/make-it-pretty-monday-week-299/ Hope you have a lovely week! Toodles, Kathryn @TheDedicatedHouse
Thank you and thanks so much for the party and the feature!