
I should have painted this wall before I painted the stairs. That would have been smart, just like painting the trim before the treads and railing on the stairs. I don’t always do things in the right order, but I’m still making progress getting things done and making my home more beautiful on a budget.
Last time I paid someone to paint this hallway. This time, I knew my budget meant I needed to DIY it. But how do you paint a stairwell without spending a fortune on specialty ladders or scaffolding?
I’m going to show you as well as give you the step by step tutorial so you can tackle this project. As always, I’m going to keep it real with you to make your project easier.
How to Paint A Stairwell

Supplies
- Paint
- Paint tray
- Paintbrush(affiliate link)
- Drop cloth(s)
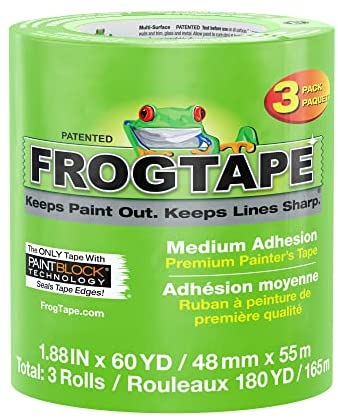
- Painter’s tape(affiliate link)
- Extension pole(affiliate link)
- Corner Painter(affiliate link)
- Edge Painter(affiliate link)
- Sponge

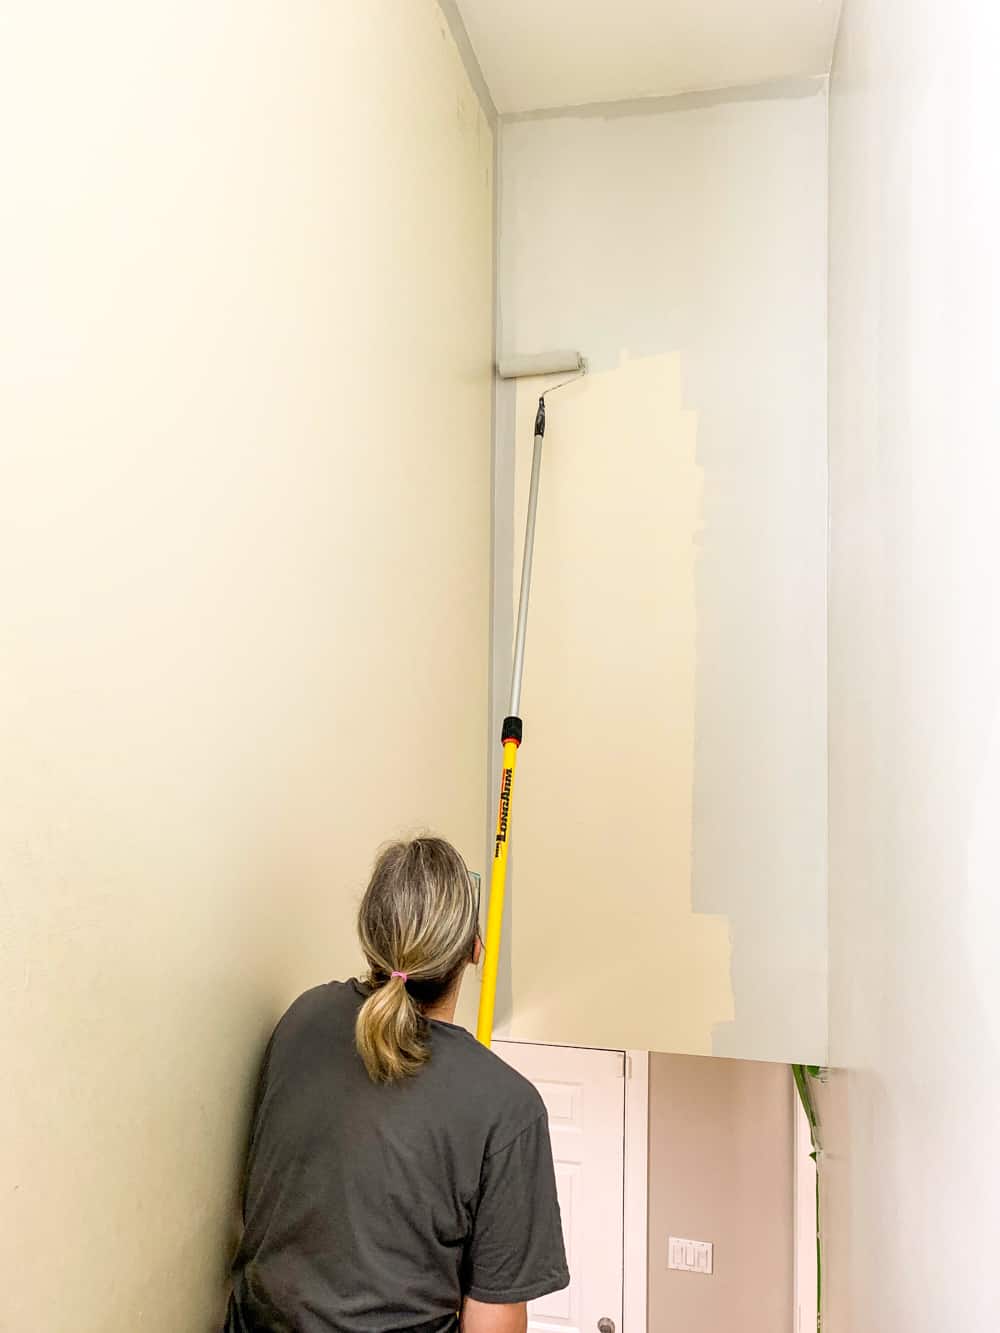
Before we get to step 1, here’s what my hallway looked like. It’s a 2 story wall over the stairwell. I had painted the downstairs part of the hallway when I did the hallway makeover. I stopped right at the corner that you can see at the bottom of the stairs and moved on to removing the carpet and painting the stairs. Now it was time to finish things up.
Step 1: Prep
TIME: 10 – 15 minutes
Prep your area. Cover everything with drop cloths.
Cover all of your stairs, railings, and floors. You’ll most likely have some drips with this job, so it’s important to cover everything.
Step 2: Dust walls and corners
TIME: 5 – 10 minutes
Dust the walls and corners. No matter how clean you keep your house, your tall walls are going to have some dust and spider webs.
Put a cloth on your extension pole and go over the walls and corners to get rid of the dust and cobwebs.
Step 3: Cut in ceiling
TIME: Will vary based on the size of your wall. Mine took me about 1.5 hours.

Cutting in on a high wall without a ladder or scaffolding is a pain. I’m not going to sugar coat it, it’s the worst part of this job.
And it takes forever.
Ok, now that I’ve been honest with you, let me tell you how to do it.
I had searched for info. on how to do this and found ideas that required buying a special ladder or scaffolding. I didn’t want to spend that money, and I also didn’t want to end up with the equipment.
Finally, I found this video on YouTube, and I figured I’d give it a try. It only cost a few extra dollars for the tools, so there wasn’t much risk.

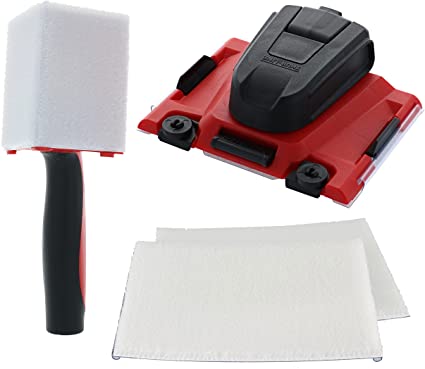
You’ll need the Shur Line Edger Pro(affiliate link). If you watch the video on this page that should be playing at the bottom or side of the screen, it goes into more visual detail than I can in writing.
Carefully load the edger with paint. Make sure not to overload it.
Disengage the wheels at the top of the edger when you load paint.
You want to load only the center of the edger. That way, you won’t end up with extra paint running down your wall, and you won’t end up with paint on the ceiling.

Remember to re-engage the wheels on the edger tool before you start painting and use your sponge to clean the wheels if needed.
Then you have to move it back and forth slowly at the top of the wall to cut in.
It’s not quick work.
It takes patience.

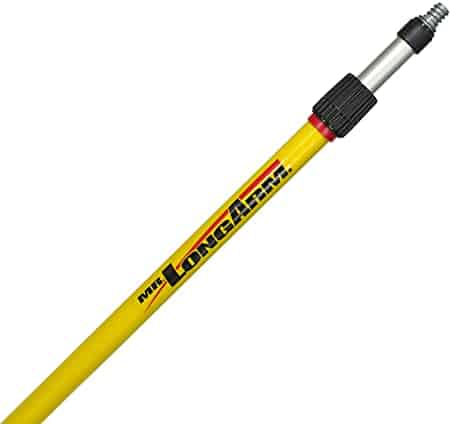
TIP: When you buy your extension pole, make sure you buy one that is longer than you need and don’t skimp on this tool.
You need a strong, sturdy extension pole.
I bought the longest and most sturdy one they had at Lowe’s. As you can see in the picture above, it tended to bow a little bit when I worked on the highest parts of the ceiling. A longer and stronger extension pole would have made my job easier.
Step 4: Cut in corners
TIME: Will vary based on the size of your wall. Mine took me about 20 – 30 minutes

To get those tall corners, I decided to try the Shur Line Corner Painter(affiliate link). It was pretty cheap, so I figured what the heck, why not give it a try.
You can load the entire tool this time. Try not to overload it, so you don’t end up with drips, but more paint on the tool makes it work better. So, try to find that balance between not enough and too much paint.
I found that this tool made more drips, and I had to be a bit more careful with it than the edger tool.

Use the tool to cut in the corners. I found that I could get right into the corner, but the edges didn’t work as well. I show this in the video, but I did the center and then went back and used pressure on one side and then the other to get the coverage I wanted. That extra step makes the rolling a little bit easier.
As a side note, you can see from the picture above, painting a hallway with no air vents is HOT work. Be prepared for that if your hallway has no vents.
Step 5: Rolling the wall
TIME: Will vary based on the size of your wall. Mine took me about 1 hour

Now it’s time to roll the paint onto the wall.

Toward the top of the wall, you’ll want to be super careful that you don’t push the roller too high. That’ll bump into the ceiling leaving a nasty bit of paint that means you’ll have to paint the ceiling.

For rolling, there isn’t a lot that is different from rolling a typical wall to paint a stairwell.
The main thing is adjusting your extension pole to the different heights as you work your way down or up the wall.

Done!
The pictures make it look easy.
It’s not easy!
Trust me! I did it, and I saved a ton of money by doing it this way, but I’d choose not to paint a stairwell again for a long time.

My stairwell is narrow and small, so it’s hard to photograph. I thought you might like seeing the pictures of the hallway at the top of the stairs that I also painted.
It has our cat box, dog bed, and a bookcase.
I’ve got a DIY in the works with my youngest daughter for something prettier for the cat box. I’ll have that for you in a couple of weeks once we get it done.

We put our books in rainbow order a while back. It makes it fun to look at. ? ?

This summer, my girls and I had a craft day. We each made a rainbow craft. I had seen some cute ideas on Instagram, and we used the inspiration for our crafts.
It sure makes it more colorful and fun! We love it!

As a final note, this project, unlike so many others I share with you, isn’t one you’re going to be able to fit here and there among your busy family life.
You’ll need to block off a day to paint a stairwell. Sorry! I just don’t see a way to break it up, as I can usually figure out.
It took me 3 hours for the first coat(because I had painted the first coat for the upper part of the hallway before) and about 4 to 4.5 hours for the second coat. You could try doing the cutting in at the ceiling in one session, the corners in another and the rolling of the walls in another, but I’m not sure that your end result would look as good with the paint drying and curing. I think you might end up with lines and even some different coloration of paint since the paint will settle and not always mix up precisely the same.
Despite using a high quality paint + primer, I had to do 2 coats to get good coverage. The awkwardness of the cutting in and the angle of rolling the walls left some splotchy paint on the first coat, so I had to do 2 coats.
In full disclosure, I’ve never been able to paint a room in one coat. I don’t know how people do it and get good coverage. So, if you’re more patient with the process and someone who can paint a room with one coat of paint, you may be able to do finish in one coat.
I’m not trying to discourage you from tackling this project, just trying to be realistic, so you know what you’re getting into and how much time to plan. As I said already, I’d recommend setting aside a day for this project.
To get the latest projects, organization tips and crafts right in your email box, subscribe today.
How to Paint a Tall Stairwell
The inexpensive way to DIY paint a tall stairwell or tall wall.
Materials
- Paint
Tools
- Paint tray
- Paintbrush
- Drop cloth(s)
- Painter's tape
- Extension pole
- Corner Painter
- Edge Painter
- Sponge
Instructions
- Prep
Prep your area. Cover everything with drop cloths. - Dust walls and corners
Dust the walls and corners. No matter how clean you keep your house, your tall walls are going to have some dust and spider webs. - Cut in ceiling
Carefully load the edger with paint. Make sure not to overload it.
Disengage the wheels at the top of the edger when you load paint.
Then you have to move it back and forth slowly at the top of the wall to cut in. - Cut in corners
You can load the entire ShurLine Corner tool. Try not to overload it, so you don't end up with drips, but more paint on the tool makes it work better. So, try to find that balance between not enough and too much paint.
Use the tool to cut in the corners. I found that I could get right into the corner, but the edges didn't work as well. I show this in the video, but I did the center and then went back and used pressure on one side and then the other to get the coverage I wanted. That extra step makes the rolling a little bit easier. - Rolling the wall
Toward the top of the wall, you'll want to be super careful that you don't push the roller too high. That'll bump into the ceiling leaving a nasty bit of paint that means you'll have to paint the ceiling.
For rolling, there isn't a lot that is different from rolling a typical wall to paint a stairwell.
The main thing is adjusting your extension pole to the different heights as you work your way down or up the wall.
Recommended Products
As an Amazon Associate and member of other affiliate programs, I earn from qualifying purchases.
What color is the paint you used in the hall?
The paint I used in the hallway is a color called Repose Gray. I believe it is a Sherwin Williams color. I got mine at Lowe’s as they have some Sherwin Williams colors. HTH
Thank you!
I have a stairwell going to our basement that hasn’t been painted in, oh, maybe 20 years or more!
I want the ceiling to be a different color than the walls, but should be able to use your techniques on that.
I looked into the cost of a telescoping ladder (over $300!) and a PiViT ladder tool (around $150) and that’s a ‘Noooo’.
With your help, I should be able to get the job done and save a bundle!
I know! All of the ladders and scaffolding, etc. are so expensive!! Glad you found the way I did this and I hope it works for you as well. It’s a pain, but worth the huge money savings.
Hi! What color did you use on the stairwell? I love it! Thanks!
Thank you! The wall color is called Repose Grey. I love it as well. Perfect grey color.
This is exactly what I needed to see. I’ve been trying to figure how to do this same kind of wall in our stairwell. Thanks for sharing. It’s perfect!
So glad it was helpful!
I am currently removing wallpaper in my stairwell {a royal pain!} so I am not yet ready to paint, Thank you for the info. I know it will come in handy once I finally figure out how to get the wallpaper removed from way up on high! It’s been a long slow process so far and since I work too, it takes even longer to get things done! I’ve got a couple of layers of wallpaper to remove which doesn’t help, not to mention, they didn’t size the walls properly. Again, thank you for your info!
That does sound like a painful process! I hope the painting goes smoothly once you are able to paint.