You ready for a good IKEA hack today? I love a good IKEA hack…they are so fun! Today, I’ve got a great way to get pillow forms for decorative pillows for mega cheap. You can do this with any pillow or pillow form, it doesn’t have to be from IKEA and it doesn’t have to be an official pillow form. A regular pillow for sleeping will work as well. The point is that you can make multiple decorative pillow forms in any size or shape you want for a great price! Yippee!
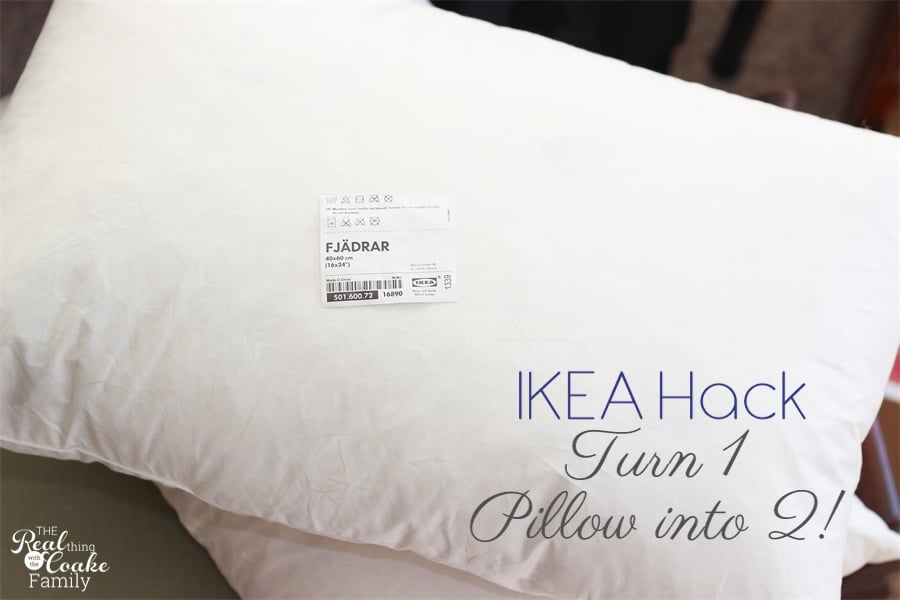
I love stuff like this. I get to decorate my house in a way that I love and I don’t have to spend designer prices! Love, love, love!
The pillow form from IKEA was only $6.99. It comes in two sizes, a 16×20 and a 20×20. For this project, I purchased 2 of the 16×20 size![]() (affiliate link). I had a totally investment of $13.98 and I hoped to get 3 pillow forms with that money.
(affiliate link). I had a totally investment of $13.98 and I hoped to get 3 pillow forms with that money.
You ready….let’s do this!
Before I get to the tutorial, I have to tell you that I first got the idea to make my own pillow forms one of my all time favorite blogs, The 36th Avenue. She has a tutorial showing you how to do this with a king sized pillow that has a synthetic filling. I’m going to show you using a pillow form that has feathers. It is essentially the same process…only I’m pretty sure mine was much more messy. 😉
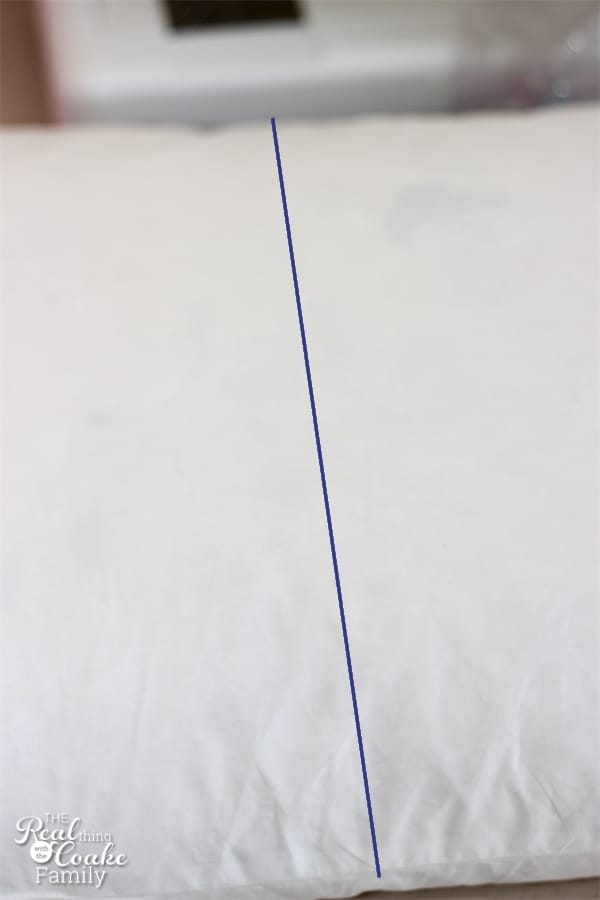
First you will need to measure your pillow and mark where you want to cut. I wanted my 16 x 20 pillow cut in half. My new pillow size would be roughly 16 x 10.
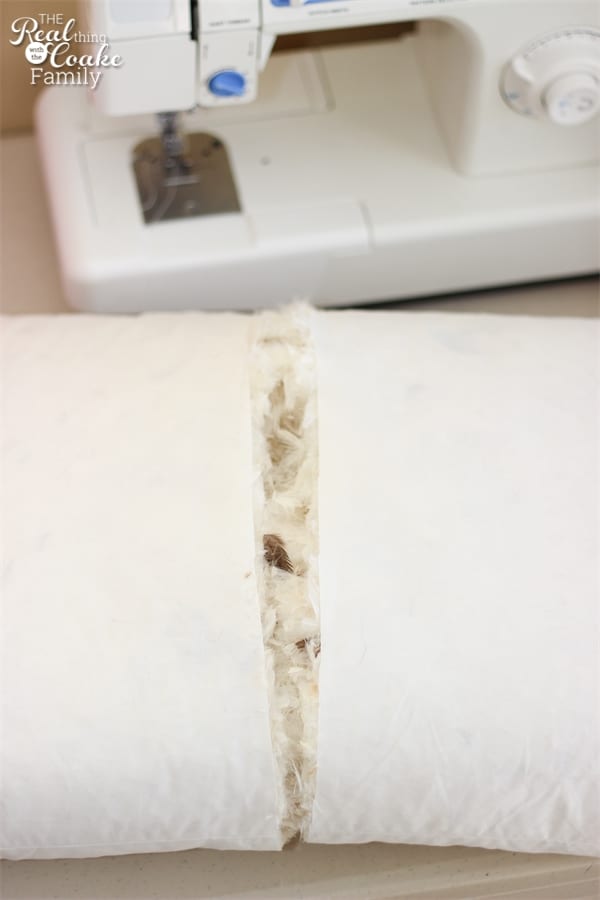
After you measure and mark your pillow, you get to cut it on the line you created. The moment of truth…will this really work? Well, I only had $6.99 invested, so was OK if it didn’t work out.
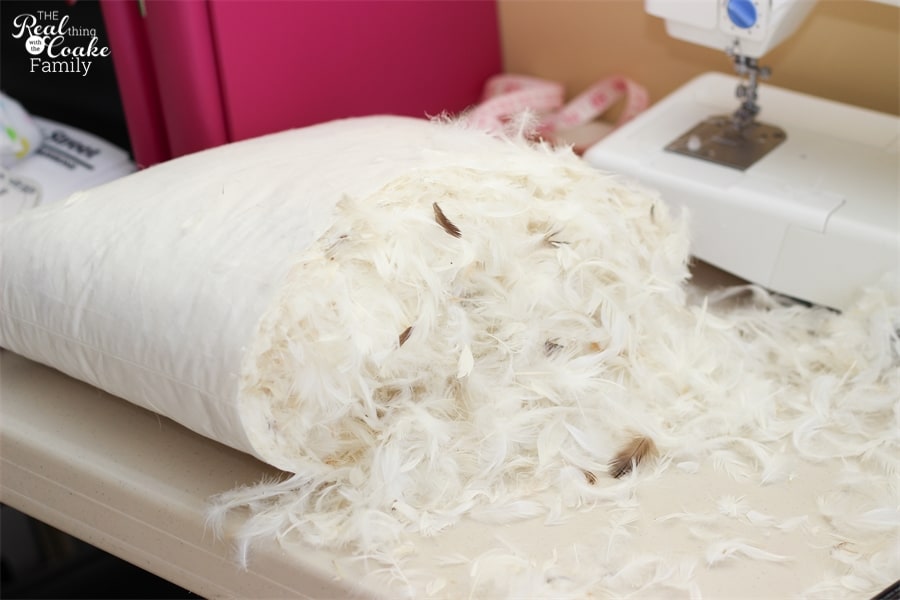
The pillow forms at IKEA are down filled. It is a HUGE mess once you cut your pillow apart and actually pull the two halves apart. There were way too many feathers to fit back into the two pillows. I suppose if I had more patience I could have worked and worked and worked and gotten them all back in. I don’t, so I ended up with a bag of feathers. I can use them to make my own pillows later (now it would be a very small pillow, but I plan to do this again, so who knows, I may get even more bang for my buck).
Despite pulling quite a bit of the down feathers out of the two halves I created, my finished pillows are not flat or too loosely filled. So, if you are working with this type of pillow, don’t stress over needing to pull some of the feathers out, unless you want a mega full pillow.
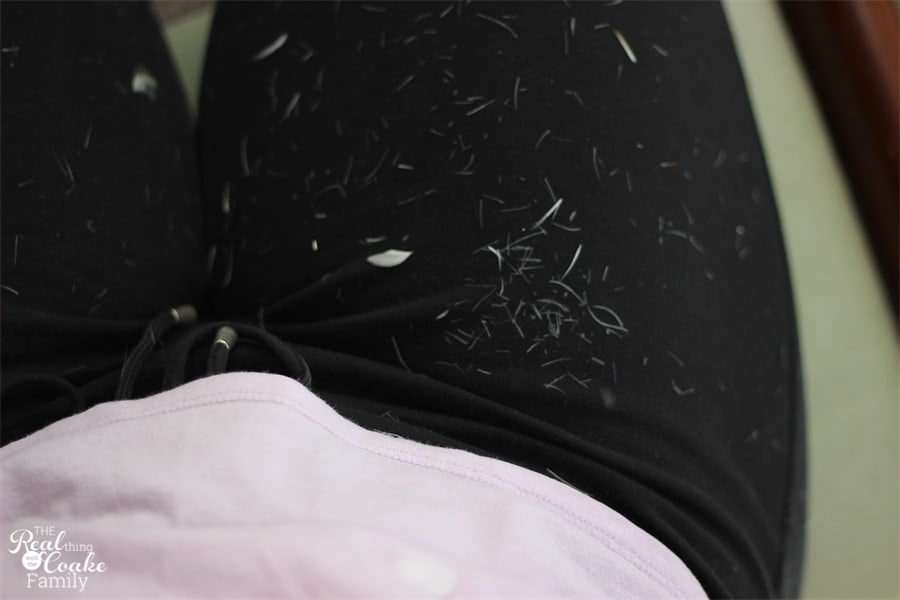
Wearing black while working with white down feathers may not have been the best choice. Lol!
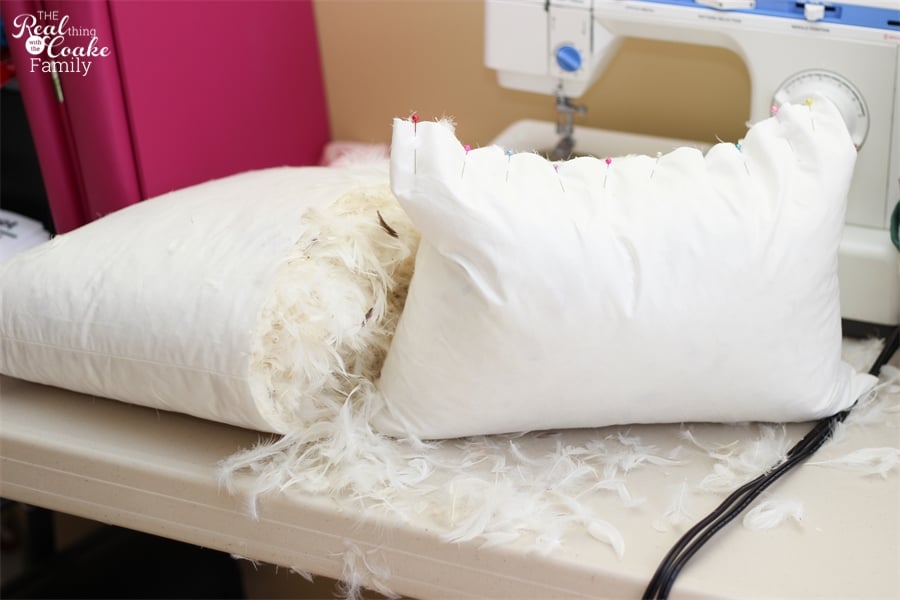
Once you have squished your fill back into your pillow, you will want to pin the open end. As you can see above, I tried to squish and pin down a bit lower to leave room for sewing. This pinning was not enough room for sewing.
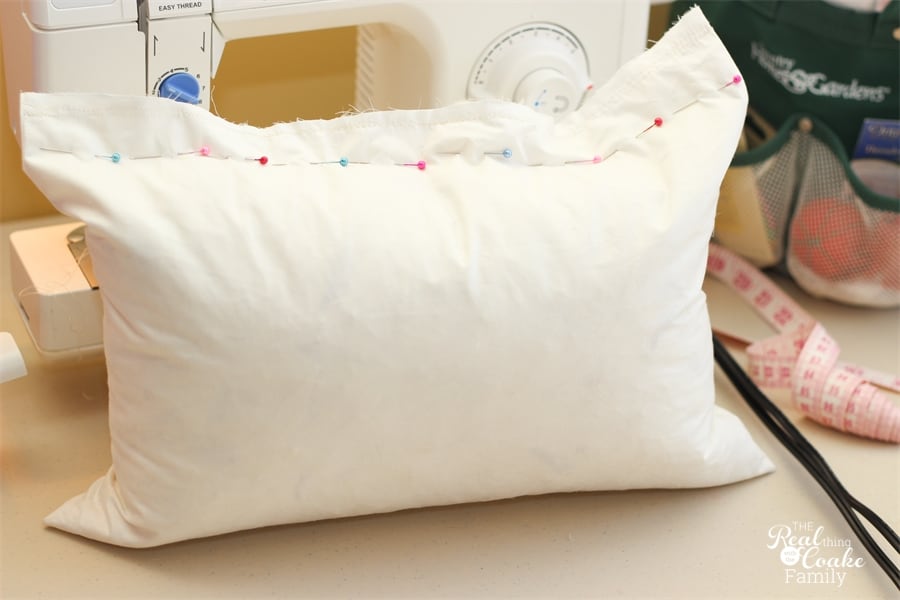
To really leave enough room for the sewing and reinforced sewing, you need to pin your pillow down a bit farther. Trust me, it will make the sewing so much easier.
Sew the pillow form closed. I recommend sewing the opening two times to help reinforce the pillow. I suppose you could get away with sewing it one time, but if your house is like mine, these pillows will be squished, sat upon, thrown, and who knows what else. Given them a well reinforced top, is a great idea!
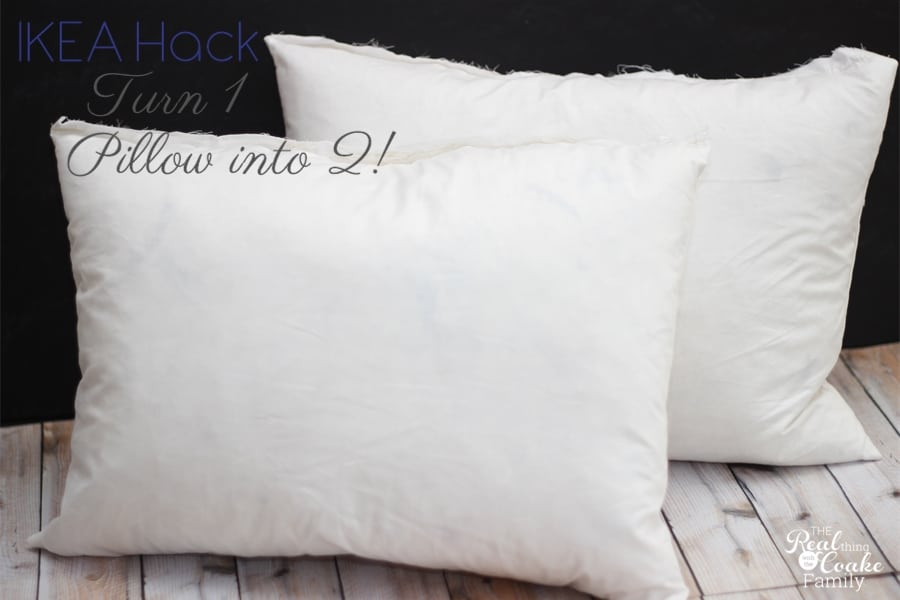
About 30 minutes and a lot of down feathers all over me and my room, voila, two pillows out of one pillow form! I now have a total of 3 pillow forms from the two pillows I purchased (I left one the size I bought). Next up, I need to sew covers for the pillows. I want these pillows to add some seasonal fun to our living room. I’ve got a super simple plan in mind and will show you next week.
Have you ever created your own pillow from? Or do you have an IKEA hack you would like to share? Do tell. Leave a comment below. Can’t wait to hear all about it!
More Decorating Fun:

if you had sewn two lines of stitching and cut between them you might have cut down on the mess. serge or zigzag the edges.
Having you been finding odd feathers for weeks afterwards?!
I made large square, fairly flat garden cushions from an old duvet/quilt, I just chopped it into squares, doubled them up and stuffed them into covers I made – that worked pretty well. But mine was synthetic stuffing so a LOT less messy than yours!
Oh, your questions cracks me up! Yes, finding feathers for a while after this. Your idea for garden cushions sounds perfect. It is ridiculous what they charge for things like that…so nice to find a much less expensive alternative! 🙂
I stitch a line by hand before cutting. It saves a lot of mess
Um, make that two lines and then I cut between them.
Yeah, you are the second person to mention this method. I know my pillows would have been way to full to fit and to be able to sew on my machine. Did you have the problem at all? I’m just amazed that it could work, but maybe with a less full pillow. It sounds great and super easy!
Actually, I do the original stitching by hand–no machine involved.
Ah ha! That makes sense. Surprisingly, I’ll take feathers over hand stitching. I really don’t like hand stitching. Yet, your method seems a lot easier and less messy. 🙂
Great tutorial!
I have used dental floss and a huge upholstery needle to baste two rows of stitches before I cut! Voila! No feathers!
Andie
I have such smart readers! You guys are so smart to come up with these ideas. Sounds like it would work really well. Now if only you could make me like hand sewing work. lol!
What a great idea! I have a couple of forms from IKEA but they are tiny squares.
I think you have more patience than me….Looks great…
Nancy
Wow, what a great idea. I never would have thought about cutting a pillow in half, but you made it work. Thanks for sharing
Totally brilliant! Pinning…
Awww…Thanks!
Brilliant idea!!
Oh……this reminds me of splitting down an unwanted king size feather bed into 2 singles. Looked like there had been a massacre in the chicken factory. But it was a great saving and even though I hoovered up feathers for weeks it was worth doing. Ask if I would do it again….. Lol 🙁