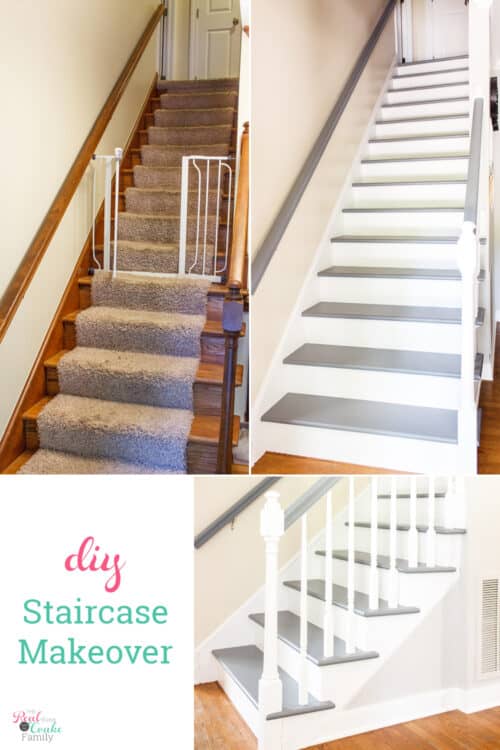
I’d put this project off for 2 years because it seemed like it was going to be a pain and I hadn’t figured out what I wanted to do.
To figure out my colors and exactly what I wanted to do, I headed over to Pinterest and did a bunch of visual research. Thank goodness for Pinterest!
After that, it was time to get to painting the stairs. Which it turns out takes forever, especially if you make the same mistakes I did. So, I’m going to let you know how you should do it even though it’s not the way I did it. Learn from me. Please. You’ll be so happy you did!
Before we get to the step by step directions, I also want to take a minute to say that this is not a quick project. It will take you at least 2 weeks in my generous estimation.
Mom life being what it is, it’ll likely take you more like a month+ if you can work at it like I was.
You can split most of the project up into smaller chunks of time. As a bonus, a huge part of painting stairs is literally waiting for paint to dry. So that’s pretty easy! ? ?
I’ll show you the estimated times so you can plan ahead in your busy life and still tackle this DIY project. You can use your mom to-do list to help you keep up with everyday life during this project. That way, you don’t end the project and feel like the rest of your life is about to cave down on top of you.
Painting Stairs
Supplies:
- Painters tape both regular and delicate (affiliate links)
- Paintbrush
- 4″ roller and cover (affiliate link)
- Paint tray
- Primer – I prefer Zinsser 123
- Sandpaper (optional)
- Drop cloth (save old sheets for this)
- Paint for floors – I used Valspar Latex Porch, Floor & Patio paint in Software
- Paint for trim – I used Behr Premium Plus Ultra in Ultra Pure White Satin
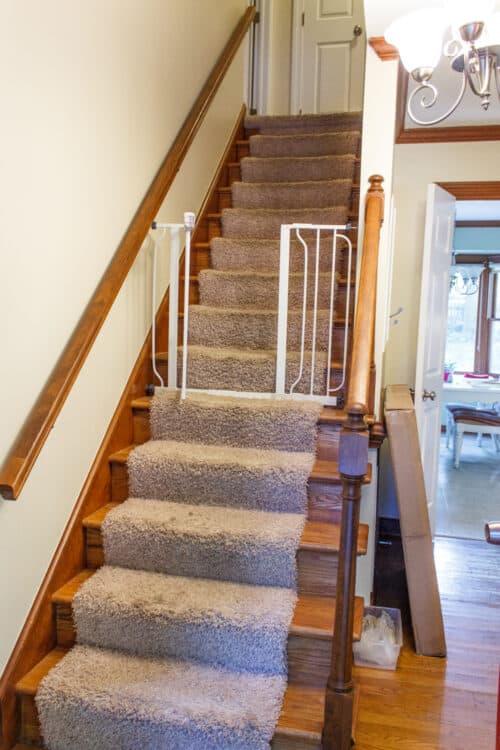
Before we get to the tutorial today, here is what my stairs looked like 2 years ago. Blech!
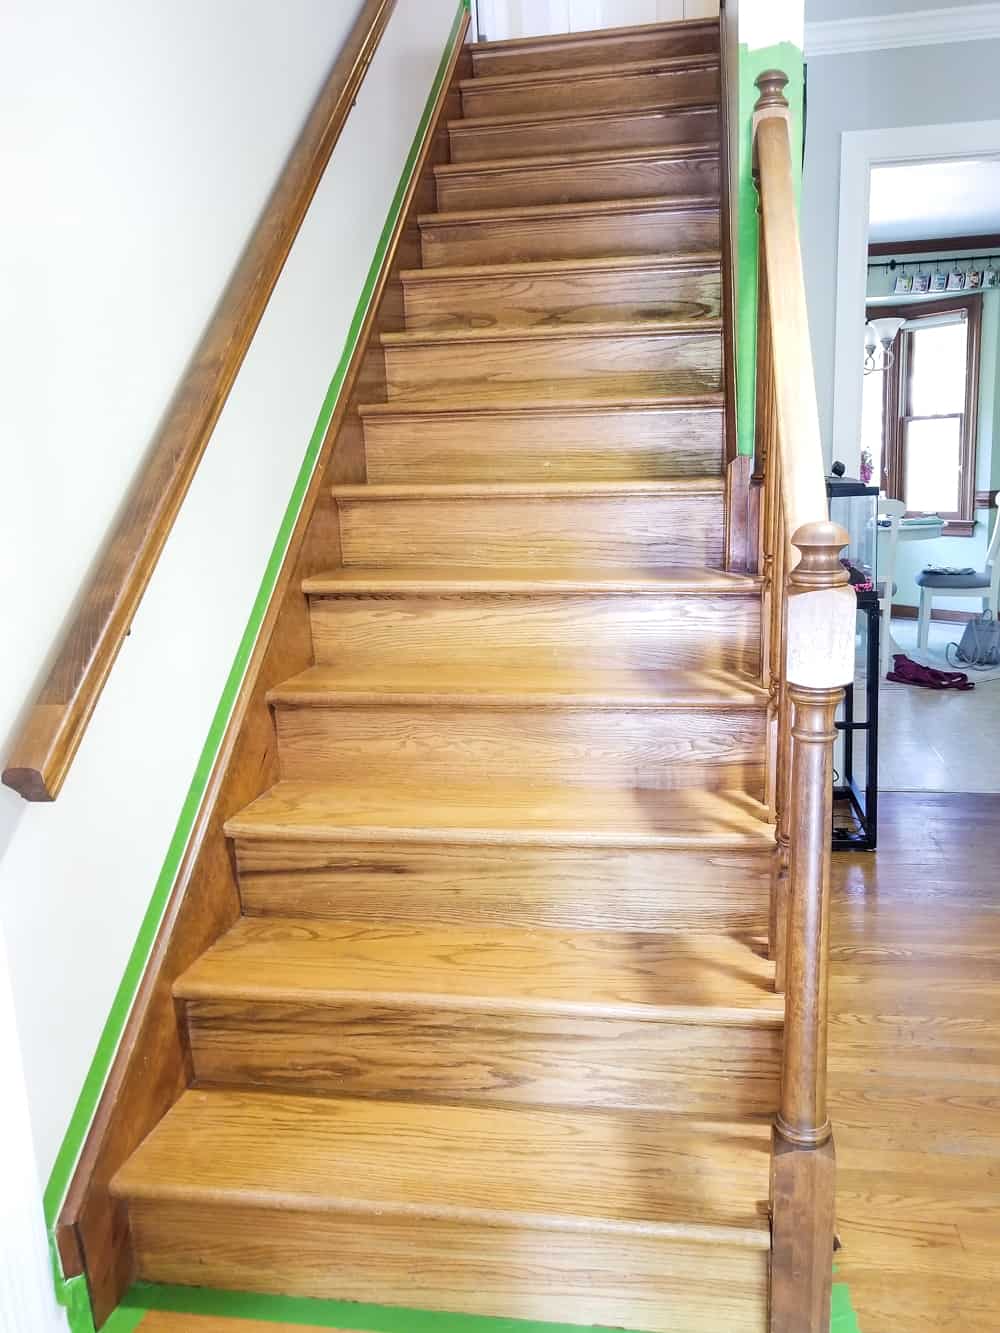
First up, I removed the carpet. Then waited 2 years to get to today’s project.
NOTE: You may notice that the pictures don’t match the directions. I’m sharing the directions in the correct order for the project versus the way I did the project. Learn from my errors and make your DIY easier. ?
Step 1: Sand (optional)
TIME: About 1 hour
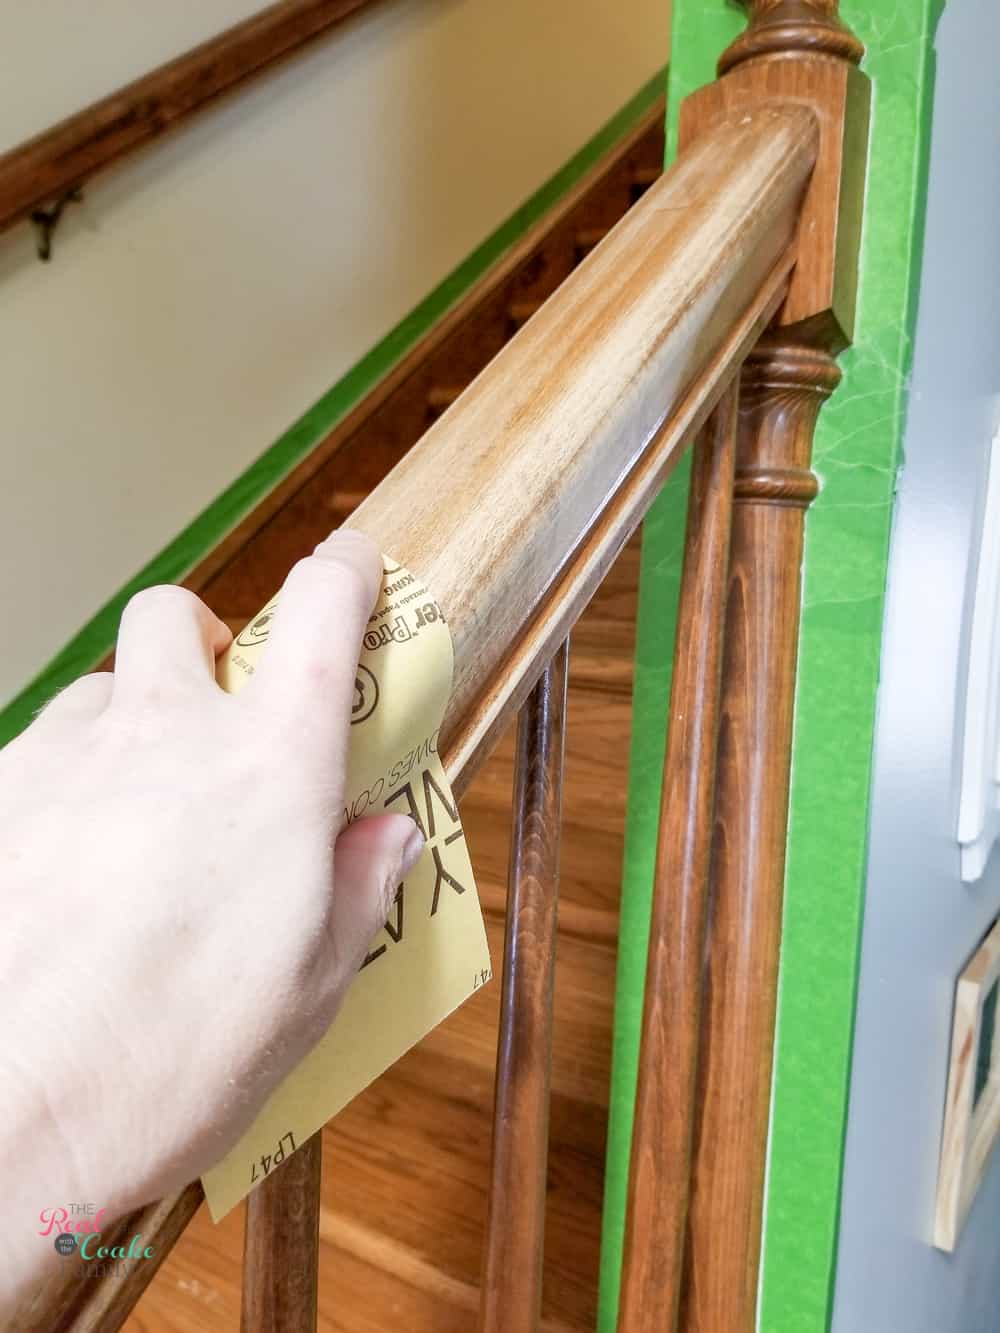
This step is optional…and potentially disgusting.
If your stair treads are rough, you’ll need to sand them before priming.
Same thing with your railings.
If your railings feel bumpy when you use them, you need to sand them.
I chose to sand mine off. I started with somewhat high grit sandpaper thinking that would work. Nope. If your railings are old and grimy, begin with low grit sandpaper. I think I ended up using 100 or 120 grit to remove the bumpiness. Then went to 180 and finally 220 to smooth things out.
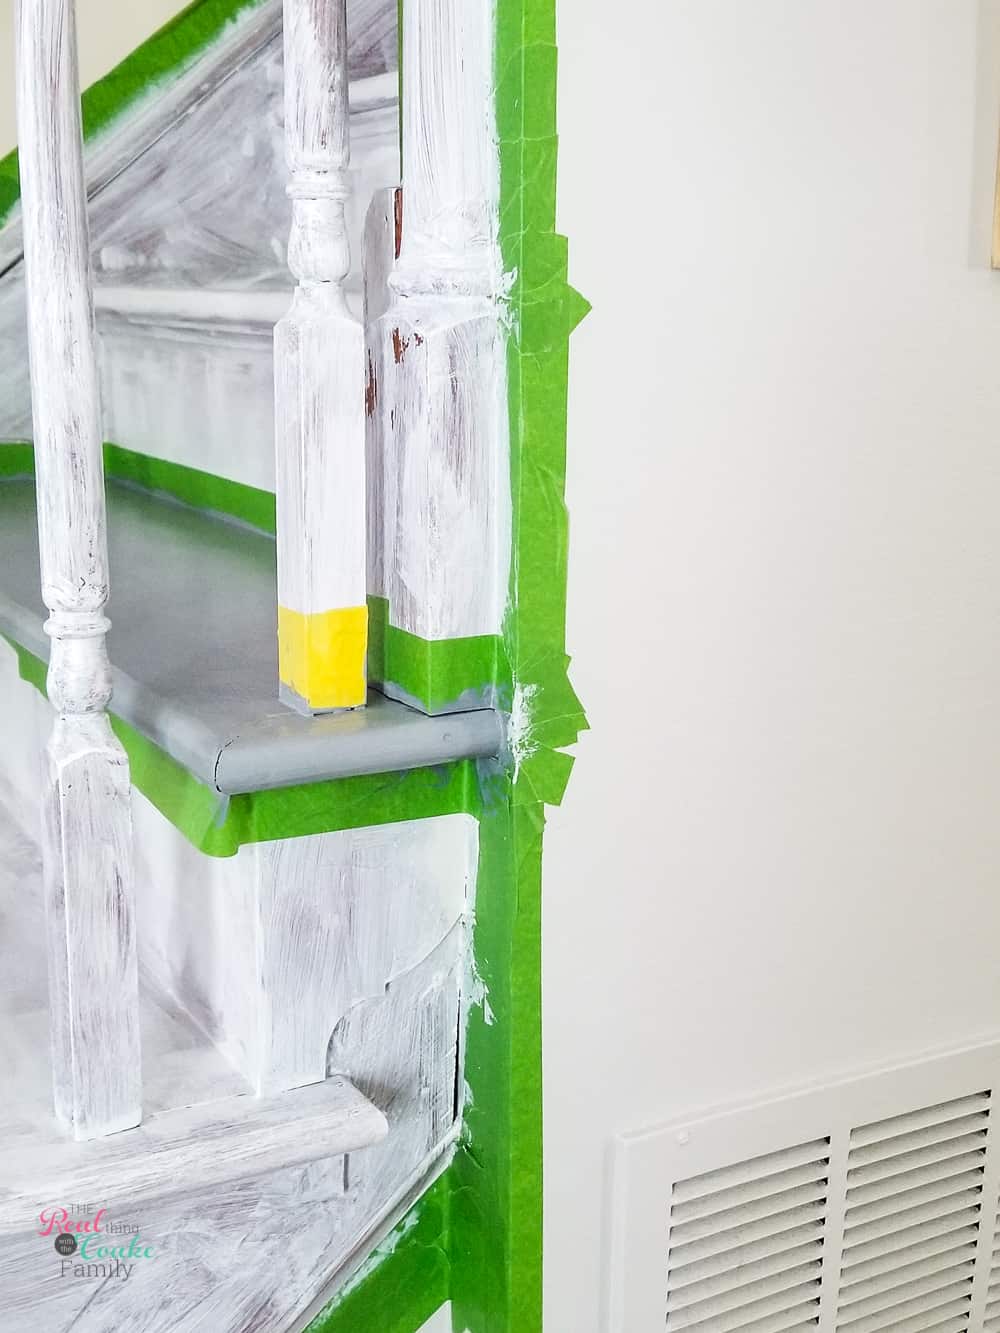
As you can see from the picture, I did step 2 first. It still works if you do it that way, but you’ll have grim stuck in the tape for sure. It’s disgusting.
Step 2: Tape entire stairs
TIME: 1 hour
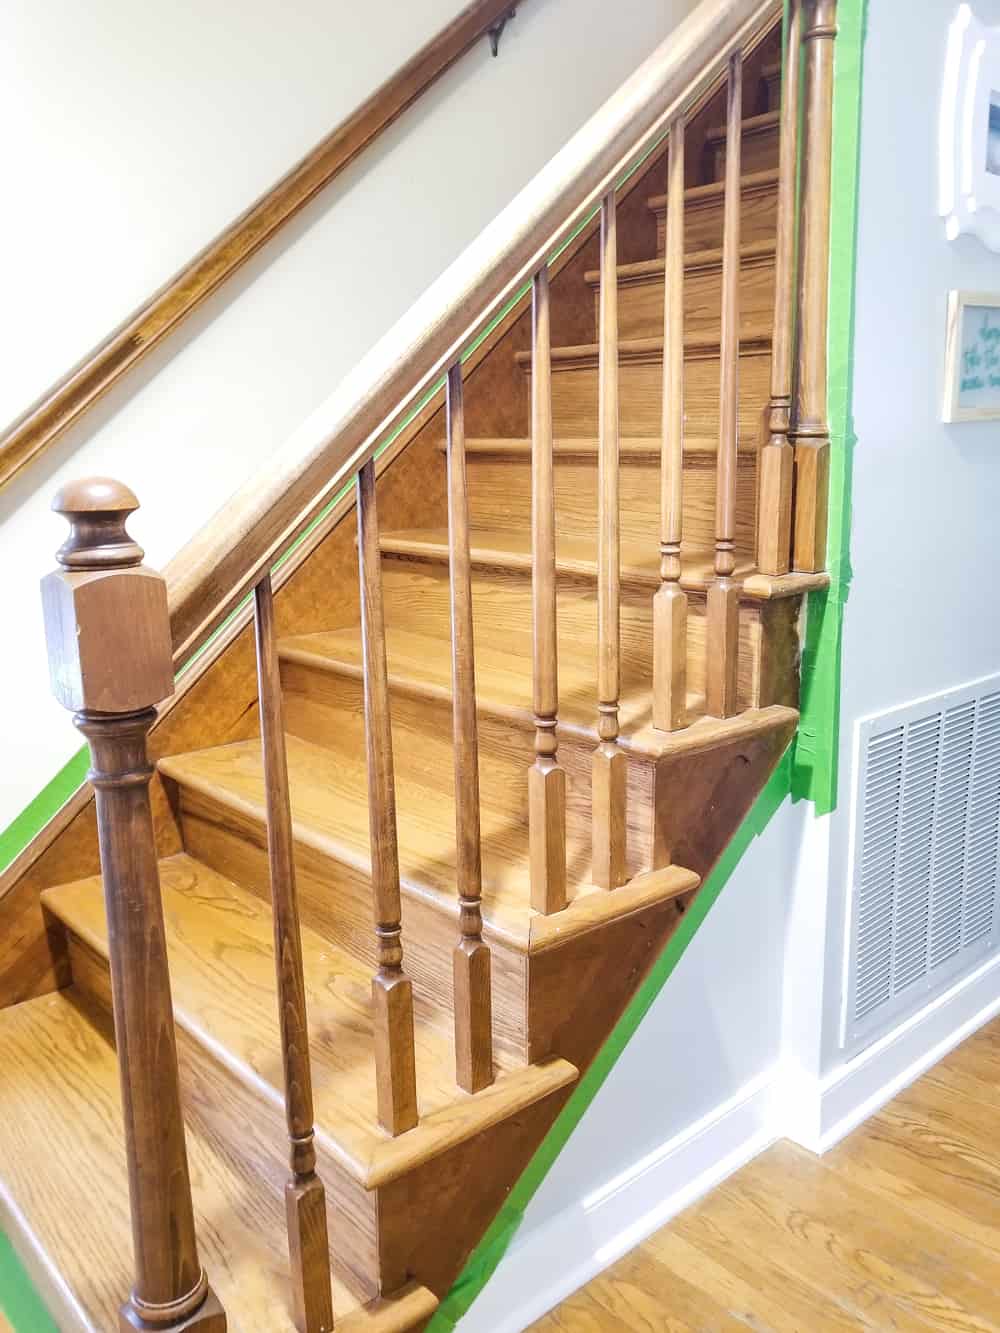
Whether you sand or not, you need to start by priming.
To do that, you’ll want to start by taping off your entire stairs, trim and all for primer. Regular painter’s tape is best for this. Make sure it has a 21 day or longer clean removal guarantee, so it doesn’t cause problems with how long this project is going to take you. Frog tape(affiliate link) is my favorite even though it’s more expensive. It works, so I don’t mind paying more because I’ve had some nightmare experiences with other painter’s tape.
Step 3: Prime
TIME: 1 hour
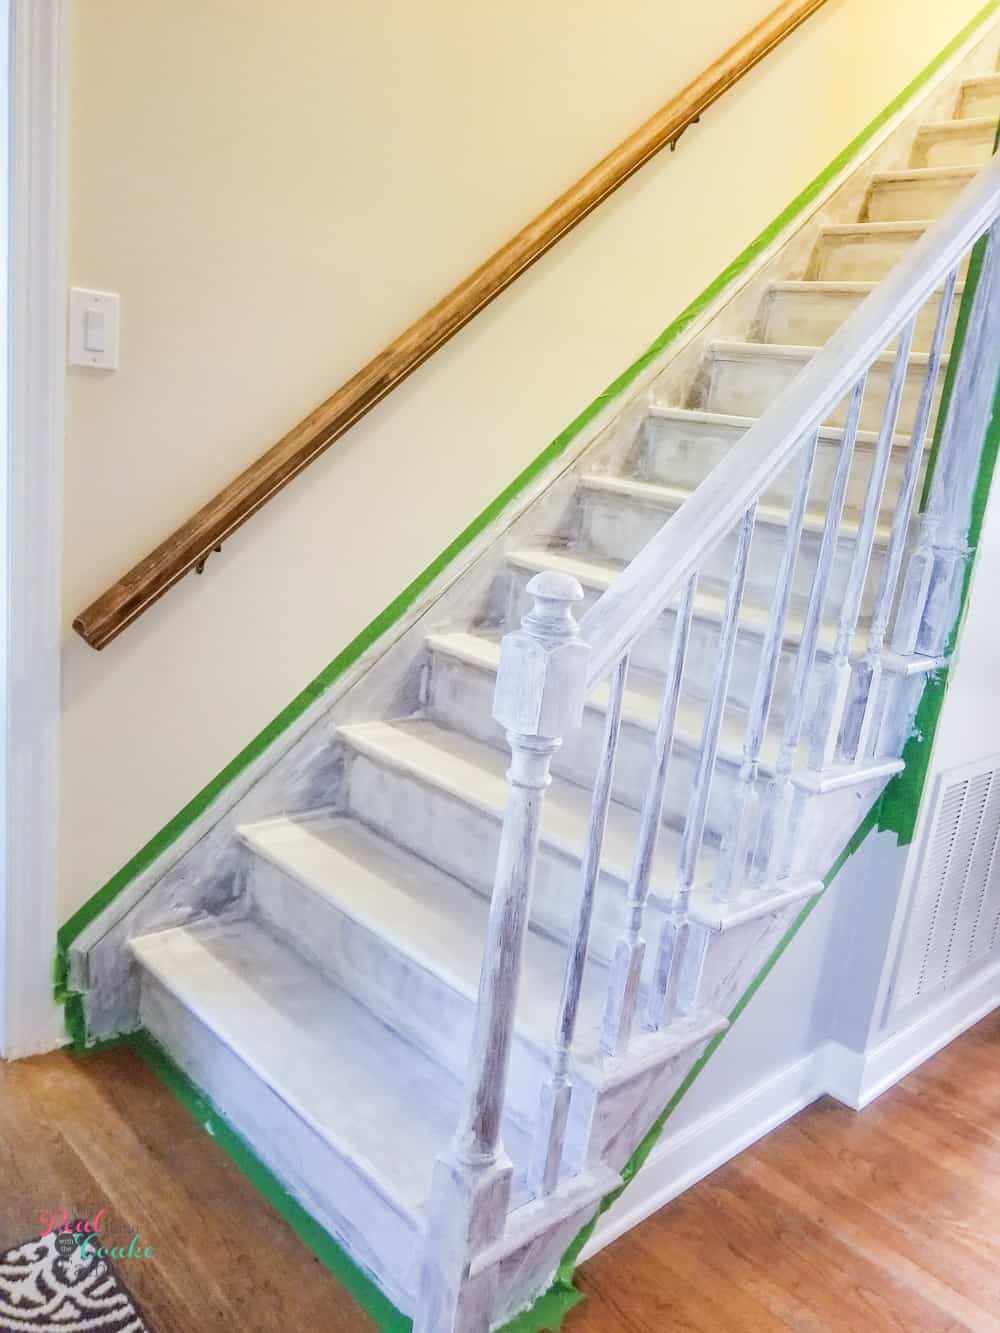
When painting stairs without sanding, you must prime them.
Primer will help you cover the wood and make sure you get even color.
Prime everything. That means, railings, treads, risers, trim, banisters….everything. Since you don’t have to be super careful, it goes fast depending on the size of your staircase. Watch for drips though as those will mess up your final paint job.
Primer doesn’t need to give you full even coverage. It only needs to cover. It usually looks pretty bad. My girls said our stairs seemed like they belonged in a haunted house at this point.
Step 4: Test paint colors
TIME: 10 – 15 minutes
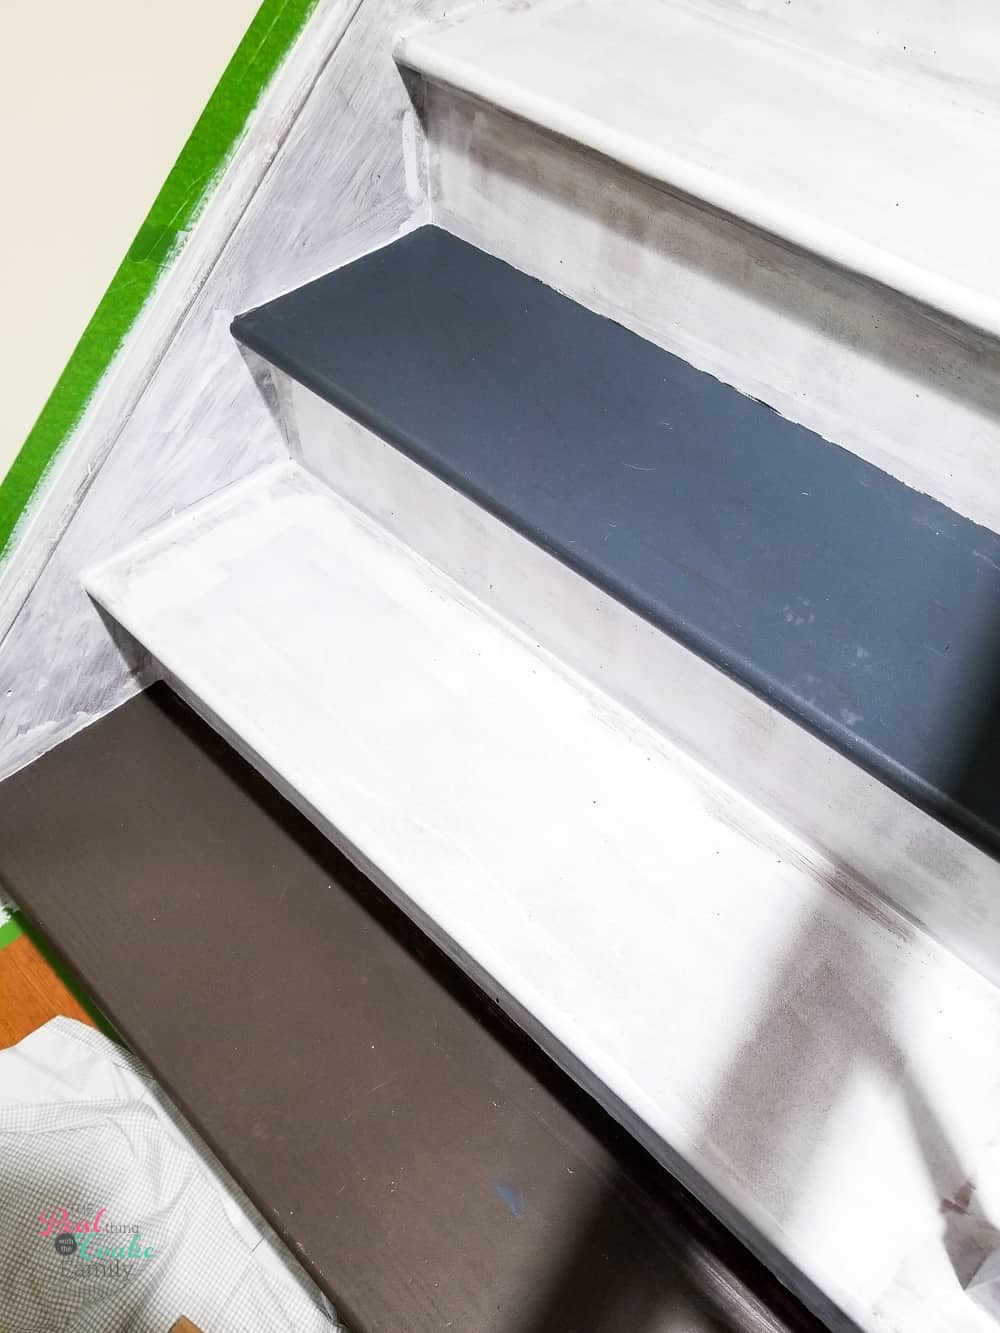
With stairs, there isn’t a good way to test your paint color until you get to this point. So get a few tester colors, or buy your paint at Lowe’s, like I did. They guarantee you’ll love your color or they’ll replace your paint until you love the color. I tested that guarantee….3 times.
If you follow me on Instagram, you saw my trials. Finding the right color was hard.
The bottom color above is the darkest value of the hallway wall color, which I love, but had no idea it was so brown. Next, I tried one of the popular colors in the brochure about the Valspar Porch, Floor & Patio paint. That was way too blue for me.
In the process, I also realized I didn’t want to go as dark as I thought because I was seeing how much dirt showed. As someone who hates to clean, I don’t want to see the dirt so much and let it annoy me. On the 3rd try, I found the Software color that I ended up going with. It took the Lowe’s employee giving me the full fan deck of colors and me finding a grey that’s full value was black to get the color I wanted.
TIP: Take your time here and work to get a color you love. This project takes too much time quickly redo if you don’t like it in the end.
Step 5: Paint trim
TIME: 1 hour per coat (3 hours total for me)
Use Pinterest to figure out what you like.
For me, it meant the newel posts, trim, and risers. (If you’re like me and don’t know the names for the various parts of stairs, do a quick Google search.)
I painted the newel posts(the sturdy post at the bottom and top of the stairs that the handrail and balusters attach to). If you look at Pinterest, you’ll see that people either paint it the same color as the railings or as the trim. I like the look of it being the same color as the trim.
You’ll need to tape off the parts that your painting to get clean lines. I recommend delicate tape(affiliate link) at this point because it’ll do the least amount of damage to your primer. You’ll most likely still have to touch up your primer in the taped areas a little bit before the next step.
TIP: Use your 4″ roller on the risers to make that part go a bit faster. Everything else will need a paintbrush.
Remove all your tape after you finish the last coat.
I recommend waiting 2-3 days before you start the next step. That’ll give the paint time to cure before you add new painter’s tape. If you’re feeling impatient wait at least 24 hours.
Step 6: Tape and paint every other stair tread
TIME: 30 minutes for taping and 30 minutes per coat (1.5 hours total for me)
First, you’ll want to tape your stair treads, so you get a beautiful clean line. I recommend using delicate painter’s tape even though it’s not what’s shown. I did things in the wrong order. ?
As you can see above, excitement about the primed clean treads made me paint those first. Dumb mistake. They got small bits of paint spilled on them when I painted the trim and other white parts. Which lead to me adding another coat of paint after painting the trim. That’s a pain because the paint for the treads needs 24 hours until you can recoat and 3 days until you can have traffic. ?
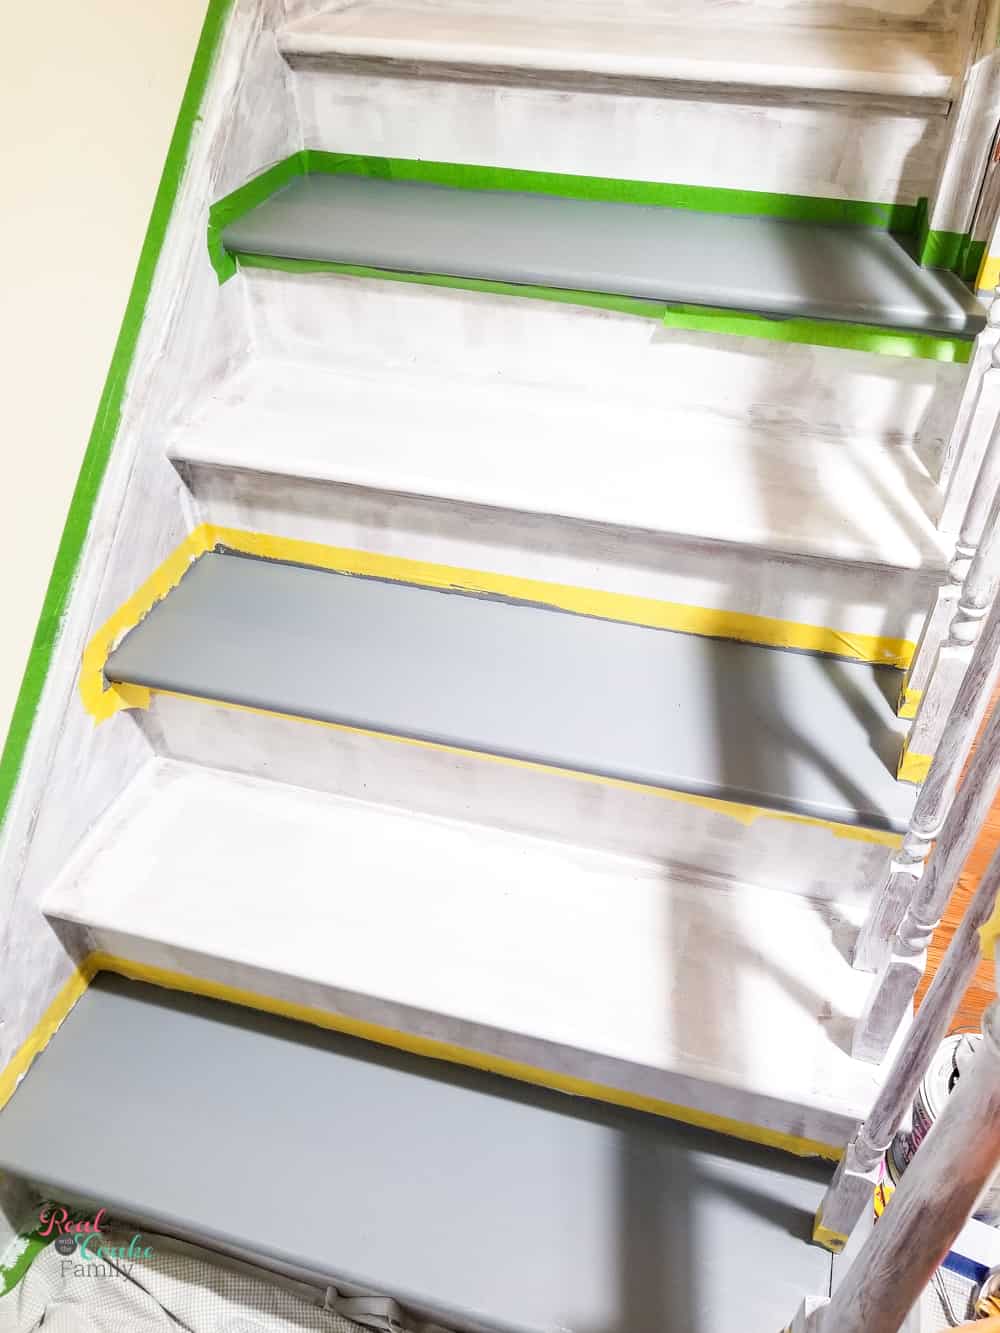
This is the part of the project that will take you the least and most amount of time.
The actual painting of the treads doesn’t take that long.
The 4″ roller will make it really fast and easy.
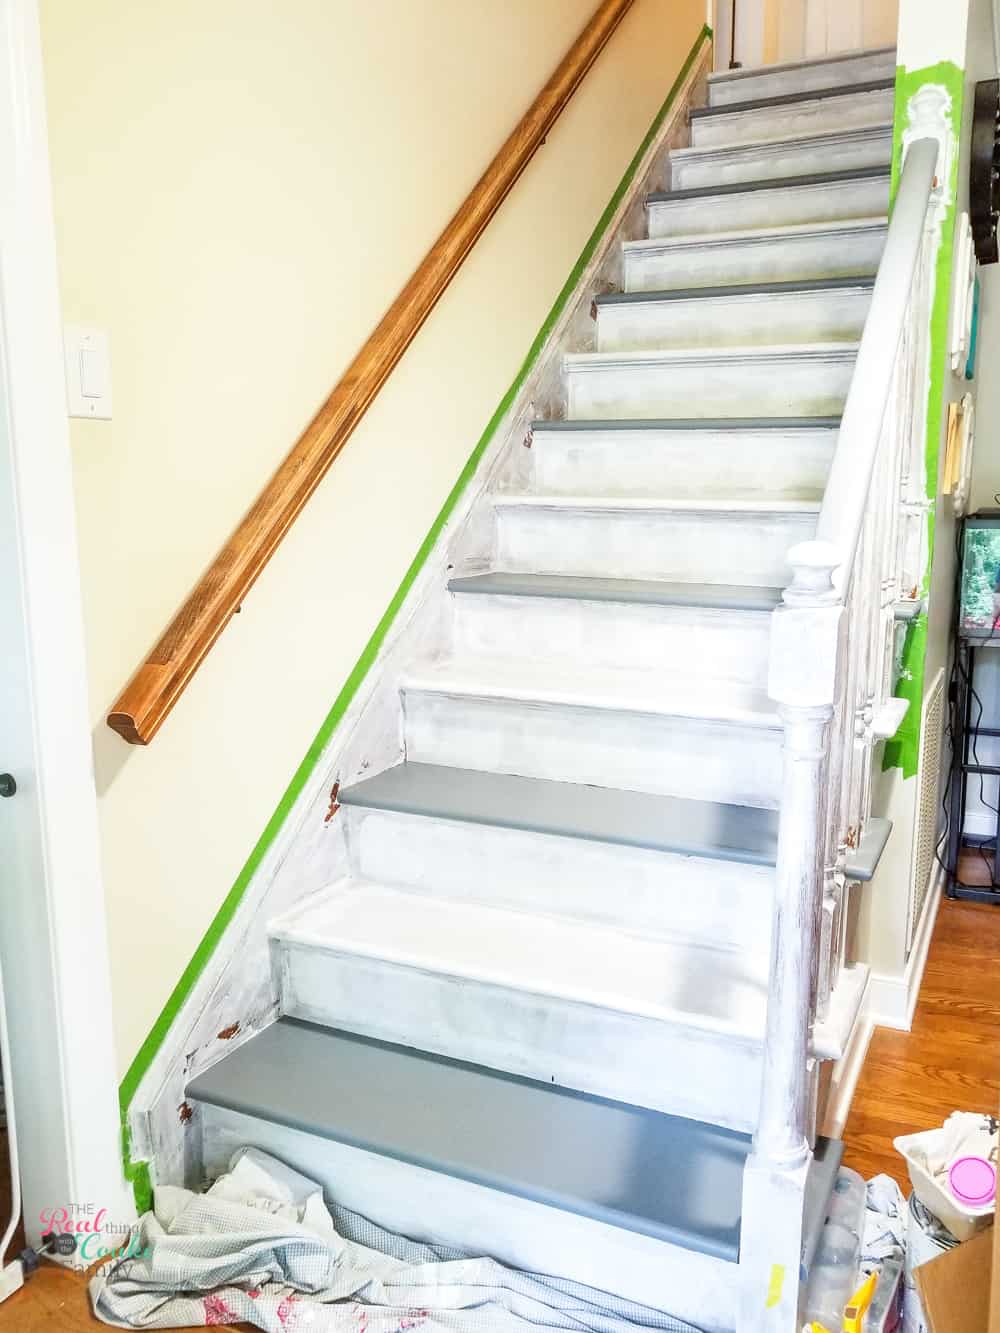
To make this work for you and your family, you’re only going to paint every other tread. Then you’ll be going up and down the stairs 2 at a time for at least 5 days.
TIP: Pets…
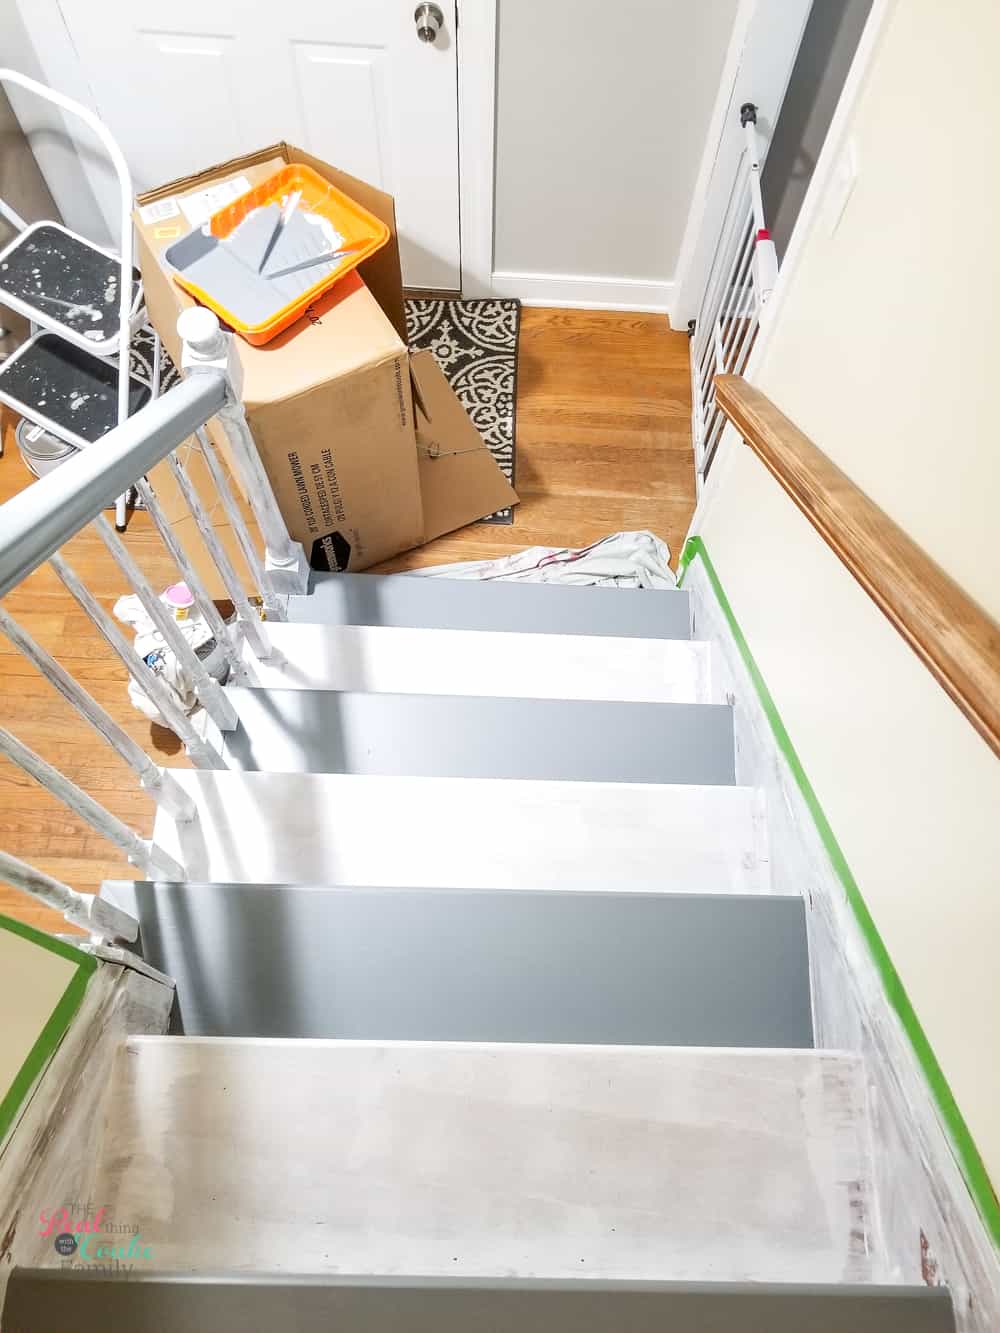
If you have pets, you’ll need to keep them off the stairs for as long as you can, the full 5 days if that’s possible.
We used a big box from a lawnmower I ordered from Amazon and a pet gate we’ve saved for things like this.
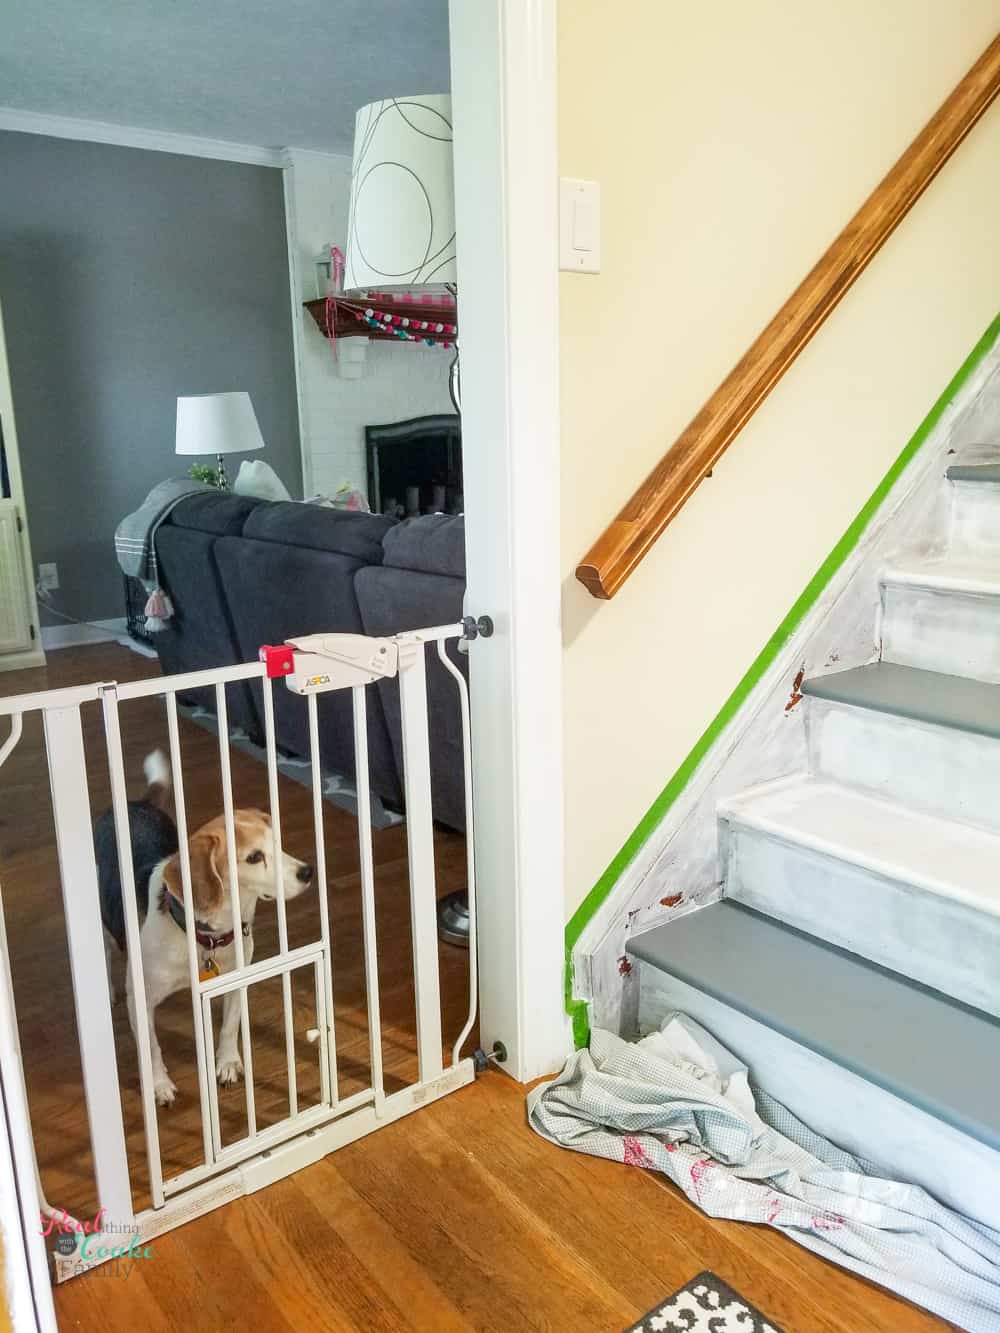
It was a pain for the humans as it stayed like this for at least a month because of my mistakes and our busy schedule. Oof!
Our dogs are small, so I could carry them upstairs at night for the first 24 hours. After that, I let our bigger dog (pictured above) walk up and down the stairs at night and in the morning. I figured two trips per day would be OK.
Step 7: Paint remaining stair treads
TIME: 30 minutes per coat (1 hour total for me)
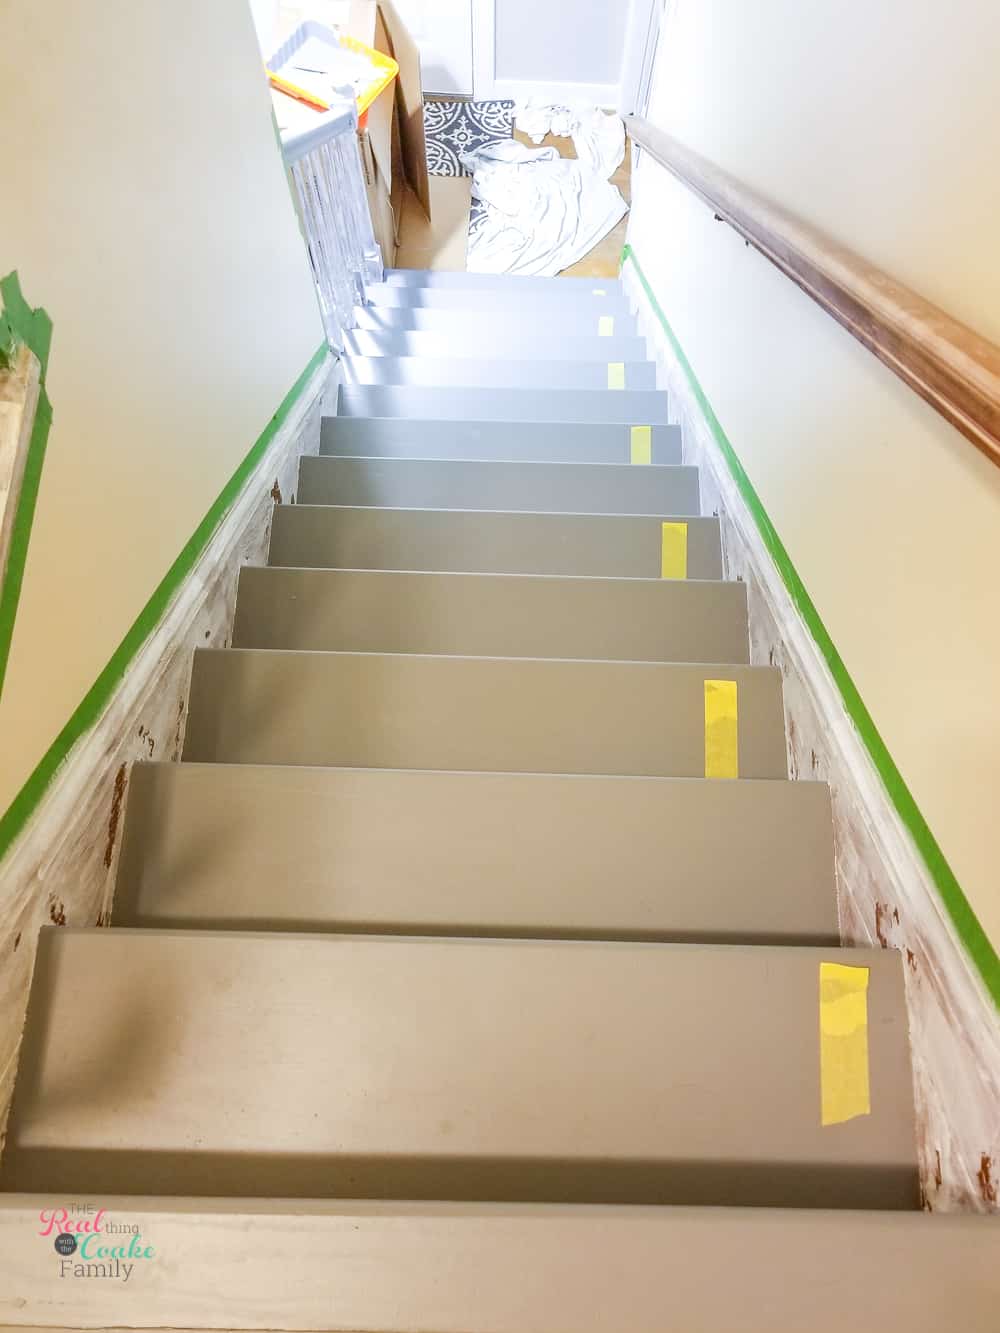
Now you’ll want to paint those remaining stair treads.
When painting stairs, the thing that gets tricky is remembering which steps you can use and which you can’t because now they all look the same.
I’d seen an idea to put a paint stir stick on the steps you could use. We have a cat that I knew would use those as play toys. Then we’d have no idea where to step. As a visual reminder, I added a small piece of delicate painter’s tape to the steps we could use. They stayed in place and worked as our reminder.
This step will take you the same 24 hours between coats and 72 hours before you can use the stairs. So, at least 5 days.
Step 8: Remove and paint handrail
TIME: A little over 1 hour
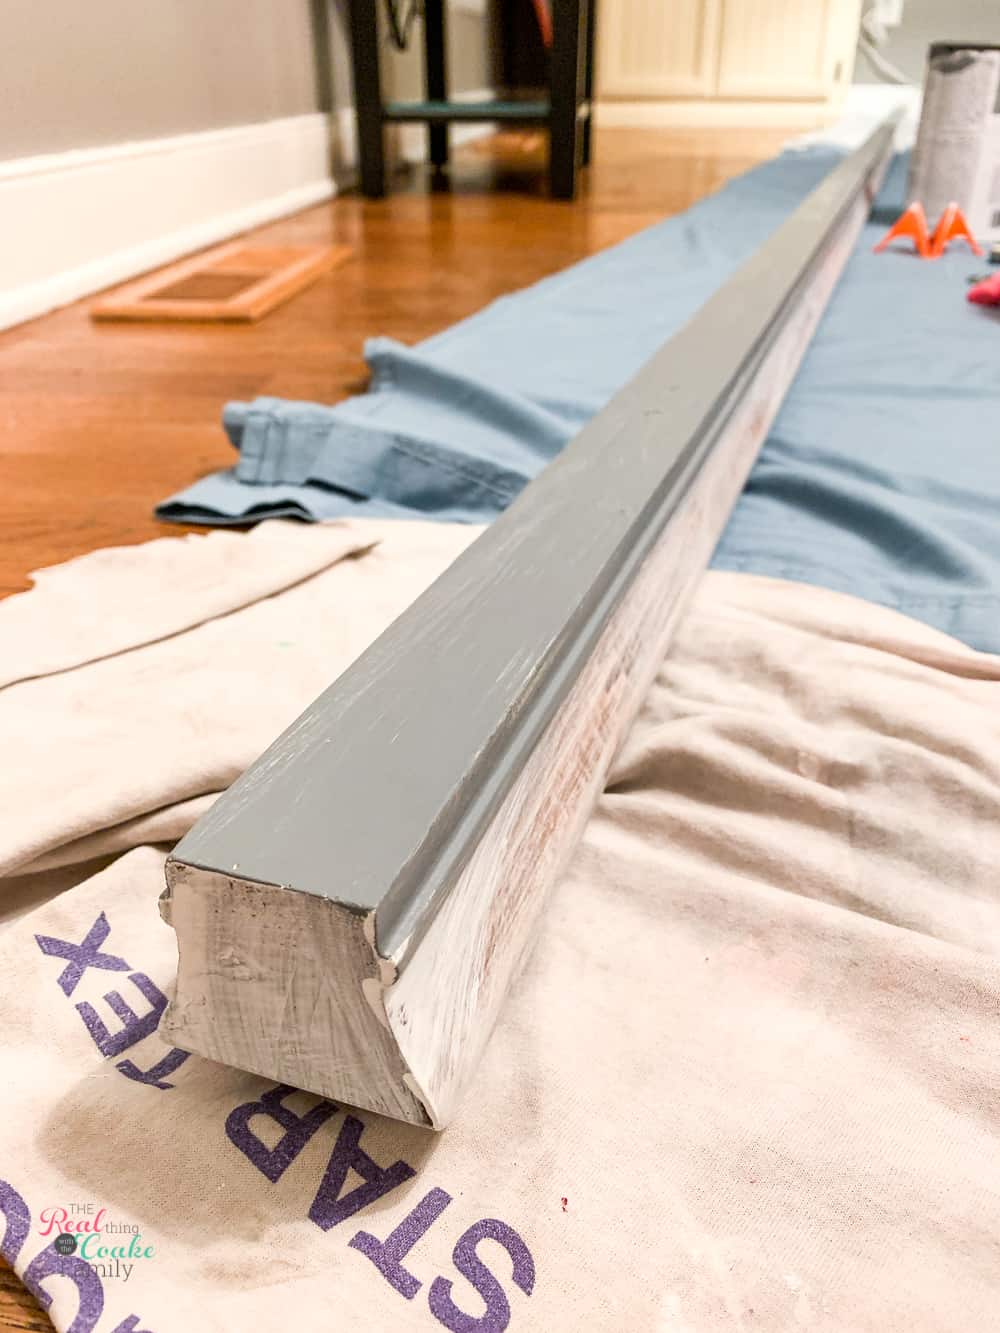
If you have one big long handrail attached to the wall, it’s gonna be easiest to take it down and paint it elsewhere.
NOTE: Don’t take your handrail down before this step because you’re going to need it as you navigate your stairs 2 at a time for a couple of weeks….which is especially fun with big baskets of laundry. ?
I needed to replace my hardware as well, so it made the most sense to take it down.
You’ll need another person to help you with this part if your railing is long.
Prime the handrail first.
Paint the bottom first. I wanted my best side to be the side that faces up, and most people will see. I started by painting the bottom of the railing and up the sides a little bit because I thought those were going to be hard to paint close to the ground.
Then flip your handrail over and place them on these little paint stands(affiliate link). Surprisingly, they hold the weight of the railing. I also discovered that you can lock 2 of them together to hold the handrail better.
Paint the top of the railing.
If you’re using the same paint as for the treads, you’ll need to do the 2 coats and use the same wait times.
Step 9: Reattach handrail
TIME: 10 – 15 minutes
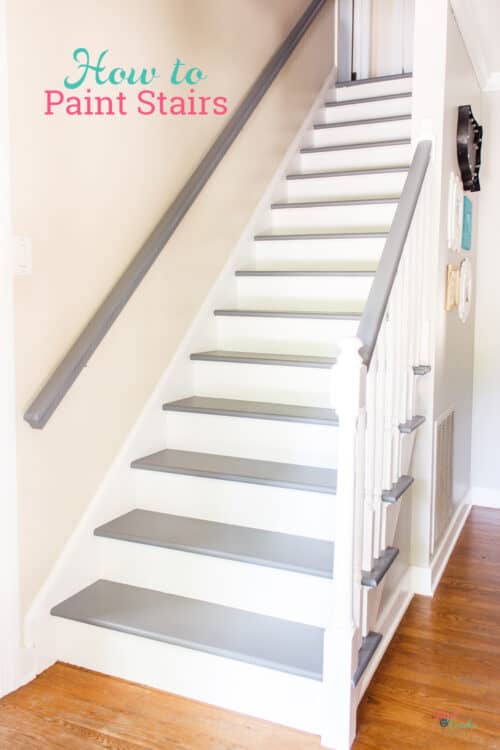
You’ll want to have help to reattach your handrail to the wall.
If your hardware is looking blech, this is the perfect time to replace it. I replaced my hardware for less than $10.
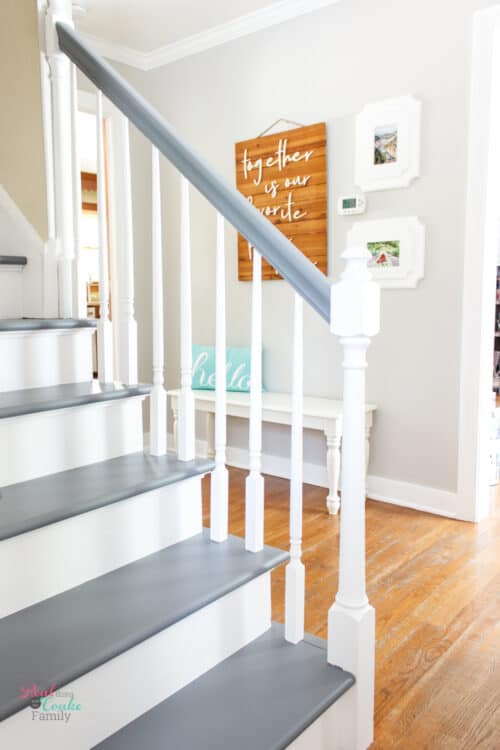
Can you believe painting stairs cost me less than $100?! Wow!
Of course, I already had primer, a paintbrush, some of the painter’s tape, drop cloths and some of the trim paint.
I had to buy some painter’s tape, roller covers, trim paint, and floor paint.
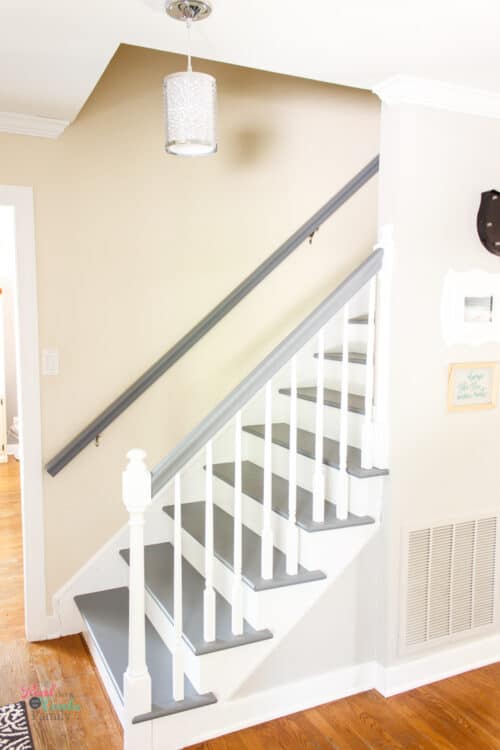
One place you could save money would be with the floor paint. If your stairs are a similar size to mine, get a quart of paint, not a gallon.
I got the gallon and have TONS left. You don’t need that much if you’re only painting the treads and handrails.
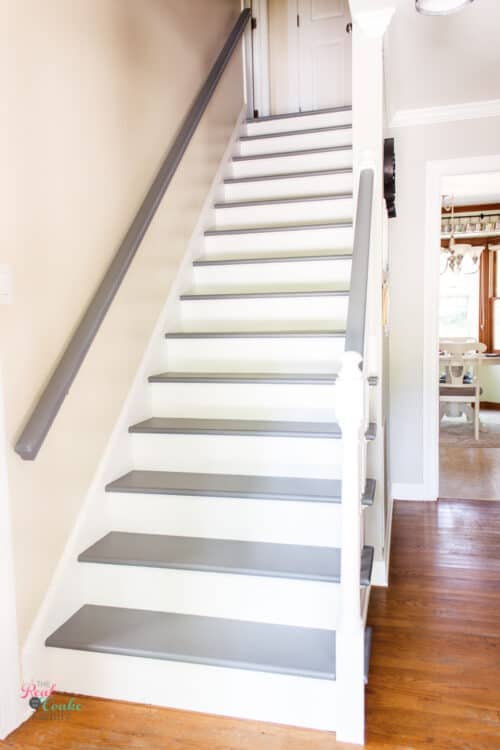
All in all, painting stairs took me about 6 weeks to complete.
Had I been more diligent, and not a single mother at the end of the school year with all kinds of crap going on, I might have completed it in about 20 days. That’s accounting for the drying times and assuming I worked every day I could have.
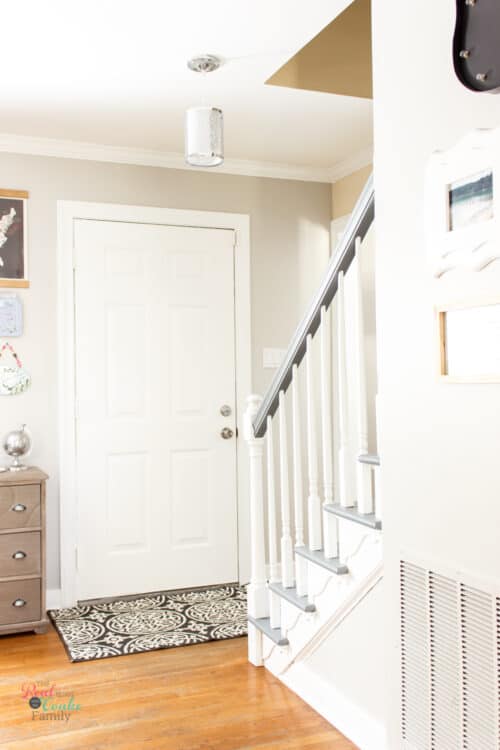
Painting stairs is not a fast project, but it’s also not a hard project.
It’s a project that is, at times, a pain in the butt. And it’s so worth it!
I mean, look at my hallway now!
Also, if you look at the picture above, you’ll see my next project.
When I painted the hallway, I stopped in the corner you can see. That wall leads up the stairs and is 2 stories high….with pretty much no access to be able to paint it.
That’s next. I need to paint that wall and the upstairs hallway the same grey.
I’ll share that with you next month when I get that project done. Have to figure out how to do it first. ? Sign up for my emails if you don’t want to miss the end result.
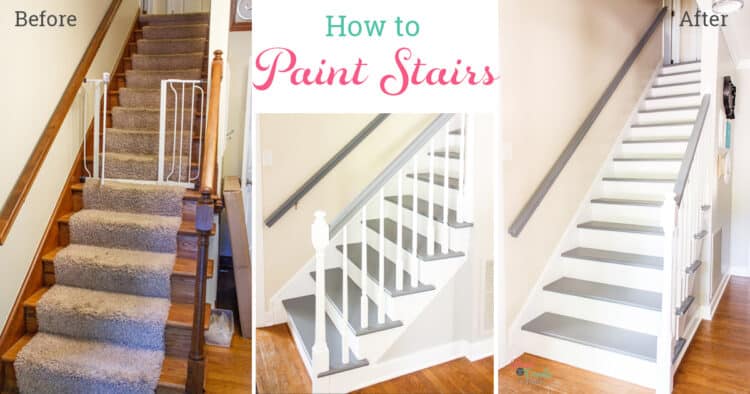
Can you believe the before and after? SO MUCH better!
I know I said painting stairs was a pain, but much like childbirth, the pain is almost forgotten when I walk up and down my pretty stairs.
As my daughter said, our stairs look straight out of Pinterest now. ?
Follow me on Instagram to see my latest projects in real time or follow me on Pinterest to see my research the next project. ?
Gorgeous stairs! I appreciate you always being real about the trouble spots you run into and how long a project will actually take while working/taking care of a family and pets! So many bloggers make renovations look simple and that’s not the case when you are living where you’re updating. Thanks for sharing!!
Thank you so much! That’s always my goal…to keep it real and also to let other moms know that just because we have a family and things are busy doesn’t mean we can’t take time to do something that we love or is important to us. Glad you appreciated all the ‘realness!’
Love how this looks. What color is that? If I have a loft open with rails. Do you suggest painting just the tops in grey?
Thank you! The grey color is called Software and the white is just the plain off the shelf white. The specifics companies and sheens are listed under the supplies at the beginning of the post.
I’d recommend that you do a search on Pinterest for painting stairs and take a look. Maybe even pin the ones you really like. I think you’ll quickly discover what look you like. I preferred the painting the tops of the rails only better. It really is just personal preference.
Great tips! I want to paint our basement stairs but know I need to wait until our very old and pretty feeble cat passes away as he’s up and down them all day long. Pinned.
Oh! I hope it’s a long time until you can paint then. ? Hope the post helps when you do get to painting your stairs. If you have time, send me pics. I’d love to see!
Wow, such a difference! Thanks for sharing at the Weekend Blog Hop at My Flagstaff Home! –Jennifer
Thank you!
Your painted stairs look amazing, KC! Thanks for sharing the tutorial! I totally get taking forever to finish a project! #singlemomlife #ptbloggerlife
Thanks so much! Yes, projects take forever as a mom, but we can’t let that stop us! ?
What a huge difference this project makes! Thank you for recording the process–takes the guesswork out of a big project.
Thanks so much for joining the Grace at Home party at Imparting Grace. I’m featuring you this week!
Thank you! That’s my goal….let me waste all the time and make all the mistake, so you don’t have to. lol! ?
This looks great! What is the name of the color you ended up using? And does it hide dirt well?
It’s called “Repose Gray.” It’s from Lowe’s. I think it hides dirt well. I have it in the hallway downstairs that I painted a year ago and it still looks great. I’m not sure about longer than that. Hope that helps!
Hey! The stairs look great! Do you really think only a quart will do for the treads? I have 13 treads and a landing. I ordered a gallon of paint but now I’m reconsidering.
I think I’m probably too slow to help you, but you won’t need a ton of paint. I bought a gallon and didn’t need nearly that much. A quart would totally have worked, but you have a landing and that may push you closer to just over a quart. So, probably a gallon was a safe bet for you.
Hope your project went well. I’d love to see pictures!
Looks great! Did you paint the top tread (the small top part of the step that is level with the flooring) My husband and I are in a disagreement on whether the top step should be painted or not. He thinks it should match the flooring in the hallway, I think it should be painted because you will notice it’s different than the rest of stairs. I’m scouring Pinterest but having a hard time finding pictures of tops of staircases! Thanks!
Thanks so much! I did paint the little part at the top. For my stairs, it would have looked weird because I would have been leaving that the old wood color and then I have a different vinyl flooring at the top of the stairs, so I painted mine to match the stairs. They don’t match, but they go together. I would think that if you have wood and it matches maybe leave it and don’t paint it, but it kinda seems to me like it makes sense for it to match the stair treads since it is the final stair tread. If you want to connect with me on Instagram (@realcreativerealorganized) and send me a PM, I’d be happy to send you a pic of what the top tread looks like. Good luck! Hope your project goes really well!
What did you end up doing? I have the same problem. I didn’t paint the top of the stairs. The bullnose goes into the hardwood floors in the hallway upstairs so strange to decide what to do. It does look funny looking up at the stairs and the treads are all navy blue and the last one is oak.
I ended up painting the top stair. I think it looks good because as you’ve said it would end up seeming a little odd to have that last tread the wood. I’m happy with the results.
Hiya what type of paint was it? Interior paint? As I wanted to do this but some people are saying to use gloss but all I can imagine is sliding down them lol look amazing though defiantly saving for a step by step
Hi Rebecca!
If you go back to the section of the post that lists the supplies I listed the exact paint I used, but the paint for the steps is one that is a porches, floors, or patios.
HTH! Yes, in the end, the step by step worked great…a bit of a pain in the process, but the end result is great, so worth it.
Hi there thank you so much for sharing! You have given me so much inspiration 💛 I am starting this project tomorrow and doing almost the same colors on my stairs! I love how yours turned out hopefully ours turn out as nice! Thank you for the great inspiration!!
Jessica,
I hope it went really well for you! Feel free to reach out to me on Instagram with pictures! I’d love to see.
KC
Hi there! I was wondering what kind of latex paint did you use (satin, semi gloss,etc.)?
Hi Nhu – As I mentioned in the post, I used I Valspar Latex Porch, Floor & Patio paint in the color Software. The porch, floor & patio paint doesn’t come in a variety of sheens. It is just the one sheen.
Hope that helps!
KC
Just now seeing your amazing stairs: wonderful transformation!
Now that it’s a few years out–how is the paint holding up with foot traffic? I am considering a similar project and wondered if I needed protectors on the stairs?
Thank you!
Maureen, The paint held up very well. I did just have the stairs painted by a professional because when I had carpet installed upstairs, the carpet installers ruined all my hard work. They ran the back of the carpet which is really rough up and down the stairs and over the railings.
That said, the professional job actually hasn’t held up as well as the job I did myself. So, I think what I describe in my post here works really well. It had started to get some chipped areas, etc., but I think that is to be expected with the wear and tear that happens on stairs.