When I last showed you my living room makeover, I think the picture below is about what the room looked like. I wanted to give you an update as well as give you some advice if you are figuring out how to remove chair rail. Boy do I have advice! This was definitely a learning project….which means it took a few unexpected turns. When does home improvement not take a few unexpected turns, right?
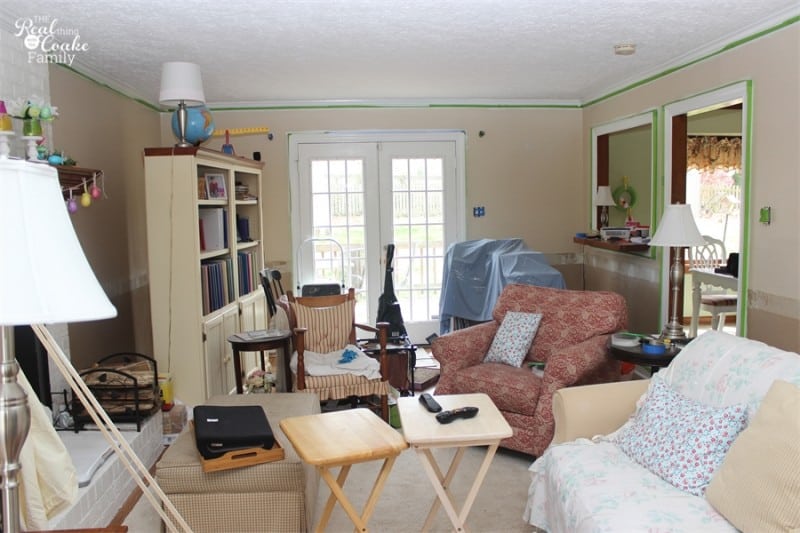
So, we lived with our living room pretty much just like this for about a month. That was super fun and a great place to relax at the end of the day. Not really. The picture above is after we took down the chair rail and before we painted the walls. You can see we have the trim taped off. We painted the trim from the stained brown look to a clean white.
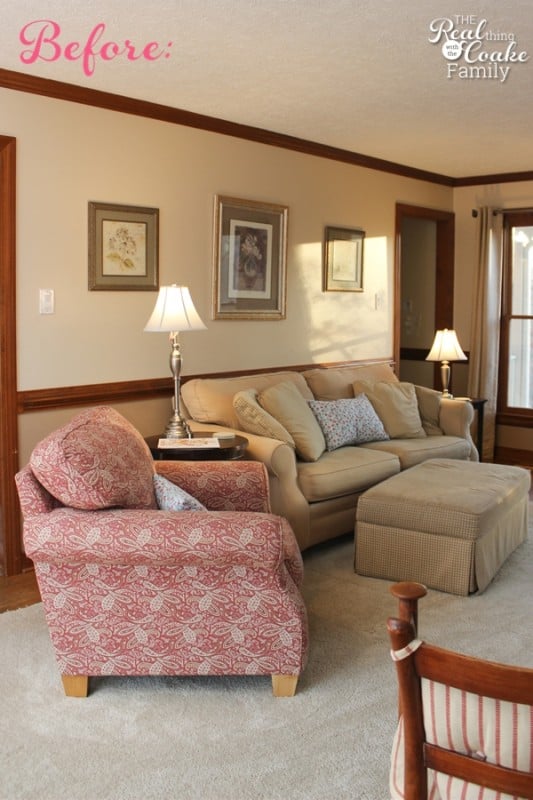
Well here. This is a before so you can remember what my living room looked like. Fine, but not my style as far as the walls and trim are concerned.
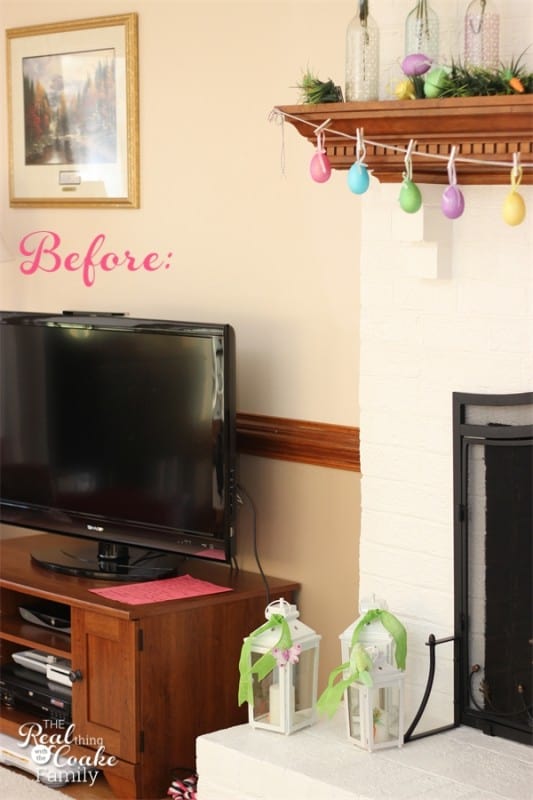
We painted the fireplace earlier this year and I’m so happy we did. I love the look. Now with the completed walls in the living room, I love the clean more modern look.
Anyway, I’m getting a little bit ahead of things. So in my last post, I showed you the actual process of taking down the chair rail. Before I show you the final reveal of the paint and such, I wanted to give you the next steps to take once you have the chair rail down.
Once you have the chair rail down, you will be left with holes in the wall. They will range from small nail holes up to holes that may need to be patched with a patch repair kit.
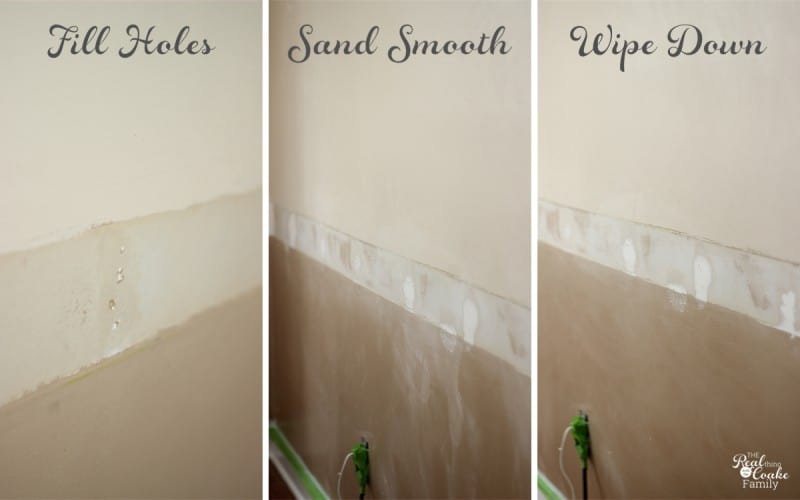
Where we currently live, they finish the walls smooth. I grew up with textured walls and I really don’t like these smooth walls. They show every imperfection. Blech. That was one of the problems in this makeover…but anyway.
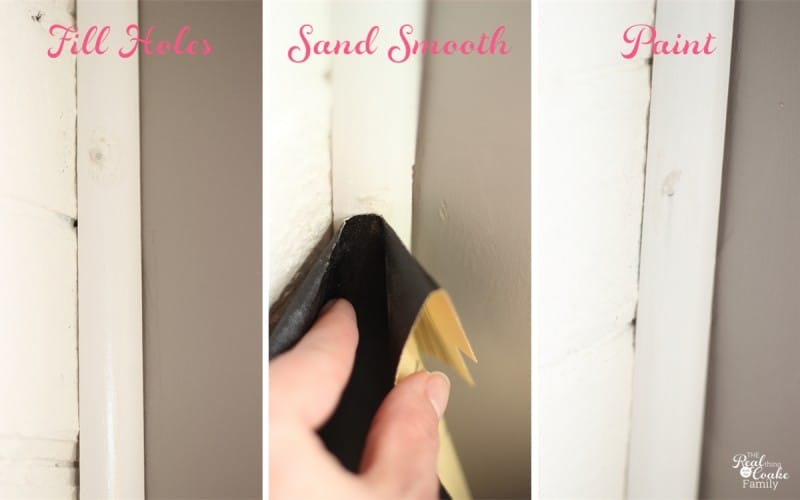
Use a patch and paint compound![]() (affiliate link so you can see and use what we used if you want) to fill in the holes. On the left, you can see the smaller holes. They are super easy to fill and sand smooth. The holes you can see in the middle and right are still fill-able with the paint and patch compound. They just usually take more than one pass. You will need to fill them in and sand them smooth which will often leave some small divots which will then need you to fill them in and sand again. Make sure when you are all done, before you begin painting, you wipe the dust off the walls.
(affiliate link so you can see and use what we used if you want) to fill in the holes. On the left, you can see the smaller holes. They are super easy to fill and sand smooth. The holes you can see in the middle and right are still fill-able with the paint and patch compound. They just usually take more than one pass. You will need to fill them in and sand them smooth which will often leave some small divots which will then need you to fill them in and sand again. Make sure when you are all done, before you begin painting, you wipe the dust off the walls.
If your walls are like mine, you will have a room and head full of the white dust from sanding things smooth.
While you are sanding, you will want to sand smooth any line left behind from the chair rail. This could be paint build up and/or caulking.
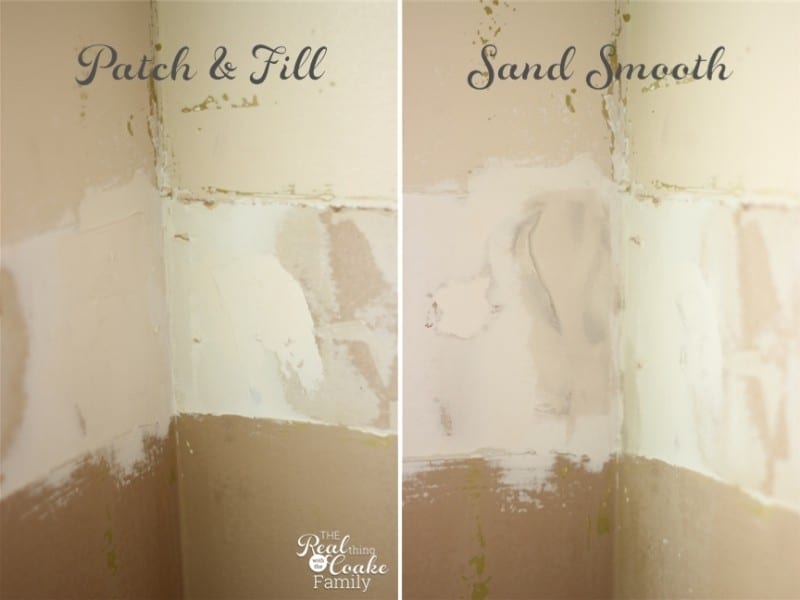
The larger holes will need either a lot more patch and paint compound or an actual wall patching kit. For this larger hole and indention in the wall, we were able to use patch and paint compound. It took about 3 passes to get it so be smooth enough for painting and hopefully not be noticeable.
Don’t you just love the green paint that you can see peeking out after sanding (it is called Swamp Water…for real!). That is the color our WHOLE living room, Master bedroom and Master bathroom were when we moved into this house…can you say ugly?
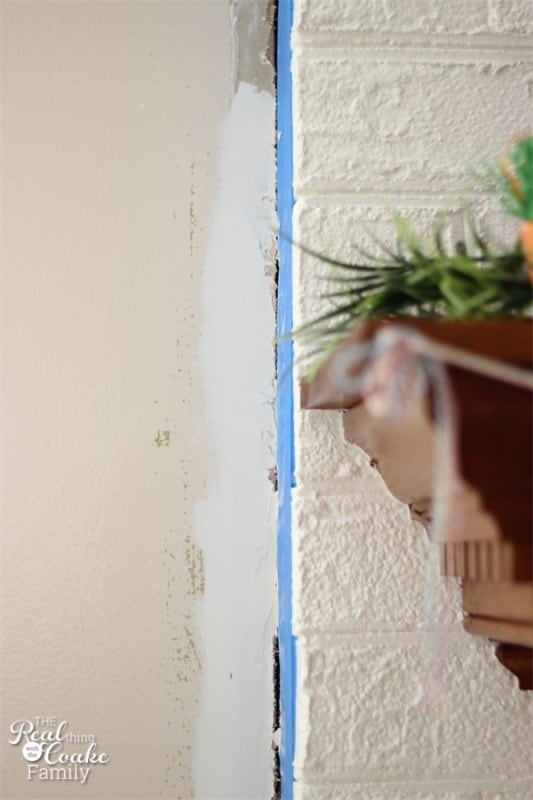
Anyway, moving on from ugly paint colors. We took down the quarter round that was framing the fireplace. It was a more ornate and larger quarter round than I wanted and it also needed to come down when we removed the chair rail. The new quarter round is more narrow and therefore we had some filling in to do. More patch and paint and sanding…oh joy!
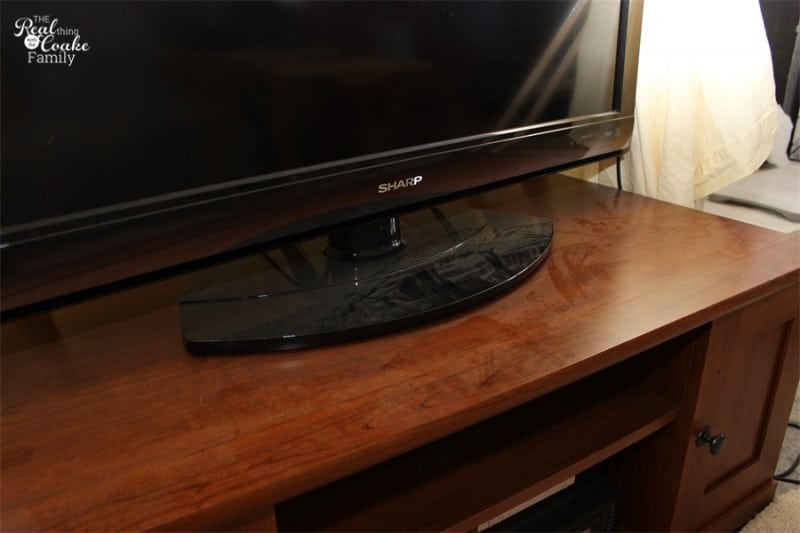
When we were done with the patch and paint and sanding, this is what our whole downstairs looked like. Believe it or not, this TV was covered with a drop cloth and it looked this bad! You should have seen my hair. It was white! It was around 2 in the morning or I would have taken a picture of me…but no one really needs to see that!
After all that sanding and prepping it was time to prime the walls. We needed to use primer because the area that had the chair rail had never been painted before. Also the associates at Lowe’s said that grey’s can be funny and it is best to prime first for the best color.
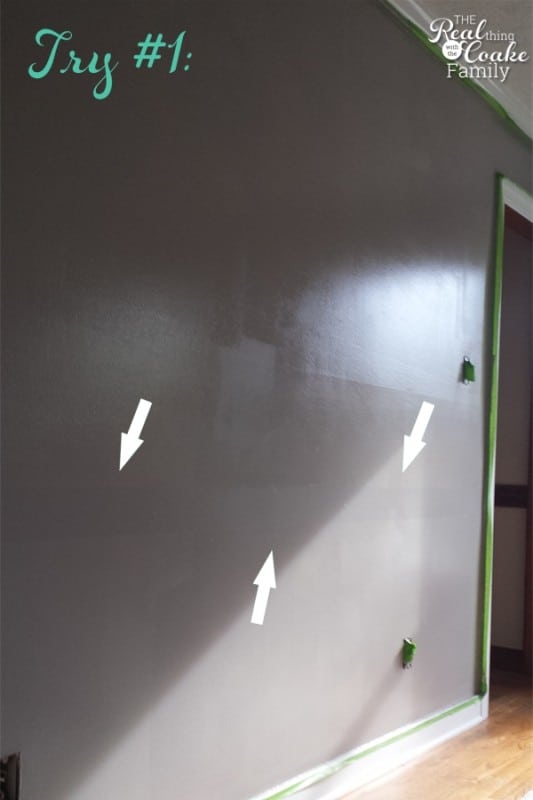
So, here is where all our hard work went a bit wrong. The first color (yep…you read that right…first color) we painted was a Satin sheen in a slightly darker grey.
After hours and hours of trying to find “the right grey, ” I finally found one that had a bit of a taupe or tan undertone. I needed that since my couch is tan as are my drapes. It was just a touch darker than I wanted, but it wasn’t from a line that had a shade lighter. Initially the people at Lowe’s told me there was no way to lighten the color.
I proceeded with the color. After two coats of paint, I liked the color, but I really didn’t like what I saw on the walls. The line from the chair rail was a totally different color. Noticeably so! Uugh. What now?
Another late night trip to Lowe’s and a whole lot of discussion. We could have tried skim coating the whole wall – which would be like using the patch and paint compound on the WHOLE wall to smooth it out. We could have also tried just filling in the area where the chair rail was. We could replace the dry wall….are. you. serious. No. Not happening.
The man at Lowe’s listened to everything and had ideas and ultimately we went with the most simple of his ideas. To go a little lighter with the paint color. Wait, what, you can go lighter. Pretty much my exact response. I had been told by others that it wasn’t possible because it wasn’t in the computer. He laughed and just said all he had to know was the percentage I wanted it stepped down and he would do the math. I’m pretty sure the clouds opened and a shining light appeared over his head at that point…might even have been some singing angels!
He also recommended that we use flat paint. I had gone with Satin because with kids it cleans up easier. However on smooth walls with flaws, you want to use a flat paint(the can lists it is semi-matte…I’m pretty sure that is flat.). It will hide more of the imperfections than a Satin paint will.
Home we went with our special color and the hope that flat paint would do the trick…to. do. more. painting. Oh yippee! All of this right before my husband was headed out-of-town for two weeks. No way was I having my living room look like a wreck while he was out-of-town. I guess it is just something with me, but I need order when he is gone. It just helps me cope.
Anyway, we painted. Then it sat like that for a few more weeks. At least the furniture was back in place now.
Finally a week or so ago, we got around to putting the quarter round-up by the fireplace and doing some of the remaining touch up painting.
When you install quarter round, you want to use finishing nails. Counter sink them. That means once you have them in, use another nail to nail the first nail in until it is below the surface of the wood. That way you can add a little patch and paint to the hole. Sand it and paint over it. You won’t be able to see the nails then. Yay!
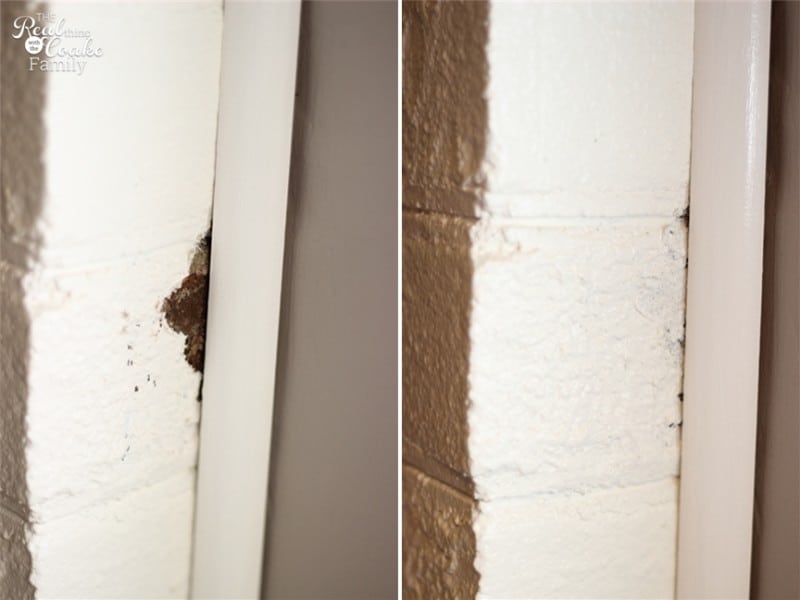
The fireplace needed a little bit of touch up from where the chair rail used to be. I need to go back and add one more coat because I still think the after picture on the right looks like it needs a little more. I’ll probably get around to that in a year or so. LOL!
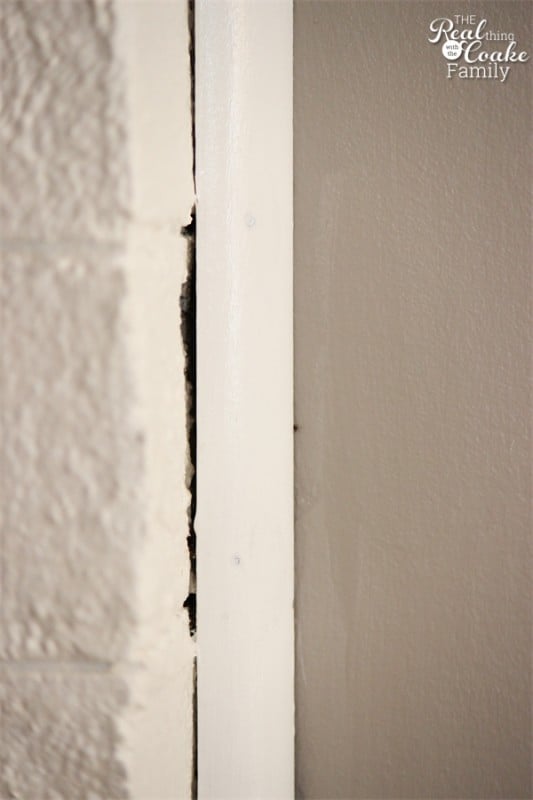
When you are done with the painting and the touch up the nails in the quarter round should be invisible or barely visible.
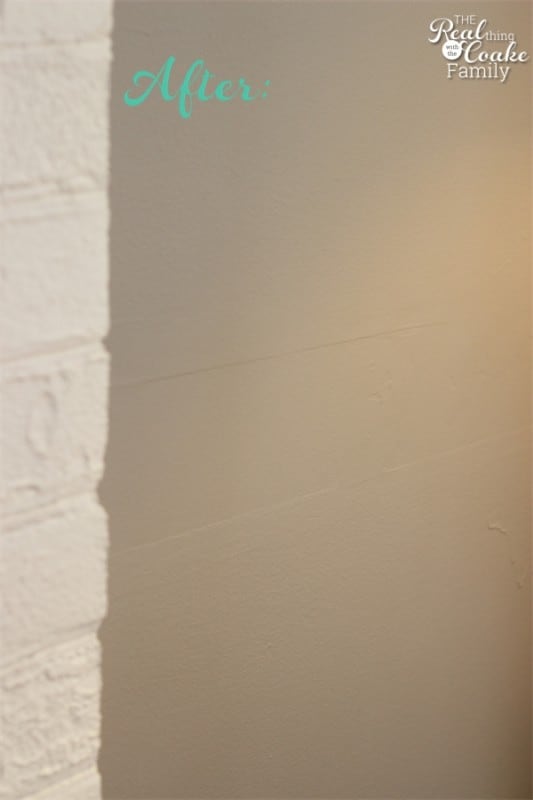
Now before I get to showing you the after, here is the end result. I LOVE the paint color. I’m super happy with my custom mixed paint. The color is just what I wanted.
The problem…Even after all that work, if you get in the right light and at the right angle, this is what you can see. The stupid chair rail. What makes no sense to me about it is that I sanded the crap out of that wall. It was totally smooth to the touch. Trust me!
To be fair, it really isn’t noticeable unless you are in the right light and at the right angle. Everyone whom I have shown it to in person has said they wouldn’t have noticed it unless I pointed it out. So maybe I should stop pointing it out. Genius! Right?
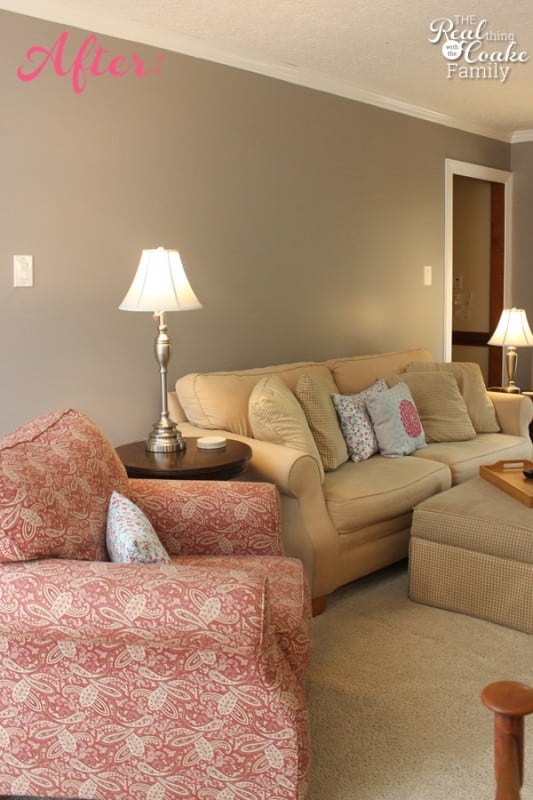
As you can see above, you can’t see the chair rail line at all in this view. That is how the room really reads. Yay!
Can you believe the difference in my room? It just looks so much more clean and modern. I. LOVE. IT!
Now is when I’m going to be a mean blogger. I’m going to show you the full reveal on Friday. There were just too many pictures to put it all in one post. It would have been like the new parent who has a massive wallet full of photos and has you trapped….of course you could just close your browser…and make me cry.
In addition to being to many pictures the truth is, I just didn’t have time to process all the pictures. So, I’m going to ask you to come back on Friday to see the full reveal… pretty please! UPDATE: You can now see the full reveal by clicking on that link. 🙂
Can’t wait to show you!
What kind of home improvement stories of things not going quite as planned do you have? I know you have at least one…come on fess up…I won’t tell anyone. 😉
Oh by the way, here is an update on my to-do list for the living room as well. I’m making some progress!
Living Room To-Do
- New Lamp Shades
Finish quarter round by fireplaceTouch up paint- Paint frames for wall above couch
- Figure out what to put in frames above couch
- Wall art for by chair and lamp by fireplace
- Make decorative pillows for couch in coordinating fabrics
- Paint/Refinish end tables
- New Drapes?
- New TV/Entertainment stand
- ?Paint/refinish/recover my Grandma’s chair
- ?Move mantel lower or re-do it?
- ?What to do about bookcases now
- ?New fish tank stand or refinish?
- ?Recover or get new ottoman/coffee table
More Home Improvement Fun:

Wow! I never realized removing a chair rail would be so difficult! I’m glad you pushed through…the room looks great!
Yeah, I had no idea either. Now I’m debating what to do with the rest of the downstairs. I had planned to remove it in the other rooms as well, but I’m not sure now. Maybe after a little while when I forget what a pain it was, I will go for it. Kind of like having kiddos, right? lol!
I’ll just say that your hard work really paid off! I like reading posts like this that tell what really happens in these makeover projects. Keeps it real. Kudos for you for sticking it out and big thumbs up to the Lowe’s guy with the superb math skills. Looking forward to the big reveal. 🙂
I love the paint color! It looks great with your furniture. I bet you are so glad to get everything back in order!
Shelia Dowd
I love the paint color! It looks great with your furniture. I bet you are so glad to get everything back in order!
Shelia Dowd
Love the new color….very nice!
Thanks for this! My living room looks exactly like yours…and I’m getting ready to take the chair rail down. I have the exact same oak trim…even the same (not great) mantle made out of trim. Appreciate the heads up and looking forward to reading more of your blog.
Thanks so much! I’m so glad you found my blog. I hope you find the info. helpful. There were multiple posts about my experience removing the chair rail as well as another about painting the fireplace. Hopefully they will help make the project a little easier for you! Good luck! If you would, I would love to see before and after pictures! 🙂