It is summer and I often take the time in the summer to get my house re-organized. It always feels so good to me to purge and re-organize things. Like a clean fresh start. Before our school year finished, I took some time to tackle an organization project that had needed my attention for quite a while. So, today, I’ve got some ideas for you for craft cabinet organization.
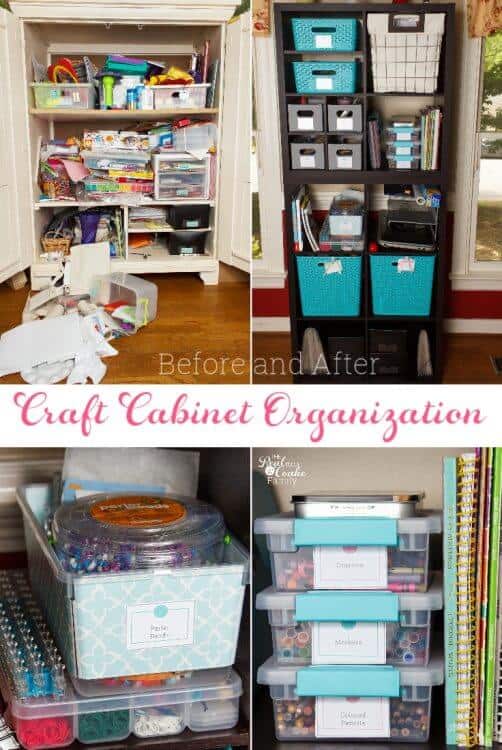
While I would love to have a whole craft room or even a whole office space to myself, for these season in my life, those things are not to be. For now, I share my office with my husband as well as my kids. We use what should be our dining room as our joint office and we have space for their craft supplies in there as well. It is definitely a multipurpose space.
The problem has become that with my kids getting older, they are busier, which means I have less time for organization and other projects I would like to complete. Between working and homeschooling and taking care of getting them places and the rest of life, I don’t have as much time to keep things organized. It became a real problem with our craft cabinet organization. Oy Vey! Let me show you what I mean.
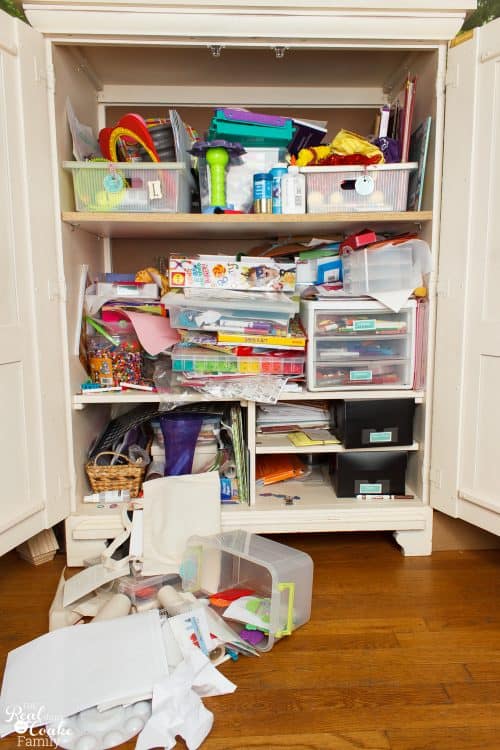
I went to get something out of the cabinet and this is what happened. Yep, that was the moment that the craft cabinet called to me and I knew I had to make time to organize it no matter what.
This craft cabinet used to be a TV armoire. When we no longer needed it for that purpose, I added a piece of plywood to the back to close up the hole and we drilled additional holes and added extra shelving. It was a great way to repurpose the piece of furniture.
The issue has become that the doors close and I don’t do as good of a job at checking up on my kids as I should.
As you can see from the last post I did on craft cabinet organization, what used to be organized was now just thrown in the cabinet, however.
I decided it was time for a change.
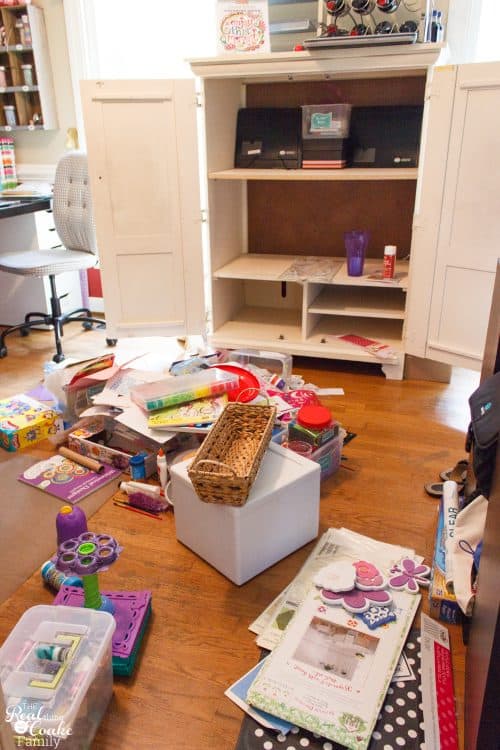
As for any organization project, the first thing you need to do is pull everything out.
In my case that was pretty easy. Just take an arm and swipe all the piles of crap onto the floor. 🙂
Then it is time to purge. Be ruthless with this process. I promise you will love the feeling of having less stuff. Don’t worry about how much you spent on something, but rather think about if you have a use for it in the near future and if you love it. Only keep things for which you have a use or that you love. Notice I didn’t say like. They should be things you love. ♥
We do keep some basic craft supplies on hand and you may find that a good idea as well. I think it is necessary so the kids can create any time they are bored or feel like it.
This time, I threw away a trash can full of papers and stickers. We had a box of stickers for years, but my girls never used them. In the past, I had worked with them for the purging and my oldest daughter never wants to get rid of anything so we would end up keeping them.
This time, she was at school and I just purged to my little heart’s content. It was lovely. The great thing was that she didn’t even care when she came home and saw how much we had gotten rid of. Yay!
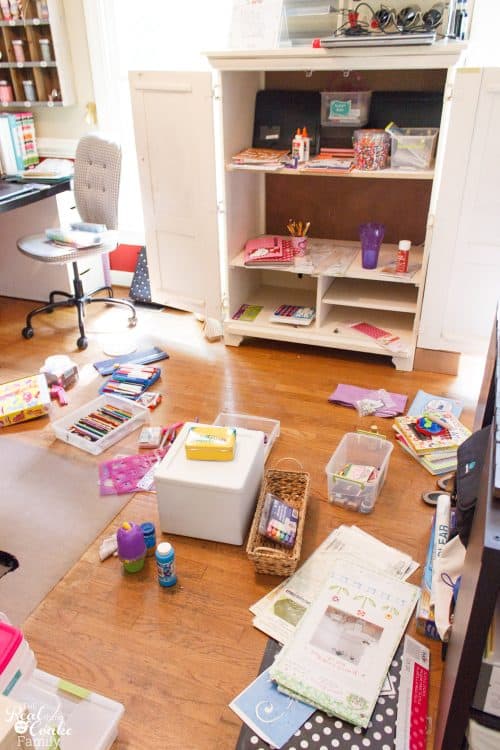
After you have purged, group like items together.
Then think through the best way to store those like items.
After paring all of that crap down, the picture above shows what we were left with.
I decided we needed a new way to store the craft supplies.
I highly recommend that you select something with open shelving. It will force you and your kids to keep things tidy. It will allow you to see if things are building up and quickly nip that in the bud to keep things organized.
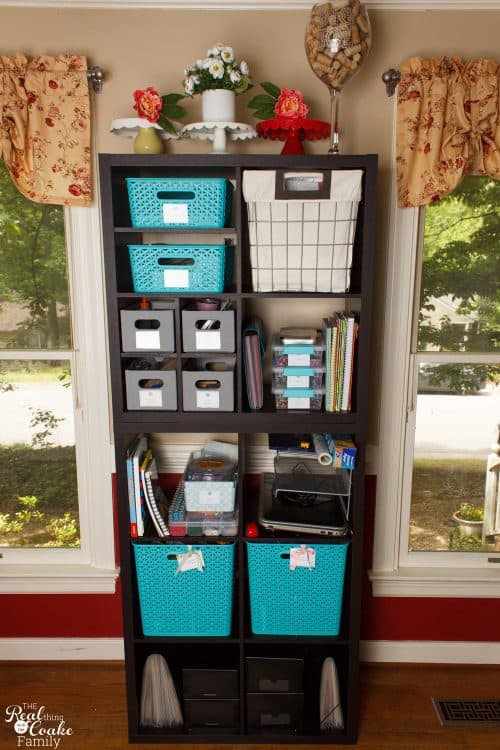
I already had a few of these Avington cube shelves(affiliate link) in the room to hold some of my craft supplies for work as well as the base for my photography table (which holds props and other supplies). I thought it would be nice to help bring the room together if I used those for our craft storage as well. I love that they don’t break the bank to buy them.
We used a 6 cube shelf and a 4 cube shelf(affiliate link) braced together. You can see how easy it is to brace cabinets and bookshelves together in this DIY post.
We added some of the cute turquoise blue bins to add some color and fun to the shelves.
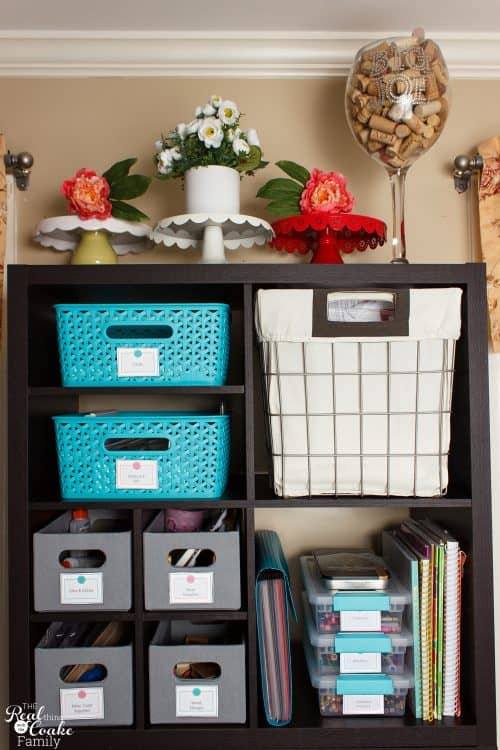
In this portion of our braced together shelves, I added the shelf divider(affiliate link) and the 4 compartment cube divider(affiliate link) to give myself some additional space and ways to store things.
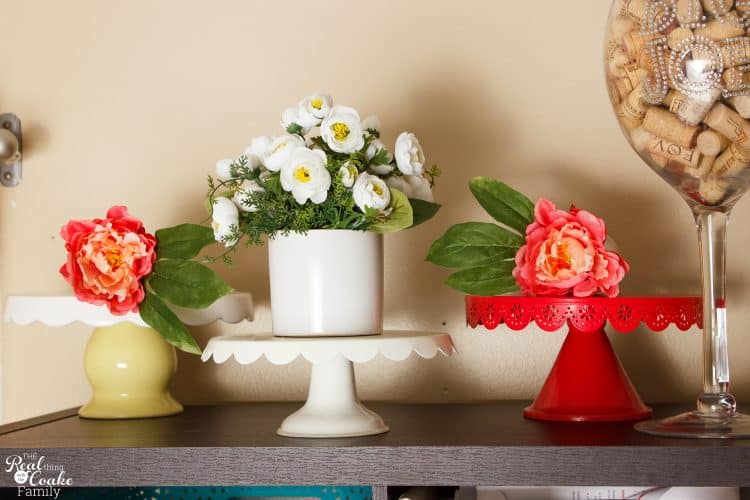
Looking in more detail starting at the top. I had a few props I use for work that no longer fit on my shelves as I have added a few more props. They look nice on display on top of the cabinet…along with my collection of wine corks that will someday become a craft of some sort.
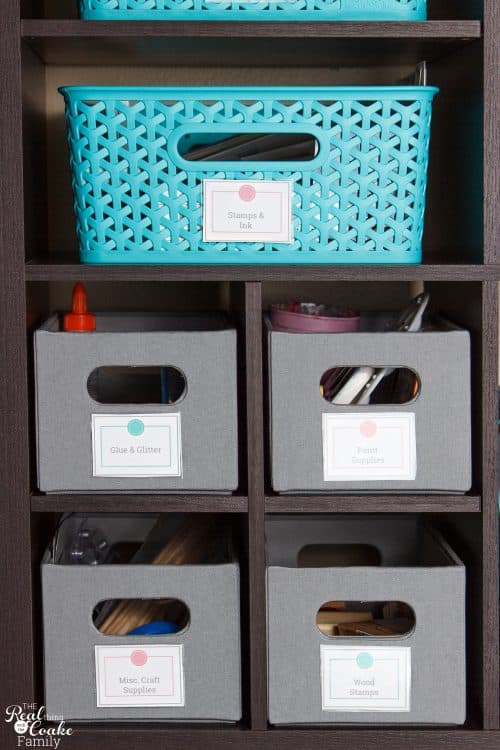
Open bins also make it easy to see and know what you have as well as what you may have too much of and what you may need.
For us, in this area, we have two baskets (one of which you can’t see) with cards and/or supplies for making cards.
The small gray bins are for the kids craft supplies. Things like glue, glitter, paint brushes, stamps, and some misc. supplies.
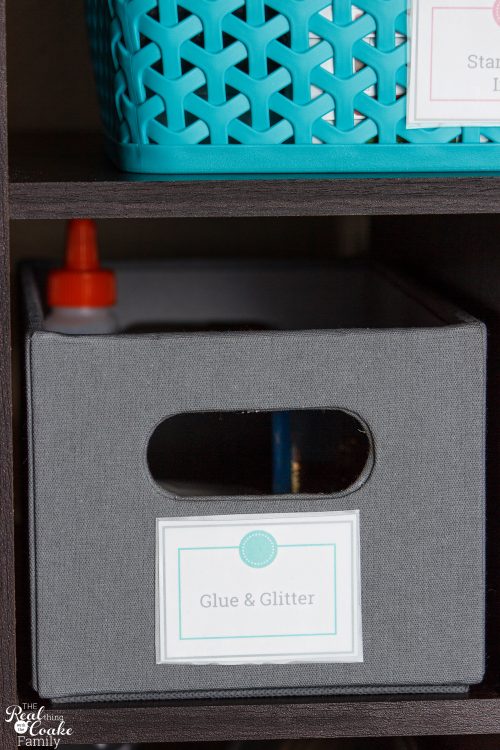
One of the things that you need to do when you are organizing is to make things simple to keep organized. Making sure to label everything really helps. Then the kids (and yourself) always know where things go. For these, I used the same labels I used elsewhere in my office. These are the same labels I also used for making our new simplified family cleaning system. They are from the labels bundle in my shop and come in the pink and blue you see pictured and also in gray. I love how versatile they are. I’ve used them in so many different ways. I love me some labels!
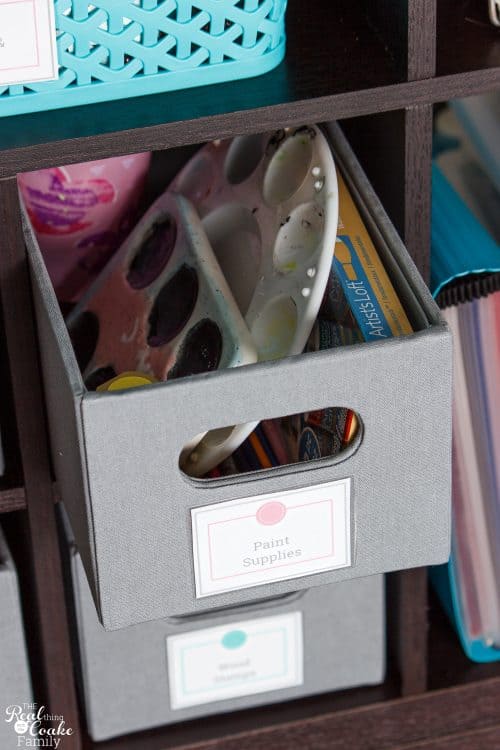
I purposefully used smaller bins for these supplies. It will limit the amount of craft supplies my kids can hoard. Lol!
No really, having smaller bins does force you to use what you have before you buy new. I think it is a great strategy for both using what you have and saving money on buying additional supplies.
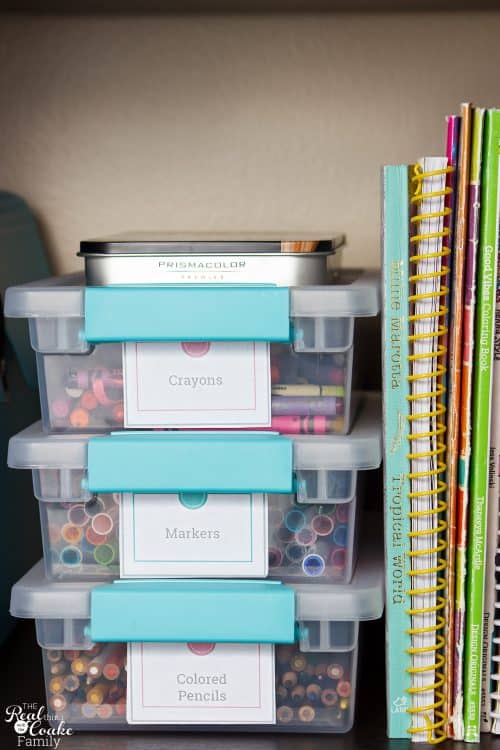
Some of the basic craft supplies that we always need on hand are crayons, markers, and colored pencils. I bought matching bins to put those in and of course labeled them. I placed them on the shelf right with the coloring books so they are like items together, making it easy to grab what you need.
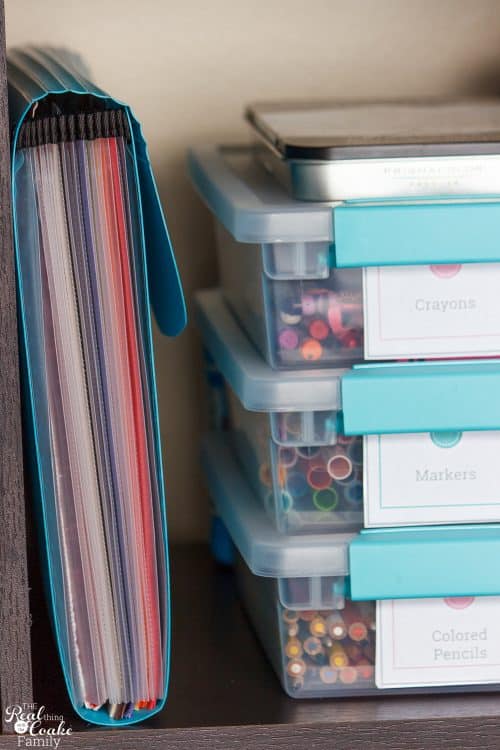
Right next to that is an accordion file I also picked up at Target. It holds our construction paper all sorted by color.
Using the accordion file keeps that paper really organized and easy to find exactly what you need. Once again, it also encourages us to use what we have before we buy new and allows me to see if we are running low on any colors, etc., really quickly.
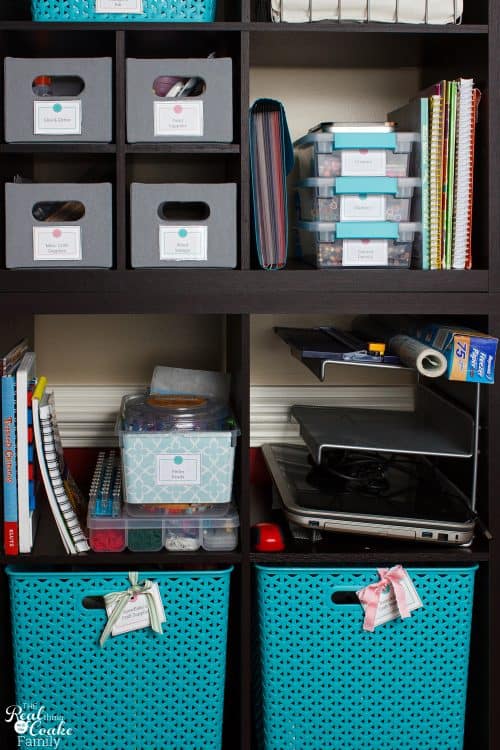
Going to the next shelves, we had a few odds and ends supplies the kids still wanted and still use, so I found a way to organize those and our computers.
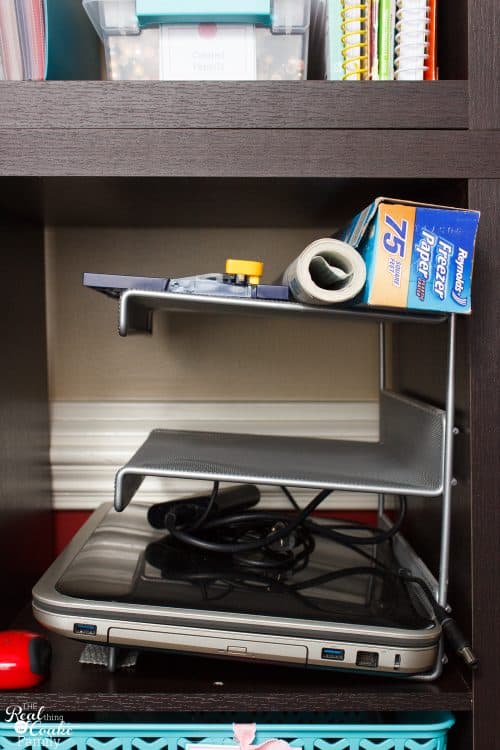
I shared this computer organization idea ions ago, but I love using a sturdy desk sorter to hold our computers. We have two computers that the kids can use, so both of those fit on these shelves. The heavier computer goes on the bottom shelf and the other computer was being used when I took these pictures.
Since we only have two computers for the kids, the top shelf became a catch-all spot for the paper cutter, contact paper, and freezer paper. It may not look as pretty, but it is functional and works well for us.
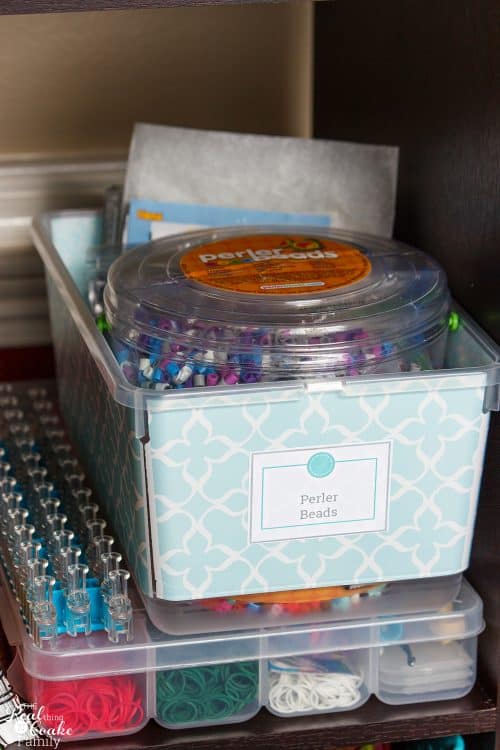
My kids go through phases, as I know most kids do. They weren’t quite ready to part with the Rainbow Loom so for now, it remains. As you can see, we have organized all of the bands in a box meant to store embroidery floss(affiliate link). Sometimes you can find these types of boxes in the fishing section of sports store as well. They work really well to keep the little things organized.
My kids also go through spurts of making things with Perler beads. I knew they needed to stay, so I just used a cute matching bin to keep the beads and trays, etc., all in one spot and organized. While it seems obvious that those are the Perler beads, I still labeled the bin because when the kids take everything out, the label serves as a reminder of what belongs back in that bin.
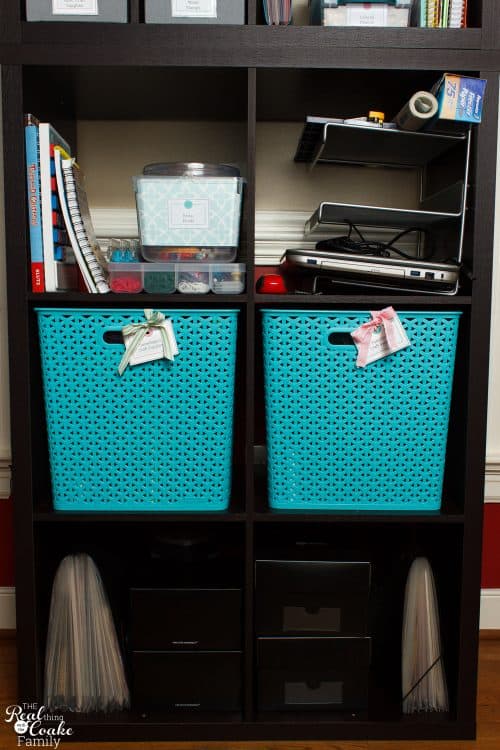
In the old craft cabinet organization, each of my girls had an open bin in which they could store their craft supplies. Things that had been gifted to them or they bought with their own money. Things that their sister is not to use or needs to ask before using.
I still wanted to give them each their own space, so we used the large blue bins. One for each girl.
I really think it is important to give them some space for things that are just theirs and this works well. That bin is theirs and they can keep it as messy or neat as they want to.
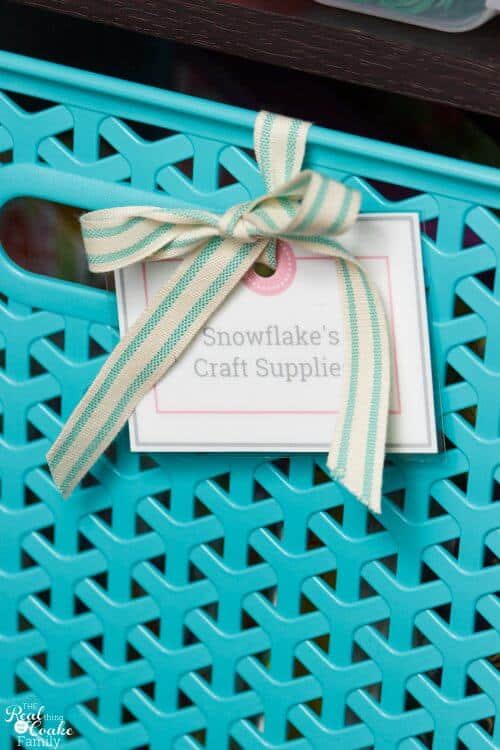
For the labels, this time I printed them on cardstock and laminated them.
For the other bins, I used double sided tape which has held up well in the 2 months since I finished this organization.
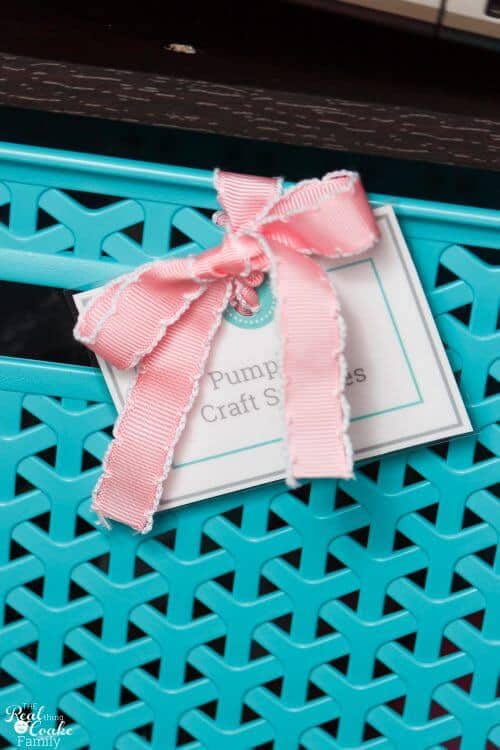
I knew that double sided tape wouldn’t work well on these large bins, so for these, I punched a hole in the label and used some cute ribbon to tie them on.

Thus far, I’m loving this new craft cabinet organization. It looks nice and has been easy to keep neat.
I’m also doing a better job with checking up on things and not letting the kids shove things any old place.
One of the things I didn’t expect was that I would gain extra room through this organization project. The old TV armoire was much deeper than the new cube shelving, therefore, it took up more floor space. I love having more open floor space. It makes the room feel larger. Love that! It also looks fun to have the fun pop of color in the cabinet and open shelving is so great to help keep things organized long term especially with everything labeled.
If you have an organization project you want to work on, I highly recommend the labels and tags bundle in my shop or if you want to get your family and home organized, sign up for the free Real Organized series and get your Home and Family Organization Bundle(which includes the labels and tags bundle). The two will help you take charge of your home and family and not feel so overwhelmed or scattered as a busy mom.
Well I stopped over from you Instagram message to see how I could be inspired, I think more than anything is to get the bug to get started. But I love your ideas and have started hunting for some shelves I could hook together. Love all your baskets and containers and the tags are darling!!!
I have featured you blog many times on #OMHGWW and probably #OMHGFF and hop that you will stop by each week to share what you have going on!
Have a great day and fantastic week!
Thanks so much! I agree that getting started is the hardest part. I also often leave the project for a day once I get everything sorted to give myself a little time to think through how I want to store everything.
Thank you for all of the features!