It has been a long while since I have given you any ideas for Girl Scouts. Recently, I was asked to help come up with some ideas for our Girl Scout Award Ceremony. I came up with an idea that you can easily replicate. The great thing is that once you invest the time to make things the first time, it can be easily setup and a low time investment for future award ceremonies.
The last time I posted about a Girl Scout bridging ceremony, I had gone to town with the decorations and time I spent creating things. I had more time to invest in making things cute. As is the same for many of you, life has gotten busier or maybe it is a combo of life getting busier and my taking better care of myself. Not as many late nights to complete projects and more going to bed and getting up to exercise. Whatever the case, I no longer have the time to spend like I did in that post.
I had saved those cute little pots in the attic. We used them at another bridging ceremony, but they were in pretty bad shape when I pulled them out to go for the easy set up this time.
I came up with an idea that didn’t work out like I thought it would, but I love the way things turned out for our recent bridging and award ceremony.
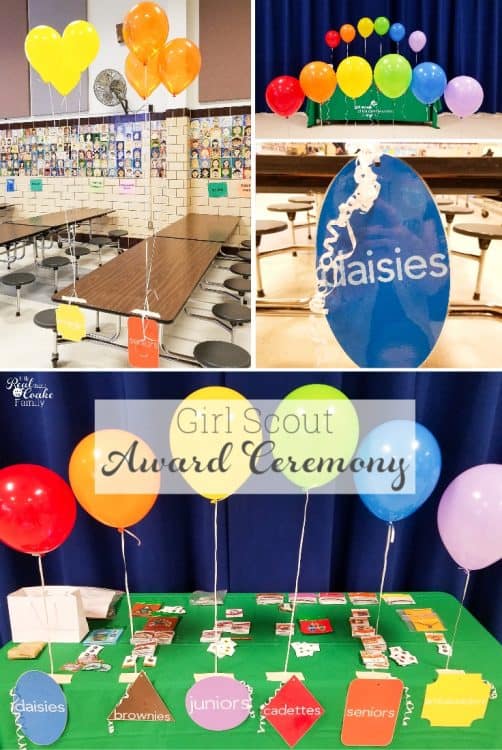
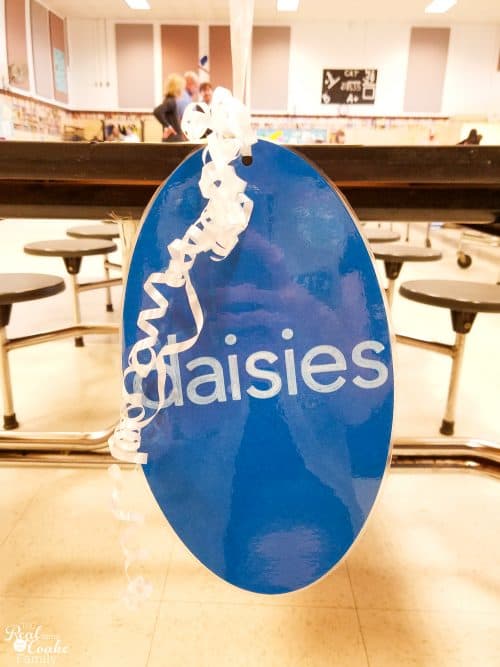
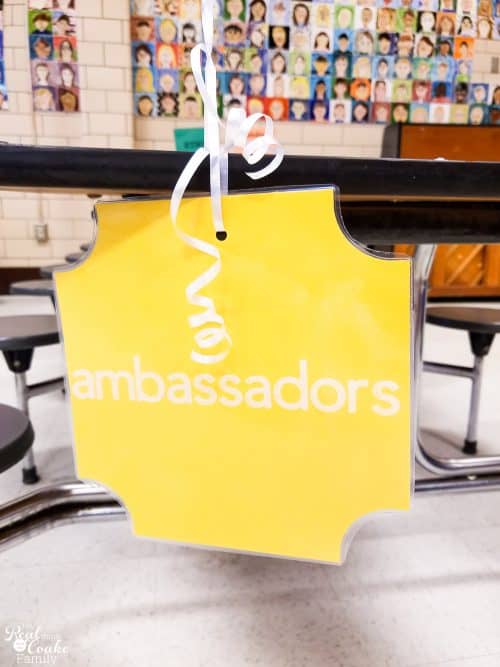
I came up with the idea to make signs for each level, we are a multi-level troop with all levels represented. Then, I planned to laminate the signs and hang them from bunches of balloons at each table for each group.
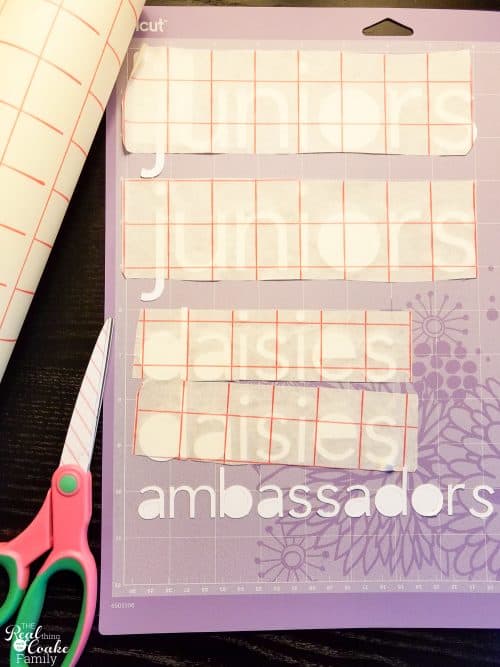
At first, I tried to cut out all of the letters using my Cricut(affiliate link) to make the wording for each sign.
I tried using transfer paper(affiliate link) to keep the letters all together with the right spacing. Apparently, I totally stink at using transfer paper.
At some point in the process, I realized that I could cut and write with my Cricut(affiliate link). That was a duh moment!
I also discovered that you can use markers in the Cricut other than their official markers. I don’t believe they sell a white, which is what I needed. These Spritz makers at Target(affiliate link) were exactly what I needed and they worked perfectly.
Next up was finding the match for the girl scout font and set up to cut the shape of each Girl Scout level badge while writing the name of each level on that shape.
I have a cut/write file for you at the bottom of this post.
The size of the badge is based on using an 8.5 x11 or 9 x 12 piece of scrapbook paper. I made them fit into that size paper.
The cut file says you need a 9×12 mat, but I used 8.5 x 11 size paper and had no issues with the cuts being off the paper.
When you add the white pen to the badge shaped cut paper it will mimic the look of the official Girl Scouts notebooks and literature.
You will have to color in each of the letters on the sign. The cut/write files are four outlined letters only.
I didn’t have time to figure out how to get the Cricut to fill in each letter. I tried a couple of tutorials, but none of them worked.
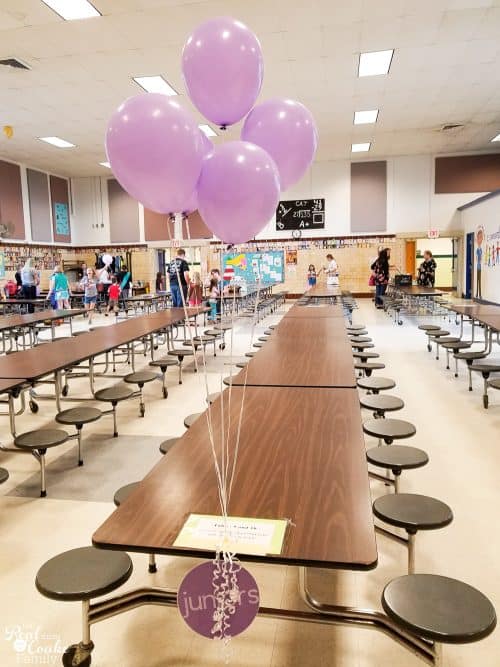
To complete your signs, you will need two pieces of cardstock in the color for that level of Girl Scouts. Base the color on the Girl Scout level notebooks as well as the color of the outer stitching on that levels badges.
You will also need laminate(affiliate link).
By laminating the signs, they will have durability and be easy to clean, if needed.
The best part is that because the signs are all laminated and flat, you can easily store them in a file folder or notebook for use in later years. They take up very little space. Yay!
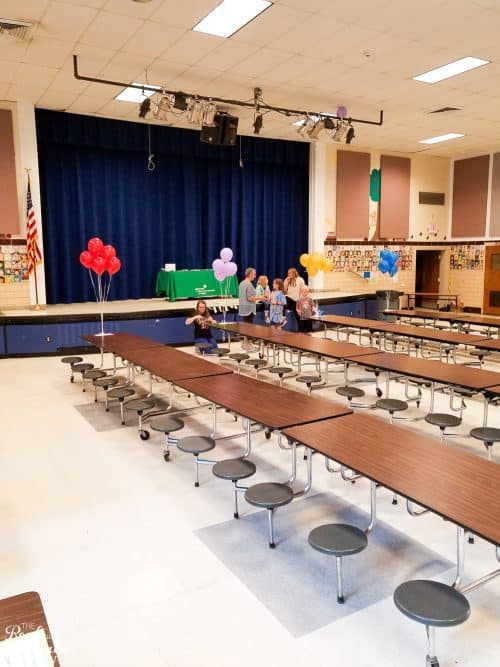
For the rest of the setup, I intended to hang the signs from the bunches of balloons. The signs turned out to be too heavy. Time for Plan B.
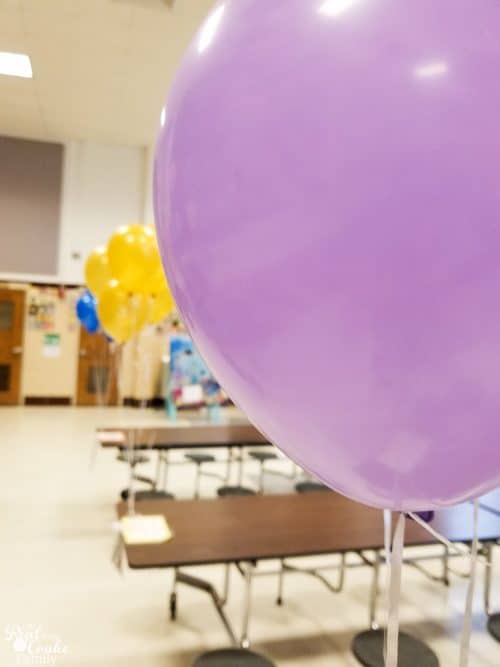
You will want to either purchase balloons or purchase a balloon helium tank(affiliate link).
You will also want at least 6 balloons in the color of each level.
For brownies, I went with gold balloons from the party aisle at Target, which is where I also got the helium tank and other balloons.
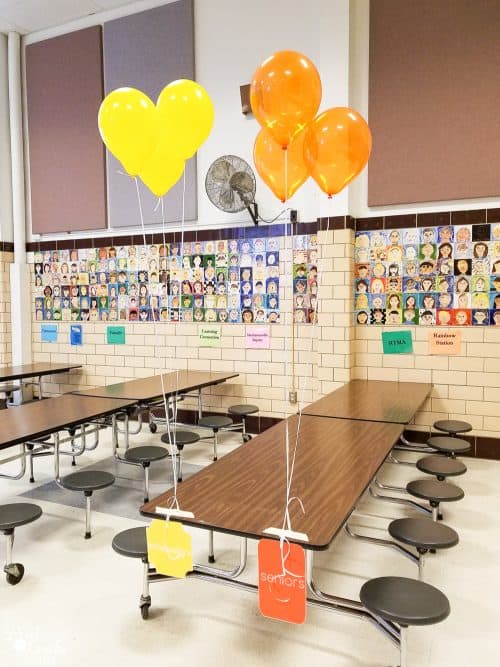
If you have a hard time finding orange balloons, like we did, you can place the Seniors and Ambassadors together to make the number of balloons equal to those at other tables.
In our troop, we only have 1 Ambassador and she usually works with and sits with the Seniors so it worked and seemed natural to have them together for the ceremony.
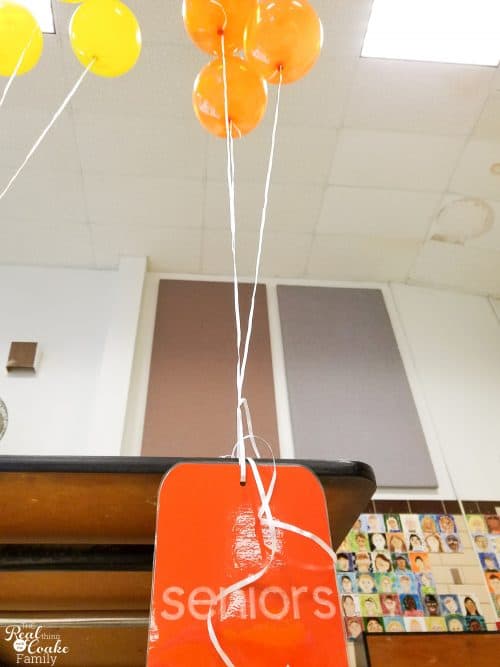
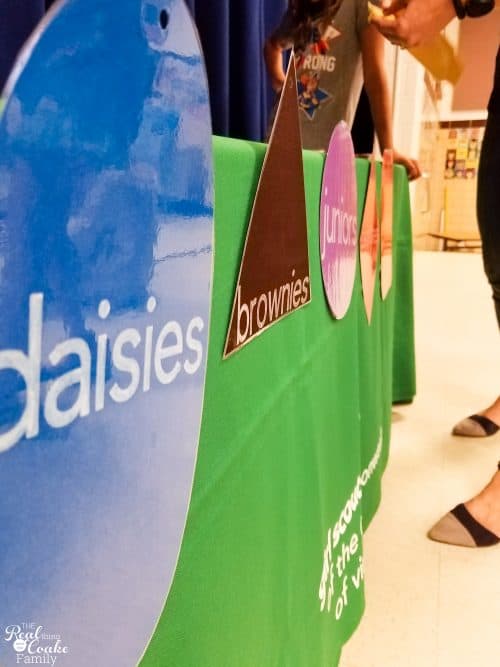
The second sign that you made, can be used on a table at the front of your ceremony space.
We adhered ours with donuts of masking tape on the back. One top and one bottom worked well and held for the entire ceremony.
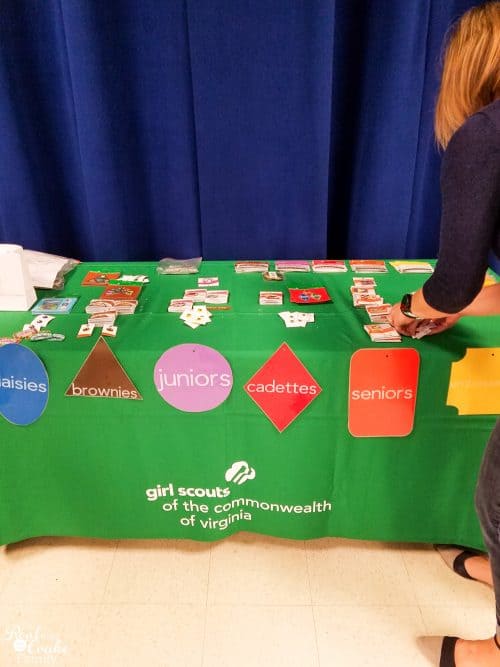
You can then use the space above each sign to organize the badges for that level.
So cute and so organized! Love it!
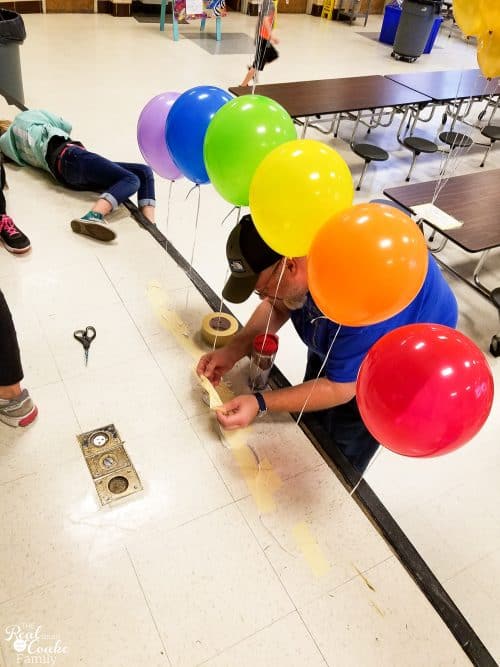
This is the second or third time we have done a balloon rainbow bridge for our bridging ceremony. We have learned a thing or two in that time.
We had issues in the past with girls hitting the balloons and continuously walking through the bridge and running through it, etc.
This year, the other leaders had the brilliant idea to do the bridge on the stage so that kids couldn’t run through it and it was a little more off limits.
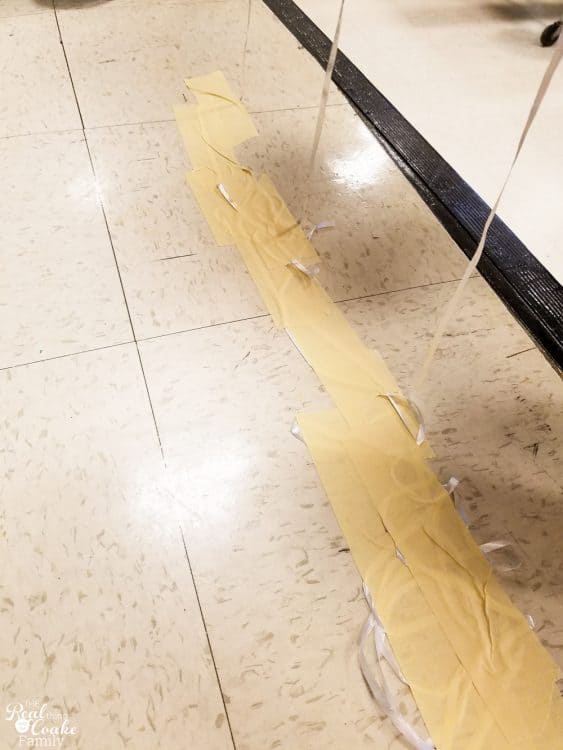
They also had the idea to tape the heck out of it. That way when kids are up on stage and walking around, they can’t accidentally release a balloon and send it to the ceiling. It worked perfectly.
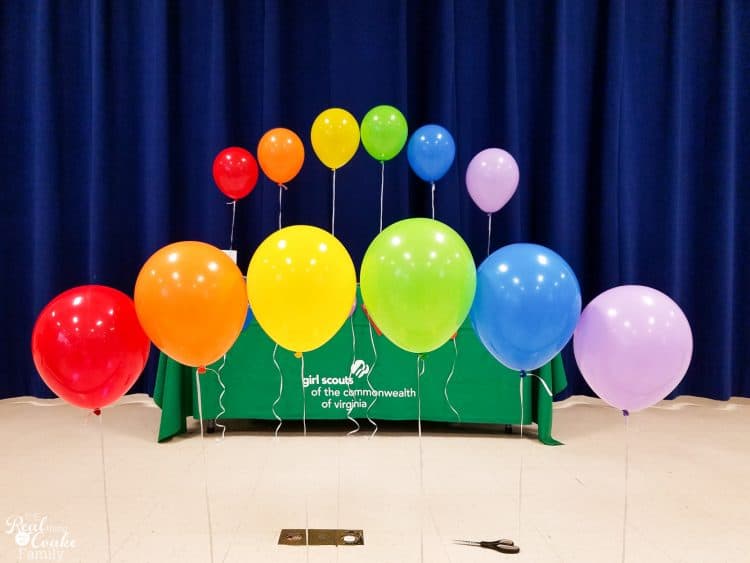
Set up the other arch of the rainbow balloon on the ceremony table.
It looks adorable! It still allowed the kids to get the bridging experience but kept the balloons from being play toys.
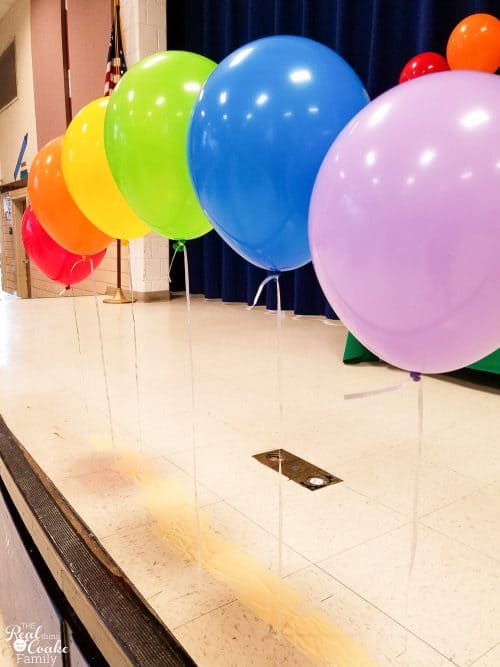
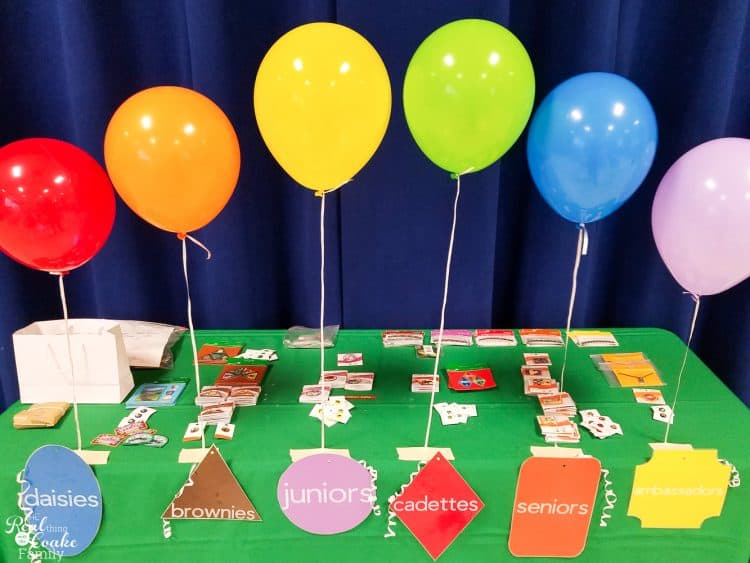
When you go to set up your table, line up one balloon with each level.
In this case, they are not meant to be the color of that level, but rather the colors of the rainbow to make the rainbow bridge for the bridging portion of the ceremony.
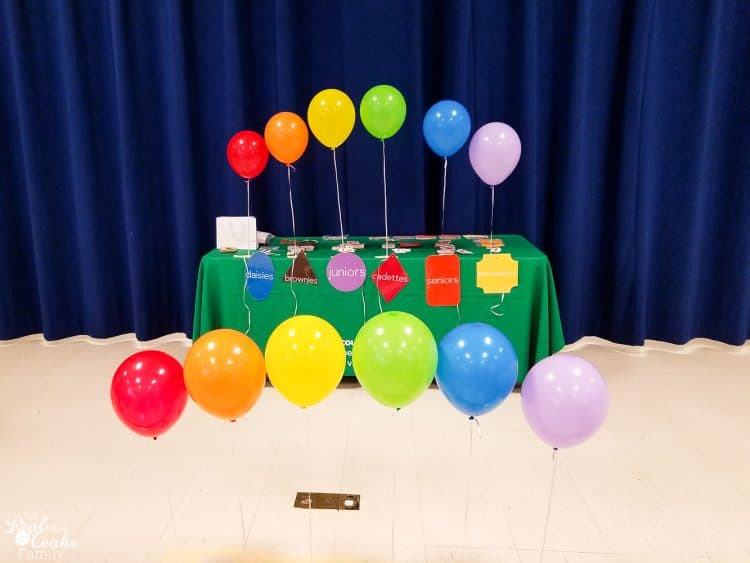
Even though this was never my initial plan, I absolutely LOVE how the signs with the balloons worked out for the ceremony.
If you are setting up a ceremony like this for all levels, you will need the larger of the helium tanks(affiliate link) that they sell at Target. We used almost the entire tank.
You will also need 6 balloons in the following colors: blue, gold, purple, red, orange, and yellow. Those are for the signs at each table.
In addition, for the rainbow bridge, you will need 2 balloons of each of the following colors: red, orange, yellow, green, blue, and purple.

One additional tip that our troop does that I think is genius, all of the kids want a balloon before they leave, so have a few of the older girls in your troop be stationed by the exit with the balloons. Girls can have a balloon as they leave but only if they have helped to clean up. Once they help clean up and/or carry things out to cars, etc. They may have a balloon on their way out the door.
It gets girls motivated to help clean up and means that the balloons don’t end up on the ceiling of your ceremony space because they take them as the exit.
Just sign in below to get access to the Cricut cut/write file. Please let me know if you have any issues with the file and I will make changes as needed.
Click here for your Cricut Cut/Write File
I have no idea why, but the Cricut file won’t let me save it with the letters being written. In the right sidebar of Cricut Design Space, click on the letters for that level. A window will pop up to the left of that sidebar. Click on the write tab. select a color for writing. Continue for all the levels you want to cut and write. Your file is now ready to cut and write.
For more great Girl Scouts ideas, follow my Real Girl Scouts Pinterest board. Fun!
Leave a Reply