This post has been sponsored by Kroger. All thoughts and opinions are my own.
I know we just barely finished the “big” holiday season and it may seem way too early to begin thinking about 2017 and Valentine’s Day, among other special days. I also know that time seems to fly by way too quickly. So today, I’ve got a simple and beautiful DIY gift idea for you that is great for Valentine’s day, teacher appreciation day, a sick friend or a pick me up for someone going through the loss of a loved one or a hard time.
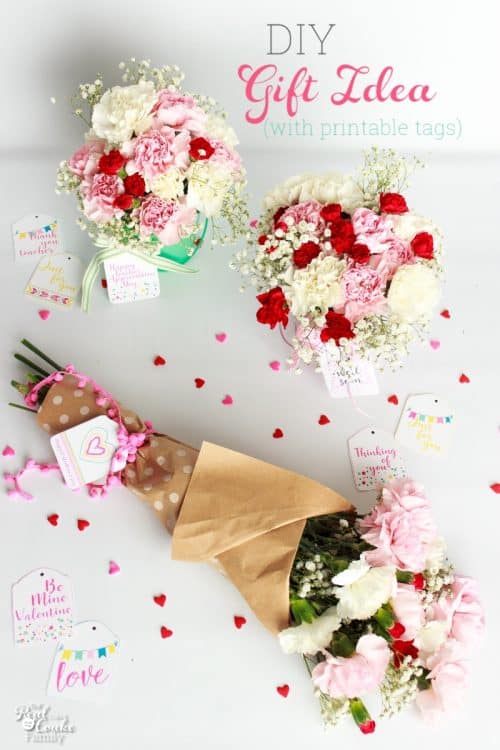 As I’m sure you know if you have read my blog before, I love giving DIY or handmade gifts. I love the whole thing about handmade gifts from thinking of something that would be perfect for that person, to the making and the giving. It is fun to me. Sometimes though I don’t have the time to make something for someone. I think that is a perfect time to give flowers. They still have that very personal touch to them and add brightness and cheer to the home of the receiver.
I am, however, NOT a florist and I don’t consider myself all that good at flower arranging. I’ve learned a few things over the years and have discovered it isn’t as hard as I once thought to put together a pretty flower arrangement which makes a great DIY gift.
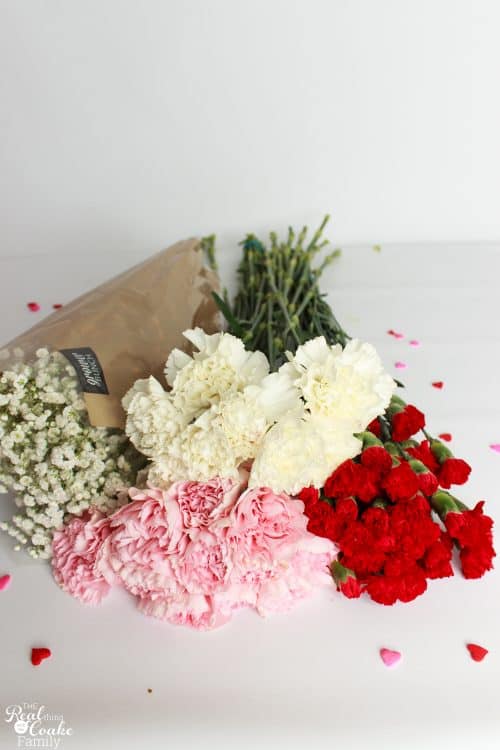
To start with, I visited my local Kroger and bought grower’s bunches of carnations. The grower’s bunches are great because they are one type of flower and are generally very reasonably priced. I went with pink, mini red and white carnations since I was thinking of Valentine’s day (National Carnation Day in January 29th). You can easily change the colors for the occasion or holiday. I added some baby’s breath to use as filler.
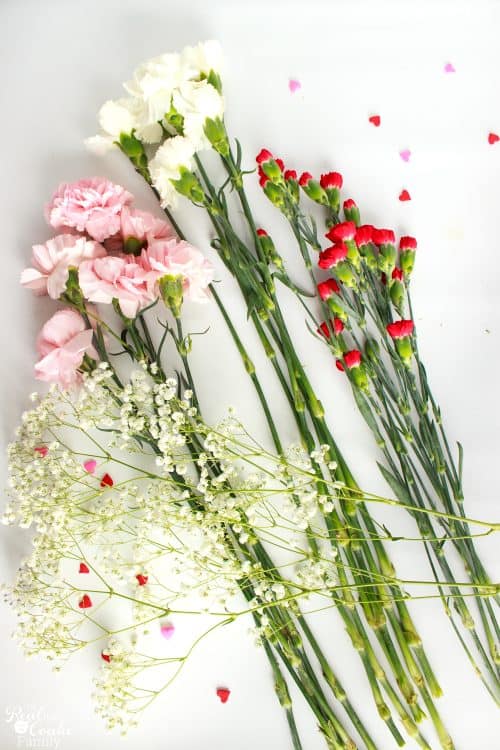
Now pardon me if I write like I’m talking to someone who doesn’t know how to arrange flowers, but since I’m not a florist, I am just sharing what worked for me and turned out pretty…which totally surprised me. Yay!
In this case, I started with 6 stems of pink, 6 stems of white, 4 stems of mini red, and 2 stems of baby’s breath. Vary yours according to your color scheme, but I think it is nice to have more than one color.
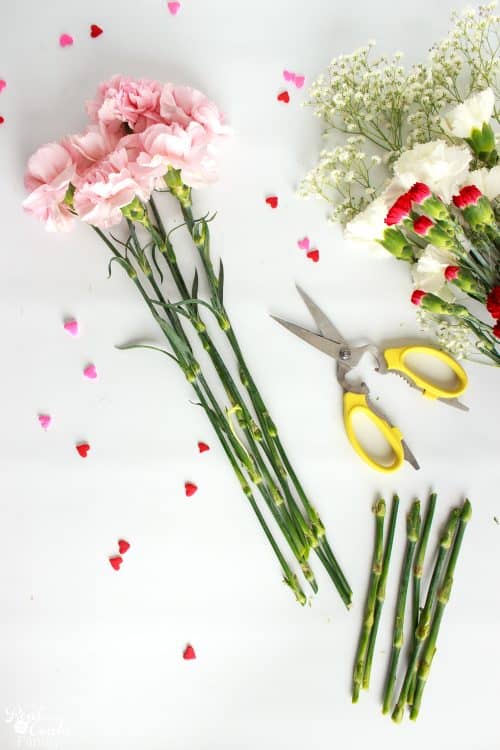
The stems are quite long. That can work if you want a long dramatic bunch of flowers, like what Miss America carries when she wins, but most people will want shorter stems.
Cut the stems. You can see that I cut mine a good 4-6″. When I am successful in making pretty flower arrangements, I usually have shorter stems. They seem to arrange better that way because you don’t have as much open or empty space in the arrangement when you are working in a vase.
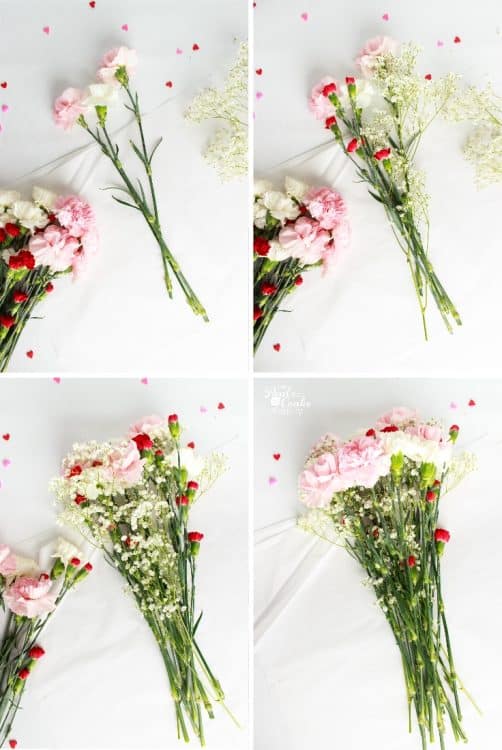
To make a bouquet you can carry, start with tissue or wrapping paper cut to 18.5 x 14″. Lay three stems of flowers on the paper. You can see that I varied the colors. Then add another layer of flowers. Mixing up the colors and since this is going to be a carried bouquet, you can bring the flowers down just slightly with each layer. That way when you are done, you will be able to see all of the flowers and the bouquet will look pretty being carried.
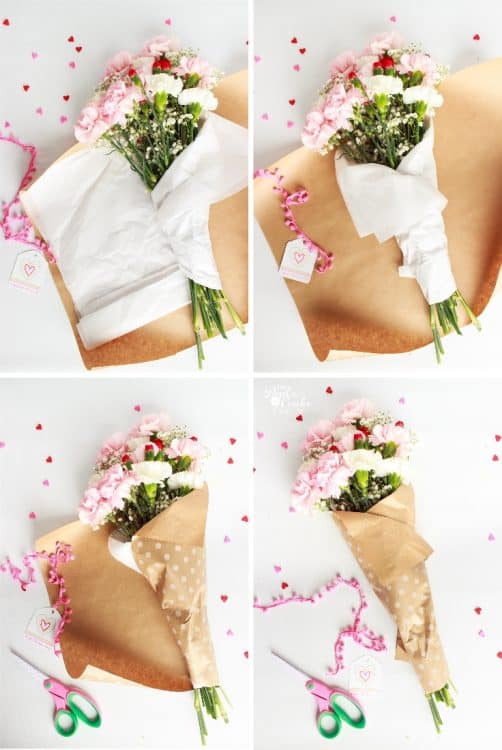
If you are worried that your flowers will shift around, you can place a rubber band around the ends. Just place it up high enough that you won’t see it and it will be covered by the paper.
I used both tissue and wrapping paper to give a sturdy and pretty look. If you are doing the same, carefully wrap the tissue paper over the flowers and tuck it underneath, folding the tissue back so as to not cover the flowers.
Do the same thing on the opposite side and repeat again if you are using a wrapping paper layer.
Finally, tie your bouquet with some pretty and/or matching ribbon and add a tag (which I’ve got free printable tags for you at the bottom of this post).
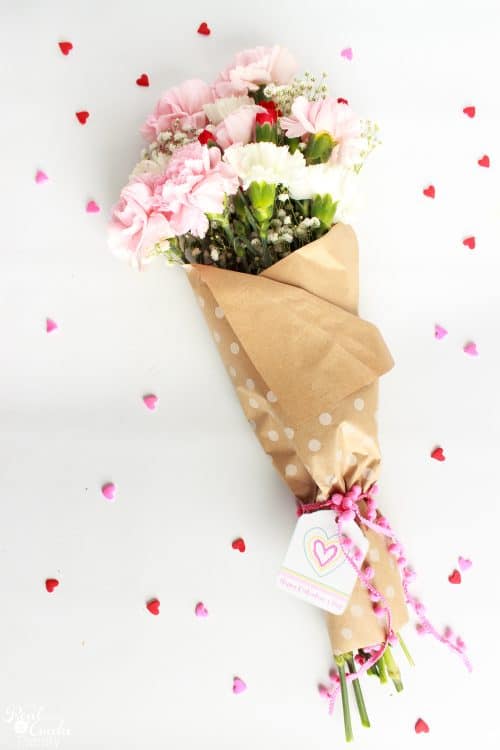
I just love the pom pom ribbon I found to go with this bouquet…but then again we know how much I love pom poms!
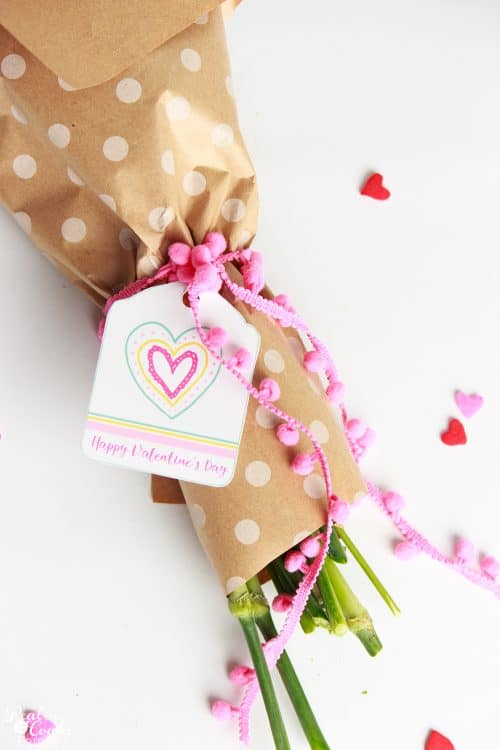
Perfect tag for this bouquet!
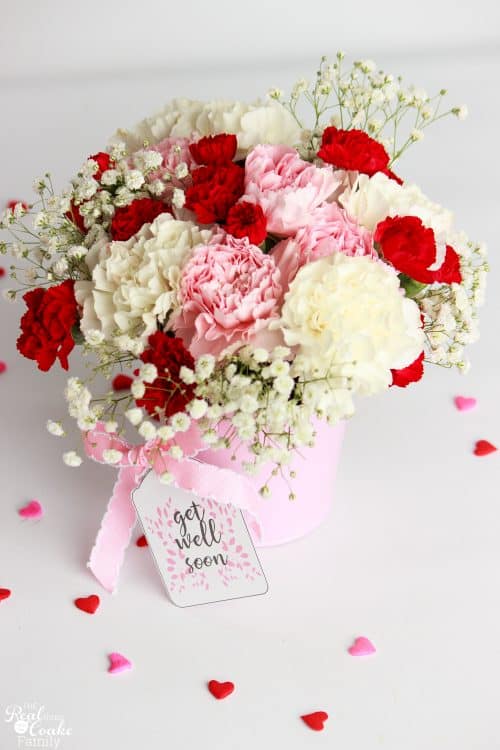
Flowers can be a great DIY gift for a friend who is not feeling well or had surgery.
I arranged these flowers into one of those cute little tin pails you can find at lots of stores.
Just use some floral foam, which you can get at a craft store, and keep adding flowers and baby’s breath until the pail is full. Once again, just like with the bouquet, try to vary the colors and sizes of the flowers for visual interest.
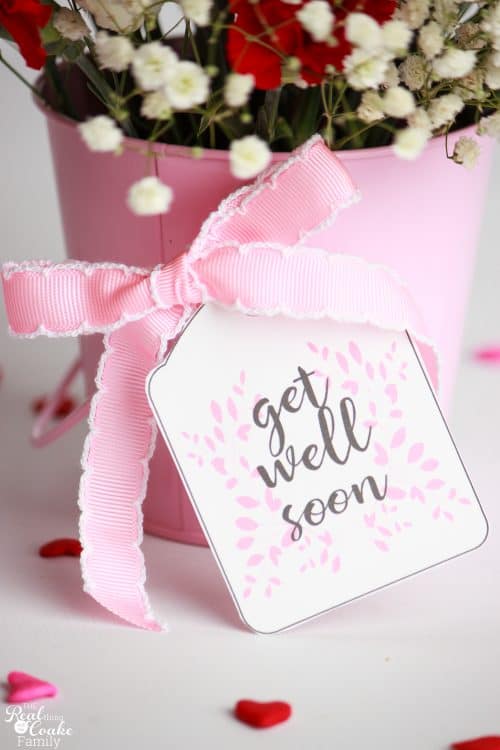
Once again, I found a cute matching ribbon to use with the printable tags. So cute!
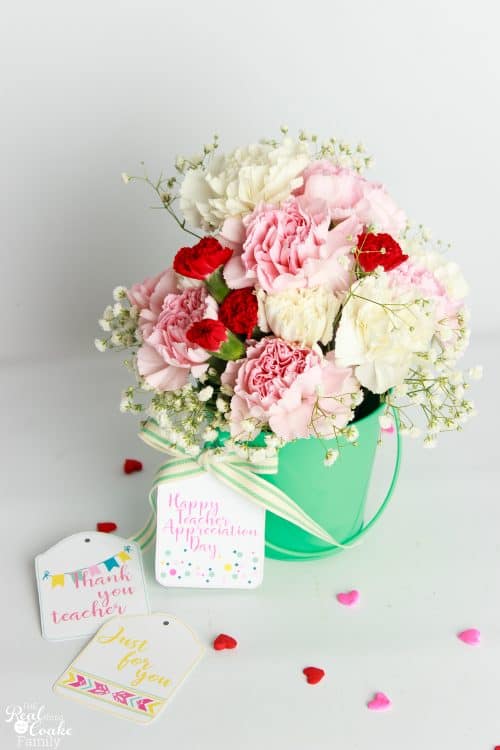
Teacher Appreciation Day is May 2nd this year (with Teacher Appreciate week being from May 1 to May 5). I thought another little pail filled with flowers would make a cute DIY gift for a teacher.
One word of caution about the little pails, mine both leaked….so my cute idea didn’t work out that well. I did run a thin line of E6000 glue on the outside seam as well as the inside bottom seam and that seemed to work, but you may want to find something else to arrange this type of bouquet in rather than the cute pail.
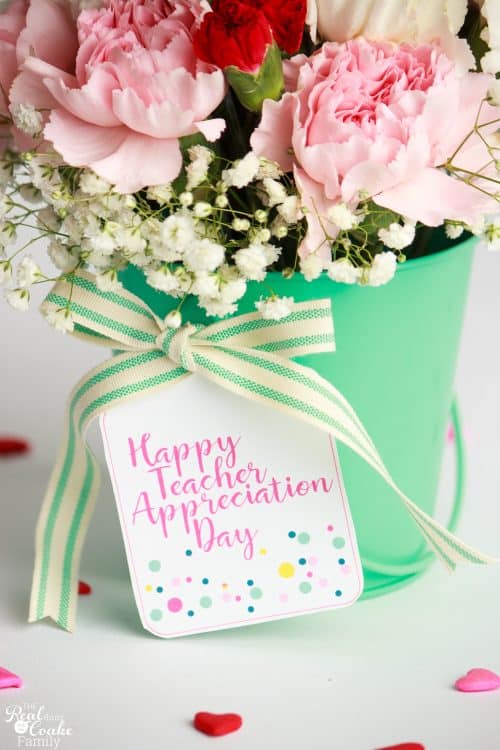
Any of the arrangements I made would make great last minute gifts that still have a personal touch.
I love the cute ribbon and cute tags to match this DIY gift. 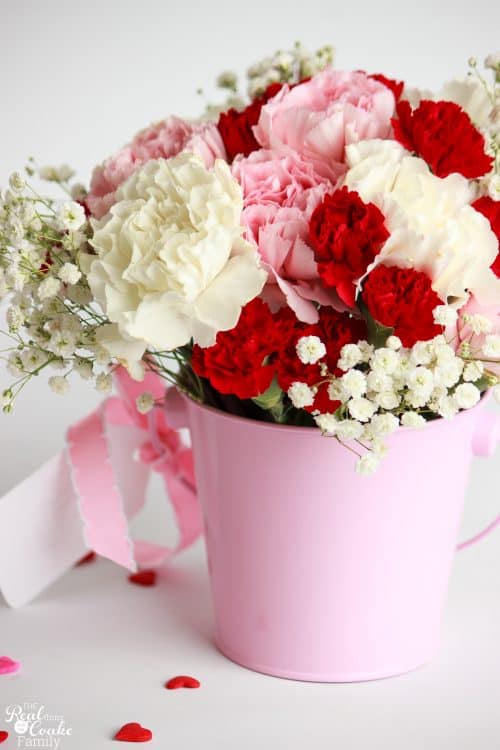
And because photographing flowers if one of my favorite things…I have a few more pretty pictures for you. I did manage to narrow it down from 200 to only 14…I am proud of myself. 🙂 Did I mention that I love photographing flowers?!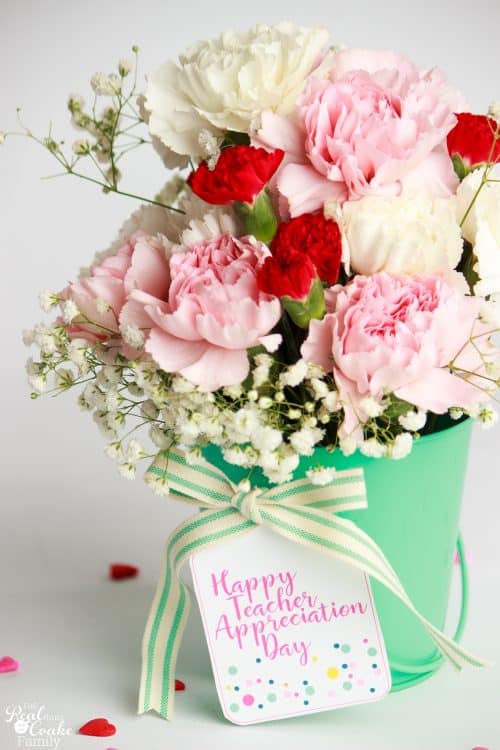
If you want a simple DIY gift, head on over to Kroger floral department and pick up a few grower’s bunches of carnations and try your hand at floral arranging. Then snag your printable tags below and add a cute bit of ribbon. Good to go! Love that!
I found it to be fun to make the arrangements and those that I gave these gifts to, really enjoyed them. That is the best part!
Just sign in below to get your free printable tags.
If you want to see more pretty flowers, I have more pictures that I will be sharing on Instagram and Facebook.

Happy New Year!
very cute idea, arranging flowers is not one of my skill either, but I feel like I could follow your lead.
Happy New Year to you as well! Thanks! I hope that my lead works for you. 🙂 It isn’t that hard, it is just a matter of being patient and keep adding so things look pretty and full. Have fun!
very pretty flowers and what a great gift for your valentine these would make
Thanks so much!
Those flowers are beautiful!
Thank you!
You’ve definitely got a talent whether you’ve been trained or not. My mother was a florist so I’ll pass along a little tip. Depending on the size of the metal pail, you could insert a plastic Solo cup as a liner to stop the leaking. Thanks for sharing at Over the Moon.
Thank you! OMG….the solo cup as a liner is a genius tip! Thanks so much!
As a non florist I would save you have a eye for flower arranging – these look so pretty.
You could also try lining the pails with aluminium foil, I’ve done that before and it’s works ok. Anything to keep the water contained!
I love your pretty flower photos, they have been a joy to look at so thank you for taking them – choosing 14 from 200 is no mean feat!
Flowers are such a cute idea for a teacher gift!!
Thanks for linking up at #bloggerspotlight!
Thanks!
Wonderful ideas, beautiful colours. Love it!! Voted and now featured as my favourite on this week’s Turn It Up Tuesday.
Thanks so much for sharing this with us
Have an amazing day:)
That is so beautiful! Thanks for sharing with us at the Funtastic Friday Blog Hop!
Thank you!