Who’s ready for a mommy crafty break? ?♀️ Save those salsa jars and make yourself some cute DIY candle holders in any color to match the holiday or your home decor.
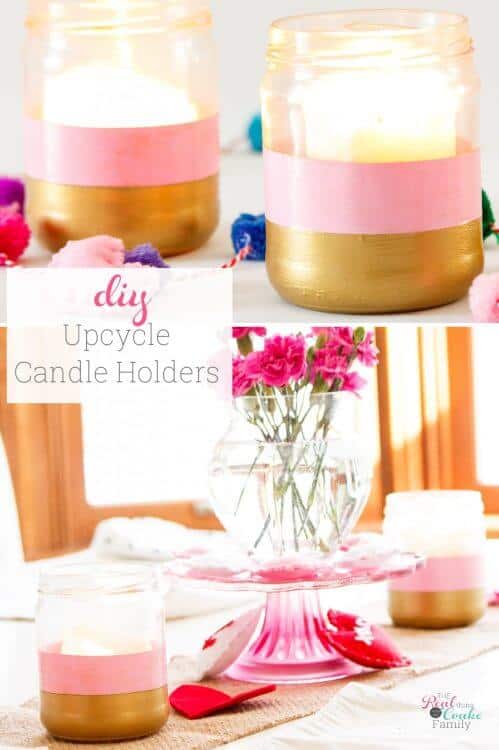
I’ve been enjoying making crafts that I can split up into little sessions. That way I keep getting to create and I don’t make my children craft orphans. ? Lol!
I’m also loving making crafts in what I’m calling my current life theme colors….pink and blue. Do you remember the pink and blue pumpkins and ornaments? Theme = fun! I’ve dreamed of doing year-round decorations in a color theme for a year now and I’m finally going for it.
I knew it would be easy to fit the theme for Valentine’s day and I also wanted to make some candle holders for the table that I’d be able to leave out year-round(if I don’t get bored with them).
I’ve made Salsa jar candle holders before, there were the Epsom salt candle holders and the nail polish candle holders, so I generally knew what I was doing, but for these DIY candle holders, I wanted to add stripes for some extra color. They were easy and easy to break up into small bits of time to make it easy to craft and take care of my family. Perfection!
DIY Candle Holders
Supplies:
- Empty and clean salsa jars
- Krud Kutter
- paint
- glitter paint(optional – here is what I used{affiliate link})
- paintbrush
- Frog Tape(affiliate link)
- ruler
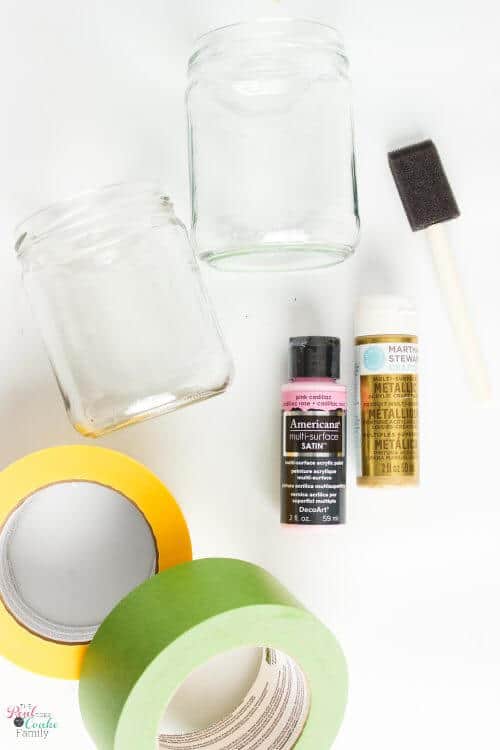
Before beginning, you’ll need to remove the label.
I usually rip off what I can and then put it through a cycle in my dishwasher. What’s usually left after that is the glue.
To remove the glue, I use a combo of rubbing alcohol and Krud Kutter.
Step 1: Tape first stripe
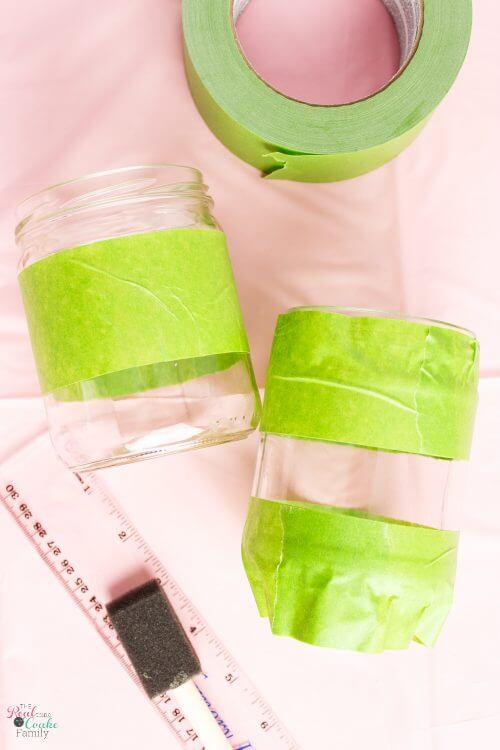
You’ll want to tape off your jars for the first stripe you’re going to paint. The video that should be playing in the sidebar has a great tutorial on how to make your line straight on a curved jar.
Step 2: Paint first stripe
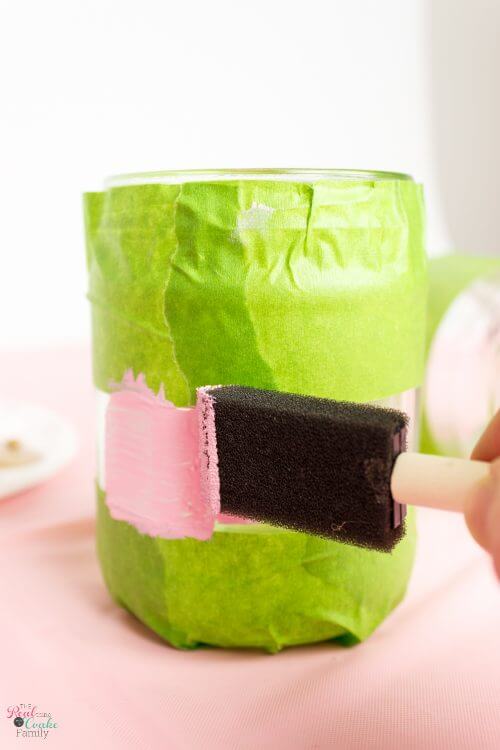
Paint your first stripe. Expect to paint at least 3 coats of paint. It depends on how opaque you want your paint to be.
I painted 5 coats. This is what I mean by a craft that can fit into mom life. Paint a little and go do something for the family, then come back and paint some more.
Step 3: Remove tape for first stripe
Wait until your paint is dry and remove the tape.
Step 4: Tape off second stripe
Again, you can watch the video in this post to see a tutorial on how to tape off the jars for paint.
You can wait a day before you do this to make sure the first stripe of paint has cured. I did this only by accident. I finished the last coat of the first stripes’ paint and went to bed. The following morning I removed the tape and taped for the second stripe. It worked perfectly. No peeling of paint when I removed the second set of tape.
Step 5: Paint second stripe
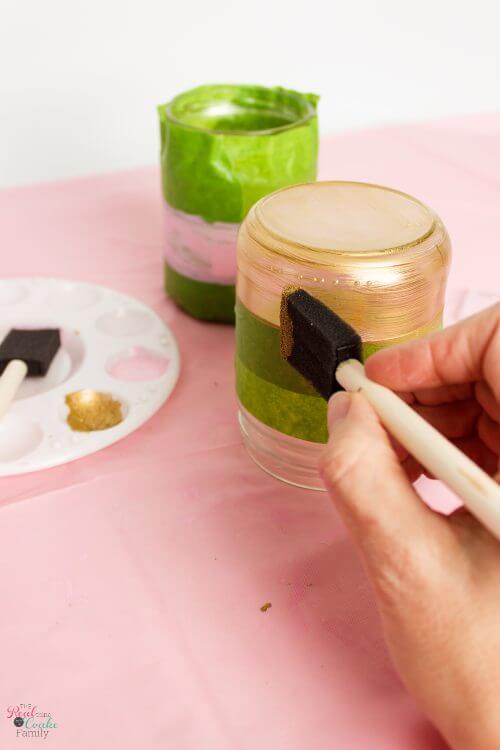
Again, you will want to paint at least 3 coats of paint.
I did 5 coats again.
Step 6: Remove tape
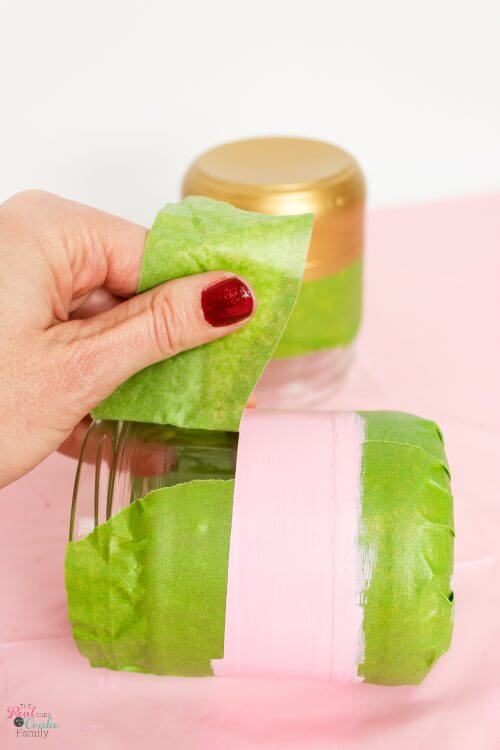
The moment of glory…or the agony of defeat. Remove your tape.
I’ve always gotten great lines using Frog Tape(affiliate link). My lines were virtually perfect. ?
Step 7: Add Glamour Dust paint (optional)
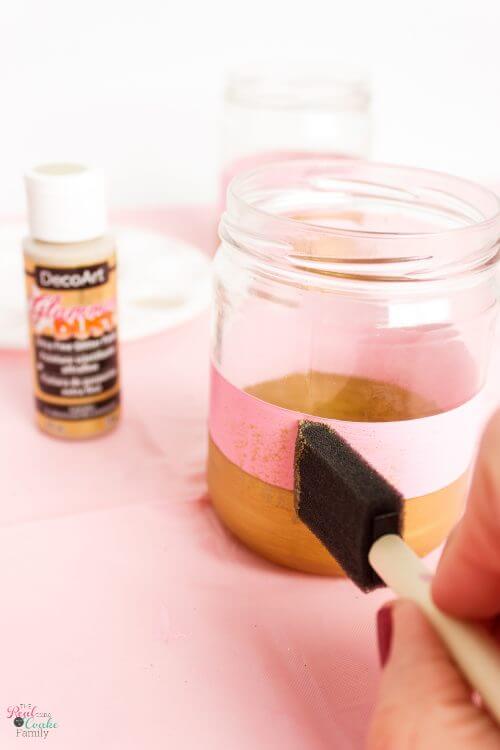
You don’t have to do this step, but it adds a nice bit of dimension…and who doesn’t like a little extra sparkle?
I did 2 coats of the Glamour Dust(affiliate link) to get some good sparkle at the top of the jar.
You’re done!
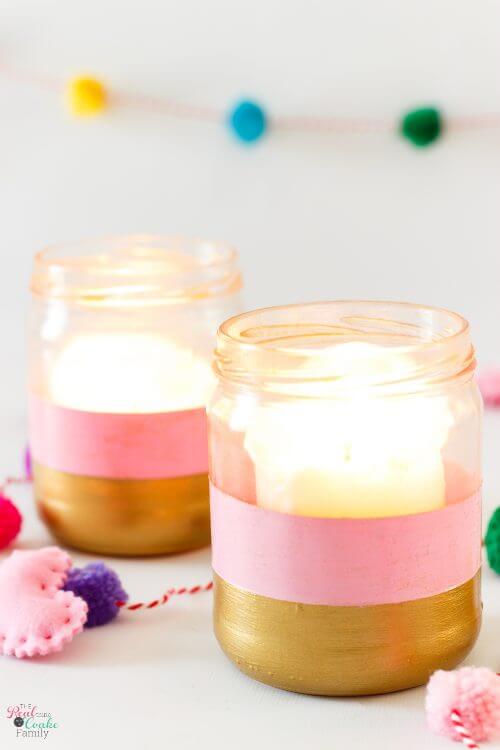
All you need to do is add a candle and you’re good to go.
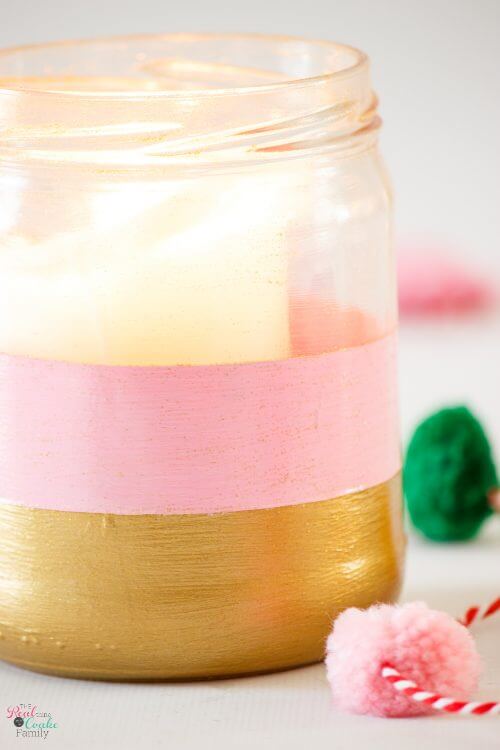
It was hard to photograph, but you can definitely see the sparkle/glitter at the top of the jar.
I love it! ? It adds a little something extra to these upcycled candle holders.
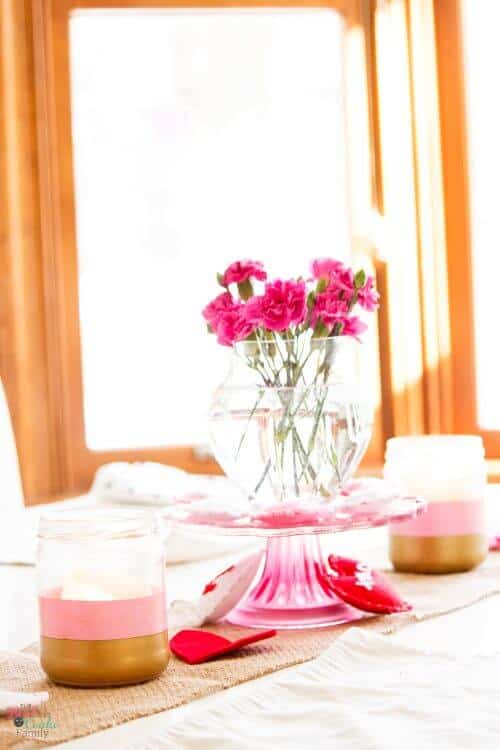
Mine are on my table as part of my Valentine’s Day tablescape.
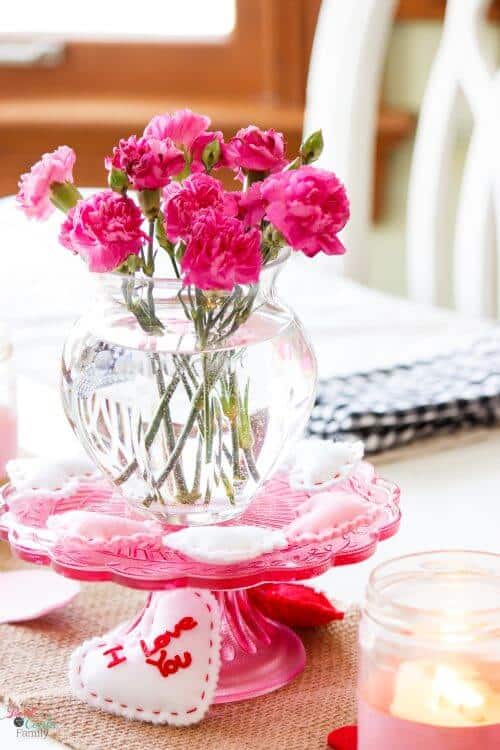
I used a pink cake plate from the Target dollar spot and some cute little felt hearts, also from the Target dollar spot.
They helped add color and cuteness.
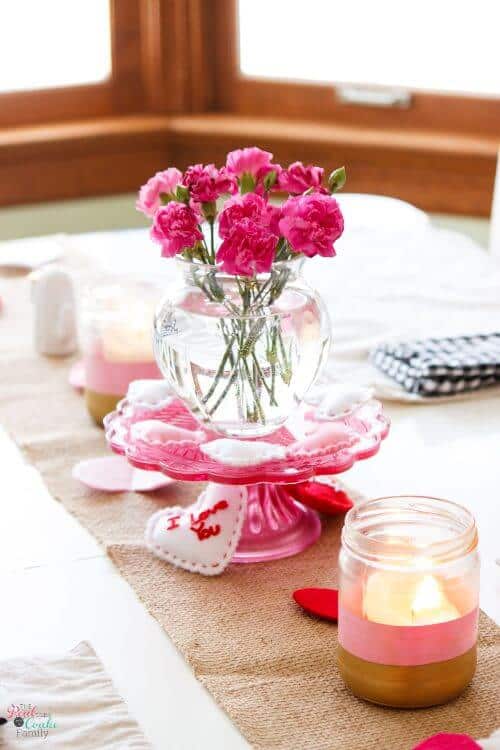
I also added the burlap table runner I made a few years ago. I love how I made the felt stiff so the hearts have dimension.
I had almost thought of getting rid of this table runner because I was sick of it, but I love using it this way.
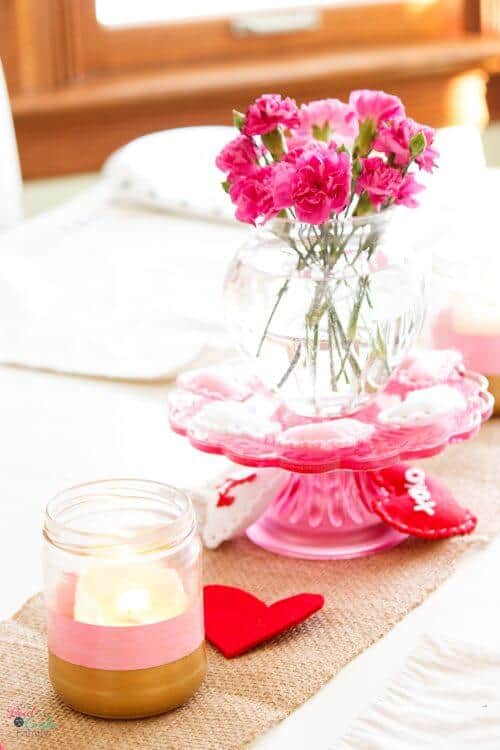
All in all, it’s a whimsical, colorful, and cute table….which is the kind I like. ??
Have you tried making DIY candle holders before? If so, were they a success or a fail? I’ve done both for sure! Leave me a comment below with your success or failure stories. Can’t wait to hear ALL about it!
Love it, of course especially since it is a recycling craft! Great to see you on craft schooling Sunday, thanks for sharing!
Thank you! Thanks for hosting!
These are great and I love a good upcycle. Pinning and can’t wait to make some myself. Thanks for sharing.
Thanks so much! They’re a fun easy upcycle. Send me a pic when you make them, I’d love to see!
Those are so pretty! Thanks so much for sharing with us at Encouraging Hearts and Home. Pinned.
Hi this is Kristina visiting from Thrifty Thursday. These are so cute! And they look easy enough that even I could do them ! I’m not the most crafty person haha, so I appreciate those who have that talent.
Thank you! They’re super easy….I think easy = fun, especially as a mom. It let’s me get my craft on without forgetting I have a family. ?
I love recycle crafts like this and your table is awesome!
Thank you!
Love how these turned out KC.
Thank you for sharing this fun DIY at Create, Bake, Grow & Gather this week. I’m delighted to be featuring it at tomorrow’s party and pinning too.
Hugs,
Kerryanne
Thank you for the sweet comments as well as hosting and for the feature!
What a beautiful way to repurpose glass jars!
Thanks!