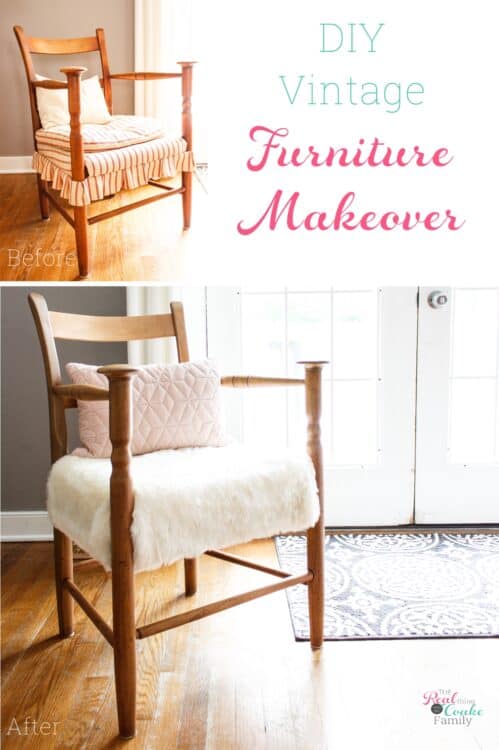
This DIY starts with a little story. I grew up in Arizona, and my mom grew up between Washington State and Virginia. As an adult, I moved to Virginia, where both of my parents had spent some of their childhood.
A few years after my move, my mom got a call from the woman who had lived across the street from her in Virginia. Somehow she had ended up with a chair from my Grandma, and she wanted to give it back to my mom’s family. She now lived out in Luray, VA. The next time my mom came to visit me, we took an overnight trip out to Luray to pick up the chair.
The chair is the first piece of furniture my grandparents bought together. As it didn’t work for my mom to take the chair home on the plane with her to AZ, I ended up with the chair.
I’ve known for years that I wanted to give the chair a makeover, but sometimes I have to sit with something for a good while before I know what I want to do with it. That was the case with the chair.
A few years ago, I knew part of what I wanted to do and found a fluffy throw blanket on clearance at Target that I knew would become the seat of the chair. But time and motherhood being what they are, I never found time to tackle the chair makeover.
Finally, earlier this year, I knew what I wanted to do as far as stain versus paint and what kind of stain I wanted to do for the chair. So, on a few warmer days late this winter, I began to work on the chair. I finished it last week. It took me a couple of months to get it completed, because #momlife, but it’s done and I’m super happy with this chair makeover.
I’m going to show you the specific steps that I took, and I’ll let you know if they’re steps you need to do or if they’re optional. I’ll break everything down into smaller steps for you that’ll be in bold throughout this post, so you don’t miss them. That way, you can see how to break this DIY into smaller chunks that can fit in your busy mom life.
Along the way, I’ll add tips and tricks that I found to make the project easier and I’ll point out any what not to do’s of how to refinish furniture! ?
Real quick, if you’re feeling overwhelmed by mom life (and who hasn’t), I can help you so you can have time for these DIY projects or fun crafts you want to do. I teach moms how to feel less stressed and overwhelmed by showing them systems that have worked wonders in my life and the lives of over 4,000 other women. Join the class now and start feeling like you’ve got your crap together and have time for things like learning how to refinish furniture. Yay!
How to Refinish Furniture
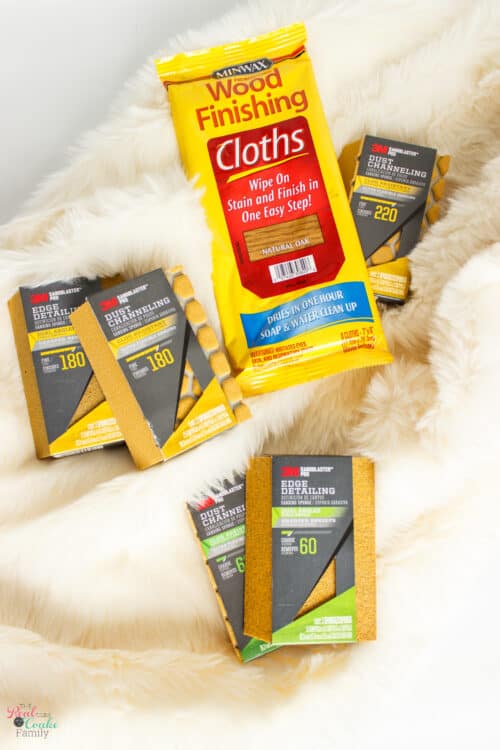
Supplies:
- Chair – or furniture you need to refinish
- Nail puller (affiliate link)
- Sanding blocks in 60, 180 and 220 grit (affiliate links)
- Sandpaper in 60 grit and possibly 180 grit(affiliate links)
- Damp cloth
- Dry cloth
- Minwax Wood Finishing Cloths (affiliate link)
- 2-3″ Polyfoam cushion – optional depending on your furniture
- Utility knife or scissors (affiliate link)
- Yard Stick
- Disappearing ink pen(affiliate link)
- Hammer(affiliate link)
- Plastic bag – optional depending on your furniture
- Delicate painters tape(affiliate link) – optional depending on your furniture
- Home Right Finish Max (affiliate link)
- Paintbrush
- Home Right Spray Shelter(affiliate link)
- Minwax One Coat Polyurethane – Clear Satin(affiliate link)
- Dropcloth
- Staple gun(affiliate link)
- Staples(affiliate link)
- Faux fur or fabric for seat
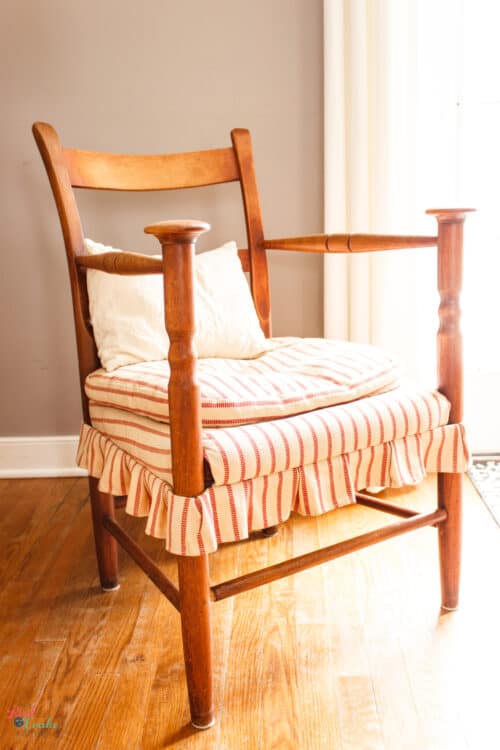
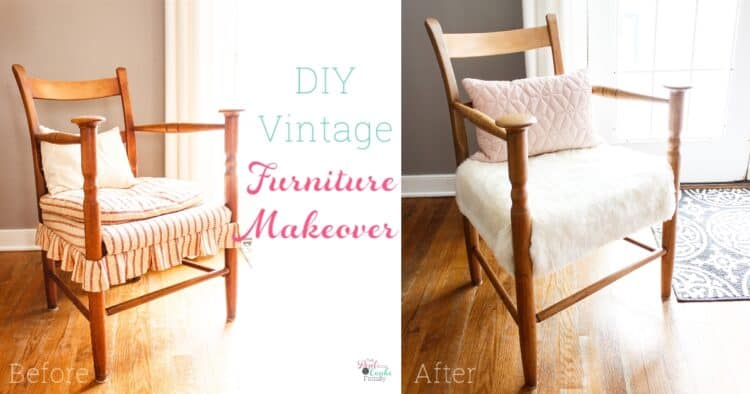
Before we get going with the steps in this project, let’s take a quick look at the chair before.
It was colonial style, which is not my style. I also didn’t like the stain color, but I wanted to preserve the uniqueness of this piece of furniture.
Step 1: Remove fabric
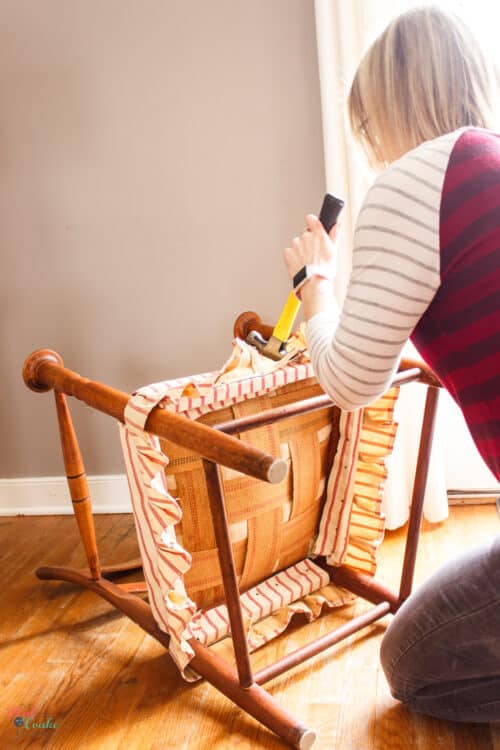
You’ll want to start by removing the current material from your piece of furniture.
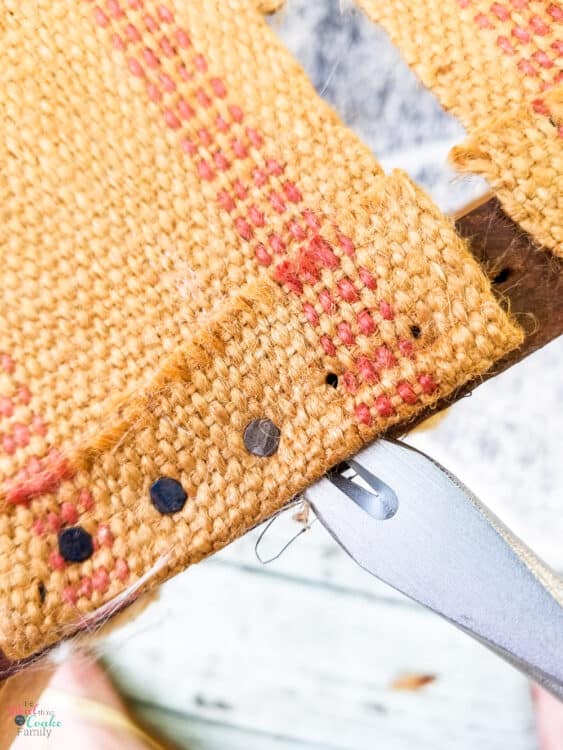
TIP: I found this nail puller after getting frustrated with how ineffective the hammer felt on some of these small old nails. It was amazing! Best tool to invest in as you learn how to refinish furniture.
Step 2: Use paint remover to remove any varnish/polyurethane and/ or paint (optional)
TIP: Paint remover only removes the varnish, polyurethane or paint. It doesn’t remove the stain if your furniture is a stained piece.
Step 3: Sand with 60 grit sandpaper or sanding sponge
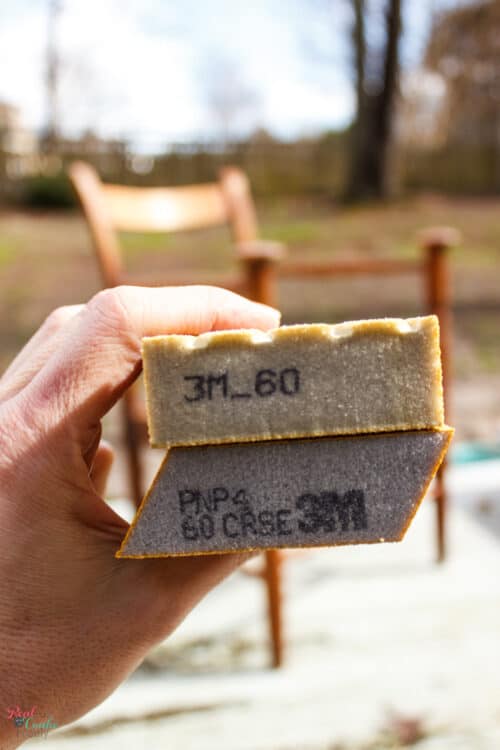
TIP: Buy sanding blocks that have the grit printed on the end. It makes it so much easier to know which is which. If you already bought some that don’t have this, use a Sharpie to mark the grit before you get started.
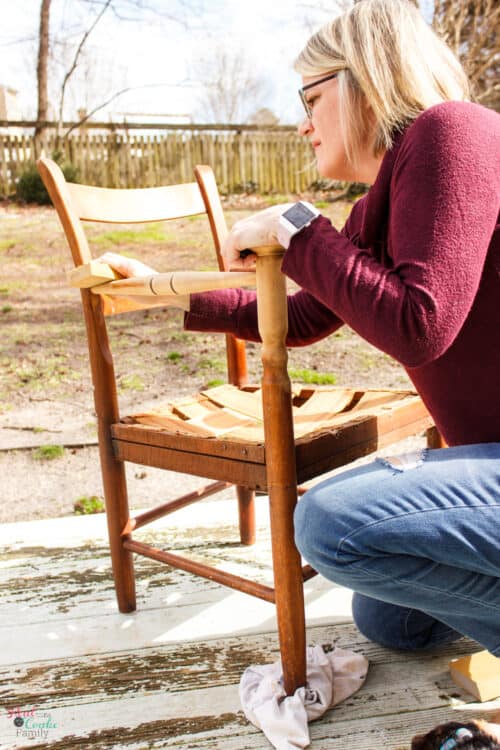
If you’re removing stain, the only way to do it is with sandpaper.
Start with your 60 grit sanding sponge(which are the best invention!) or paper and work your way around your piece of furniture.
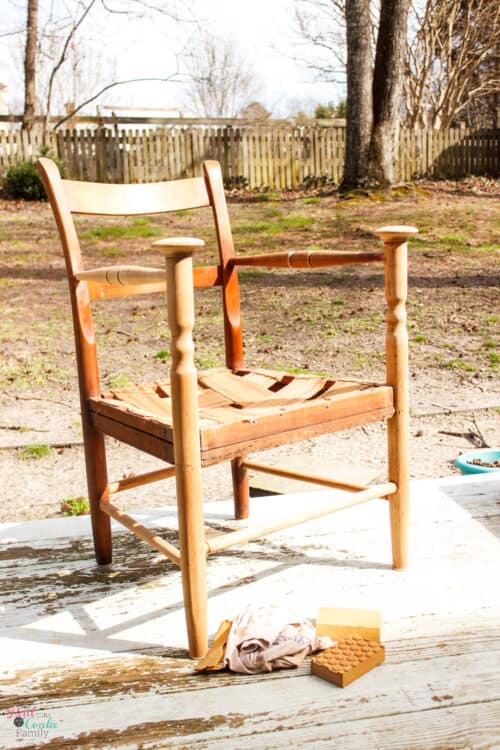
To give an idea on time for this part of the project, sanding the 2 legs, bottom 2 rungs, and 1 arm, took me about an hour.
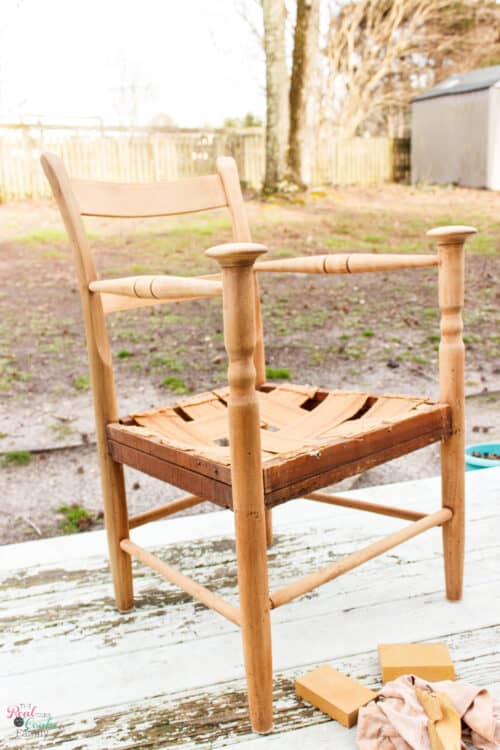
For the 1st sanding of the whole chair, it took me a little over 2 hours.
You can break this up into whatever time chunks you have as a mom.
I broke it up into 2 – 1-hour sessions.
Step 4: Sand with 180 grit
Step 5: Sand with 220 grit
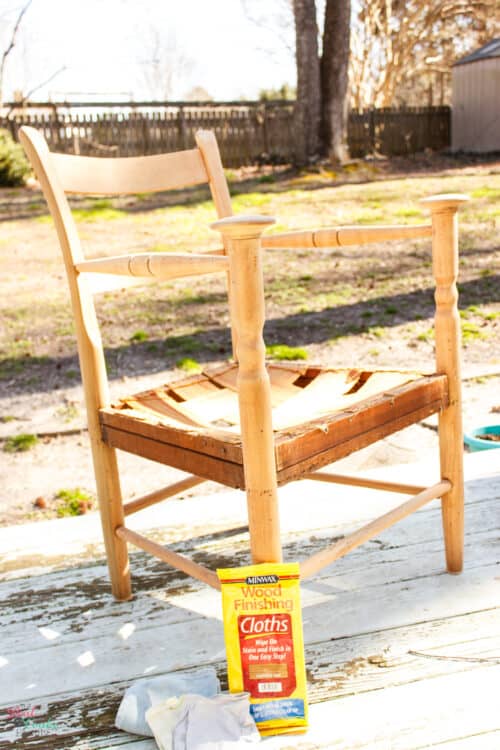
Use your sanding sponges to smooth out your piece.
Take your time with all the sanding portions of this DIY. It’ll make the end result of your project look more polished.
I struggle with that part. I tend to want to hurry up and get it done, but I’m learning to take a deep breath and let the project take the time it needs to get the results I want.
It took me about another hour to finish the sanding part of the project, for a total of 3 hours on sanding.
Step 6: Wipe with damp cloth
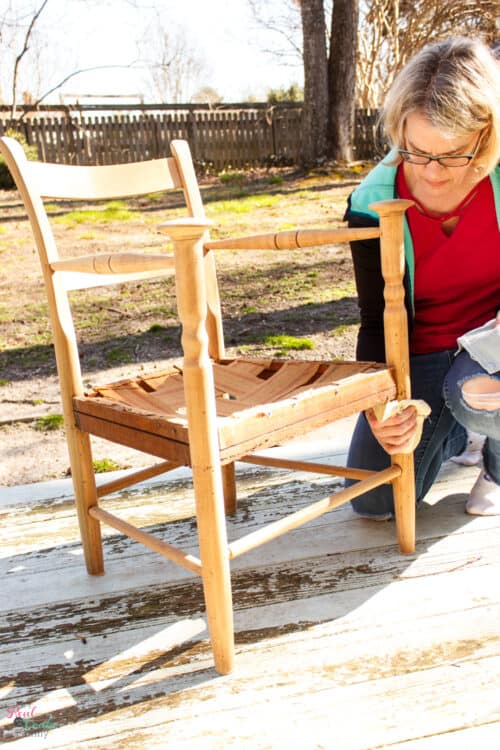
You’ll need to get all the dust from sanding off the chair or piece of furniture.
Do this by running a lightly damp cloth over your piece.
Give it a little bit of time to dry. Depending on where you live and humidity, that could be 5 minutes to an hour or so.
Step 7: Stain with wood finishing cloths
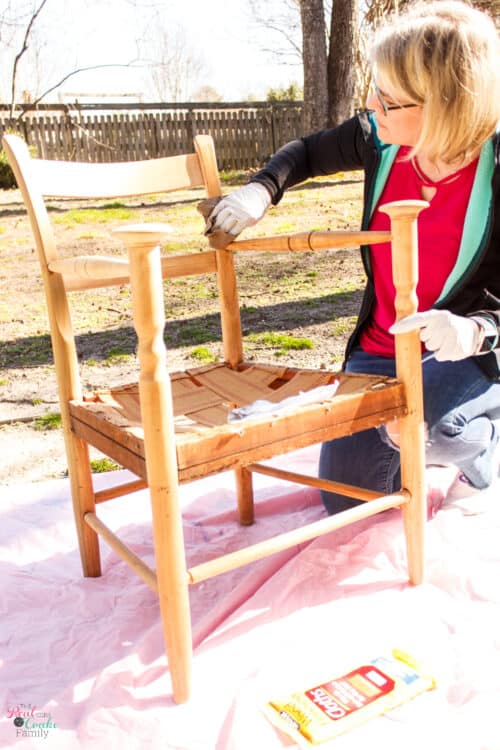
Use the Minwax wood finishing cloths(affiliate link) to stain your chair your desired color.
Work in one section of the chair or piece of furniture at a time, so you complete the next step before things dry up.
I used the Natural Oak cloths.
Step 8: Wipe excess stain
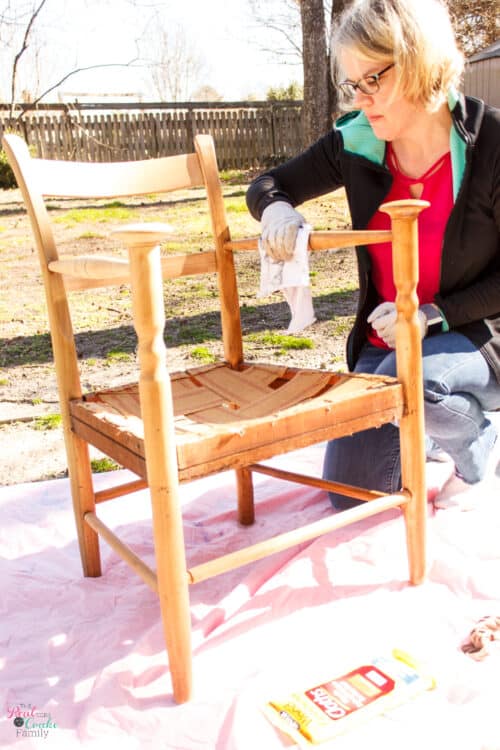
Using a dry cloth, lightly wipe off the stain. Making sure to leave things smooth.
Step 7 & 8 are pretty quick steps, that may take about 30 minutes depending on the size of your furniture.
Step 9: Add a second coat of stain (optional)
If you want your stain darker, wait the recommend time on the packaging and add a second coat of stain.
Step 10: Cut foam cushion (optional)
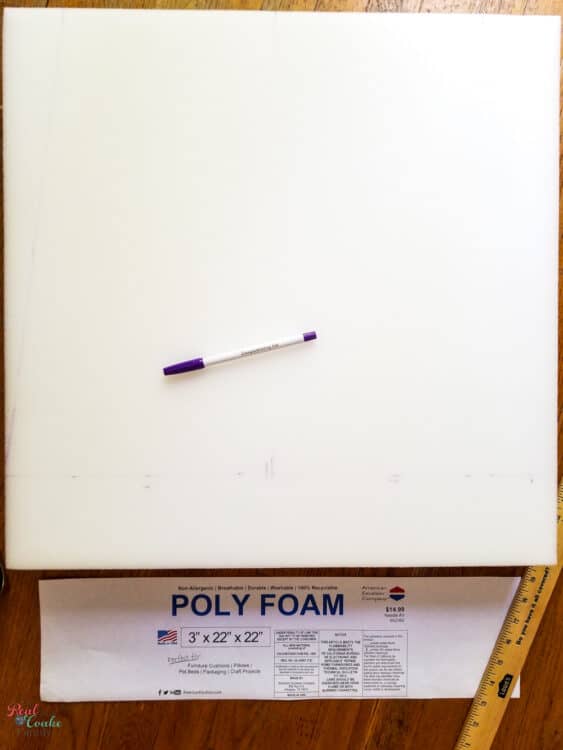
If you have a chair or piece of furniture that needs new cushioning, you’ll need a piece of poly foam in the correct size for your chair.
You may need to cut it to be the correct size. You can see two methods of how to cut the poly foam in the video that is playing below or on the left side of your screen.
My chair seat is a trapezoid shape, so I had to buy a cushion larger than I needed and cut it. The cut doesn’t have to be pretty because no one will see it, but it does need to be the right size.
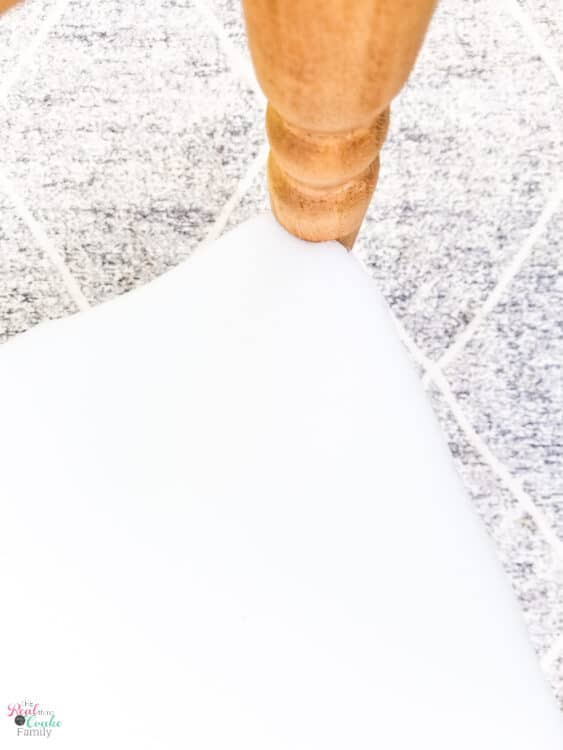
Don’t forget to cut extra foam away around the round legs of your chair arms.
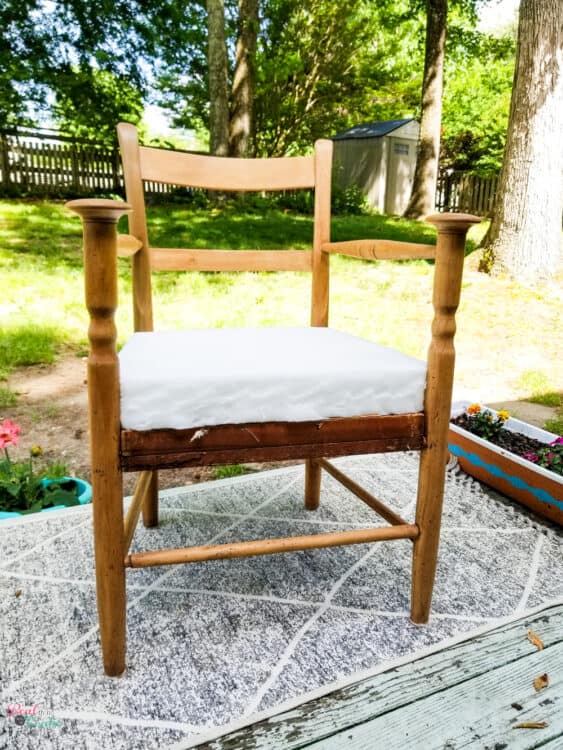
Like I said, the cut of the cushion doesn’t have to be pretty. No one will ever see it. If your fabric is thin, your cut may show a little or look lumpy, so you’ll need to be a bit more careful.
I’d say between step 10 and 11; you’ll need about 30 minutes. If mom life has you too busy for that much time, do the foam one day and the fabric another day.
Step 11: Cut fabric

Next up in learning how to refinish furniture, you need to cut your fabric.
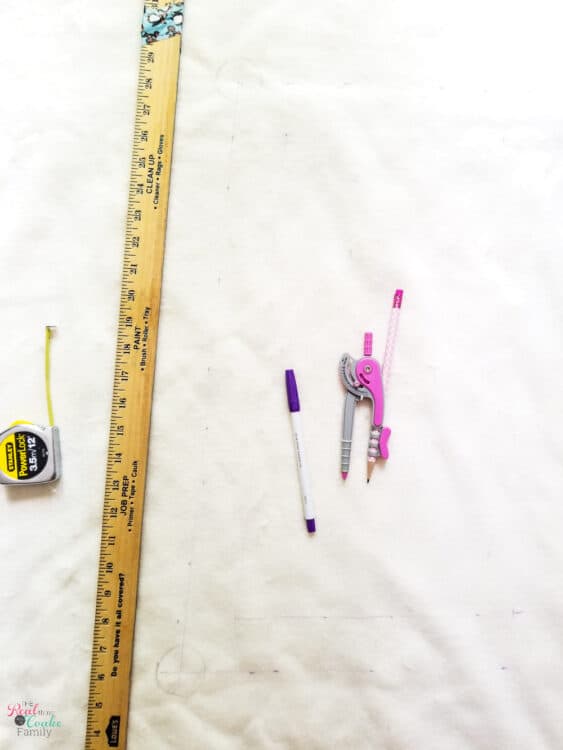
Measure your seat and draw it out on your fabric using a yardstick and disappearing ink pen. Make sure to add for the thickness of your foam.
My foam was 3″ thick, but I only added 2″ because I wanted to be able to pull the faux fur tight and I know over time the foam will deflate some. It worked well.
Step 12: Tighten the seat
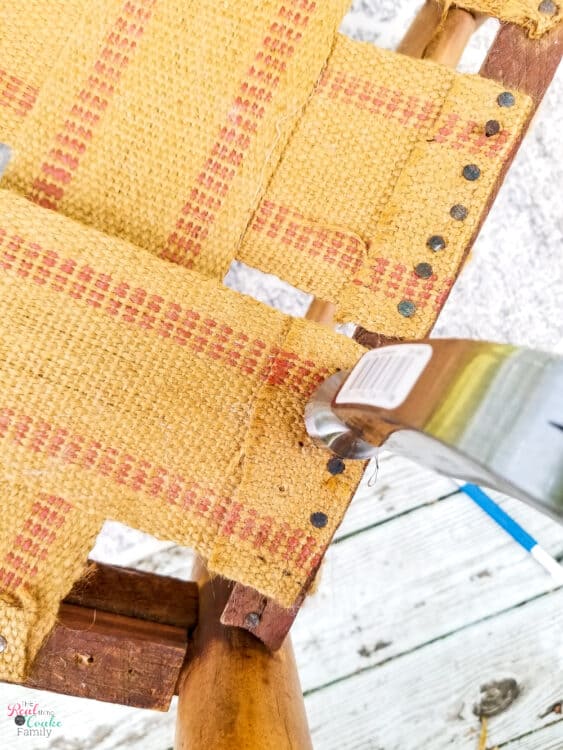
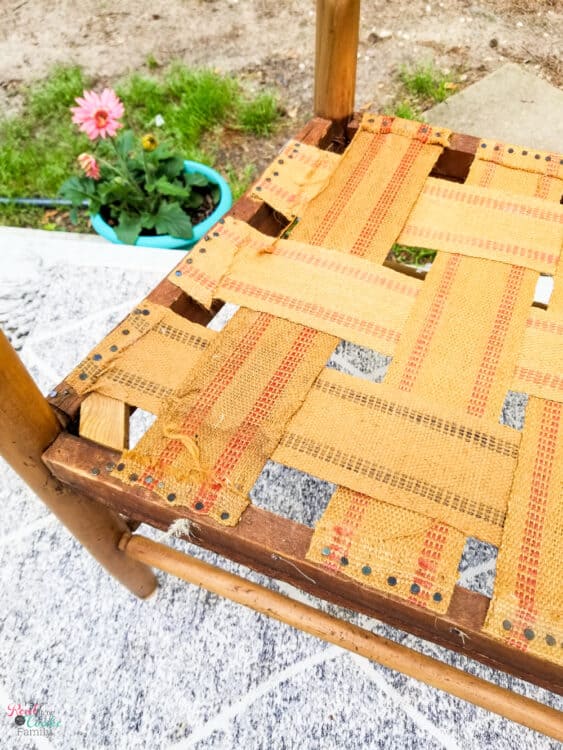
If your chair is old, likely it has these straps for the base of the seat. Over time, they stretch out and need tightening if you don’t want to feel fat or like you’re going to fall through the seat every time you sit down.
Use the nail puller(affiliate link) to remove those old nails. SAVE THEM!
Pull the strap tight and fold over the extra. Using a hammer, add the nails back to hold the straps in place.
NOTE: You’ll only need to do this on one end of each strap.
The straps make still look old, but these straps are now nice and tight. It makes a big difference in the sturdy feel of the seat when you sit down, so don’t skip this step.
This step will take you about 10-15 minutes.
Step 13: Prep for polyurethane
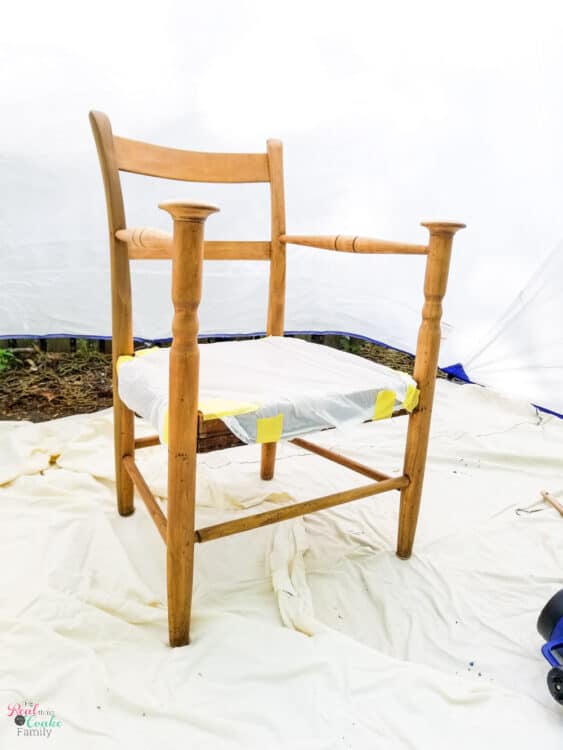
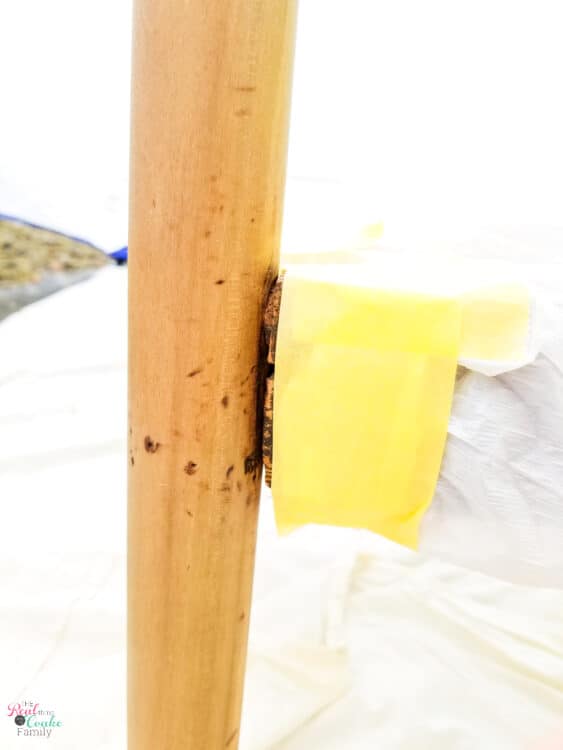
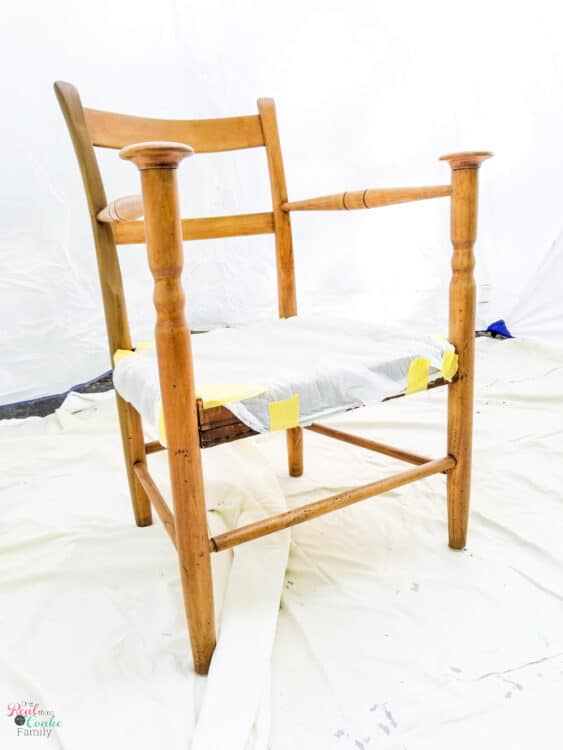
You need to cover the seat of your chair, so those straps don’t end up with a coat of polyurethane on them. They don’t need it.
A garbage bag ripped open and placed around the seat should do the trick.
To keep the plastic bag out of the way where you want the poly, use delicate painter’s tape.
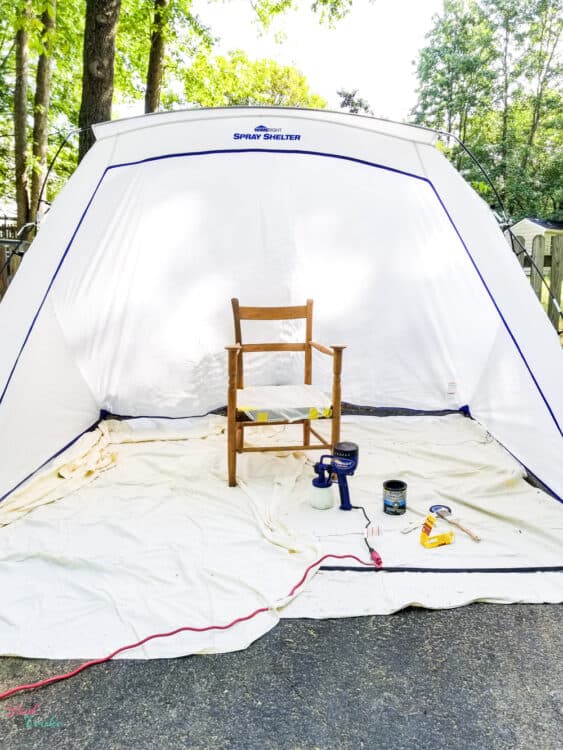
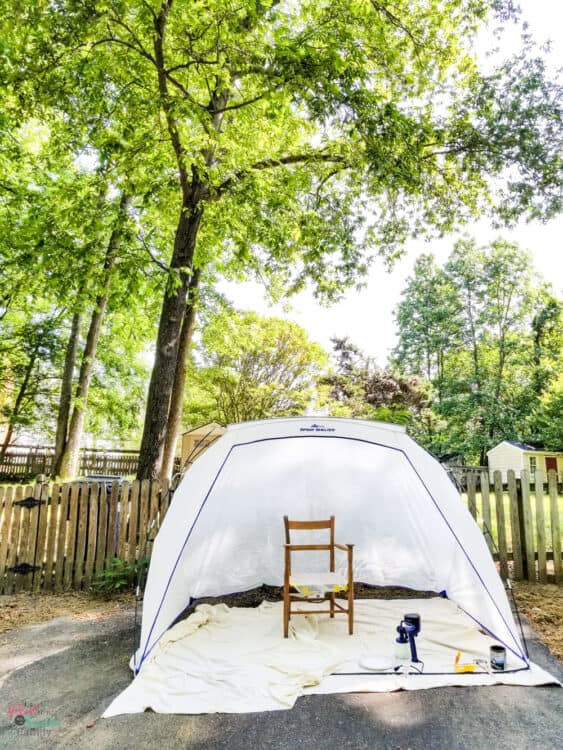
If you’re working outside, the Home Right Spray Shelter(affiliate link) will protect your furniture from dropping debris and the sun while your spraying as well as letting it dry.
Expect this step to take you about 30 minutes if you’re setting up a shelter and getting your chair and the spray gun ready, etc.
Step 14: Add a coat of polyurethane (optional)
If you used the Minwax wood finishing cloths, they say they stain and seal. To protect your chair a little more, especially with kids, add a coat of polyurethane.
Use the Home Right Finish Max(affiliate link) and the Minwax One Coat Polyurethane(affiliate link) to make the job quick and professional looking.
By using the Finish Max, you won’t end up with brush marks, which I always think looks better.
If a Finish Max isn’t in the budget right now, use a paintbrush.
If you’re spraying, this will only take you 10 -15 minutes. I’m not sure how long it’ll take you if you’re using a paintbrush.
On a personal note, I don’t have a garage. This is the first time I’ve used my driveway for a painting project. I put down a couple of drop cloths and used this space. It worked well.
Since it was spring, all manner of pollen was dropping for the trees in our yard, thank goodness for the spray shelter! It protected my sweet chair from all that dropping pollen.
The newer large spray shelter(affiliate link) also has netting that goes on the front so that when you’re done, you can tie or zip it down (I’m not sure which) and further protect your project while it dries. I need to order one of those for sure!
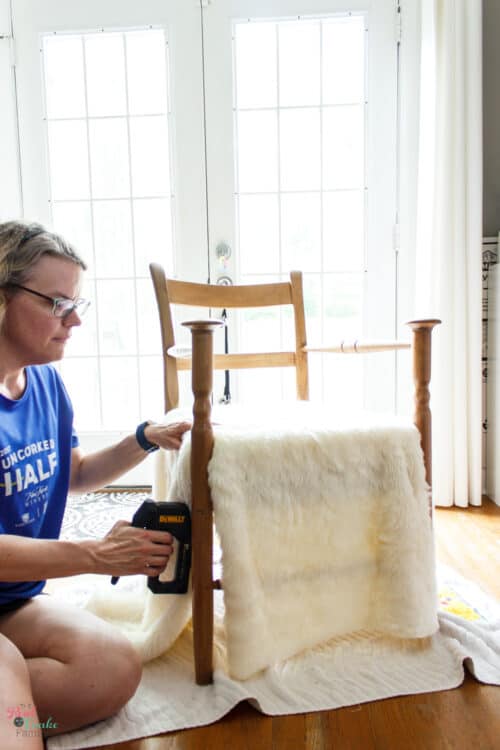
Step 15: Tack fabric near each corner (optional)
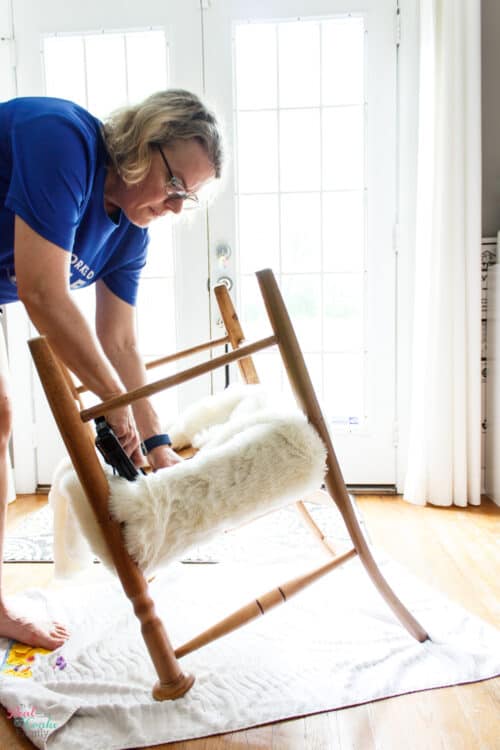
It’s going to be easiest to staple your fabric in place with the chair upside down, but you need to tack the fabric in place first.
I was pulling the fabric in tight between the foam and the arms of the chair, so I folded the fabric under and added one staple near each corner as you can see in the picture above. As a note, the staple went under the material on the folded piece. I took the picture like this so you could see where I was stapling instead of a staple gun covered by faux fur, which would show you nothing. ?
You may not need this step if you’re not pulling your fabric tight between the foam and chair arm because you may not have any excess fabric
Step 16: Add one staple to underside of chair
Pull your fabric tight. As tight as you want it. Add one staple to the fabric on the underside of the chair.
I pulled mine as tight as I could because I wanted to squish down my foam a little bit and make it less likely that I’ll have puckered fabric in a year after wear and tear.
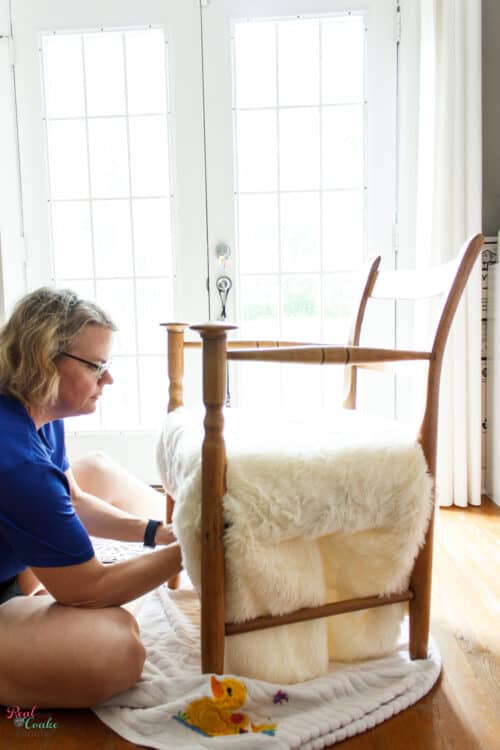
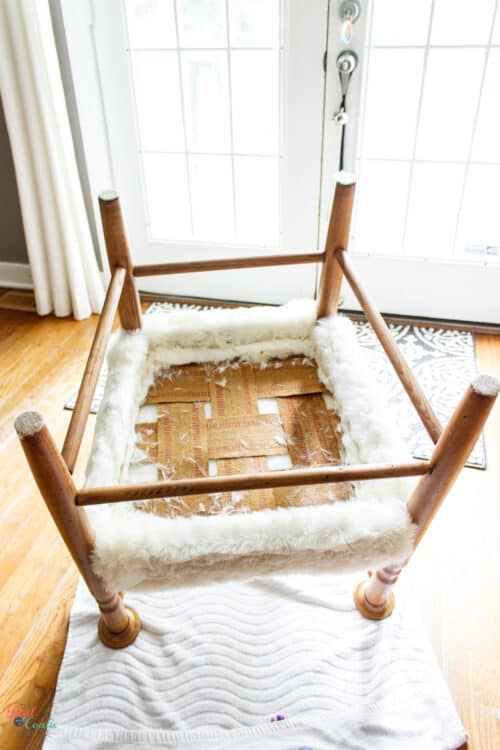
Step 17: Flip chair and finish staples
Make sure you’ve waited the time on the packaging for your poly to dry. Place your chair upside down on a soft surface or towel.
Pull fabric taut and staple.
Start on one side and continue in this manner around the entire seat.
TIP: If your staples aren’t going in, it may mean that you’re using the wrong size staples. Try another size.
For the occasional staple that doesn’t go in, use your hammer to get that staple in all the way.
This step will take you about 30 minutes or more, depending on the size of your piece of furniture.
Step 18: Celebrate and Share
You did it! In and among family life, you finished that DIY project you’ve wanted to tackle, and you learned how to refinish furniture.
Way to go, you amazing mama!
Now snap a pic and share it on Instagram. Please tag me @realcoake and use #RealDIY so we can all celebrate your accomplishment.
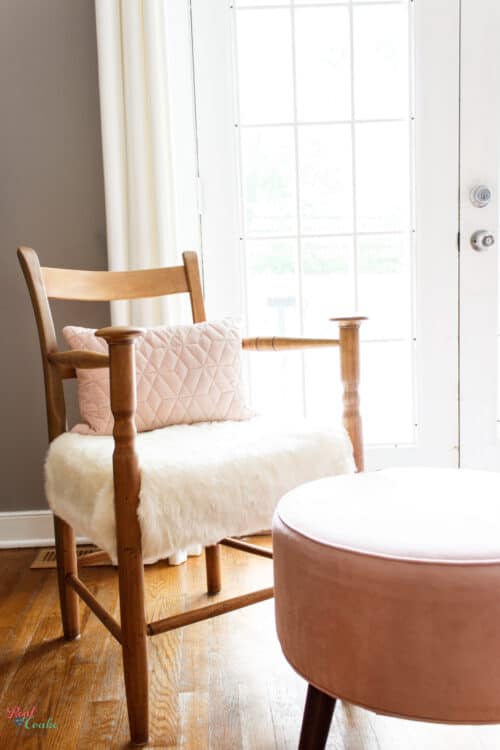
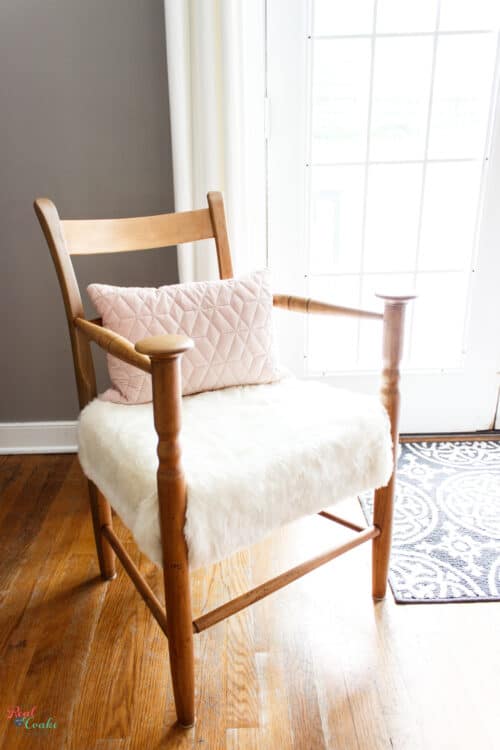
I found a cute pink footstool and pillow to go with my chair. I love the look of the new stain and faux fur seat.
To me, the pink adds a soft touch and looks fab with my gray sofa in my living room
I know you can do this! If you’ve had learning how to refinish furniture on your to-do list, just break it down into the smaller steps and find ways to do something meaningful to you in and among all you do for your family.
You’ll be more fulfilled and happy and less stressed because you finished the DIY and you got that project off your to-do list. Go You!?
And don’t forget, if you’re feeling overwhelmed by mom life (and who hasn’t), you don’t have to! I can help you, so you have time for DIY projects or fun crafts. In the Real Organized Moms Class teach moms the systems I use as a single mom that have worked wonders in my life and the lives of over 4,000 other women. Now, I feel like I have my crap together and don’t feel stressed every second of the day. Love that! Join the class now and start feeling like you’ve got your crap together and have time for fun DIYs like this one!
What’s your favorite tool to use when refinishing furniture? Share in the comments below for other moms learning how to refinish furniture to see and enjoy!
What an amazing project! It came out great! I especially loved the tip on the spray cover, I didn’t know that existed. I painted a dresser outside only to have a gust of dusty wind ruin it. Now I’ll be better prepared for next time.
How did the neighbor end up with your grandmas chair???? How did she find your mom? What a special treasure you have now!
Somehow this makes for a plot in a story!
Thank you! Oh no! I can’t imagine spending all the time it takes to paint a dresser and then have a gust of wind ruin it! Awful ?
My grandma passed away while my Uncle (my mom’s youngest brother) was still 16. I’m not sure exactly how the neighbor ended up with the chair whether it was that my grandma had given it to her or if maybe my Uncle gave stuff away before he moved out to AZ to live with us. I also don’t remember how she found my mom. My guess would be that my mom had contact with someone who knew her. She had a couple of people here she still kept in contact with over the years. Lol! Plot in a story….we could do the research of the story and film a documentary about the chairs life. Lol!
Hi KC!
Your chair makeover turned out so lovely! I like the more modern vibe the chair has now. Your tutorial is full of great details too! I hope you’ll share this at Homestyle Gathering link party via Serving Up Southern.
>>> Kim
Thanks so much!
I love furniture upcycles and this one is great. Wonderful tutorial! Thanks for sharing with To Grandma’s House We Go, I’ll be featuring you next week!
Thank you! Thanks for the party and for the feature!
Wow, gorgeous makeover, and such a sweet story! Interesting that the chair came to you when it did, and love your choice of fabric. thanks so much for sharing on craft schooling sunday, great to see you!
Thanks so much! I’m glad to have it. I love the uniqueness of the chair and now that it is more my style… I love it!
Great tutorial, I love how your chair turned out! Thanks for sharing with us at the To Grandma’s house we go link party, I’ll be featuring you on Wednesday of next week when the new party starts!
Thanks so much! Thanks for the party and for the feature! I appreciate it!
Oh wow! That turned out great! I love it!! I have a few chairs I’ve been wanting to update but I haven’t been brave enough to take it on yet.
Thanks! I totally get it! It took me forever to finally do the makeover on this chair. You can totally do it, just take it one step at a time and eventually you’ll get them done(at least that’s the way it seems to work for me around mom life ?). Good luck! I’d love to see pics when you get your chairs done.
I really love your makeover. I also have some chairs that have that orangy look and am struggling with redoing them mainly because I hate to sand things. But now after seeing your transformation, I think I am inspired to give it a go.
Thank you! I agree, the sanding part really stinks! It’s worth it in the end….but that doesn’t make it any more fun. Good luck with your chair. Send me pics if you get them done. I’d love to see them!