I seem to have had a string of projects that have not gone quite as I want them to or have taken a LOT longer than I anticipated. I needed a break and something easy. I took a break from my other projects and spent an hour or so to create this DIY chalkboard table runner.
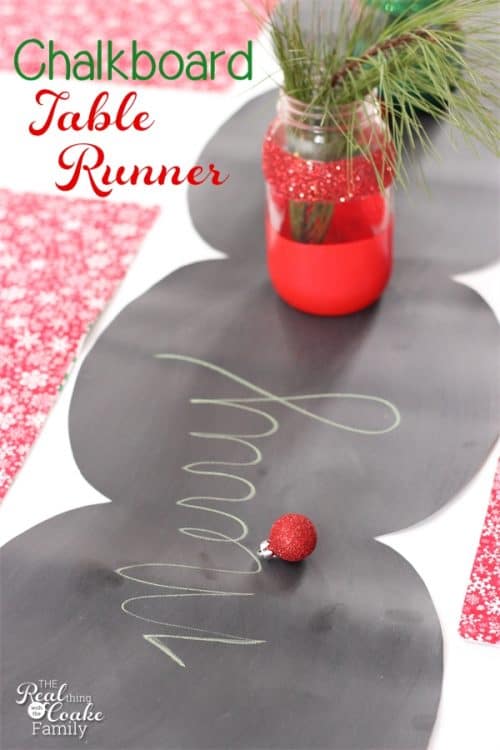
The table runner was pretty easy to make, it just took some time to get the template and get everything cut. Thankfully, I didn’t have any problems! I needed that!
Also with today’s post, I’m going to start adding a new feature to most of my posts. I used to write a lot more Keeping it Real posts and share some more of the ‘real’ side of our life. It just seems like things have gotten too busy and I haven’t been inspired with any specific topics to write about, so they haven’t happened. The fact that this blog is called ‘The Real Thing with the Coake Family’ and I don’t feel like there is that much that is real has been bothering me. Not that I don’t make and use the things I’m showing you, but I’m doing more of my photography to cater to Pinterest versus showing you the real stuff. It is necessary in order to succeed and make the blog a full business that is earning income. However, a part of it doesn’t feel like I’m being genuine with you and I’ve always wanted this to be a space that is real and genuine. So, as much as I can, I plan to add a picture into each post that shows you the real side of things. I’m starting that with this post today. I hope you enjoy it!
Back to today’s DIY, let me show you how to make your own table runner.
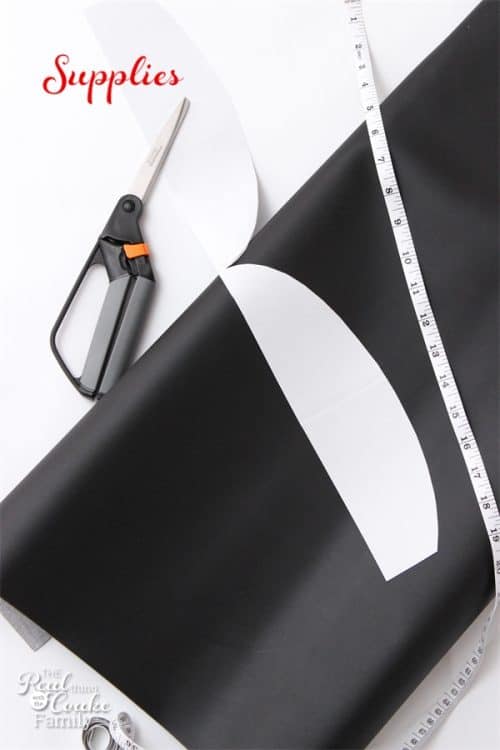
Craft Supplies:
- Chalkboard cloth
 (affiliate link)
 - Pen
- Scissors
- Measuring tape
- Chalk
- Template (Page 1 and Page 2)
I recently heard about chalkboard fabric and I was intrigued with what I could do with it. I found my Chalkboard cloth (which is not really cloth but more toward the thickness of vinyl) at JoAnn’s. I got 3 yards for only $5.25 with my coupon! Which makes this is a very affordable craft as well. You won’t need the full 3 yards unless you want your table runner to be that long.
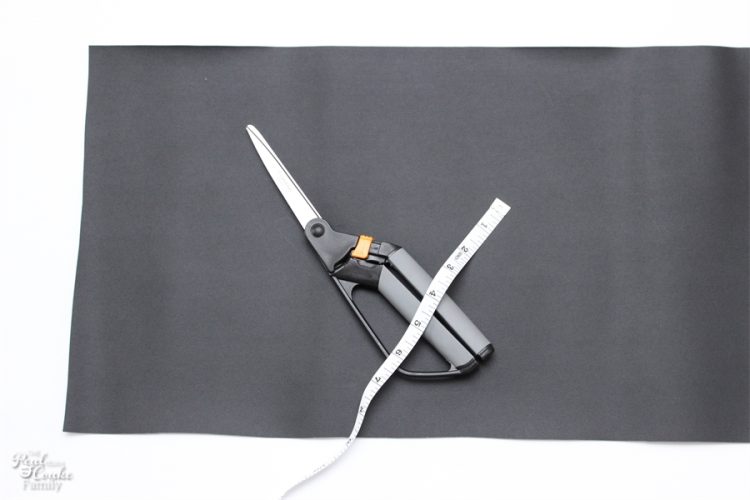
Start by figuring out how long you want your table runner. I liked the length I made my fall table runner, so I measured that and used the same length. Mine is 56″ long, but make yours the length that you like for your table.
I cut my table runner at 12″ wide. That is the space that I have in between placemats on my table. I probably would have preferred that it be a little bit more narrow, but I didn’t think that would look good with the scallop pattern I wanted to make. Again, base your width on what you think will look good on your table.
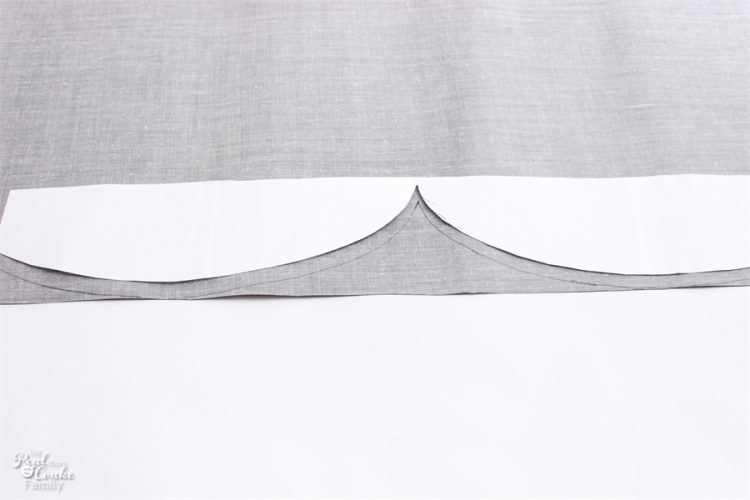
When you print out your pattern, tape it together with the narrow parts together. It won’t be a full scallop on either side, but it will be enough to trace the pattern and slide the pattern down to match up.
Trace the pattern onto the reverse side of the chalkboard cloth.
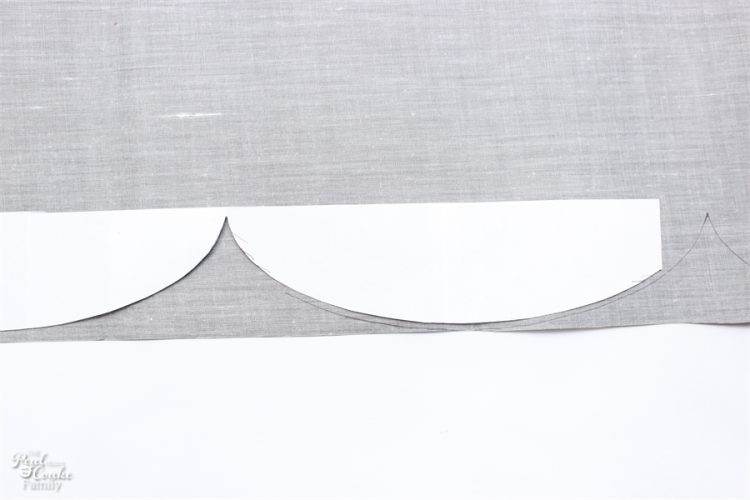
Move your template down the cloth and match up the pattern. Keep going until you have completed the whole fabric.
You can either leave the ends as is or you can make up your own idea for how to use the scallop pattern at the ends.
The ends were the hardest part to figure out to me. Just work with it on the back side until you get something you like.
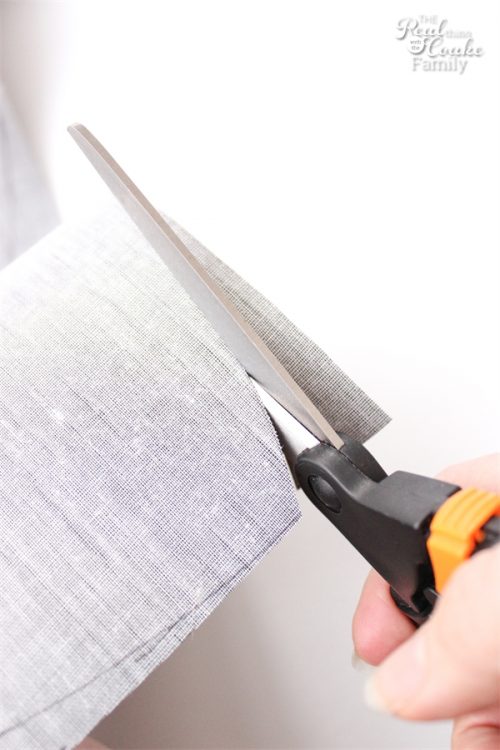
Follow the pattern you traced and cut out your table runner.
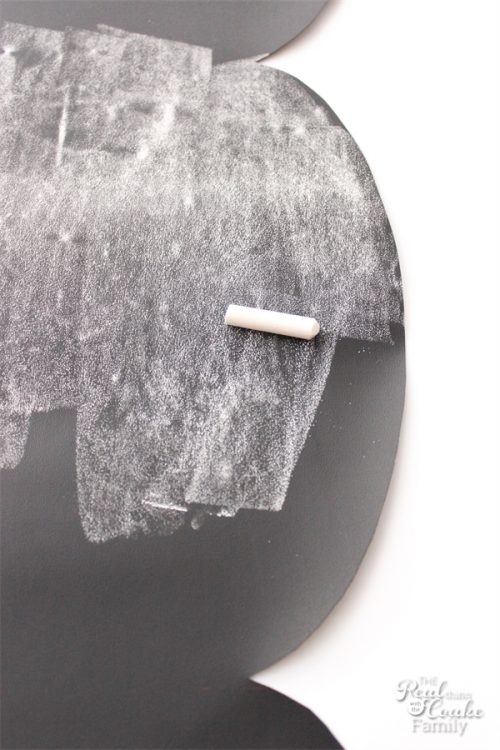
Prime the entire surface of your new table runner. Do this by rubbing the side of a piece of chalk over the entire surface of the chalkboard cloth. Use a clean cloth to wipe the chalk off and repeat. (I don’t normally repeat, but the directions that came with this cloth said to repeat, so I did this time.)
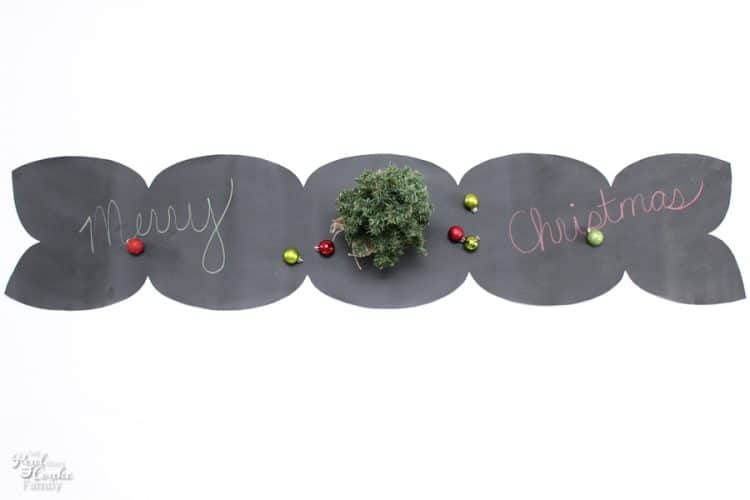
Now comes the fun part! Set your table and have fun writing on your table runner. I tried this arrangement first.
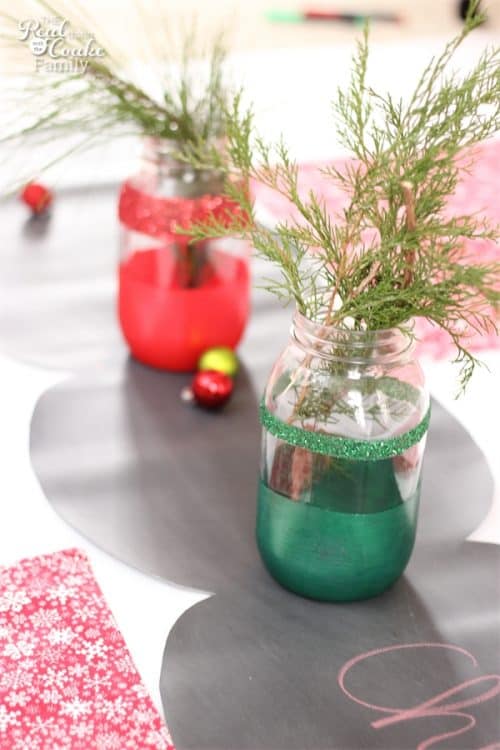
Then I realized that I wanted to add my glittery mason jars to my Christmas table. I gave those a try with some greens the kids picked up on a recent walk. Easy and cheap.
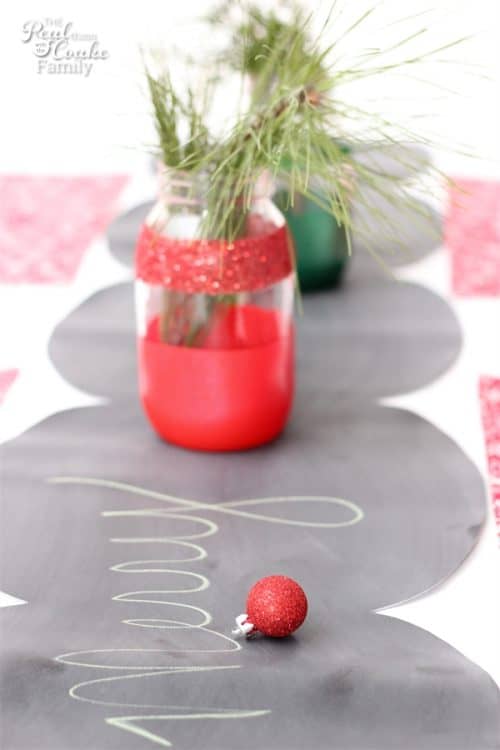
I added a few little ornaments and the reversible Christmas placemats I made last year. We are calling this table simple and done!
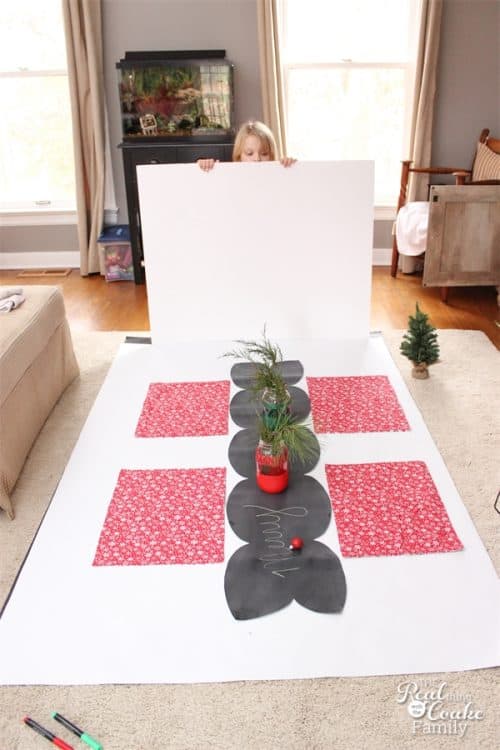
Now, here is the truth…I didn’t use my table at all. It probably would have taken me 30 minutes or more to get the table cleared and clean. I didn’t want to mess with that, plus by photographing this on the floor, I could get the overhead shots much more easily than if I did this on our actual table.
As you can see, I had an assistant help me with holding a white board for a few of the floor level shots so that you couldn’t see the pillows and/or fish tank. So there you have it… a little dose of reality for you as to how we bloggers get some of the things done that we do.
I will honestly be using this on my table and will be using a set up pretty much like this. In fact, I’m probably decorating my table this afternoon (since this post is going up on Black Friday).
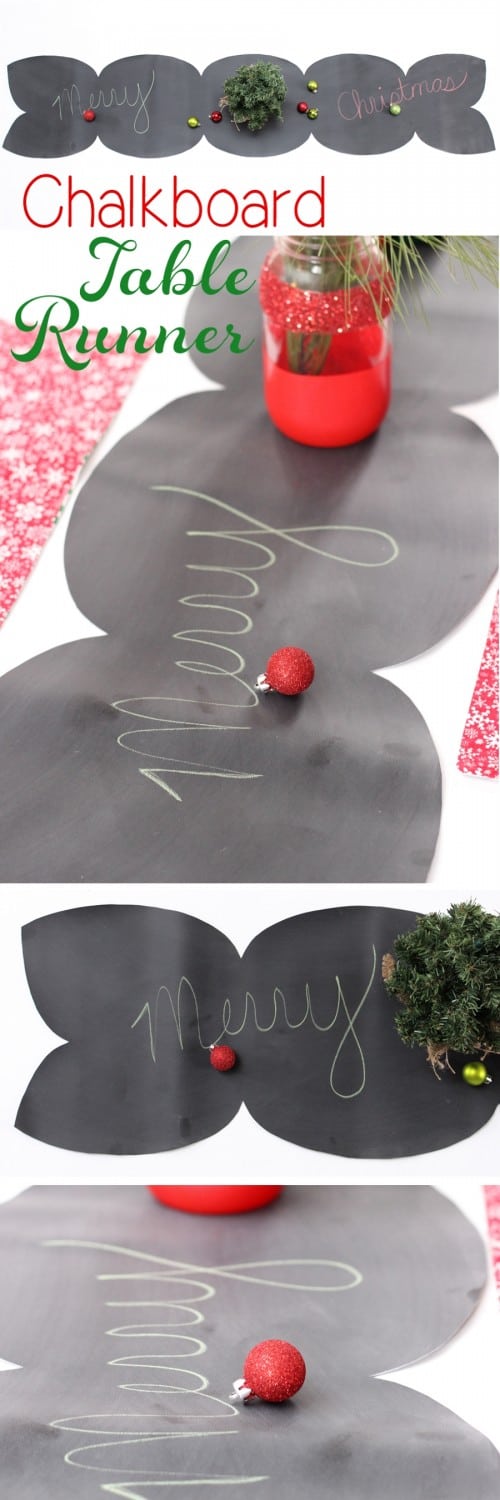
I have a feeling this table runner will remain on our table for longer than just the Christmas season. It is fun and I can see us having fun leaving notes for each other. Wouldn’t it be a fun place to leave a Happy 13th Birthday to my oldest daughter in January?!
Did you know there is such a thing as Chalkboard fabric? What would you use it for?
More Christmas fun:

Leave a Reply