 |
| My Fantastic Consultant and I at a weekend scrapbook getaway. |
I know that to lots of people doing something other than taking the pictures gets to be overwhelming. I have helped a number of my friends and family with finding a method that works for them and wanted to start a new series in which I pass on that advice to you. Please feel free to ask questions or let me know topics/things you would like to see me cover. I would love to help you, so just let me know topics or areas of interest. You can do that by leaving me a comment below this post or by emailing my your question or topic.

Today I’m going to start with the most simple version in which to take care of your photos. We are not going to talk about the scrapbooking or where the photos go, just how to get them from your camera to a printed form so you can do something with them.
As I said, I am starting with a very simple basic form. This is not what I do. I like a more complex method. The method I am showing you today is great for anyone who doesn’t really like using the computer and secretly wishes to bring back 35mm film because it was so much easier to drop the film off, have it developed and you were done.
Simple Photo Printing, Organizing and Preservation
Step 1:
What I would suggest for this super simple method is to take your camera to a local store (Target, Walgreen’s and CVS are some examples of stores with this service). At your local store, you will find a kiosk in which you can place your camera’s memory card and print off the pictures currently on the memory card. You can delete any you know you don’t want at the kiosk. You can also edit, etc, but as we are keeping this very simple, I wouldn’t recommend this unless you want to take a little more time (in which case, I would recommend my medium photo method which I will get to another time).
Once you have printed your photos, DO NOT delete your memory card. For those who are old enough to remember 35mm film/cameras, what is currently on your memory card is the equivalent of your negatives. Without those files, you can never print these pictures again. See step 2 for what to do next.
I called a few places to help you along. 4×6 prints are the standard size to print your photos. At Target they will cost you $0.45 per print. Walgreen’s charges $0.31 per print, though they often have coupons and my local store runs a Sunday’s for $0.10 special). CVS was the best price at $0.29 per print and like Walgreen’s they often have coupons or specials. It will pay to take a few minutes to look at your local paper for the best deal for that week or to call around. If you were printing 100 prints at the prices I listed above, there would be a high price of $45 at Target to a low of $29 at CVS. That is a $16 difference. Worth a few minutes of calling in my opinion! Before I leave this step, if you are somewhat comfortable with your computer, my medium photo method would save you a lot of money by printing your photos through an online retailer. Those prices are often tons better than a kiosk at a local store. I will address this method in a future post in this series.
Step 2:
- You have taken your photos from the camera to a printed form.
- You have put your photos files onto your computer.
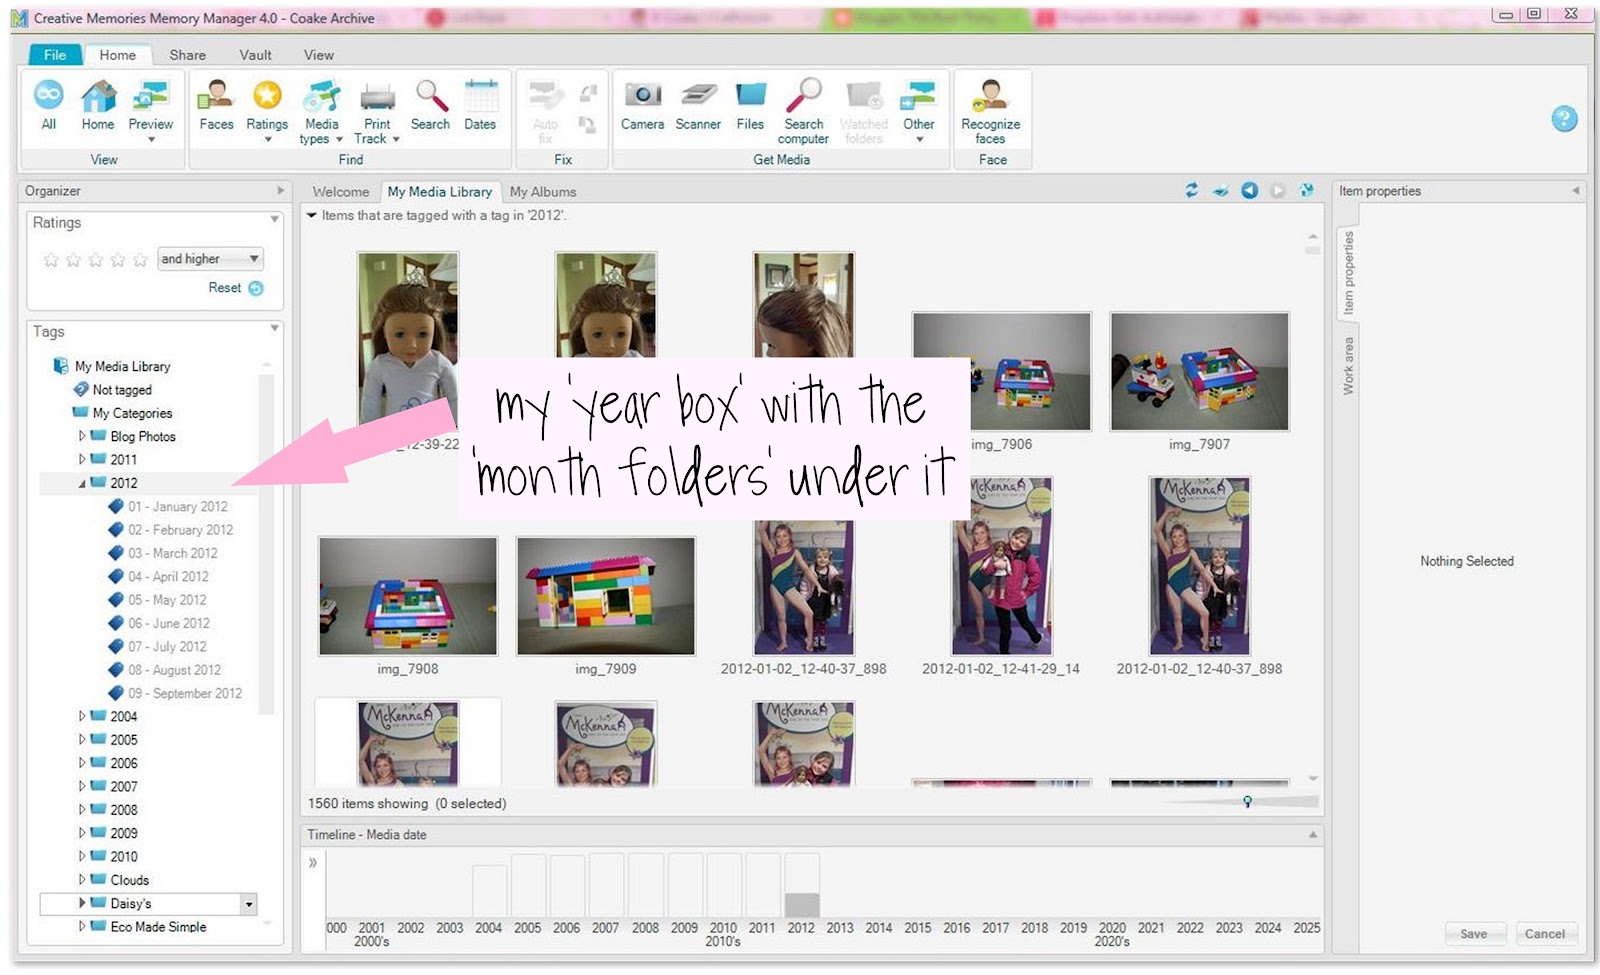
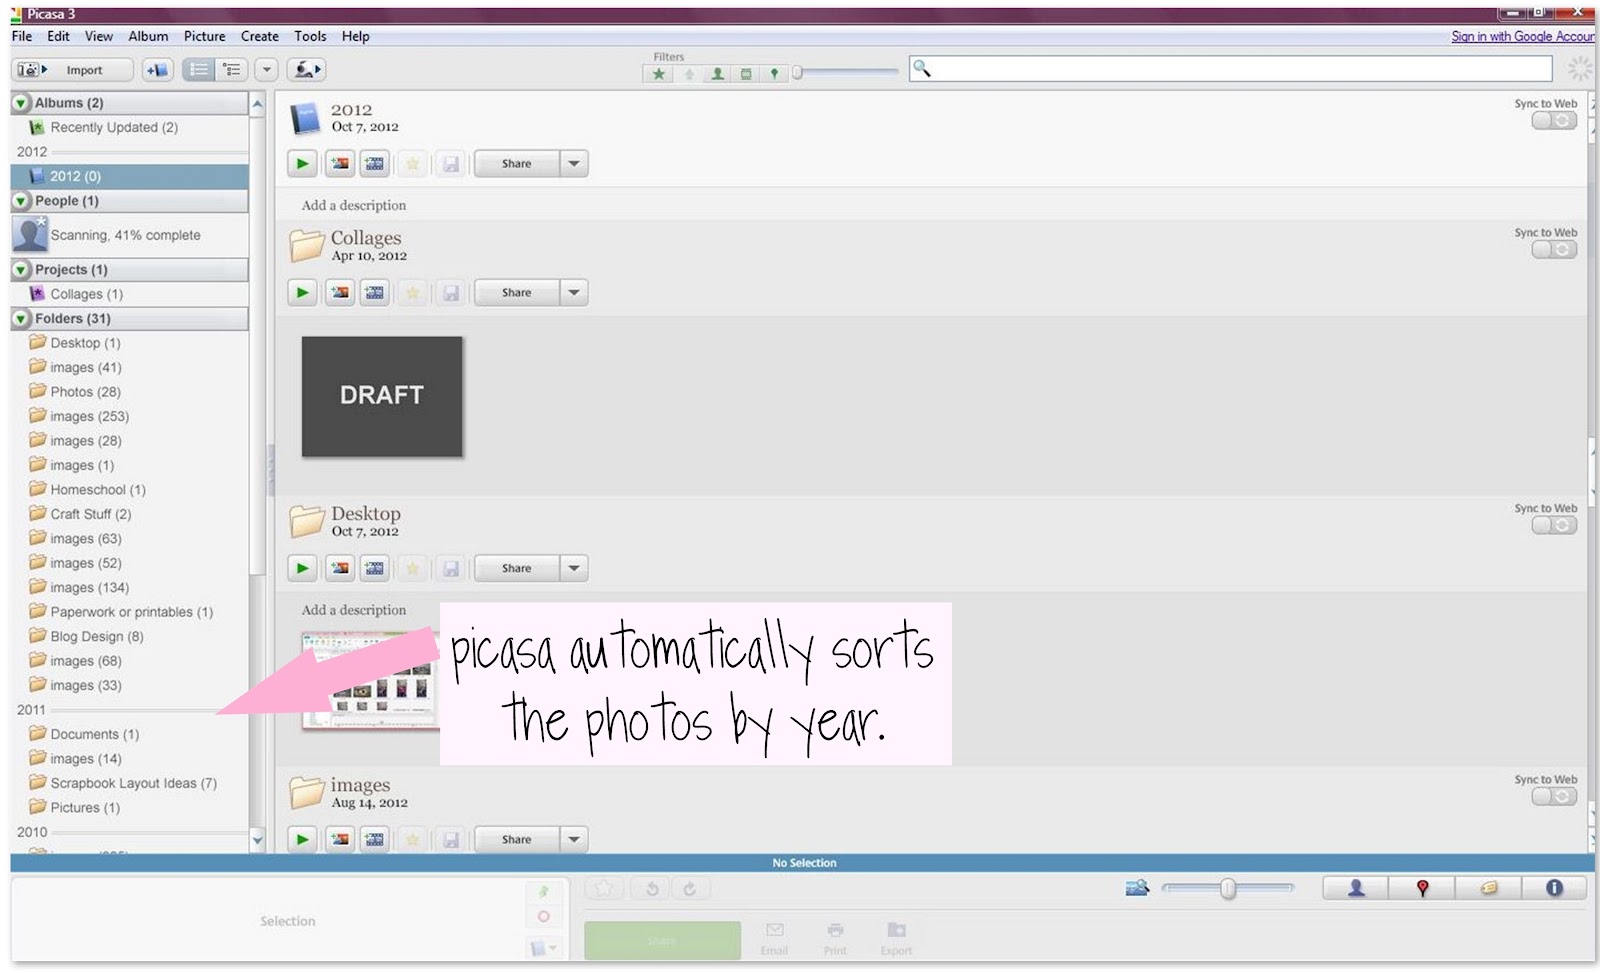
- You have simply organized your photos by year or my month and year to make them easier to locate in the future.
- You have created some system to regularly back up those files(preferably automatic). You may now erase your memory card to make room for new photos.
Simple and Done! Two words I really like!
I hope this simple method will help some of you to get those photos off your camera and into your hands as well as make sure you have them simply organized and backed up for future reference and preservation.
Next, you can see my medium photo organization plan. Until then, Happy photo days to you!
I so need to get all of my photos organized! Thanks for sharing all of your tips and tricks… need to get busy! Have a wonderful weekend!
Take care,
Trish
Your welcome! I’ll be sharing more in the future as well. Have a great week.
I love Picassa, too, or is it Picasa? Whatever. I have a problem. All my files on the left hand side are all jumbled up, not by date at all and I don’t see a place to fix that. I’ve taken to going to my Pictures, minimize and then drag them into Picassa that way. The picture files on the left of picassa are not in order at all. Frustrating. I do love the program for fixing things and making collages, though. Wish it was easier to find the pictures. Thanks for helping. Linda
Are you using the online version of Picasa or the downloaded version? I can try to figure it out for you, but I don’t actually use picasa much. If you let me know which version you use, I can see what I can figure out.
Thanks for the help, I really need to do this!
You are welcome, glad I could help.
Great post! So many people (myself included) love the ease with which we can take pics these days, but one of the negatives (no pun intended) is we tend not to have any hard copies anymore. There is something very comforting about sitting down with a photo album and looking through old pictures, and that seems to be going by the wayside. Thanks and found you at Shabby Creek.
Thanks! I agree with you that there is something comforting about sitting down with an album. I do both ‘traditional’ and digital albums and enjoy both.
I definitely put off making hard copies and they get lost in time. I need to get some printed for sure.
Hope this helps you in that quest. Have a great night.