Hey, guess what? I’m making more progress in my daughter’s room. Yay! This week, I got another bit of the wall art for her room complete. This wall art was super simple and makes a great statement on her wall. I have to say that I love that combination. How about you?
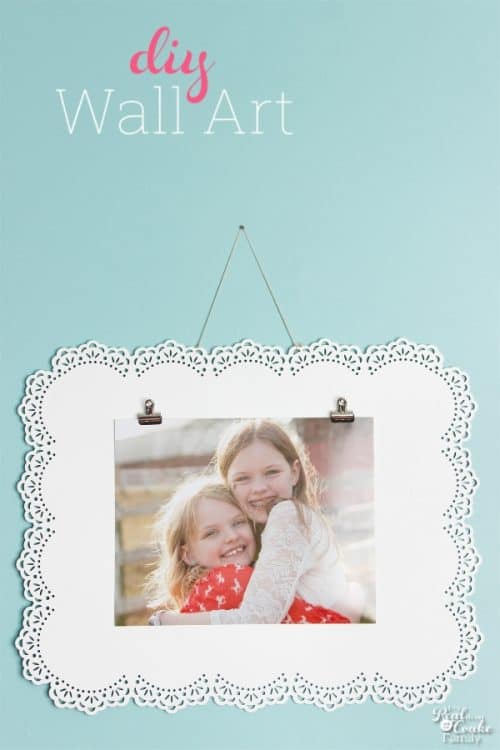
I know I have shared a lot of different wall art I have made over the years. In case, you haven’t guessed I really like making wall art. Often times, it is fairly easy to make and it saves me money over purchasing wall art at a store, but what I like the most is that I get something that is exactly what I want on our walls versus the best that I can find of what is available in a store. Often what I can find is close but maybe not the right color or just not exactly what I have in mind, etc. Because wall art is so easy to make, I love making it myself.
I’ve got a fully printable set of directions with step by step pictures of how to make this wall art for you, so I won’t show you all of that in this post, but I do want to show you some of the fun I got to have while making this wall art.
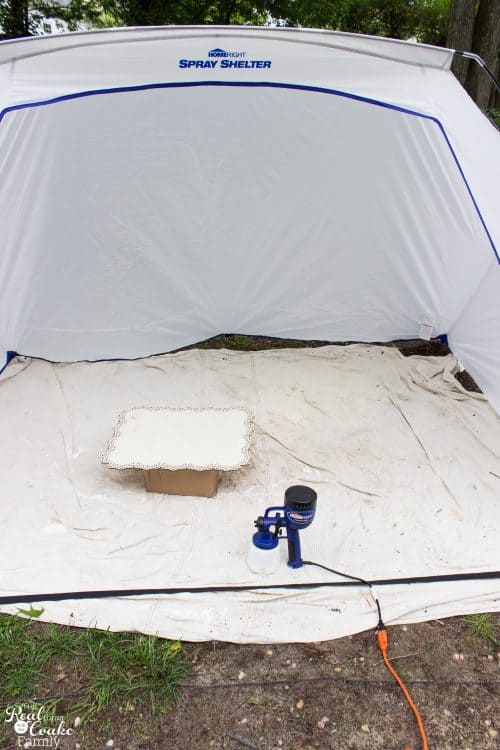
When I went to SNAP (a creative blog conference) a month or so ago, there was a class listed that was sponsored by Home Right. They were giving a Finish Max sprayer to everyone who attended the class. Um, Hello! I’ve wanted to try their sprayer for a long time. I don’t use spray paint because it is so bad for the environment. Having sprayer like this is a great alternative to using spray paint. My roommate and I got in line an hour early to make sure we got into the class. It totally paid off!
Now, since the sprayer arrived, we have had rain, rain, and more rain. Blech! Finally, on Sunday, I just decided to go for it during a break in the rain. I set up my new Home Right Pop Up Spray Shelter (affiliate link), which they also gave everyone who attended the class and had some fun!
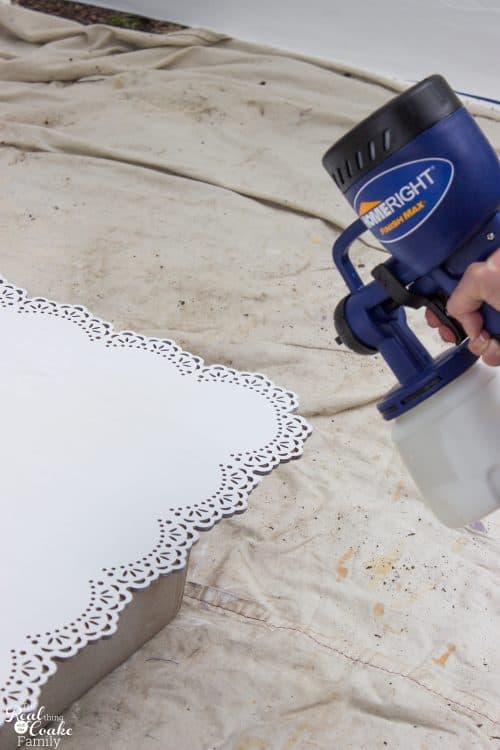
I had gotten to use the Finish Max sprayer (affiliate link) in the class, so I knew what to do. I LOVE it! It makes such a great smooth finish. I can’t get that same kind of finish with a paintbrush.
If you decide to use a sprayer for your wall art, set the board you are painting up on a box so you can easily spray the sides at the same time you are spraying the rest.
If you don’t have a sprayer, you can still make this wall art. You will just use paint and a paintbrush.
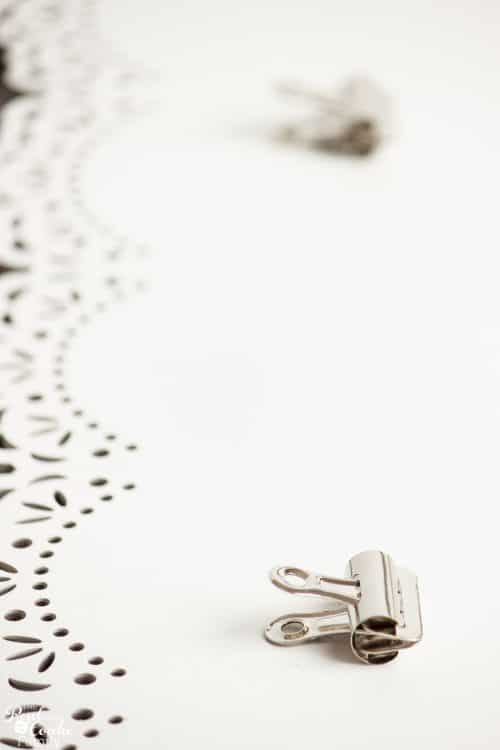
After painting, I added the bulldog clips to hold the picture. I had originally thought of Mod Podging the picture to the frame but decided against it so that I can change the picture out anytime we want.
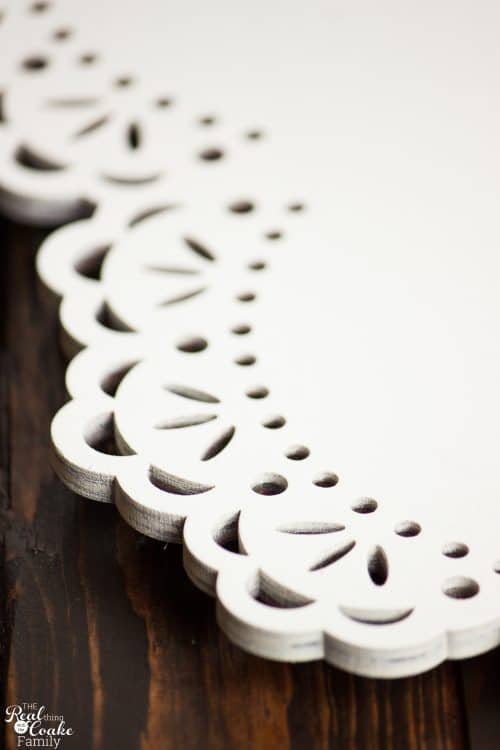
The little cut-outs on the frame my daughter selected at Michael’s are so pretty and the sprayer did a pretty good job getting paint in there even though I really didn’t try to cover all of that.
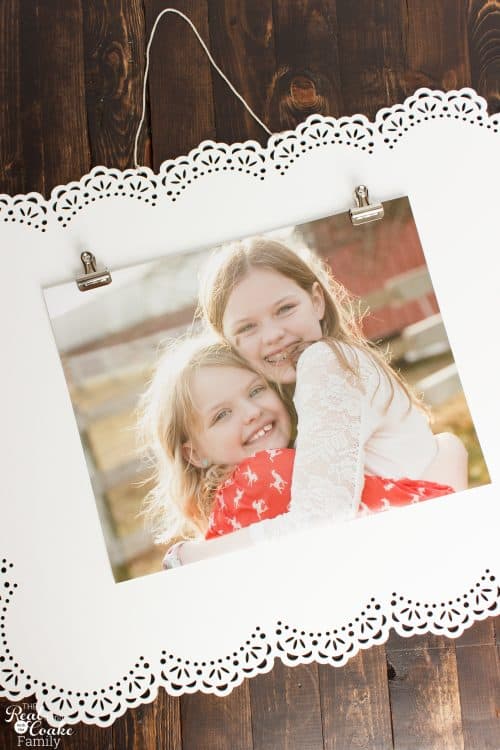
I can’t believe how much my girls have changed in just a little over a year. This picture was taken a little over a year ago. They have already grown and changed so much!
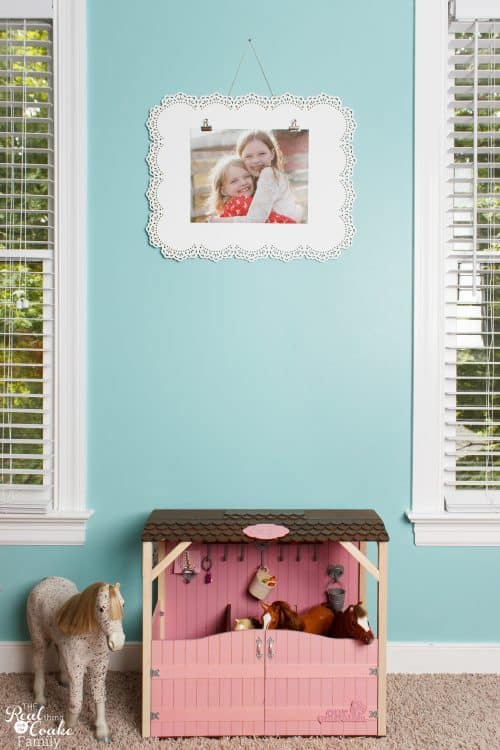
The frame ended up being a little bit too big to go in the original place we had thought of, so we ended up putting it on this wall. In case you have been following her room makeover….yep, still no curtains. I think I’m going to tackle those this long weekend. That should give me the time so that I don’t feel rushed.
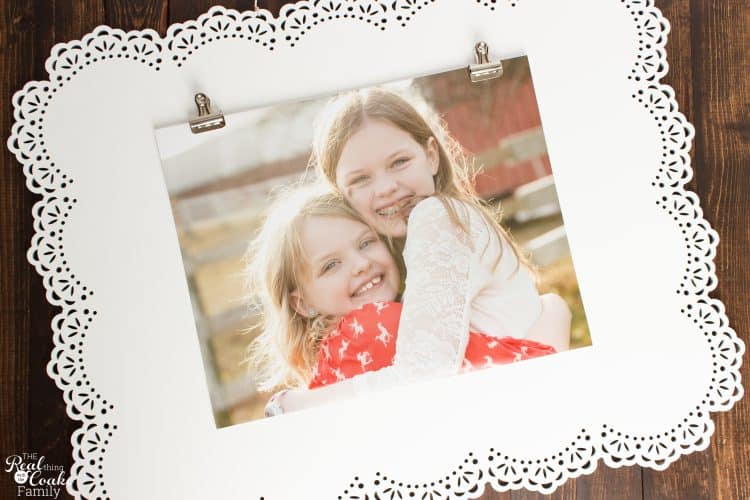
Prettiness! Both the frame and my girls.
A little tip for you, if you have lots of humidity where you live like we do, add foam mounting squares to the bottom corners of the picture to adhere the picture to the frame and keep the bottoms from curling up.
Just sign in below for your step by step directions.
Have you ever made wall art? What did you make? Leave me a comment below. I’d love to hear about it!
Follow me on Instagram for more of our real life and creative ideas.

This is beautiful! I think my daughter would use it to display her own art. I’ll have to make lots of these since she makes lots of art 🙂
Thank you! It would be great to display art…great idea! I made a whole art wall in my daughter’s room with IKEA wire curtain rods. If you need another idea for a lot of art, you can check that out. 🙂 Gotta love the creativity…not necessarily the what to do with it, but love the art!