I’m excited to share today’s post with you. It is a simple IKEA built in hack that I think most anyone can do. The DIY IKEA shelf I created can easily be used as we’ve used it or it would work great as an entertainment center, in an office or computer area, and so many other ways.
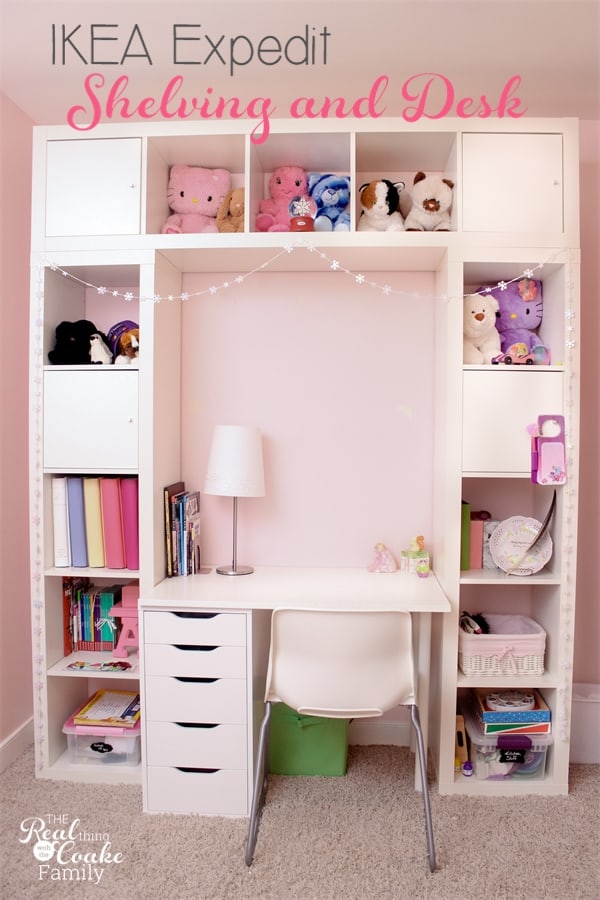
When we moved my girls’ rooms around, I used an IKEA Expedit (now called the IKEA Kallax) to make a great shelving unit and desk in my oldest daughter’s room. It turned out fantastic and added so much storage.
We knew we needed additional storage in this room as it is a smaller room. You can read more about when we moved our girls into their own rooms.
I also was on a budget. I looked for ideas and saw something similar to this, but it wasn’t quite the same and had zero directions. I came up with the idea to buy 3 IKEA Expedits and create my own IKEA built in hack to make a shelving unit with lots of storage. I also planned to place a desk in the center to create a place to study or get ready in the morning. It turned out just like I wanted it to. It also was pretty easy. You just need to know how to use a drill as well as how to put IKEA furniture together.
IKEA Built In Hack Supplies:
- 3 IKEA Expedit or Kallax units
- Mending Braces
 (affiliate link)- 3-1/2″ by 1-3/8″
 - 3/4″ Wood Screws
- Level
- Drill
- Screwdriver
This DIY IKEA shelf (not including the desk and chair) cost me about $245 to buy and put together. That includes the 3 Expedits/Kallax units, 4 door kits, and the hardware to secure them together.
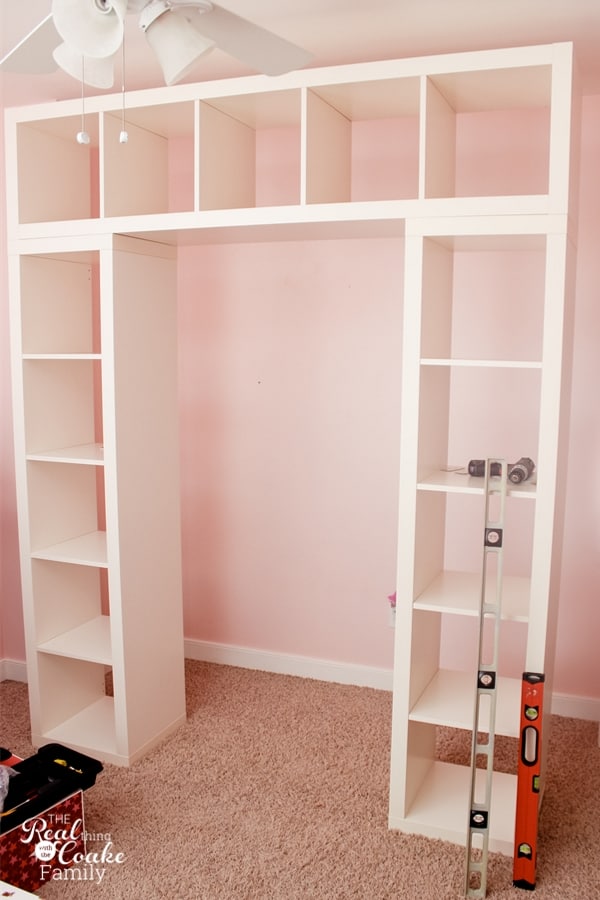
Step 1: Put together IKEA Expedit/Kallax Units
To start this IKEA built in hack, you’ll need to buy and put together your IKEA Expedit. The way I build mine used three units.
Step 2: Dry Fit Your Pieces Together
As you can see in the picture above, once you have your units together, you’ll want to dry fit them together.
I used two upright as the sides of the unit and one laid flat on top of the two upright.
Take your time and line up the upper unit with the bottom units. Make sure they are plum. You can do that by using a level on the side of the upright and top unit. If your level has the bubble in the center you are good to go. If the bubble isn’t in the center, keep working to get the units dry fit together properly. I’m a little picky with things like this, so it took me a little bit to get it how I wanted it. They still don’t line up exactly perfectly, but no one notices because it is so close you really can’t tell…unless you are looking for it.
Step 3: Drill Pilot Holes
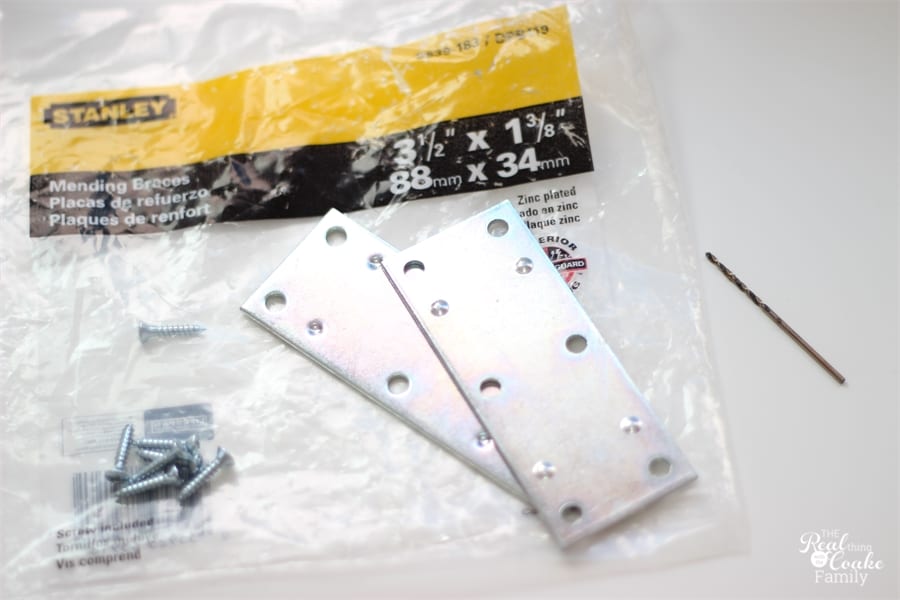
Next up in our IKEA built in hack is to secure the units together so that they will be safe. To do that, you will need mending braces, a drill bit, screws, and a screwdriver. The mending braces![]() (affiliate link) we used were 3-1/2″ by 1-3/8″. We used 3/4″ wood screws to secure the mending braces.
(affiliate link) we used were 3-1/2″ by 1-3/8″. We used 3/4″ wood screws to secure the mending braces.
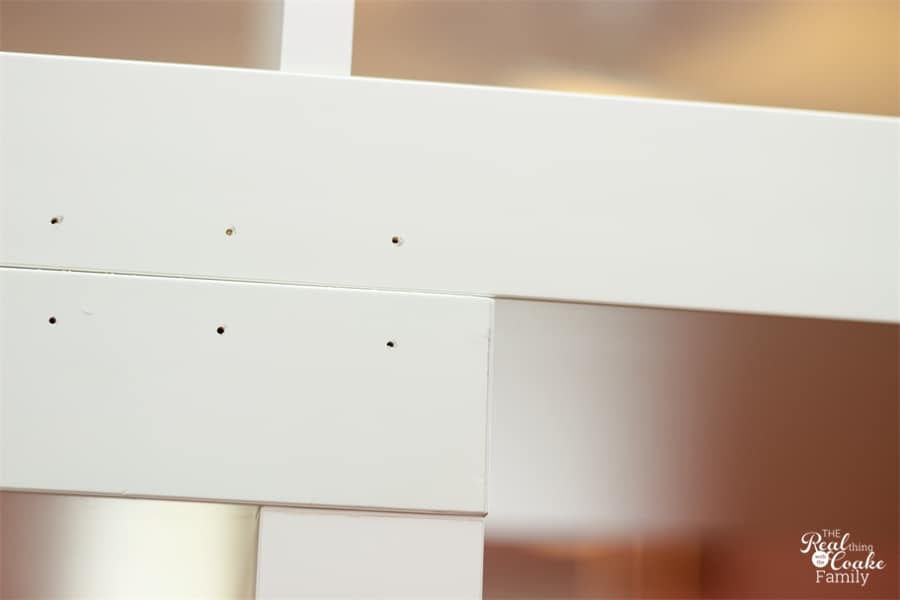
Mark off where you want to brace your unit together and pre-drill the holes for the screws.
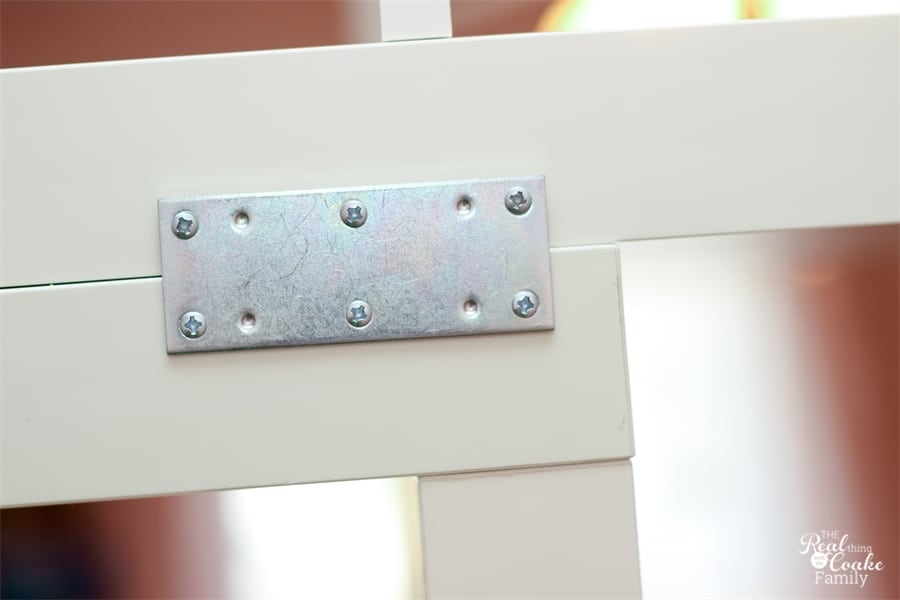
Step 4: Add Mending Braces
Screw the mending braces into the unit to brace it together.
I used 4 braces, two on each upright unit.
I also secured the whole unit to the wall. It makes it safe so that it can’t get pulled down on top of anyone should someone decided to climb or pull up on the unit. It also makes it impossible to move, which I don’t like since I am a serial furniture mover. The safety of my kids is more important. We just used the brackets that came with the Expedit to secure it to the wall.
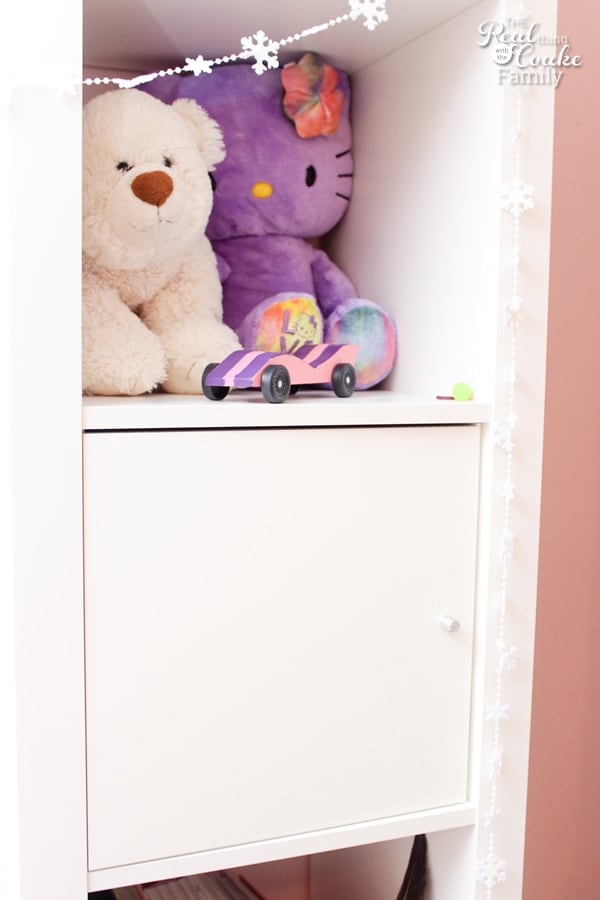
Step 5(Optional): Add Door Kits
IKEA sells door kits that go with the Expedit/Kallax. I added four of those to the shelving unit. I thought it would be a great idea to give some additional storage that could be hidden.
That’s it! Easy peasy and done…other than all the time to put together the units it really isn’t too bad.
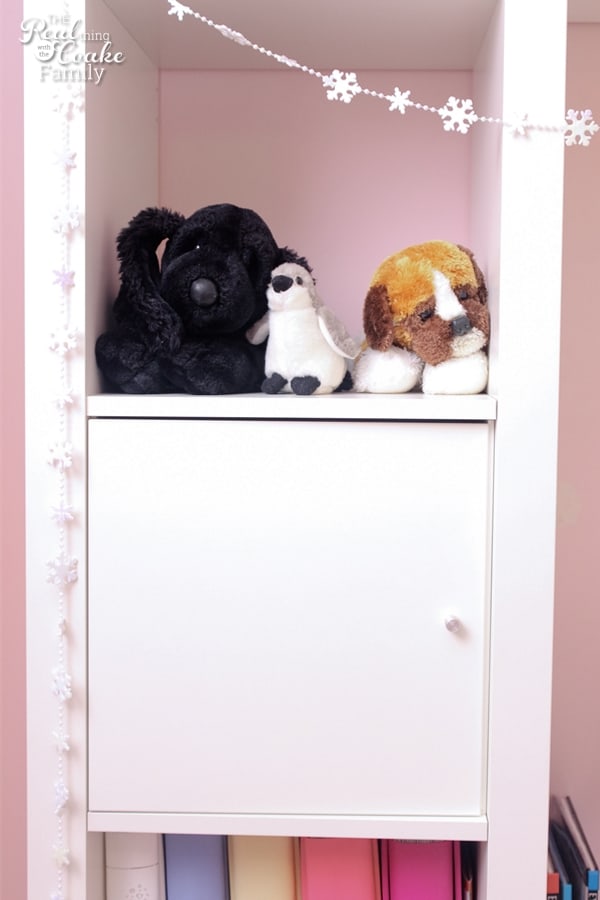
I had originally planned to buy a door kit like this that had a mirror on it, but in March when we went to IKEA they were all out. At some point, I will DIY a mirror onto a door for her so she will have a place to get ready and do makeup, etc.
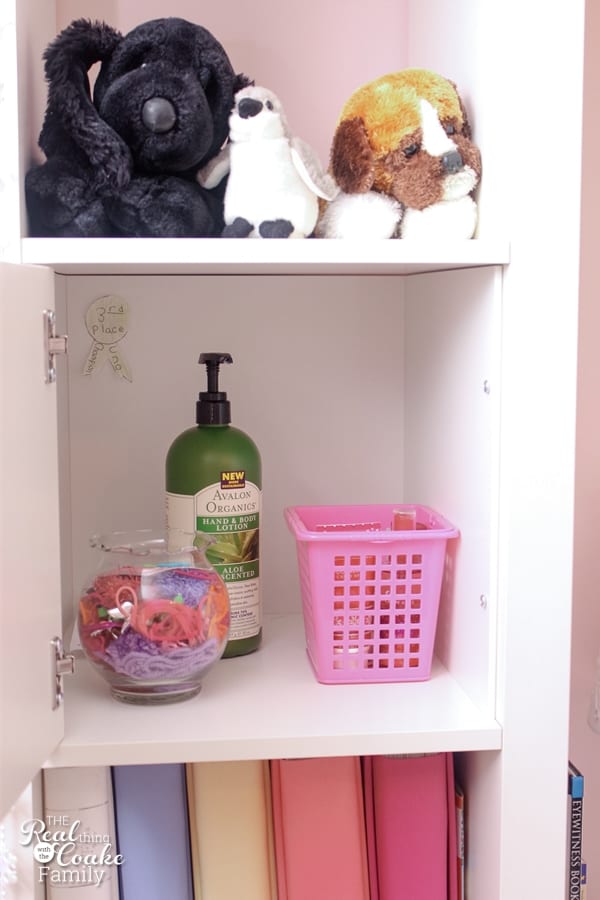
The hidden storage is a really nice place to tuck away things you don’t want out in the room.
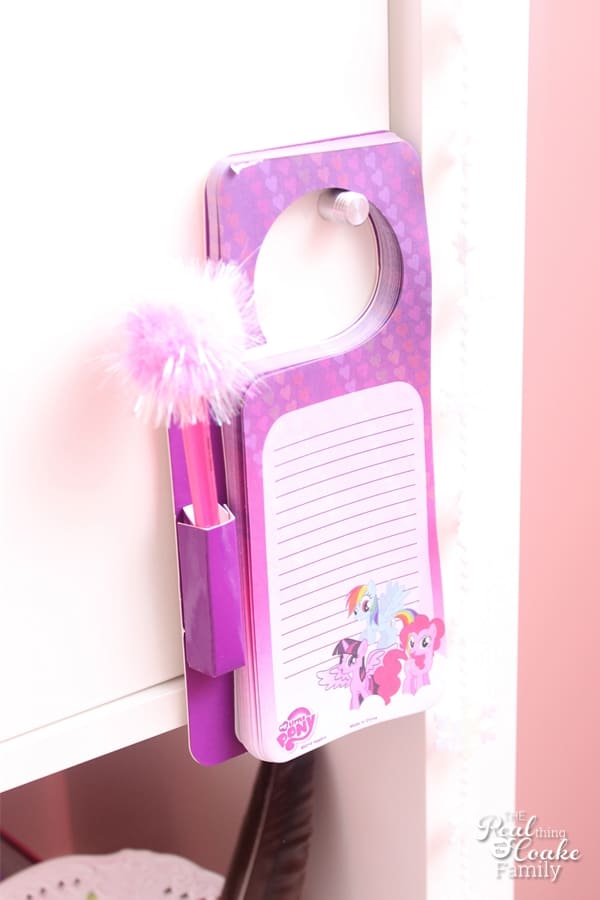
The doors are also a perfect place to hang things and leave notes. 🙂
I’m so happy with how the IKEA built in hack worked out. It works perfectly for my daughter. It gives her plenty of storage as well as a place to study and do her school work.
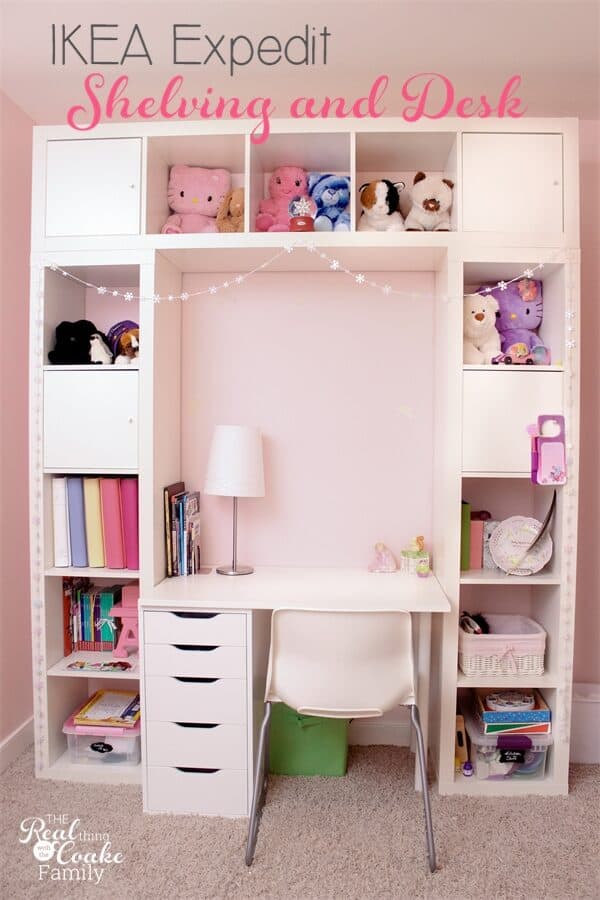
Next up you can see my IKEA built in desk hack I made to go in my DIY IKEA shelf unit. It was another surprisingly cheap and easy project that adds so much function and storage to her room.
You can also see how to connect freestanding bookshelves or storage shelves together of any kind in this post.

That looks really great!
My son could use something like this!
Thanks! I think most kids rooms could use something like this…it is so handy. 🙂
WAY cute — I like that a lot. My daughter is going to need a “grown up” desk soon — I like this a lot! Going to share on social media. 😉
Thanks! Thanks for the share as well. 🙂
Love this so much!!! Great idea to make some room in Analise’s room!!
Thank you! I think it would work well in her room…on the wall opposite her bed. It would look cute and go well with her new-ish room. 🙂
VERY GOOD
Will you pls share how you made the desk? Love it!
Thanks – I have another post with the information about how I made the desk. It is here: https://realcreativerealorganized.com/2014/08/diy-desk-ikea-expedit-hack.html .
Enjoy!
where did you get the desk?
This is an awesome idea! Thanks for sharing at Foodie FriDIY.
Thanks so much!
It looks brilliant, can I ask what you 7sed to secure the shelving to the wall.
Thank you! Yes, we used the brackets that come with the IKEA KALLAX (or at the time the EXPEDIT) that are meant to be used to secure it to the wall.
Wow! That turned out great! Love how you got some much space to organize stuff out of that space.
Thanks! I know, right. It sure did make a big impact on the storage in a smaller room. Love ? that!
This would be great for a craft room too. I appliqué and have loads of small amount of fabric and a set up like this would be perfect! Thanks for the great directions-I’m going to have to brave a road trip to Ikea soon 🙂
Oh! It would be great for a craft room as well. Then the desk portion could be your sewing/crafting area. Seems like it would be perfect. Have fun at IKEA! BTW they no longer sell the EXPEDIT that I used, look for the KALLAX instead. Just double check that the measurements will work because I think I recall someone messaged me that the KALLAX had different measurements and might need a slightly different configuration.
Hi this is such an awesome idea, do you mind sharing what the measurements or the finished dementions are! Thank you!
I’m sorry, we don’t have this anymore and I can’t measure it for you.