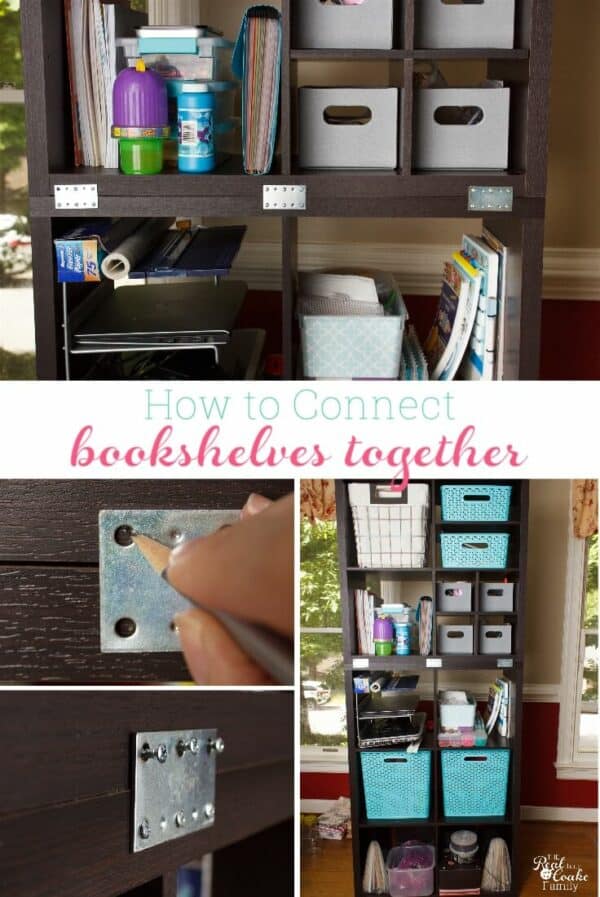
I’ve connected bookcases and storage shelves together many times around my house.
Like when I made the storage unit for my oldest daughter’s room using the IKEA Expedit system(now called the IKEA Kallax). If I had added the IKEA Bill extension to the top of the cabinets in my daughter’s awkward corner that I turned into great storage, this would have been exactly how I would have secured them.
By knowing how to brace or connect freestanding bookshelves or storage cubes, you are going to be able to take simple inexpensive pieces from Target, IKEA or wherever and create something custom that is exactly what you need for the space you have.
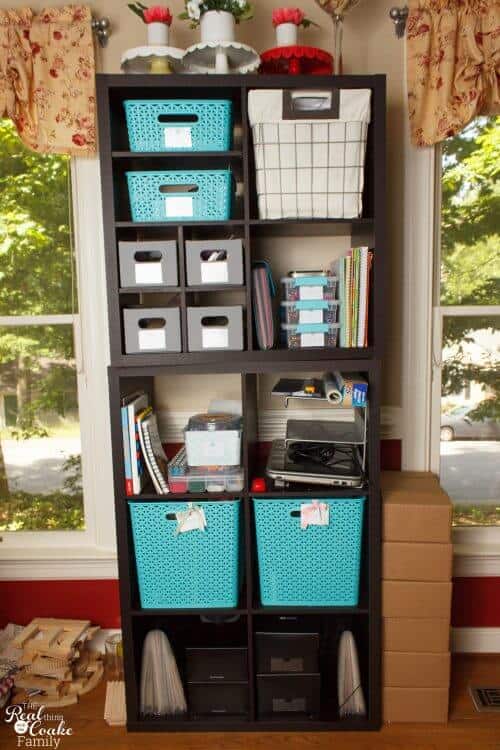
I recently did this with the storage shelves I set up in my office to store craft supplies.
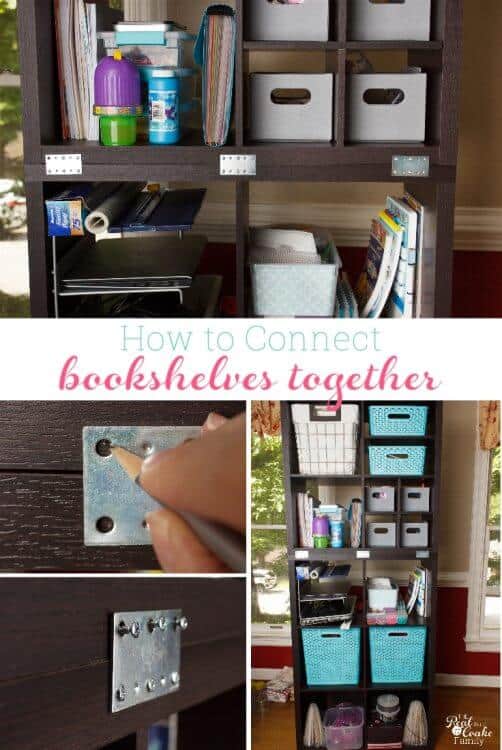
If you notice above, I had a 6 cube storage unit(affiliate link) and a 4 cube storage unit(affiliate link). They work perfectly to store what I needed, but as you can see, the top 4 cubes can slide all around. Totally not safe! Especially with kids in the house.
It is so easy to fix this problem.
How to Connect Freestanding Bookshelves
Supplies:
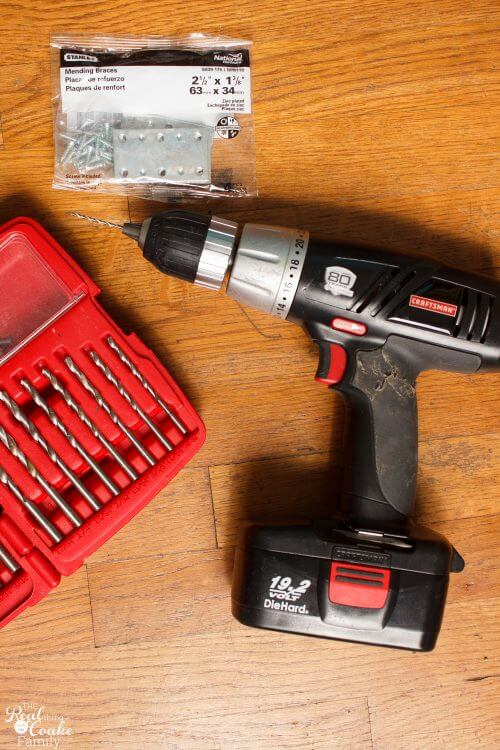
- drill
- drill bit
- simple bracing kit(affiliate link)
- pencil
Step 1: Line Up Shelves
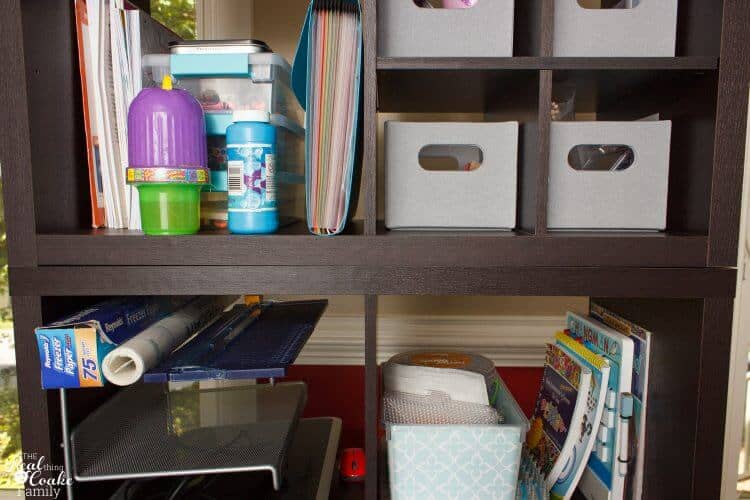
First, you will want to line up the shelves or bookcases you want to brace or connect together. Take your time with this step and make sure you get things lined up front to back and side to side.
Measure the amount of space you have for your braces and make sure to buy braces that fit that space. They will come in multiple sizes.
Step 2: Mark for Braces
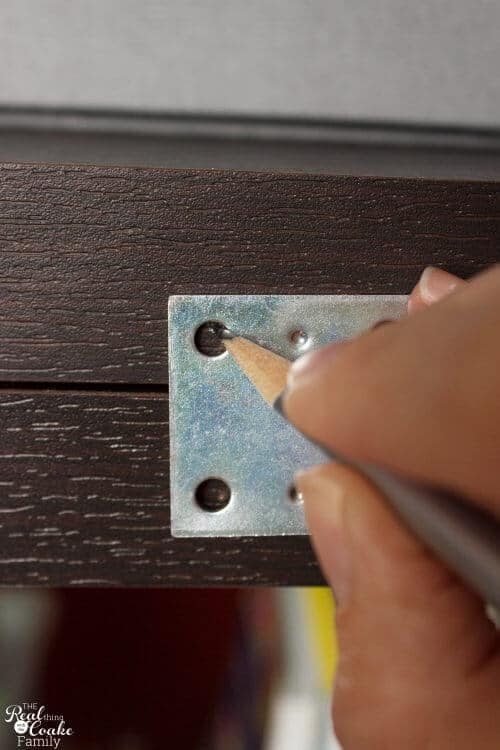
Once you have the proper size braces, mark the holes you need to drill.
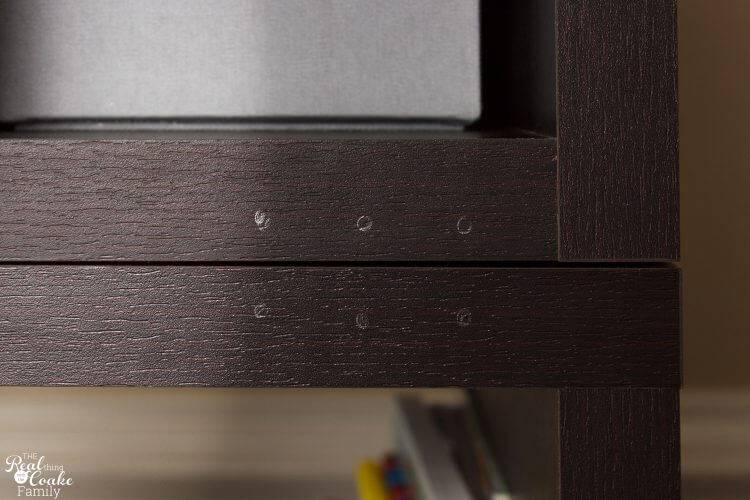
Step 3: Pre-drill holes
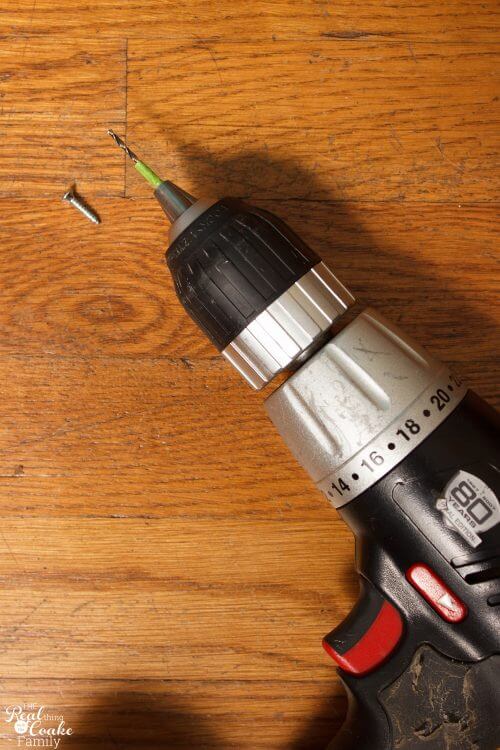
Now you need to pre-drill the holes. Use a drill bit that is narrower than your screws. You want to allow the screws to grip into the wood. Predrilling is just making it a lot easier to add the screws, not making a huge hole for them.
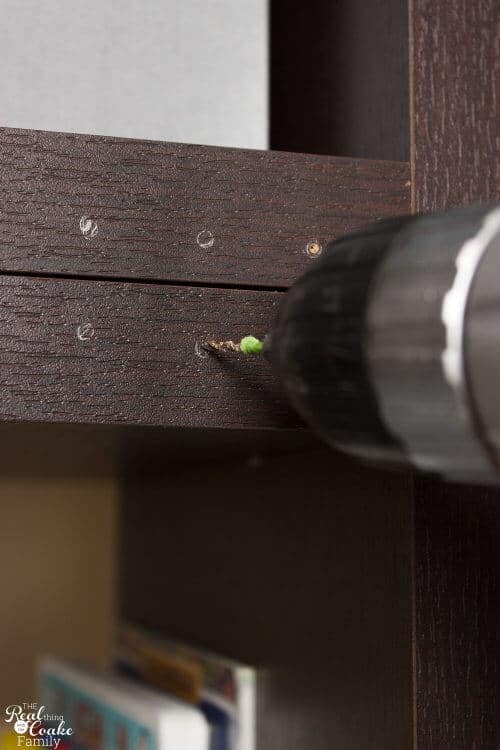
TIP: I like to mark the depth to which I want to drill with a small piece of painter’s tape. That way I know when I am drilling when I have hit the correct depth and I am able to stop drilling.
Step 4: Add Screws
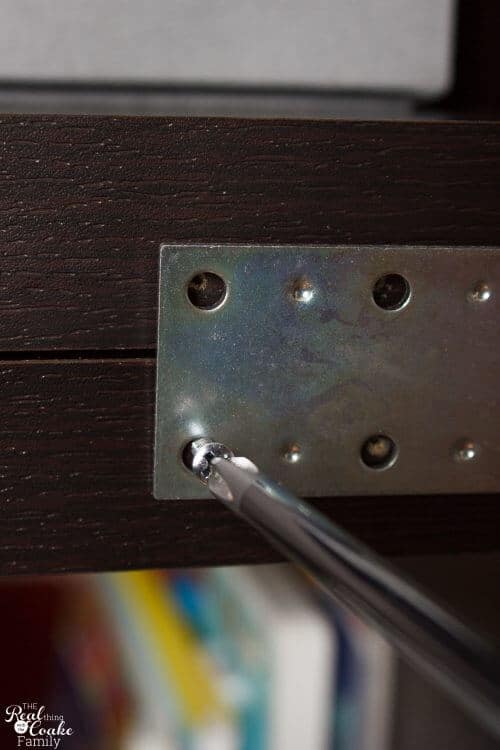
Use a screwdriver and add your screws. At this point, you do not want to tighten the screws all the way, only about half way.
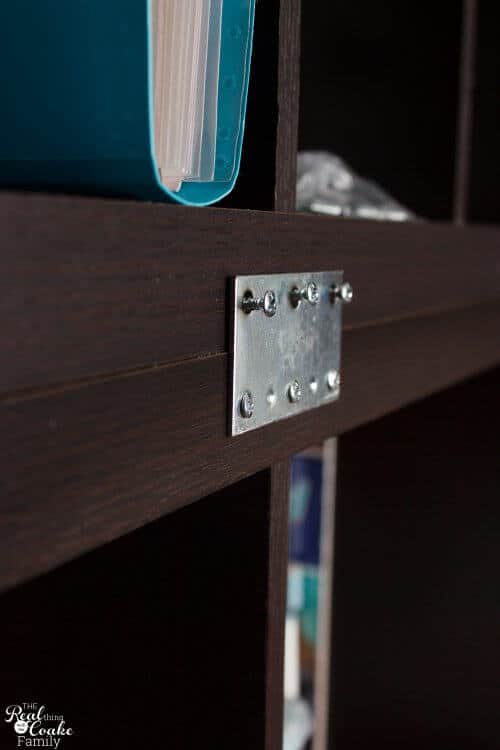
If you screw them in all the way as you go, you will end up moving your bookcases or shelves and they will be off center.
Once you have all your screws in, tighten the bottom half of all the screws. Then tighten one from each brace in the top section, adjusting the bookcase or shelves as needed to keep things lined up and flush front to back and side to side.
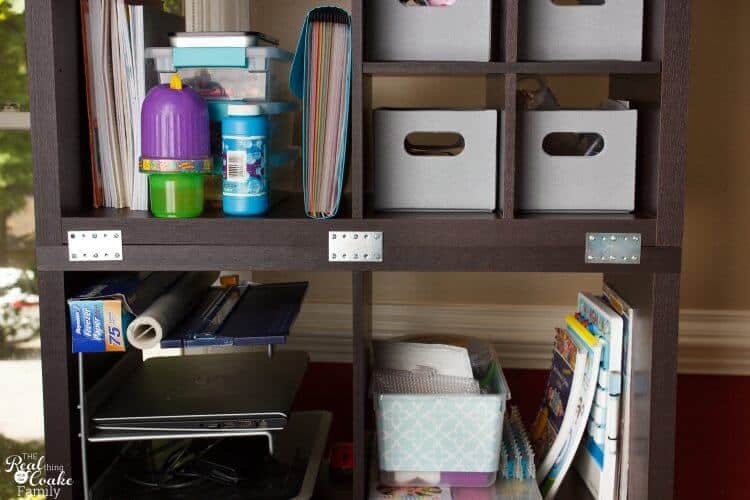
When you have finished this process you have connected freestanding bookshelves or storage cubes together. They are secure and much safer!
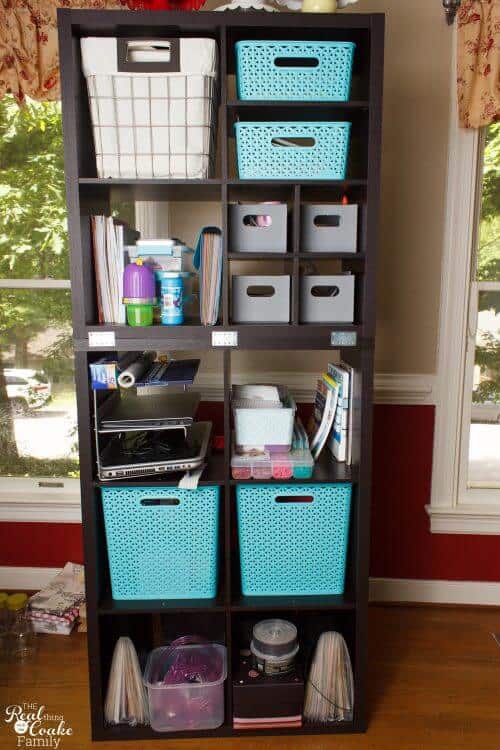
It only costs a couple of extra dollars and allows you to make your home a touch safer.
You will find that things will be much less wobbly.
If you live in an area that has earthquakes, you will want to follow this up by using a strap meant to secure the bookcase to the wall. Then you will be as safe as you can be with your newly customized storage solution.
I think the possibilities for using braces on cabinets and bookcases seems endless. I love how inexpensive it is and how easily I can customize something for my needs. Works for me…and now for you as well! Enjoy the DIY fun!
What’s the first project your going to tackle with this super easy hack? Leave me a comment below. Can’t wait to hear all the fun projects!
This might be a stupid question, but do you brace on both sides of the shelves, like front and back? I know that should be obvious for most people haha.
Not a dumb question at all. No, I only braced on the back of the shelves. Sorry, it took me so long to reply to you. I hope it wasn’t too late to actually be helpful.
Hi, KC. You answered Julia’s question (which was really a good question) by saying you “only braced on the back of the shelves.” But in the photos, it looks like you did the front of the shelves — which actually gives them an industrial look, which I like. Am I not understanding correctly??? This is a GENIUS idea, BTW — and so simple — why didn’t I think of it!
Thanks! Glad you like the idea. No, I really did only brace the back. I had the cubes turned around backward for the pictures so you could see where I was adding the braces and so I could actually take decent pics of the process. There’s no reason you couldn’t use the braces in the front though….at least none that I know of. HTH
KC
I searched for securing bookcases together. These are not bookcases things are cubes. I’m looking to connect 3 free-standing bookcases approximately 6 ft tall together at the top. I do not want the brackets to show. I want them to be secure together on the top side. Each bookcase has a recessed top approximately 1 and 1/2 half inches deep. What kind of metal brackets do I need and what are they called?
You’ll still be looking for braces as well. You’ll just have to find the right size and shape of brace that will work for the space you’re describing. Since I can’t see it, my guess would be that rather than the shape you saw me use, you may want a longer rectangle that will only be 1 1/2 inches wide to fit that space and then longer to connect the two together. You’ll find braces come in all sizes and shapes. Hope that helps!
A smaller local hardware store like Ace or something in your neighborhood can help you — not a big-box retailer. They have lots of good info.
That’s definitely true. I’ve usually had good luck at the big box stores as well if a local store is too far away. I may have to ask more than one person, but I’m usually able to get some decent help. Sometimes I have the fun of sharing my idea to which the employee exclaims that “It’s a brillant idea and why didn’t I think of that!” That’s always fun and a nice little ego boost! Lol!
This may also seem like a silly question. This is my first time attempting to join billy book cases back-to-back, and I will be using mending brackets. If I don’t want them to show, should join the bookcases, then paint everything including brackets/hardware? Or paint the bookcases and the hardware separately, then join the bookcases? Any advice would help, along with any tutorials for joining billy book cases back-to-back. Most are for side to side. This is one of the first I’ve seen using mending brackets, which I had planned to use, so thank you very much!
Hi! I did my mending braces on the back so no one would see them. I guess if you were going to have this were you’d be able to see both sides, you could try painting the braces and see if that works.