I’ve got a DIY desk for you today. It is part of the moving of my girls into their own rooms and part of the IKEA Expedit shelving unit and desk I made for my oldest daughter’s room.
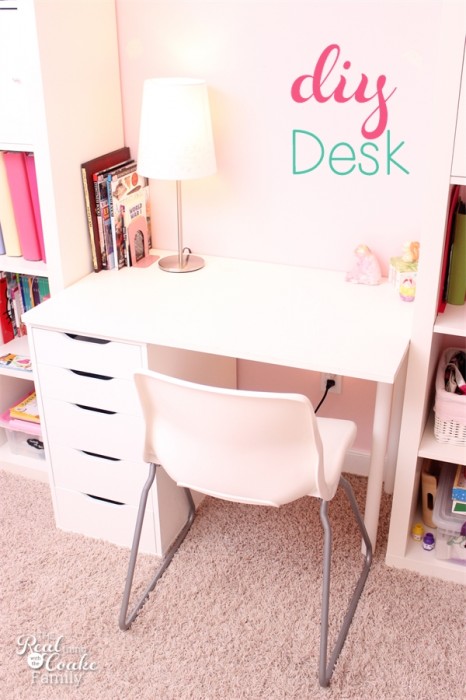
When me moved our girls rooms around, I planned this IKEA Expedit shelving unit and had in mind that I would be able to buy a very inexpensive desktop and legs at IKEA. I had done the math and planning ahead and thought it would totally work. When I got to IKEA, I realized I had done the math wrong and their desktops wouldn’t work. They were too big. I didn’t want to give up on the idea of this shelving unit. That meant I was going to have to DIY the desk.
I figured out a pretty simple solution and I’ve got a tutorial for you should you want to make your own DIY desk as well. In the end, it cost me around $115 to make a desk that is custom fit for this space. You could make yours for a lot less if you used a different bank of drawers or no drawers at all.
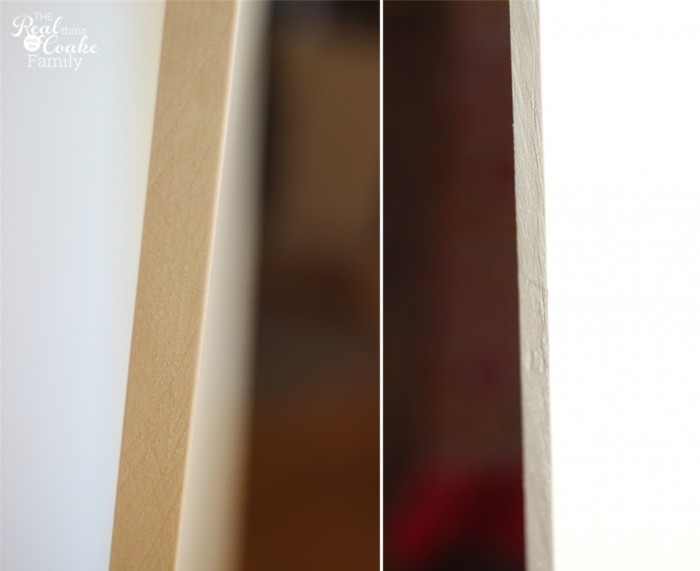
I bought and put together the IKEA Expedits like I showed you. Once they were together, I was able to get an exact measurement for the desktop. A trip to the home improvement store was in order. I bought a piece of 24″ x 48″ Aspen. There is a section at the store that offers these pieces of wood. It is usually on the row with all the molding and trim. I went with aspen because it is a harder wood than pine. I thought for a desk it was a good choice and would be a little bit more durable. It was a little bit more than the price of pine(I think I remember it was $24), but I felt the additional cost was worth it in terms of my 12-year-old and making the desk last for a few years.
The opening in the Exedit measured 37 and 7/8″ wide. Mr. T, my husband, cut the aspen to that length for me. We left it the 24″ deep.
The wood needed some good sanding. Then I primed it and painted it with 3 coats of a semi-gloss paint. I thought that would work and be a fairly smooth surface as well as clean up easily. I was wrong in that respect, so if you are making your own desk, I would suggest some type of top coat that is designed to seal the desk and make clean up easy.
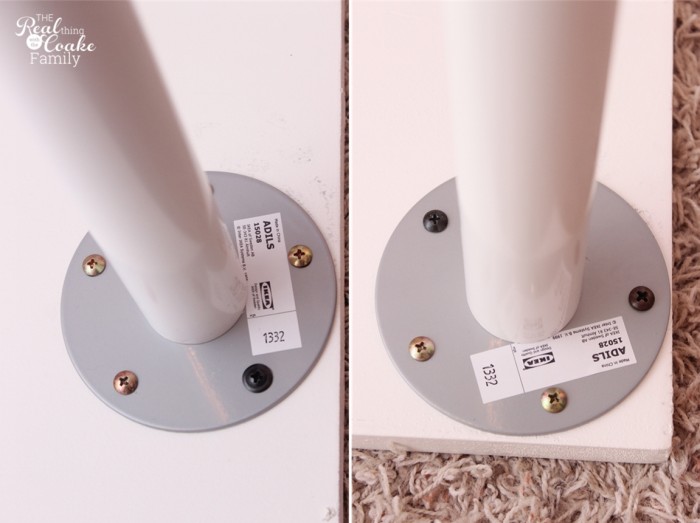
After priming and painting, you will need to add legs to your desk. In order to leave as much leg room as possible as well as leave room for a chair, place your legs as close to the edge as you can get on your desktop.
I bought our desk legs at IKEA. They sell a large variety of desk legs for a very reasonable price. Since, in this case, you aren’t using an IKEA desktop that has pre-drilled holes, you will want to use a drill bit to pre-drill the holes for your screws. Then simply screw in the legs.
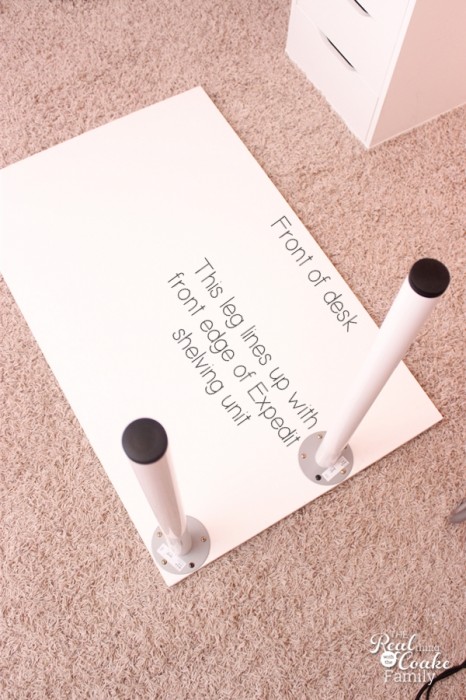
For our desk, I needed the legs to be in a slightly odd position. I needed no leg right at the front of the desk. This is to allow room for a chair. I lined the front desk leg up with the front of the Expedit. The back leg was placed as close to the back corner as possible.
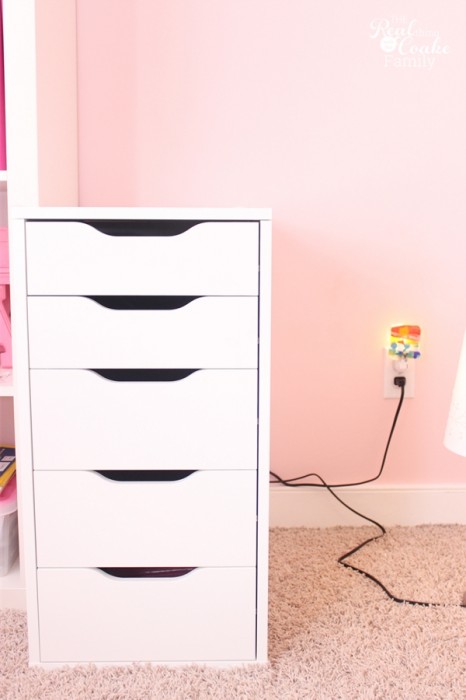
For the DIY desk that I made, I only needed two desk legs. The other side of the desk is supported by this bank of drawers. It is the ALEX from IKEA ($79.99). I knew we needed some type of drawers for her desk. For me, this was a bit of a splurge at $80. I debated for a while at IKEA whether to spend the money or not. In the end, I’m really glad we did. We stayed on and actually slightly under budget with all our expenses in moving the girls rooms around, so it all worked out.
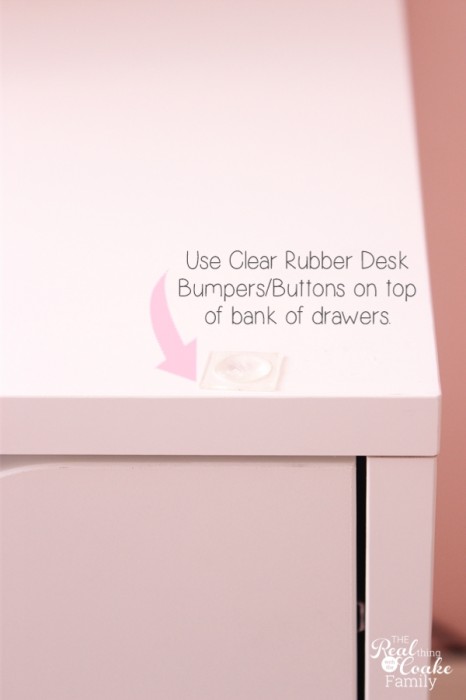
Place clear rubber desk bumpers![]() (affiliate link) on the 4 corners of your bank of drawers. This will keep your desktop from scratching. You could screw the desktop to the drawers if you want it to be more permanent. We wanted the flexibility to move and change things, so these rubber buttons keep the desk in place and keep it from scratching.
(affiliate link) on the 4 corners of your bank of drawers. This will keep your desktop from scratching. You could screw the desktop to the drawers if you want it to be more permanent. We wanted the flexibility to move and change things, so these rubber buttons keep the desk in place and keep it from scratching.
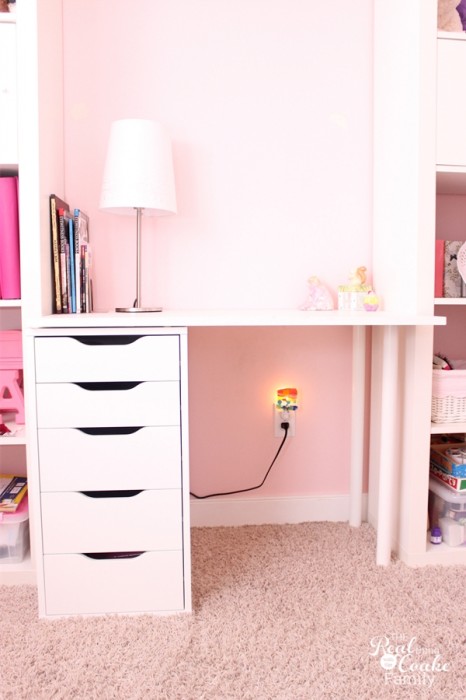
One desk that fits perfectly in our IKEA Expedit shelving unit.
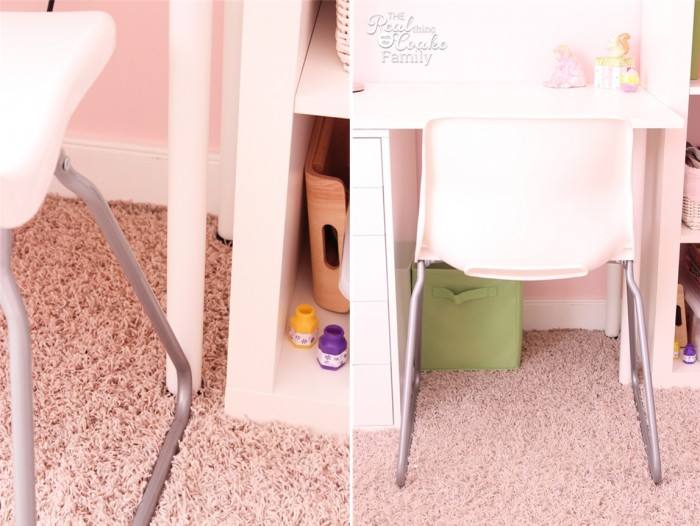
It isn’t all perfect. The chair that Snowflake wanted turned out to be a little bit wide for the space. That is part of why I placed the desk legs back from the front of the desk. It allows her to push her chair in a bit (and keep it out of the middle of her room).
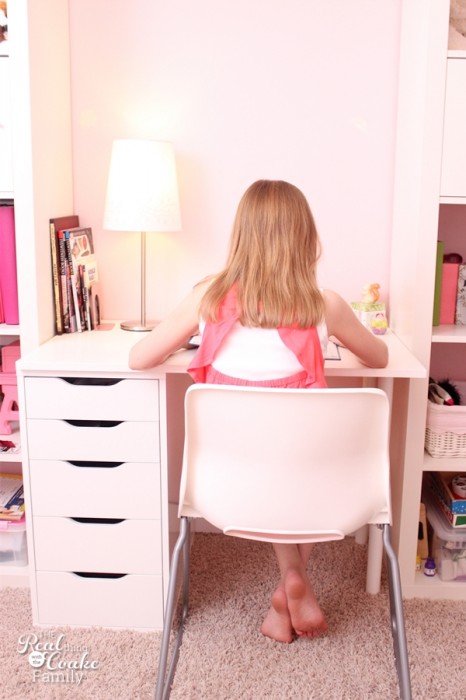
Perfect place to study!
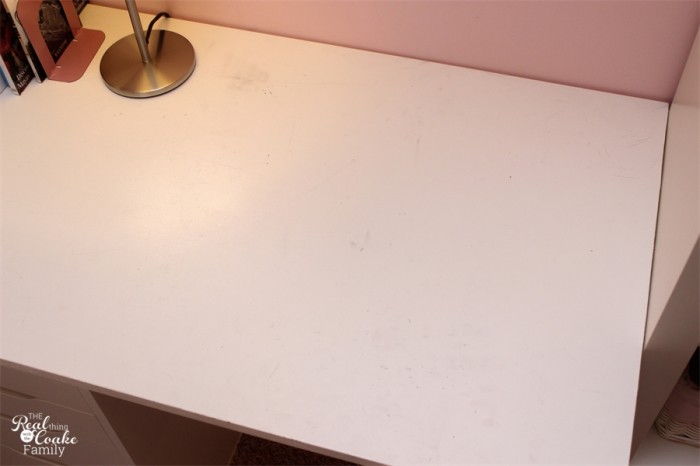
As I mentioned, I didn’t use any type of top coat on the wood after I painted it. I used a semi-gloss that I really thought would work and clean up well. I was wrong. It was hard to photograph all the pencil mess on the desk, but you can see some of it in the picture. Even after just a few months of use, the desk is a mess with black from pencil all over it. Snowflake has tried to erase it and clean it, without any success.
I will need to figure out how to paint and seal the desk better and take that project on another day. The desk also isn’t sanded quite as well as it should be, so while I’m at it, I will re-sand it, paint it again and seal it somehow. More to learn! 🙂
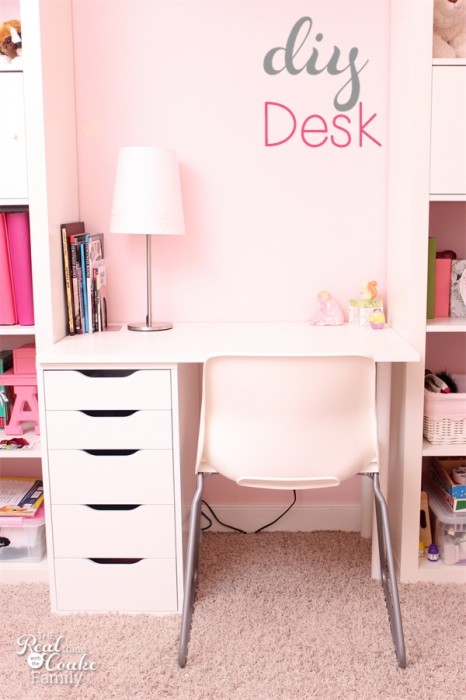
Even though it needs a little bit more work, we love the DIY desk. It is a perfect fit for the room and space. It adds so much function to the room especially nestled in the Expedit shelving unit I created. I think it is a perfect addition to a tween, almost teen, room.
Now I just need to paint, get new bedding, blinds, curtains, and decor for the room….that’s it. Hehe…just a little bit to do. At least, we have the bones of the room good to go.
Sign up for my free member program, not only will you get notified every time I have a new post, you will also get some fun free organizing printables.
More Fun for You:

Such a pretty work space:) And, great IKEA hack! Pinned
What a perfect desk – great tutorial !
What a perfect desk – great tutorial !
I love this! What a perfect idea for that space! Thanks for linking it up at Monday Funday!
Thanks, Katie! and thanks for hosting the link party!
I think you did a great job with this unit. One thing I have done with a dressertop is cover it with a sheet of glass. You can even put photos, wallpaper,or artwork under it.
Thank you! Yes, glass can add a fun option. I guess I am kind of picky, but I don’t like the feel of glass on my arms when I use the computer or write a lot. It ends up digging into my forearms and is uncomfortable to me….it does look really neat though. 🙂