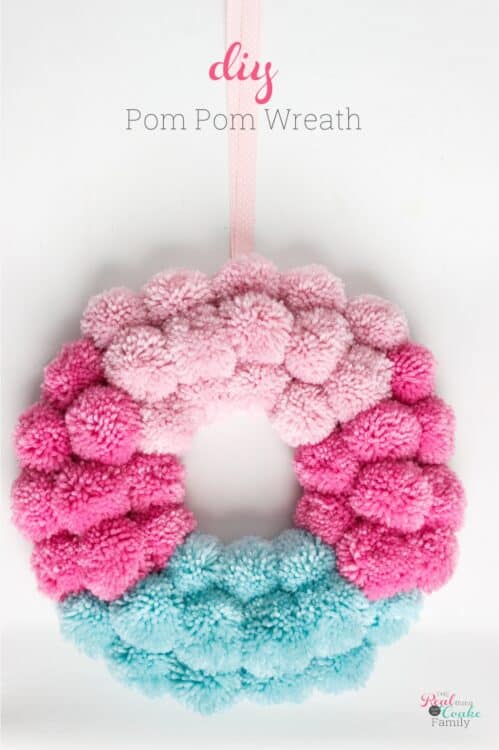
You may have seen on Instagram at Christmas the adorable pom pom wreath I picked up at Target(affiliate link). It was so stinkin’ cute!
I had also had in my mind to have the pink gingham wall art behind that wreath, but as mom life goes, I didn’t get that done in time. SO…I knew I wanted to find or make a pom pom wreath that could go on the wall art this spring.
I couldn’t find a wreath, and I also wanted a pom pom wreath in the pinks and blues I’m diggin’ right now, SO it was time to make my own pom pom wreath.
It’s so cute! Not quite the vision I had in my mind, and it could use a little something between the pom poms, but for now, I’m calling this cute wreath done.
As usual, I’m going to show you the step by step tutorial and show you how to break this craft up into small steps that you can fit into busy mom life because every creative mom needs some crafts or DIY in her life and I’ll help you find the way to break it up between busy mom life. At least, that’s my philosophy. ?
Pom Pom Wreath
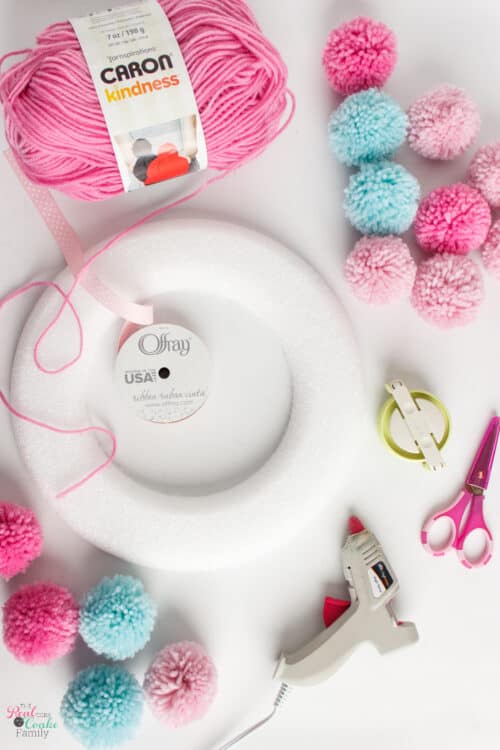
Supplies :
List contains affiliate links.
- Yarn
- Pom Pom Maker
- Scissors – You want very sharp scissors
- Foam Wreath Form
- Hot Glue
- Hot Glue Gun
- Ribbon
Step 1: Make pom poms
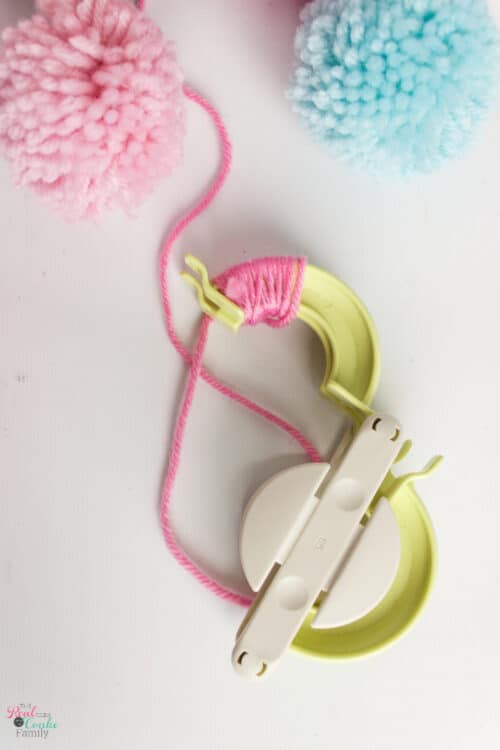
Let me just you that this is the longest step…sorry, but I keep it real with you. You’ll be making pom poms for days.
The great thing about this is that it’s super easy and you can take it with you anywhere. Make pom poms at the soccer game or the waiting room of the Dr.s office. It doesn’t matter, take that yarn and pom pom maker with you in a bag and make pom poms all over town like a fool. ?
On how to make them, I love using the Clover pom pom maker(affiliate link). It makes it so easy. I show how to use it in the video that is either at the top of this post or playing in the sidebar.
I like to wrap the yarn 3 times. So, that means I wrap it one time going one direction on the maker, then I go over that area again, and then I go back over for a 3rd layer. It’s the best way to get full and fluffy pom poms.
You’ll need about 47 pom poms made with the 2 and 1/2 inch pom pom maker for this wreath. Like I said, you’ll be making pom poms for days.
If you want a fun time, make them in front of a group of tweens…that’s what I did, and they were so excited about them. I drew a crowd at Reading Olympics by making a pom pom…I had no idea tweens, and teens would find pom poms so cool. ?
You’ll also make people happy as you make pom poms all over town! I had another woman come up to me in Starbucks and ask about what I was doing. It was fun to see the delight in her eyes when she saw the cute little fluffy pom pom.
Step 2: Lop of the bottom of the pom pom

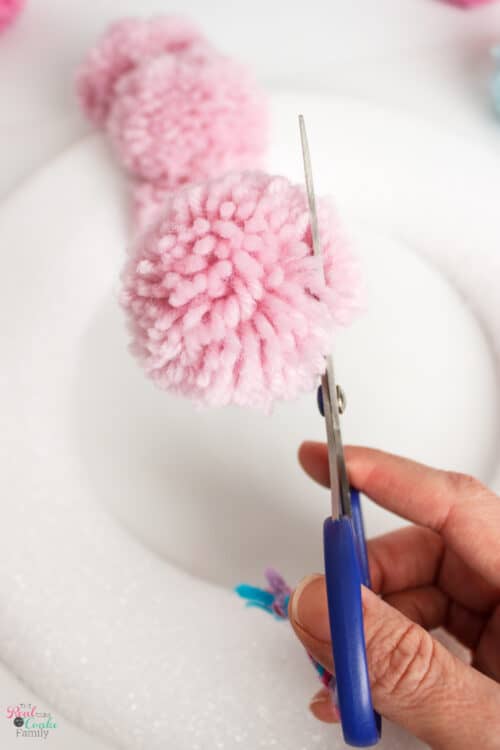
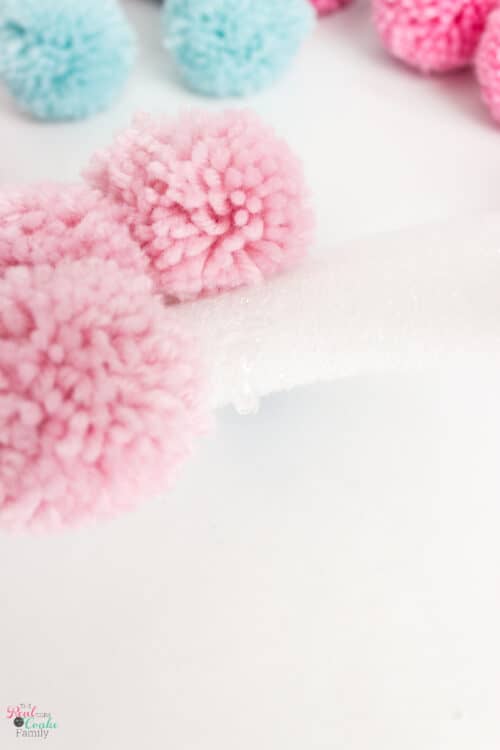
It breaks my heart to both say this and do this, but for the pom poms to stick well to the wreath form, you have to flatten one side of them.
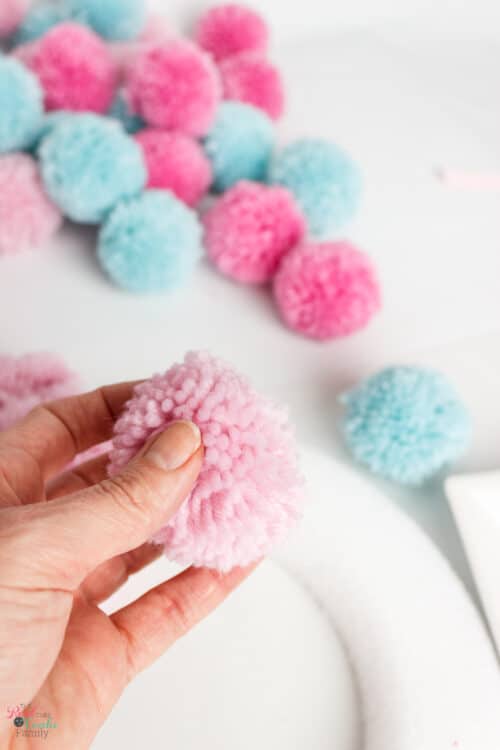
You’ll need to cut one side of the pom pom and flatten it off.
Be careful not to cut too deep, so you don’t cut through the middle and destroy the pom pom.
Step 3: Mark off wreath form for multiple colors(optional)
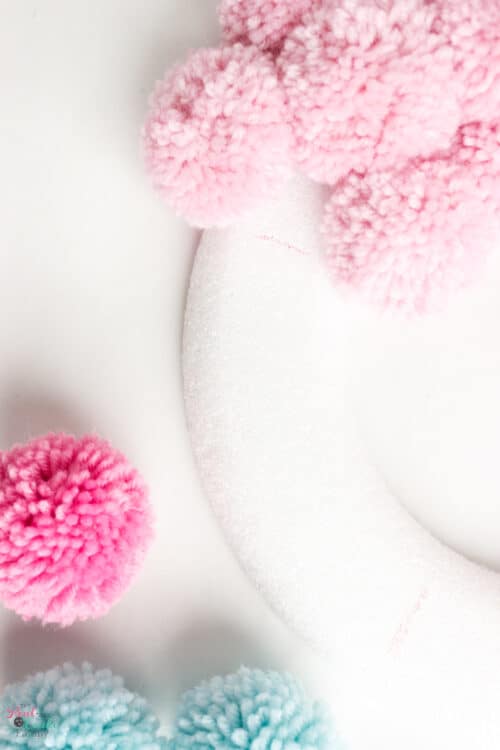
If you’re working with a few colors, like I did, you’ll want to use a marker to give yourself a guide about where you want to swap out colors.
As you can see above, I did this after the fact. It would’ve worked better if I’d marked it off before I started.
Step 4: Hot glue pom pom to wreath form

Add your hot glue to the wreath form.
I found that worked better than adding it to the pom pom, though if you watch the video, you’ll see I added a small dab of hot glue to the flattened end of the pom pom and let it dry to give it some extra gripping power. 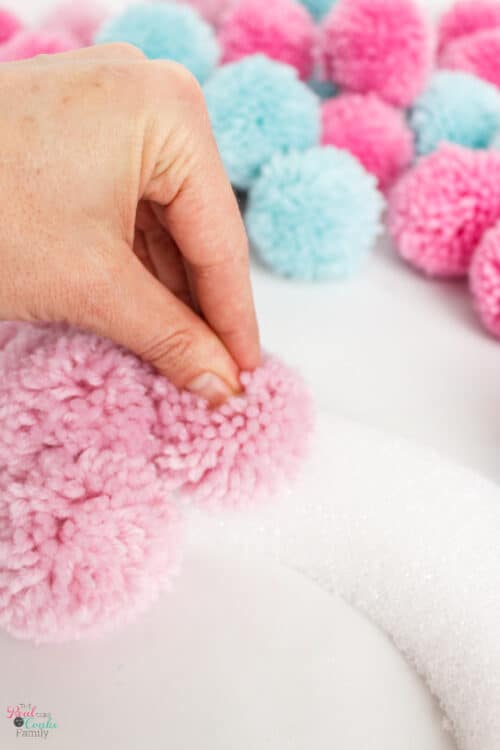
Be generous with your hot glue.
Then wait and hold the pom pom to the wreath form until it has set.
This is another part of this craft that may take you a bit of time because you’re literally waiting for glue to dry. But again, it’s so easy to break this one up into mom life and still get to create and make something cute, so break this up into the time you have each day or weekend.
Step 5: Add a ribbon for hanging
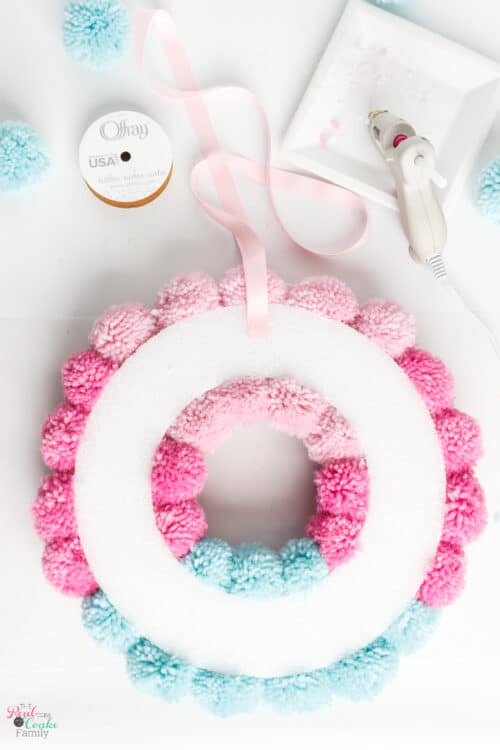
Once you’ve added all your pom poms and let your glue completely dry and set, flip your wreath over and hot glue a ribbon in place to hang up your wreath.
The wreath gets a bit heavy because of the weight of all the pom poms, so I added a thumbtack into my ribbon on the back as well. I wanted extra security knowing the weight of the wreath wasn’t going to rip the ribbon right off the back.
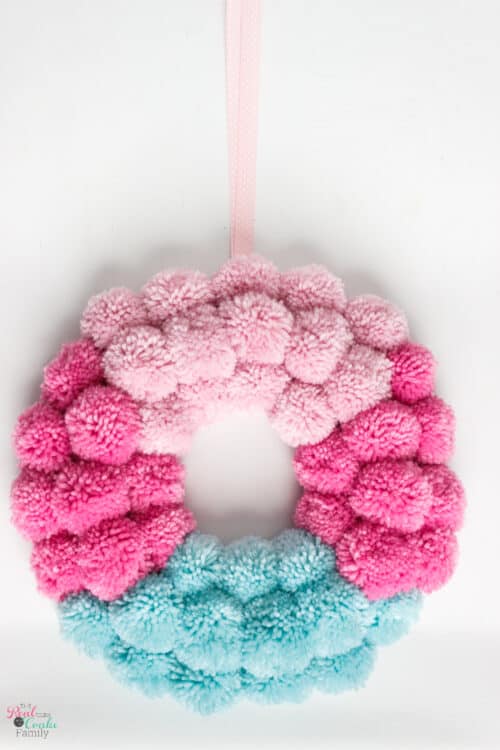 Done! Now you have an adorable, fluffy pom pom wreath.
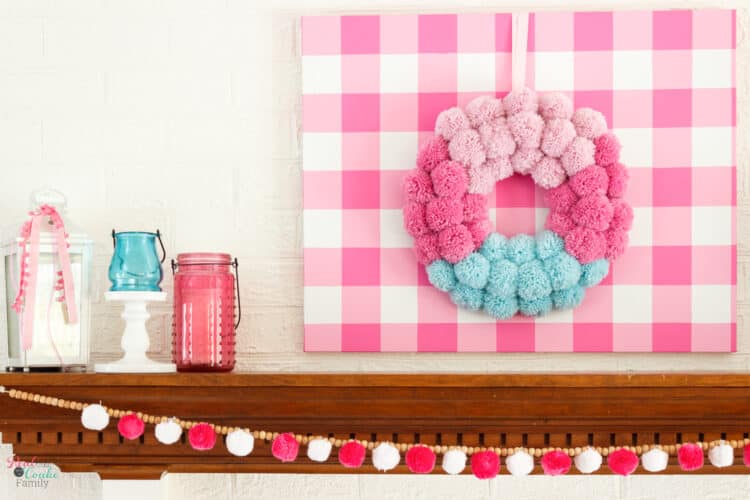
Mine went on top of my pink gingham wall art on my mantel.
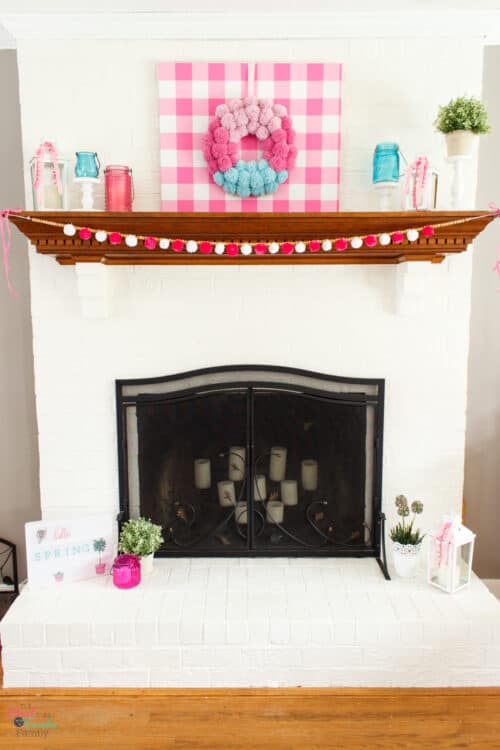
As I said, I still think it needs a little something, and I kinda wish I used different colors, maybe white instead of the blue….I’m not sure, but I still think it is fun and whimsical and I need more of that in my life right now, so it is perfect. 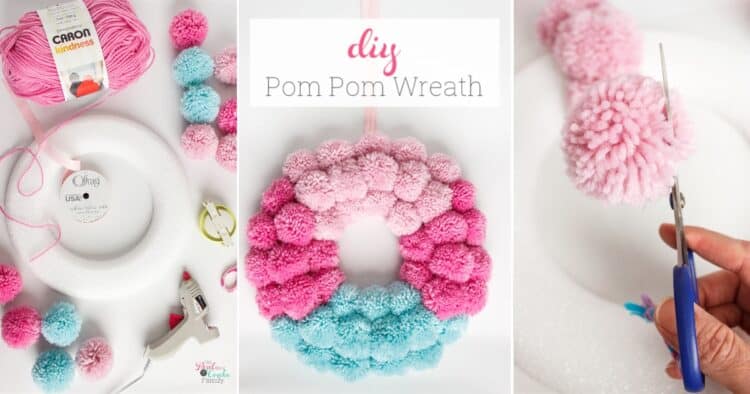
What colors would you use for your pom pom wreath? Leave me a comment below. I can’t wait to get some inspiration!
Don’t forget to share your completed pom pom wreath on Instagram and tag me, @realcoake, then use #RealCrafts so everyone can see! Can’t wait to see all the fluffy cuteness!
I love the way this came out! So cute for spring! My kids are getting to that age that they don’t really want to craft with me, but I still LOVE crafting. It’s nice to be able to take a little time for myself and craft away!
Thanks! I so agree with you! Crafting is like therapy or a little break. So worth it to find a way to break it up among our family life.
Oh my goodness, KC! This is SO pretty…and FUN! I cannot wait to make one for myself! Thanks for sharing such a great tutorial…and for linking up with us this week! xoxo
Thank you! It was fun to make and fun to look at over the mantel. Just pick a TV show to binge watch while you make the pom poms! ??
I love making pom pom wreath. They are so charming and fun to make. Thank you for sharing at Dishing it and Digging link party. You are one of this Sunday’s features.
They are so fun! Thanks so much for the party and for the feature!
I love the fluffiness of this wreath. Thanks for linking this post with us at #OMHGWW!
Thank you!
I love the colors in your wreath! This is going to be one of my features this afternoon at the Snickerdoodle link party!
Thank you! Thanks also for the party and the feature!
Gorgeous and such a happy burst of color! I meant to feature your project but in the rush to finish somehow overlooked it, so will feature it next week. In the mean time I’m adding it to this week’s party (though of course hope you’ll drop by to add more….) so I don’t forget! Happy spring and thanks for sharing on craft schooling sunday!
Thank you and thanks for being so kind to add it to your features for next week. I appreciate that!
I just pinned this project. I love how fun and pretty if turned out.
Happy Spring,
Kippi
#kippiathome
Thank you!
Is the type of yarn important when doing pompous
Sort of. You don’t need to buy the pricey fancy yarns. The cheap yarns will work, but you’ll most likely need to wrap the pom pom maker with more yarn in order to get a nice fluffy pom pom. The yarn I buy is not the cheapest, but it’s probably just one level above it. HTH. Let me know if you have other questions. I’m happy to help.
Hi can you tell me how big the foam wreath is please
Hi Tina,
The one I used was 12″. You could use whatever size you prefer. You’ll just need to adjust the number of pom poms accordingly.
KC