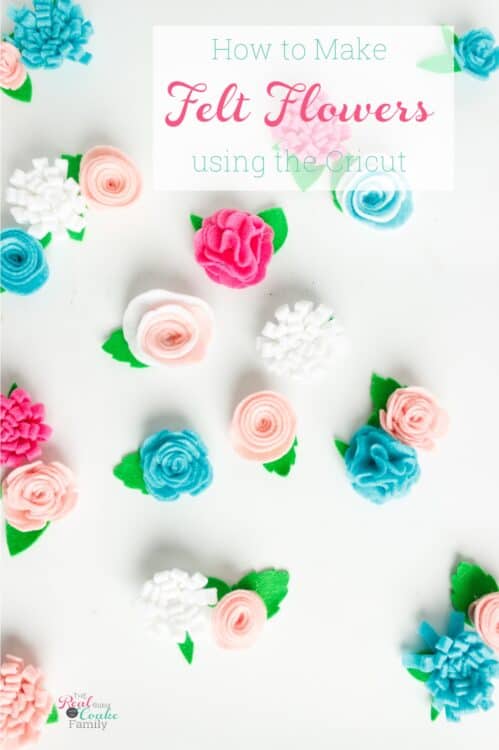
I found this cute cut file on Cricut that would cut out the felt for me to make felt flowers, but that was it….only the cut file. No directions on how to put the flowers together that I could find.
For a few of the flowers, it was obvious since I had hand cut and made those types of felt flowers before, but for a few of the other flowers, I was scratching my head.
Never one to let things like no directions stop me, I went for it to make the flowers for the cute embroidery hoop wreath I showed you a few weeks ago.
To be honest for one of the flowers, I have no idea if I actually put it together the way it ‘should’ be, but I like the way it looks, so I’m going with that it’s correct. ?
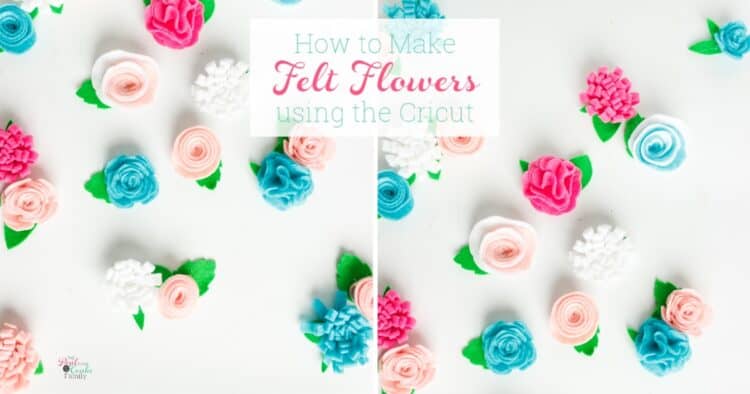
I’ve got the details for you today both in video form and pictorial form to show you how to make 5 different types of felt flowers using your Cricut. If you don’t happen to have a Cricut you can still make 4 of these by cutting the felt out by hand. You can probably make all 5 of them, but I would poke my eyes out if I had to hand cut out one of the flowers….so you can make the call on that one.
How to make felt flowers using a Cricut
Supplies:
- Felt
- Cricut
- Hot Glue Gun
- Hot Glue Sticks
- Hot Glue Finger Caps
Pom Pom Felt Flower
Step 1: Fold in half and glue
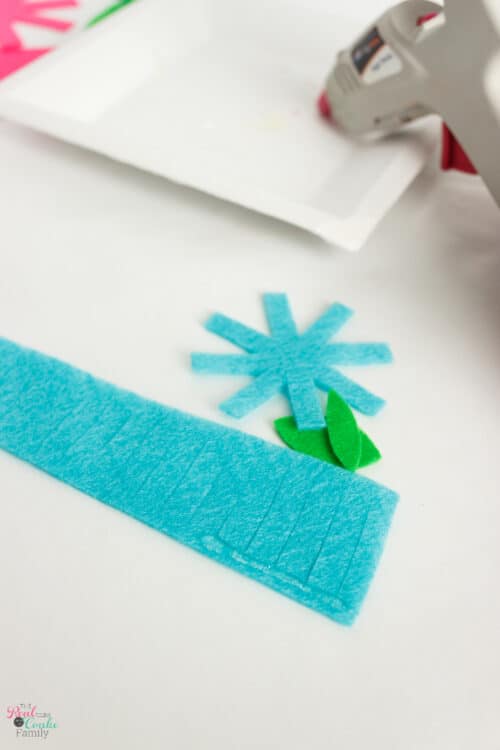
You’ll take the cut felt and add a line of glue down one side. Then fold the felt in half.
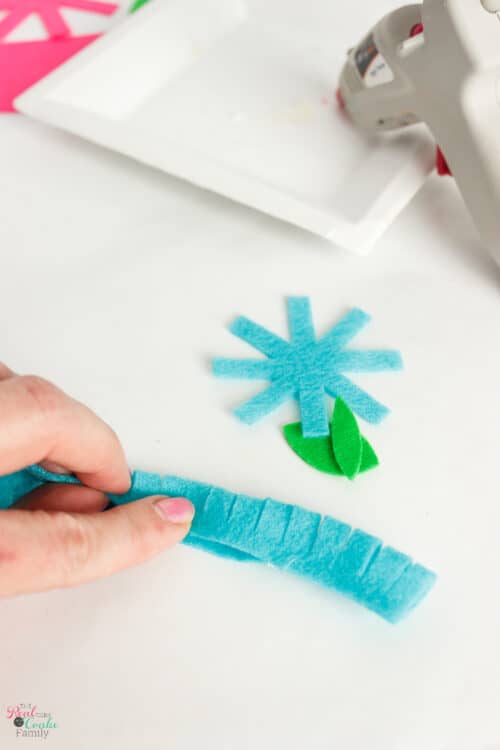
It works best to work in small sections while you’re folding so your glue doesn’t cool before you’ve had a chance to fold the felt over.
Step 2: Roll
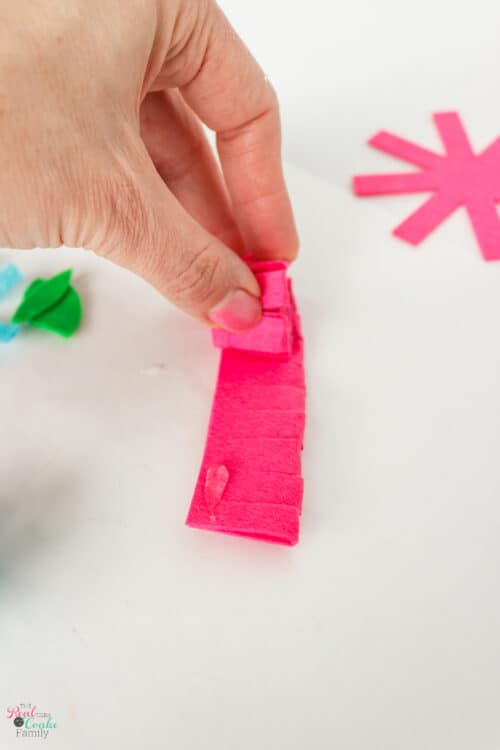
Starting with the small end of the felt, roll the felt up.
You’ll want to hot glue as you go. You don’t have to glue every inch of the flower, but every few inches a dab of hot glue will help hold things together.
You need to glue at the end of the roll and hold in place until the hot glue cools.
Step 3: Add base
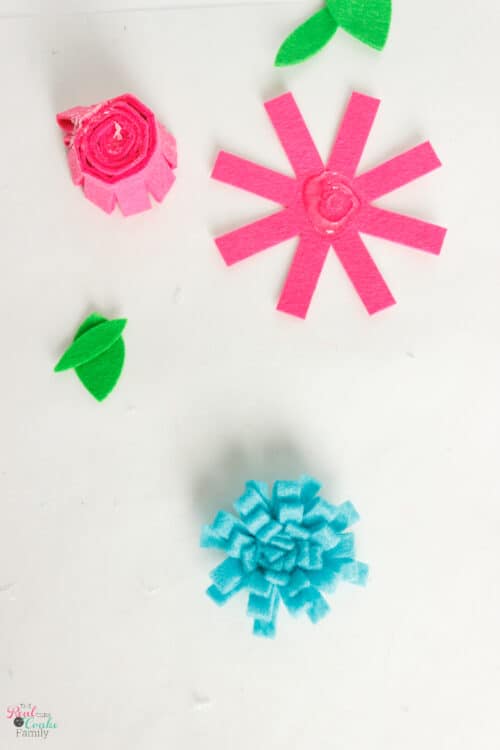
The pom poms cut using the file I have for you at the bottom of this post, have this star type felt piece with the pom pom flowers. It’s the base to hold the pom pom flower together.
Hot glue it into place.
If you’re cutting these by hand, you can use a circle cut of felt to be your base.
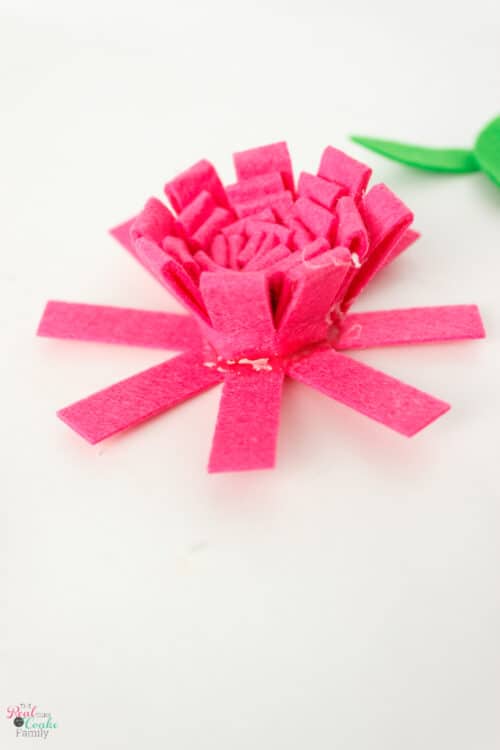
You’ll want to add a ring of hot glue around the outside of the flower and press the base up into the hot glue so that it looks like part of the pom pom flower.
Step 4: Add leaves
These are 2 pom pom felt flowers. The top flower is typical craft store acrylic felt and the bottom flower is stiff craft store felt.
Rose Felt Flower #1
Step 1: Roll flower
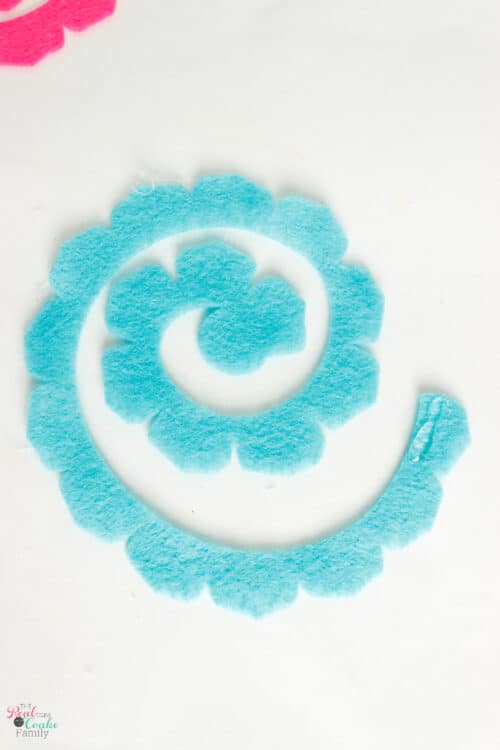
Starting at the outer end of your felt piece, add hot glue and roll the felt.
Once again, you don’t have to have glue on every inch as you roll, but every few inches will help hold things together.
Step 2: Add base
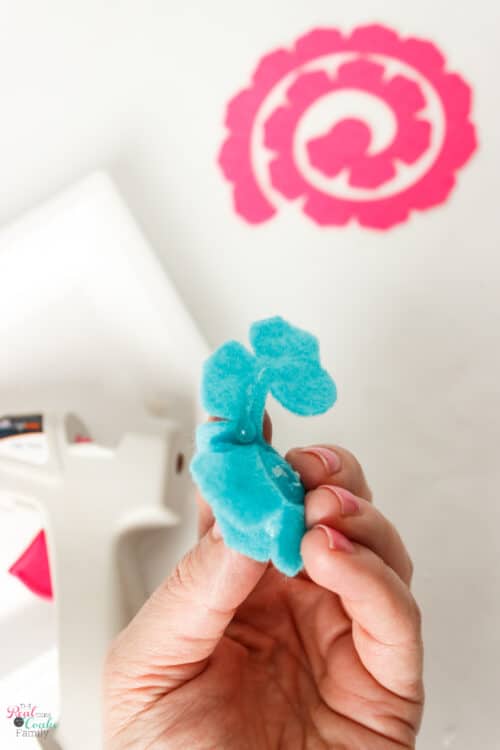
When you get to the end, add some extra glue and hold in place until the hot glue dries.
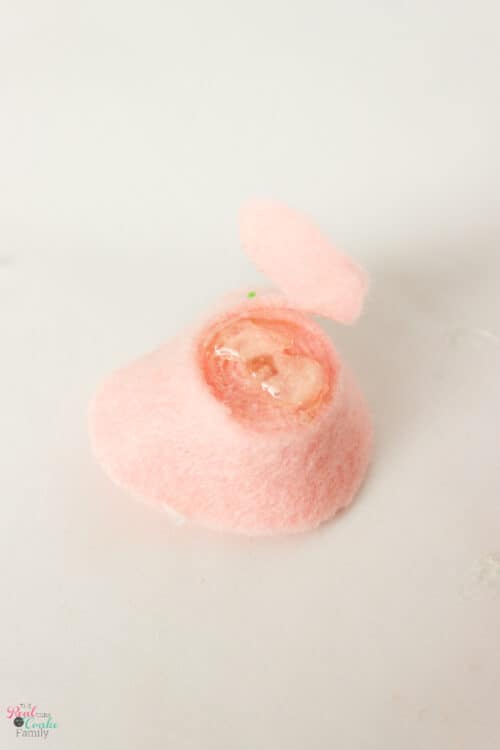
Then add a bunch of glue on the bottom of the flower and fold over the rounded end piece of the felt piece to hold the base together. There is a picture further down in the post of this on another flower if you’re not sure what I mean.
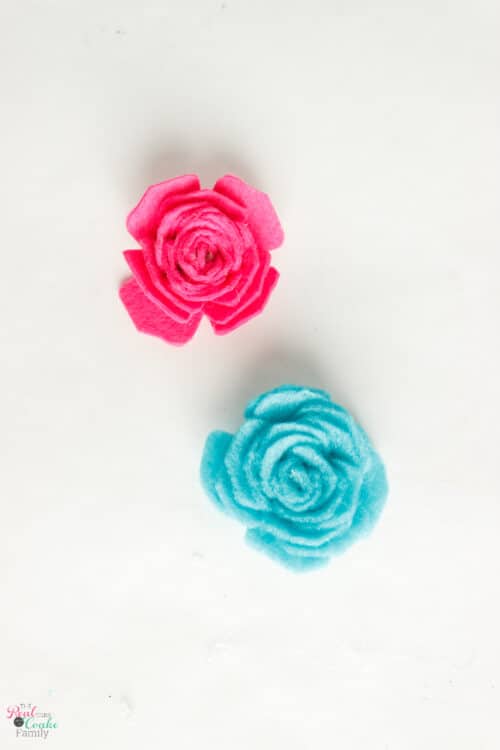
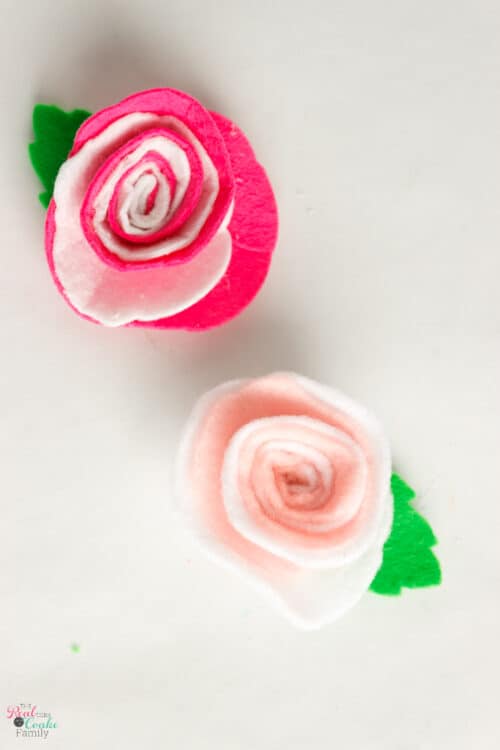
According to the Cricut cut file I used to make these, they call them a ‘flower.’ They look very rose like to me, so I’m calling them roses.
Once again, the top flower is from stiff felt and the bottom from acrylic felt.
I love these flowers. They tie for my favorite with the pom pom flowers.
Fluffy Felt Flowers
Yes, I’m totally reaching with names here….I have no idea what kind of flower are. Cricut again calls them ‘flower.’
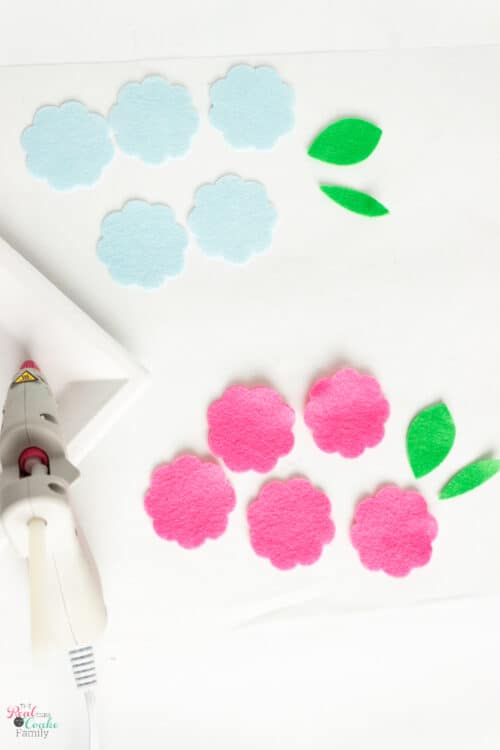
Step 1: Gather felt together
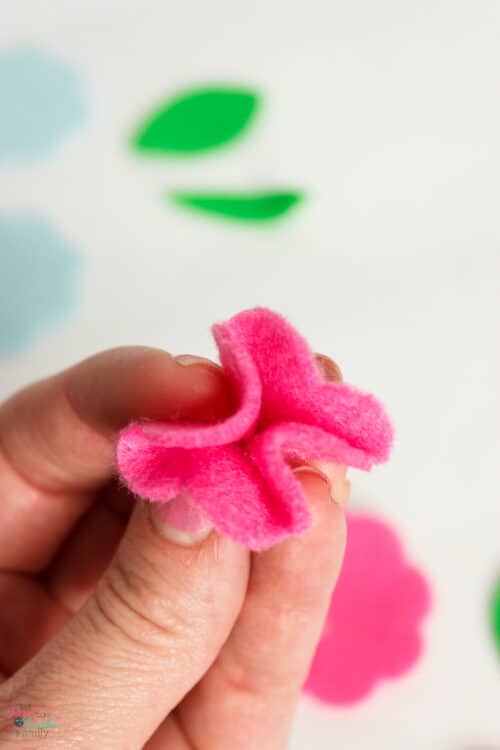
To make these fluffy felt flowers, you’ll want to add a dab of hot glue to the center of the felt and gather together. 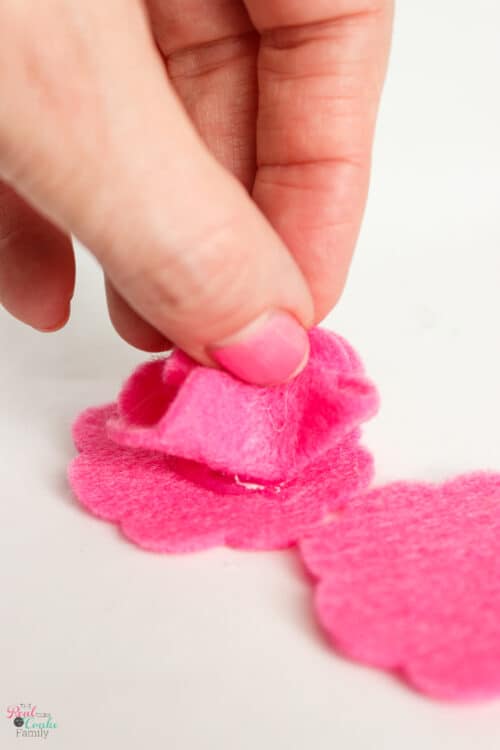
Then add a dab of hot glue to the next layer and gather together.
Step 2: Continue
Keep going adding a dab of hot glue and gathering the felt. Then add that piece of felt to the next piece of felt for a total of 5 pieces of felt. You can see this better in action in the video at the top of this post(or playing in the sidebar).
Step 3: Add Leaves
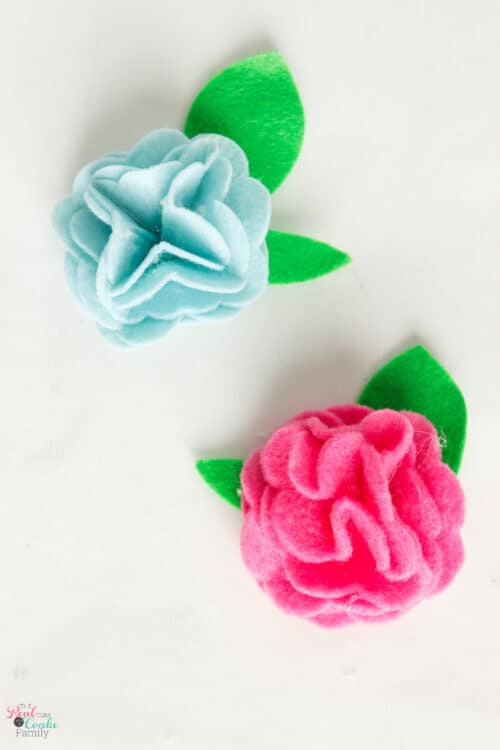
Add the leaves to your fluffy flowers.
The top flower is from stiff felt and the bottom from acrylic felt.
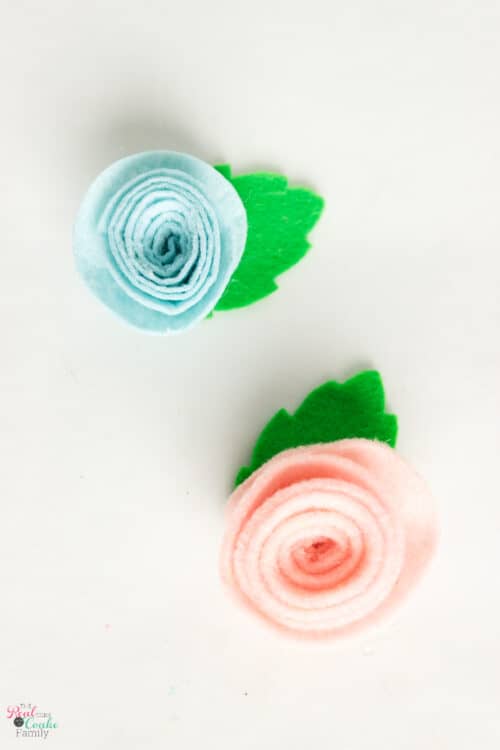
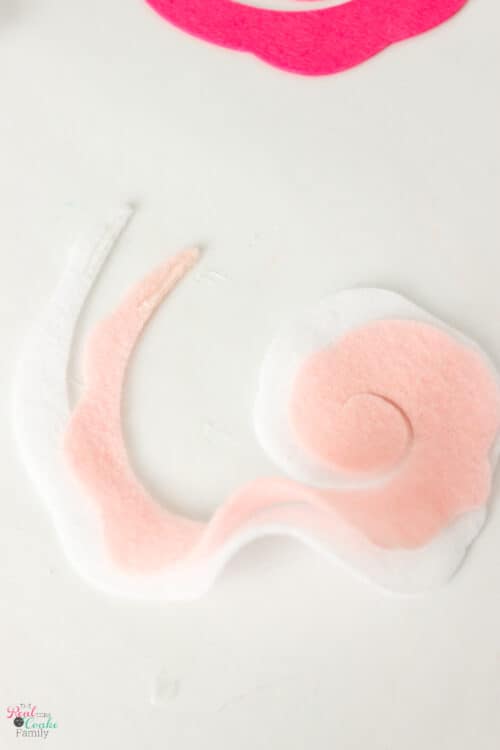
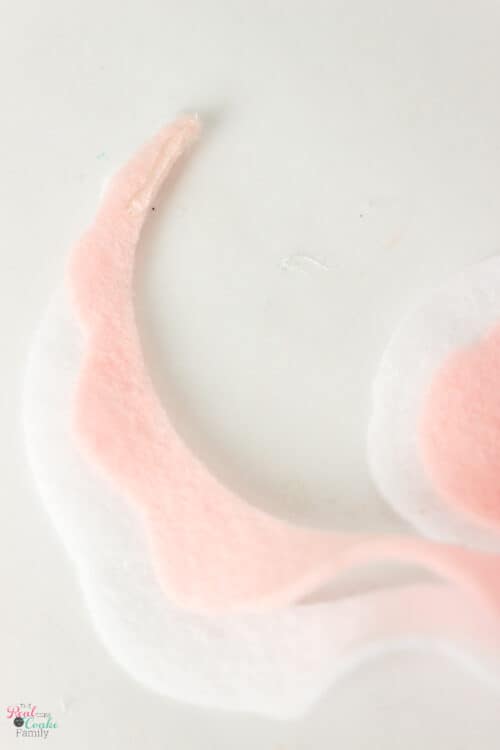
Rose Felt Flower #2
Step 1: Roll Flower
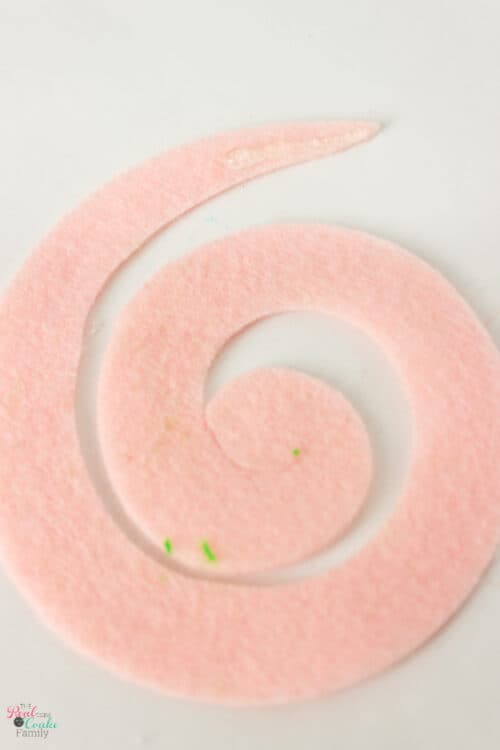
Like the others, start with the small end of the felt piece. Add hot glue and roll the felt.
Add hot glue every few inches as you roll the flower.
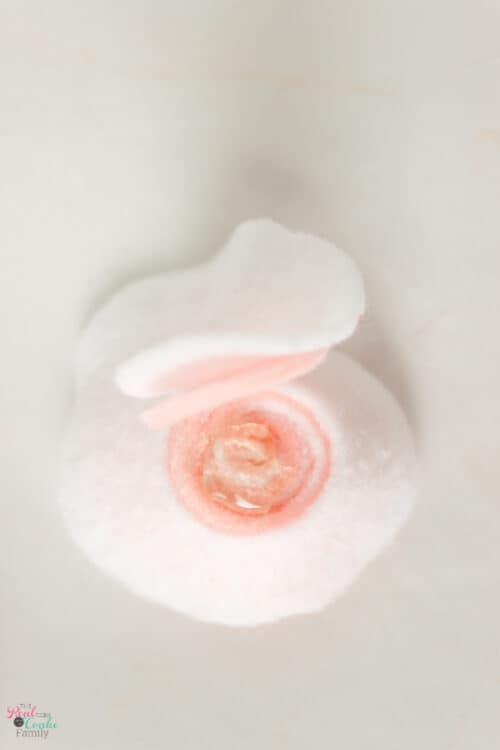
Step 2: Add hot glue to the base

Add a dab of hot glue to the bottom of the flower when you get to the end. Then fold the round end down and hold into place until the glue cools.
Step 3: Add Leaves
Add leaves to your flowers.
The top flower is stiff felt and the bottom flower is acrylic felt.
Double Rose Felt Flower
I feel like maybe I’d been living under a crafting rock because I’d never seen a double rose felt flower before. I was a tiny bit confused about how this would work….and if it would work, but I figured it out.
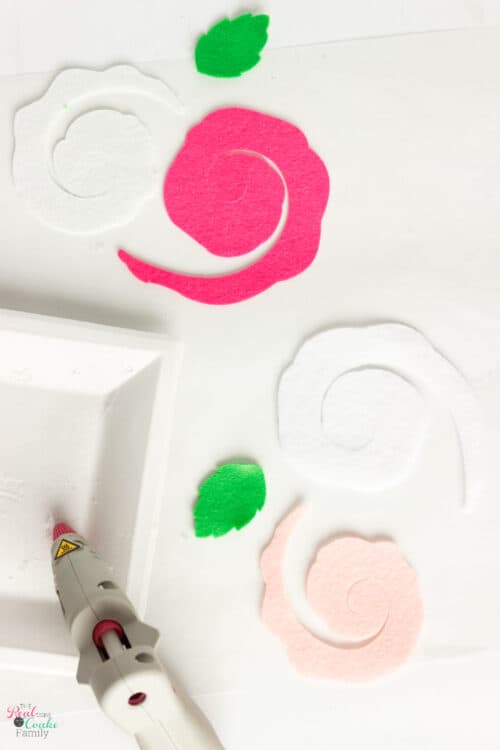
NOTE: One piece of felt should be smaller than the other when you cut these.
Step 1: Add glue to ends of both pieces of felt
Place the smaller piece of felt on top of the larger piece of felt you cut for this flower.
You’ll want to add glue to the small ends of both pieces of felt you’re using for this flower and press the smaller piece of felt into the larger piece of felt so they’re stuck together. Then quickly start on step 2.
Step 2: Roll Flower

Like you have for the other felt flowers, start with the smaller end of felt and roll the two pieces of felt together.
Because you’re using 2 pieces of felt at the same time, it’s a little more awkward to roll this flower and needs a little more adjusting and making sure things are lining up.
I also used hot glue more often for this one and between both layers.
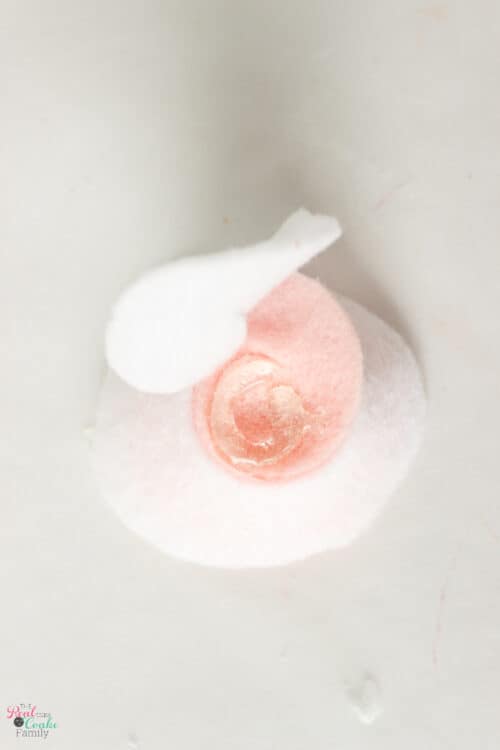
Step 3: Add base #1

Add a dab of hot glue to the bottom of the flower and press down the first of the two bases. Hold until the glue has set.
Step 3: Add base #2
Repeat adding hot glue to base #1 and pressing down base number 2. Hold until the glue has set.
Step 4: Add Leaves

Add leaves to your flower with hot glue.
The top flower is stiff felt and the bottom flower is acrylic felt.
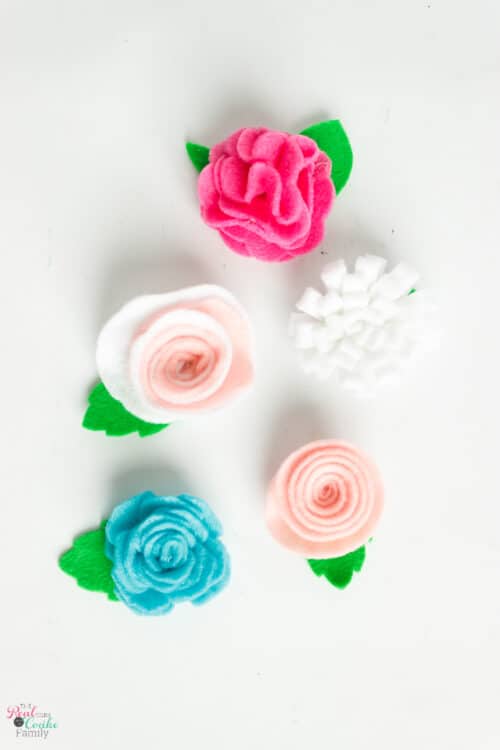
I made these 5 types of felt flowers. There are, of course, more types of felt flowers and more Cricut Felt Flower cut files….more fun for another day. ?
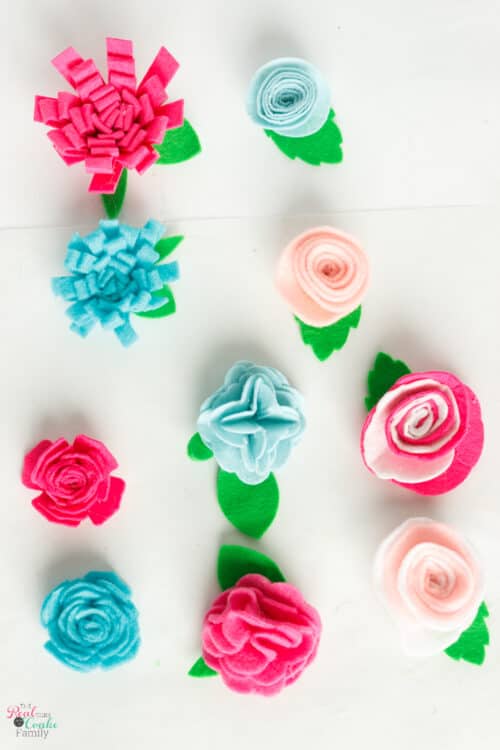
If you noticed throughout the post, I showed you both stiff felt and acrylic felt.
I’ll have another post later about working with stiff felt and my suggestions, but, I recommend using the acrylic felt for these flowers. To me, they look nicer and are easier to work with.
Have you experienced not having full directions to a craft before? What did you do? Leave me a comment below.
In the meantime, have fun making felt flowers to your heart’s content and post a pic on Instagram and tag me, @realcoake, so I can see your beautiful flowers!
Get your Cricut cut file by logging in below.

Those felt flowers are really cute.
Thanks!
I absolutely love the homespun look of felt flowers. I have tried on my Silhouette to make them and quickly gave up doing them by hand.
Yours are beautiful and much be much quicker than cutting with scissors.
Thanks! I so agree! Using the Cricut or Silhouette is so much easier than making them by hand.
These are so cute! Thanks for sharing.
Thank you!