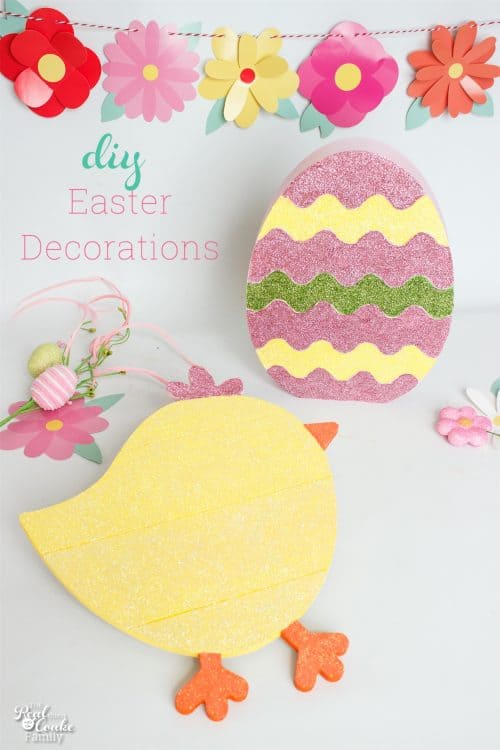
I know Easter is coming really quickly and you may already have your house decorated and be ready. If you want to add something else this year, I have two quick and cute DIY Easter decorations for you today.
This year, I finally got my Easter decorations up last week. With my brother’s open heart surgery and our trip to Arizona to help out, I had Valentine’s decorations up for WAY too long this year.
Last week when I was strolling through the Target dollar spot, I found these two cute Easter decor items. They also had glitter. It was a happy day for sure! I spent only $8 and added other supplies I had on hand. The best part is that I totally had fun making these two DIY Easter decorations. Nothing better than cheap crafting therapy. 🙂
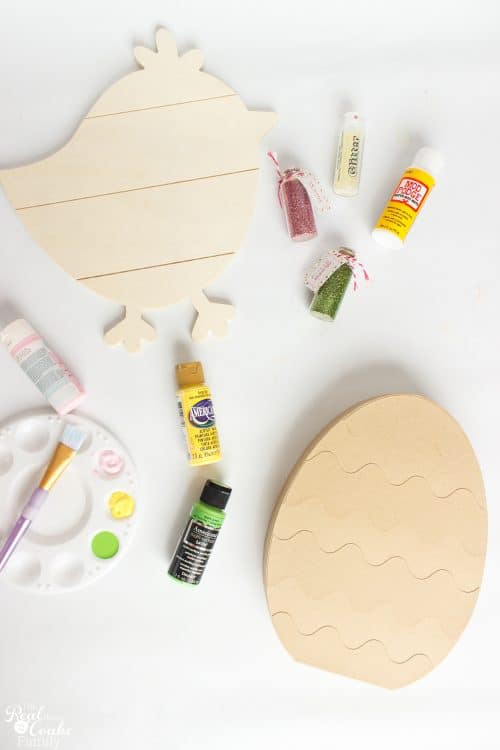
You can see above the supplies that I used. I ended up adding some orange paint and glitter for the chicks beak and feet. Mostly from the dollar spot with some paint I already had and leftover yellow glitter from when I made those spring vases out of wine bottles. I love using my little paint tray (affiliate link) when I’m painting, not only does it look pretty in photographs it makes it so easy to work with multiple colors.
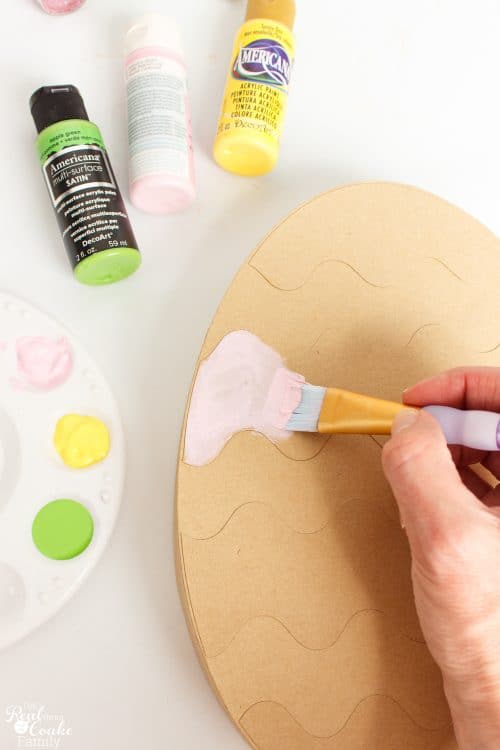
To make your egg, you will want to start with the raised portion of the egg. Paint that the color(s) you want and wait for it to dry. Then paint the lower portions, again waiting for it to dry completely. I used multiple coats to get nice coverage.
Do the same thing for the chick. Paint the tuft, beak, and feet waiting for that to dry. Then paint the body.
 Once everything is dry, it is time to add glitter!
Add a moderate to thick layer of Mod Podge to the area in which you are adding glitter.
You will want to be very careful with this because everywhere there is wet Mod Podge you will have glitter.
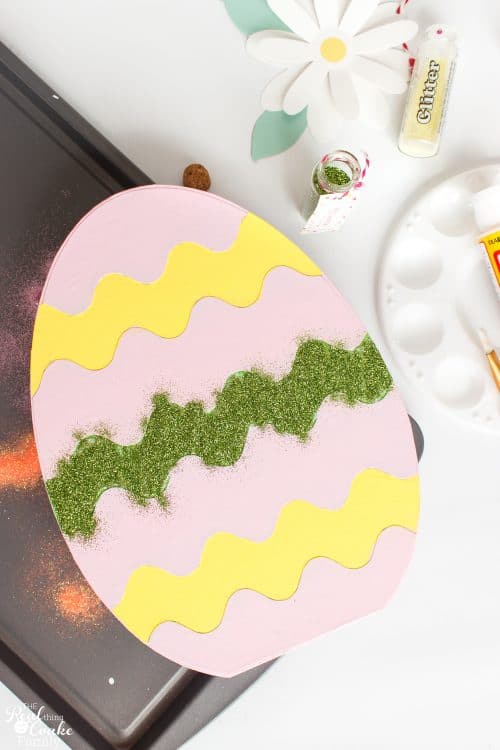
Sprinkle your glitter over the area in which you just added Mod Podge. Be generous with your glitter.
Gently press the glitter into the Mod Podge and spread it into spaces that have no glitter so that you get full coverage. 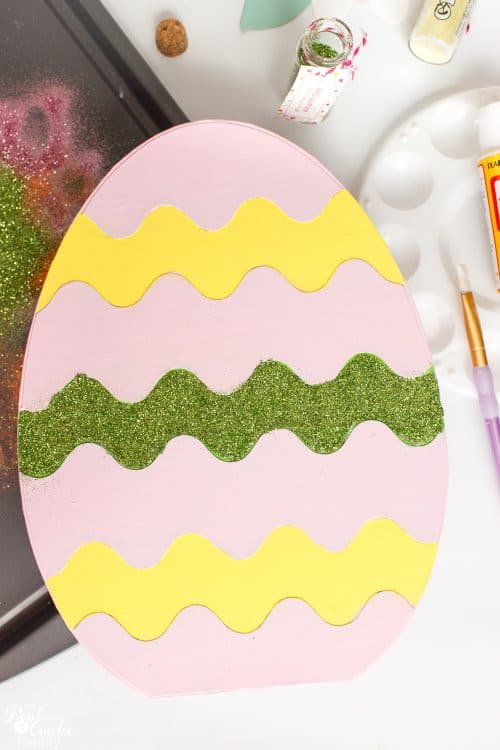
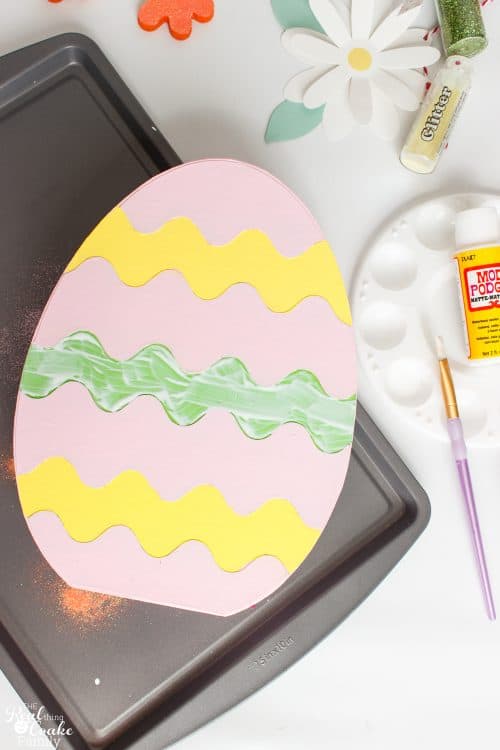
If you look above, you can see what it looks like when you are done with this process in one area. If you notice the first up ripple on the left, it has some glitter that got out of the ripple. I was able to wipe that away without ruining anything so that you don’t see it on the final product.
Continue this way. For this egg, I next used Mod Podge on the Yellow rickrack areas. Then wait for 1 hour before doing anything else. That lets the glitter and Mod Podge set so that when you add the next color of glitter it doesn’t get stuck where you don’t want it.
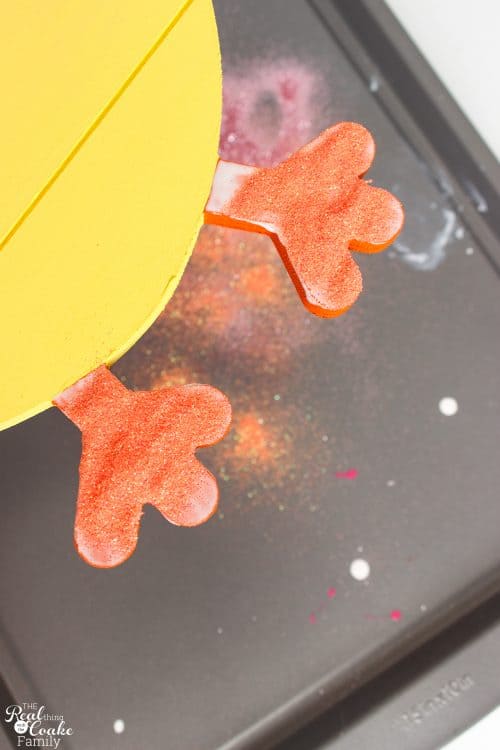
For the chick, start with the feet, beak, and tuft. Adding glitter to those areas and waiting one hour before doing the body of the chick.
When you get to the body of the chick, I recommend that you paint one section at a time with the Mod Podge. The body of the chick is pretty big and I found that the Mod Podge got too tacky before I would have been able to paint the whole thing and get glitter to all of it. Working one section at a time worked really well.
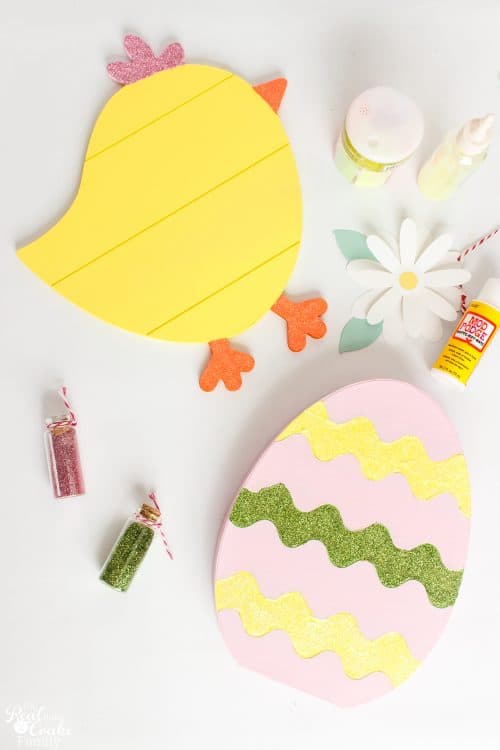
After the first round of glitter, this is what I had done on my decorations. As I’ve said already, wait one hour before doing any more glitter to prevent colors running together.
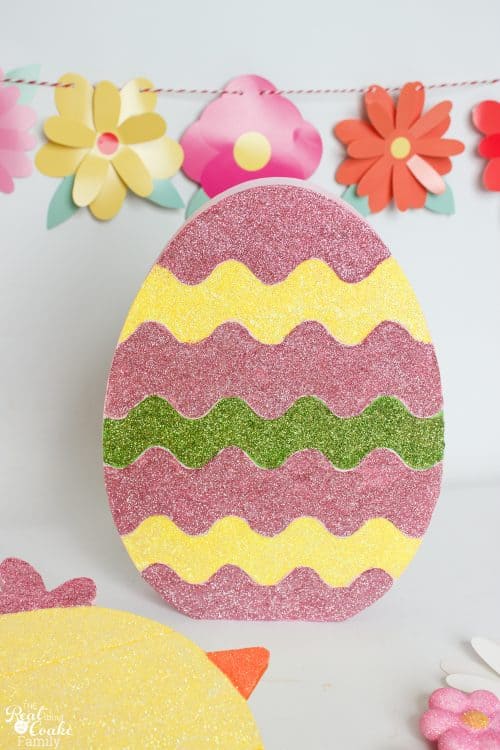
In the end, the egg came out so cute! The dollar spot glitter was more purple than pink, but I still love the fun look of this egg for our Easter decorations.
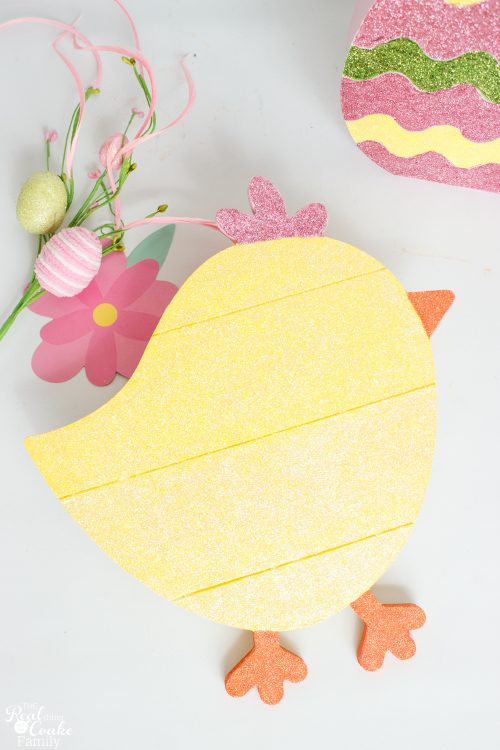
My favorite is the chick. She is so cute! The yellow glitter didn’t photograph all that well, but she looks adorable and sparkly on my mantle.

There you have it! 2 DIY Easter decorations for only $8. Because painting and crafting is like therapy to me, I got a fun therapy session for only $8 and two new cute additions to my Easter home decorations. Perfection!
Want more crafts and inspirations? Follow me on Facebook or Pinterest because I share lots more ideas over there as well. Fun!
Leave a Reply