Have you thought about ideas for little gifties for your family for Valentine’s Day? Or ideas for the kids Valentine’s class parties? I hadn’t until I was making some cute cookies for a blog post next week. I realized I could cute them up and individualize them and turn them into a fun treat for my family. If you have read my blog for a little while, you have probably figured out, I really love doing little, easy and inexpensive things to show my family how much I love them. Once I had the idea to cute-ify the cookies, I needed a way to present them to my family.
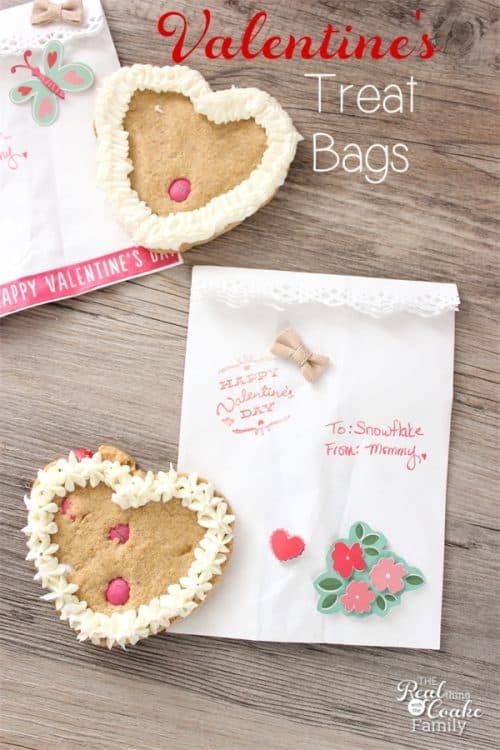
I came up with these darling Valentine’s Day treat bags. I had a little help with the bags as Target sent me the adorable American Craft supplies from their One Spot and sponsored this post. Of course, as always, I’m keeping it real and all opinions are 100% my own.
These treat bags were inexpensive and easy to make. I think they would work well to use them like I did as an addition to a little treat or giftie for your family. They would also be great for a Valentine’s Day class party.
I know my girls would have fun decorating treat bags for their friends. Of course because most of the supplies come from the Target One Spot, it keeps the cost of making cute treat bags very reasonable. We all know I love that! How about you?
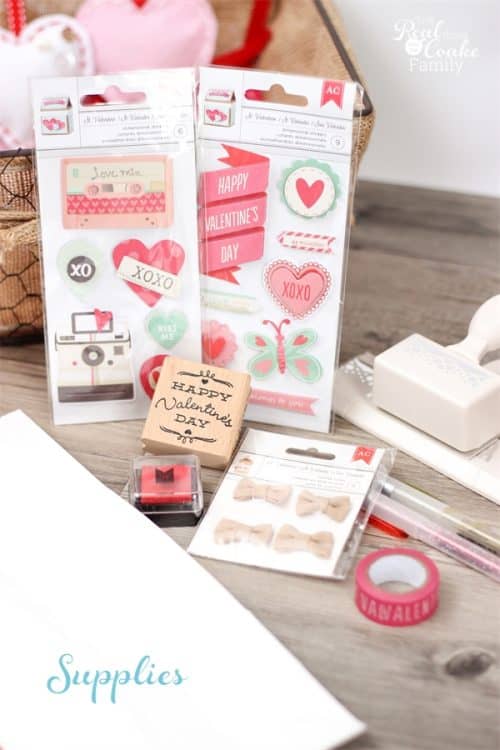
Supplies:
- Paper lunch bags
- Scissors
- Paper cutter (optional)
- Adhesive
- Paper Punch
- American Crafts stickers, washi tape, stamp, and ink pad
- American Crafts pens
You can vary your treat bags by selecting the American Crafts products you like. There are over 40 of them in the Target One Spot and they are all cute. They range from $1 to $3.
I’ll give you one hint about the American Crafts supplies from the One Spot…they sell out VERY quickly. So, head over to Target to get your supplies. I can wait. Hehe! No really, they do go fast. In fact, my store is already almost sold out. Boo!
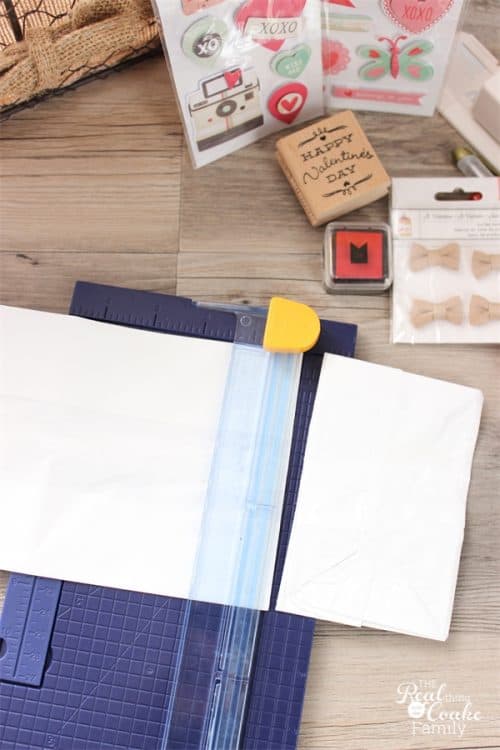
So, on to our fun craft. Start by cutting the bottom of your bag off. Just cut the part that is folded at the bottom.
I used a paper cutter because I’m not that good at cutting a straight line, but you can use scissors as well.
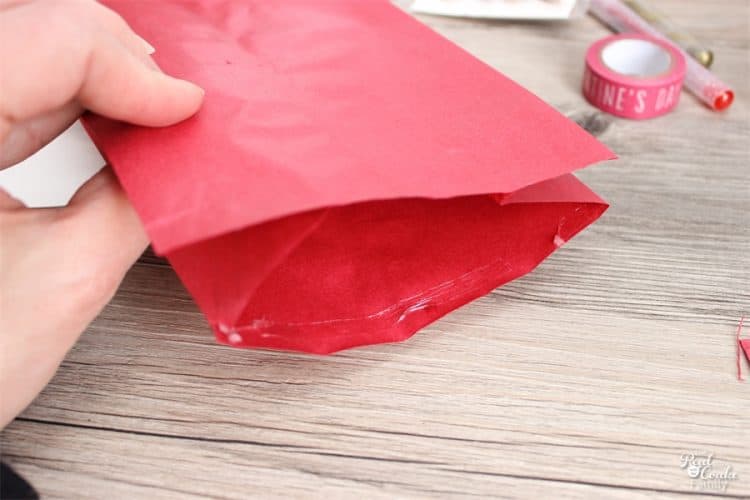
Now we need to close the bottom of the bag. First use your adhesive to close the two small sides of the bag on the top (this is already done in the picture above). Then run a line of adhesive along the full bottom of the bag. Press the bag closed.
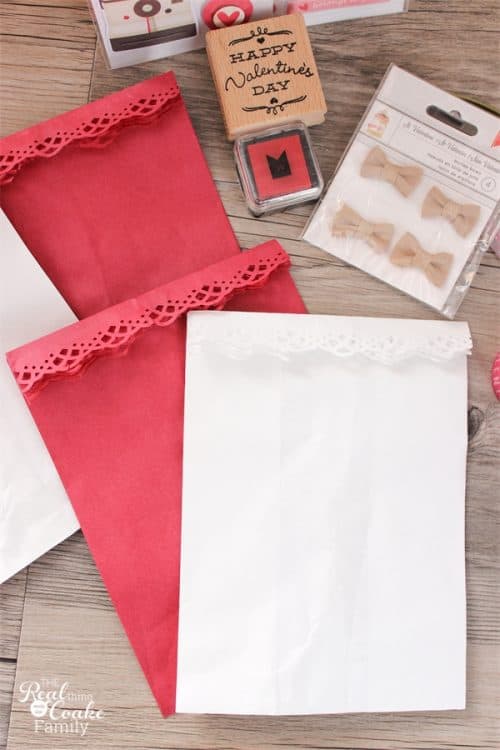
Use your paper punch to add embellishment to the top of the bag and fold the top of the bag over.
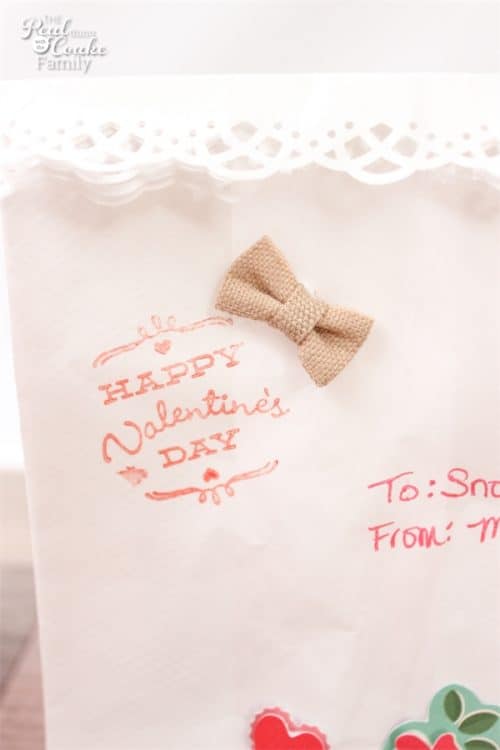
Now you, or your kids, get to have fun decorating the bags.
I LOVE these darling little burlap bows, so I made sure each bag had one of those. I varied my bags by using the stamp or the washi tape to say, “Happy Valentine’s Day.” Then just add stickers to the bag.
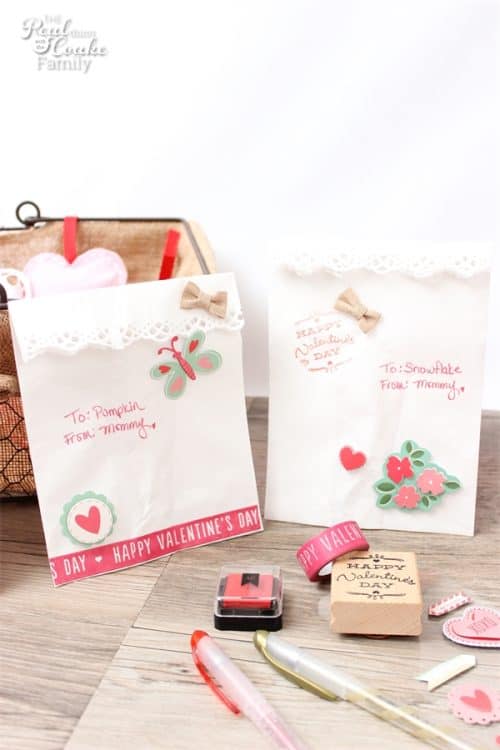
The final step in creating the treat bags is to add who it is for using the fun glitter pens. Glitter is always fun! 🙂
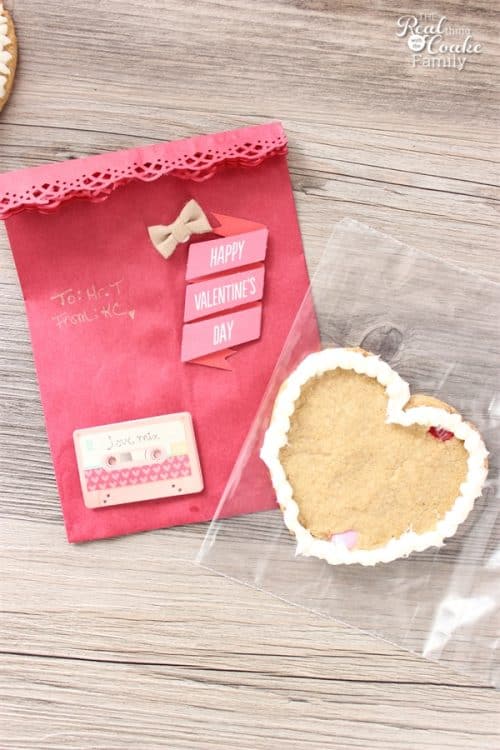
Lastly, you need to fill your bags.
I made these cookies (I’ll have the recipe and details for you next week) and used them as the treats for my family. I popped them in the freezer to harden the frosting and placed them in a zipper bag inside the treat bags.
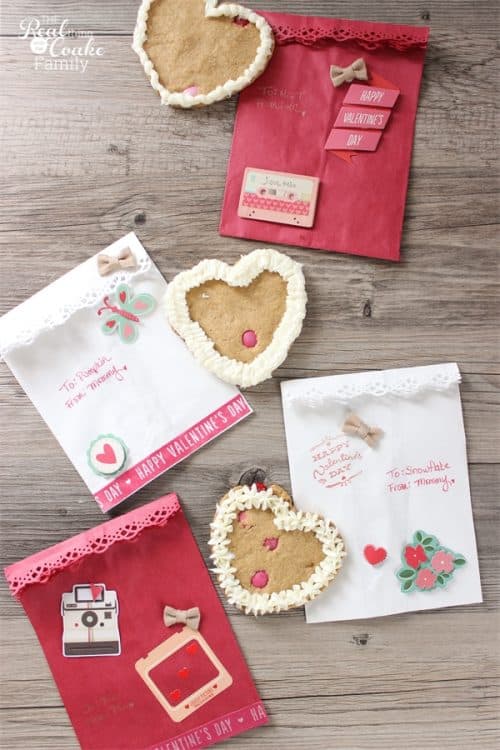
I made one bag for everyone…including me! Truthfully, I started making these bags as treat bags for my girls for Valentine’s parties, but as I got going I realized I really wanted to make them for my family instead. That is when I decided to make a bag for me too. I really wanted to use the Polaroid/Instagram looking sticker since I LOVE Instagram, so making a bag for me was a great excuse. 😉
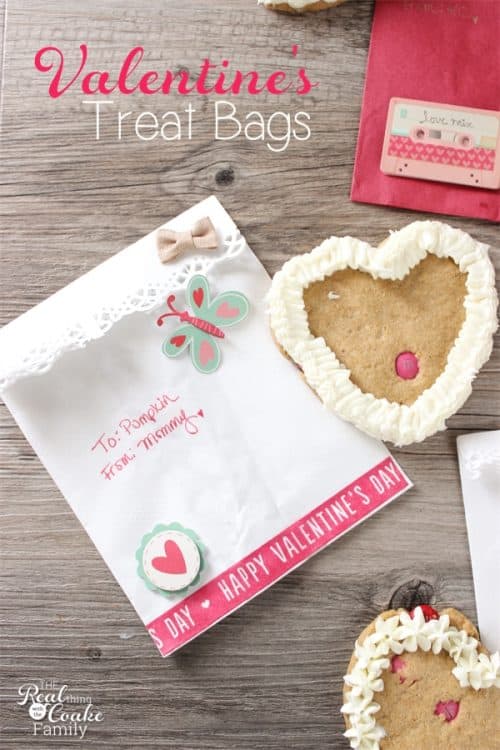
My family loved their treat bags and the treat in them!
I really loving making simple things like this for my family. It doesn’t take much time or money but they feel special and it gives me a fun creative outlet. How about you? Do you like finding simple and inexpensive ways to make little treats for your family.
More Valentine’s Fun:

These Valentine’s Day treat bags are so cute, KC. I have a lot of the same items from the Target Dollar Spot as you! I love that area….I can’t believe the quality and the cuteness for the price. Pinning these pretty little bags.
These bags are so sweet! What daring products and what neat way to use them!
Thanks so much! I love that those darling products don’t break the bank. 🙂
These are so cute! Pinning!
Thanks! Enjoy!
VERY cute! I’d love one of those cookies too 😀
Thanks, Amy! Yes…the cookies are gone now. Guess I will need to make more for Valentine’s Day. The recipe for them is in another post if you want to make some as well. (https://realcreativerealorganized.com/2015/02/valentines-day-chocolate-chip-cookies.html) Happy Valentine’s Day!