Do you like to make DIY Christmas Decorations? I do! I’m going to guess that if you have been to my blog before, you probably knew that. 😉 I’ve got some cute Christmas decorations to show you today and of course I’ve got you covered with a tutorial so you can make your own. Yippee!
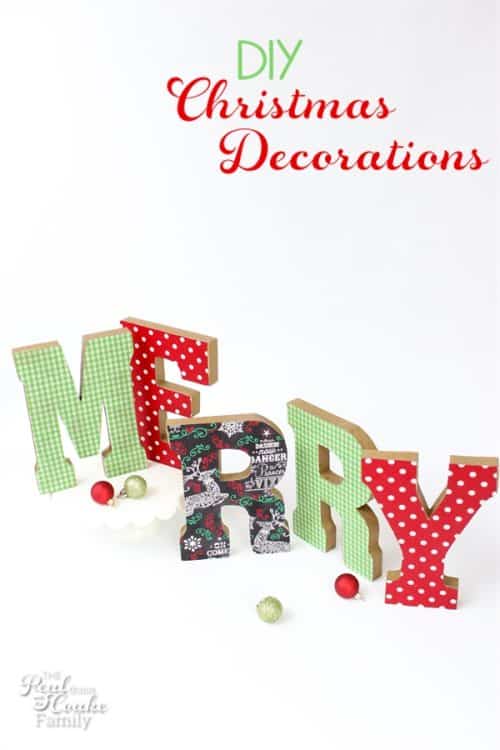
I really enjoyed when I made the Summer DIY home decor letters earlier this year. I thought they were fun to make and a cute touch on my fireplace mantel. I knew I wanted to make some this year for Christmas. I had been planning it since summer. I totally wanted to make the letters to spell out Joy. When I went shopping for my supplies I guess other people must have been planning the same thing. I couldn’t find a ‘Y’ in the paper mache letters. In the wood letters I ended up using, I couldn’t find a ‘J’. It just wasn’t meant to be. Oh boo! However, I did end up getting to make my JOY letters, which I will show you on Friday. I’ll tell you about that later this week. Since that solution hadn’t presented itself yet, I went ahead and got the letters to spell out MERRY and got to work. Let me show you what I did so you can make your own DIY Christmas decorations (that spell out whatever you fancy).
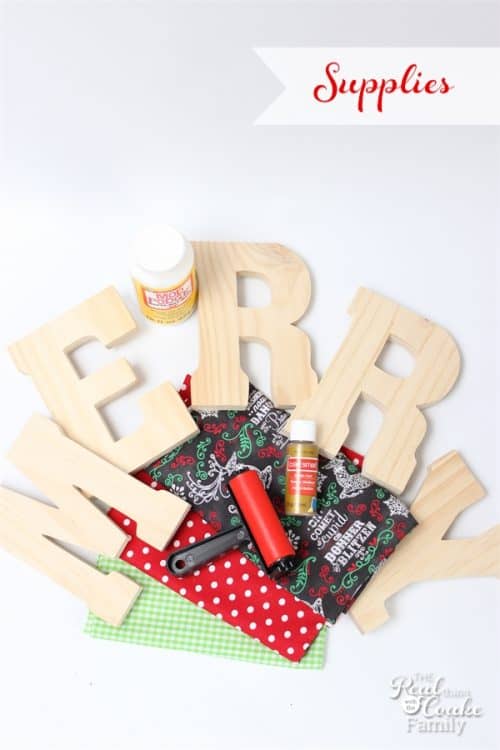
Supplies:
- Wood Letters (or Paper mache)
- Fabric
- Mod Podge
- Paintbrush
- Pencil
- Scissors
- Gold Paint
- Mod Podge Brayer
 (affiliate link)
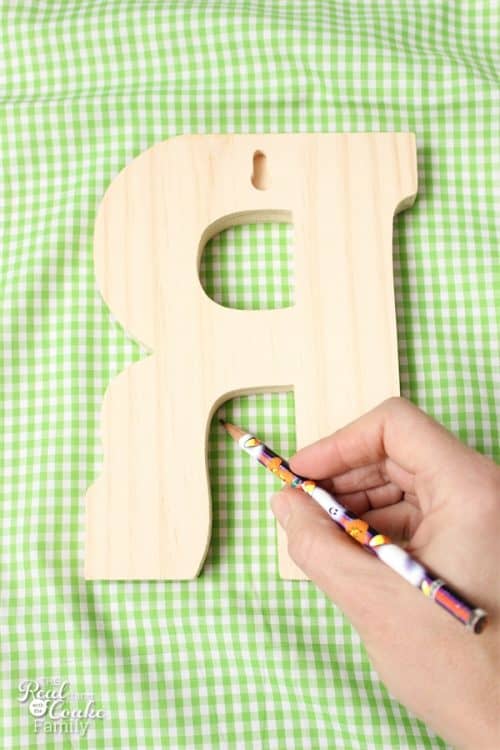
You will need to stiffen your fabric in order to make it work best for this DIY. This time I decided to save myself a little Mod Podge and fabric by tracing the letters onto the fabric and only stiffening what I needed not extra like I did with the summer letters. Make sure you trace the reverse side of the letter onto the wrong (or back) side of the fabric.
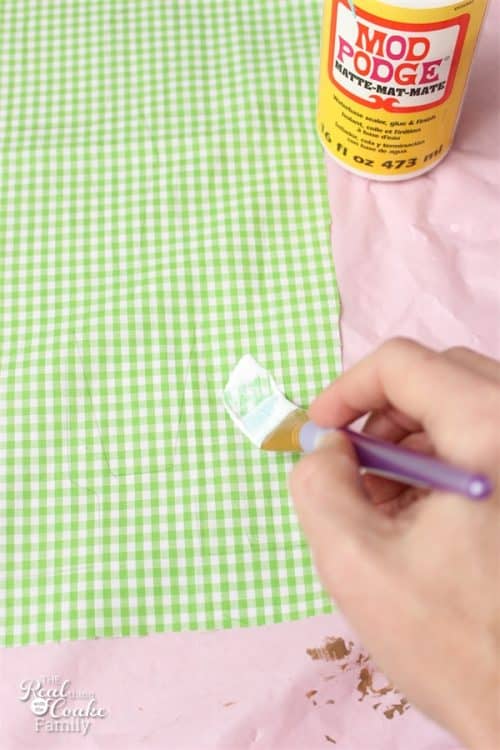
Stiffen your fabric by adding a layer of Mod Podge to the fabric and allowing it to dry. This will allow you to cut the fabric without it fraying as well as make the fabric easier to Mod Podge to the wood letters without getting wrinkled, etc.
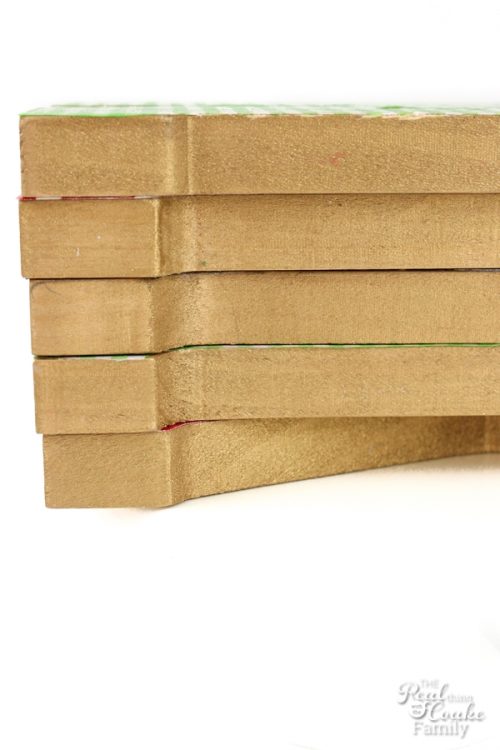
While you wait for the fabric to dry, paint the sides of your letters. You could try to Mod Podge fabric to the sides, but that requires WAY more patience than I have, so I go for paint. In this case, I used gold paint. I’m really digging small bits of gold accents lately. You won’t need to paint the top of your letters, just the sides.
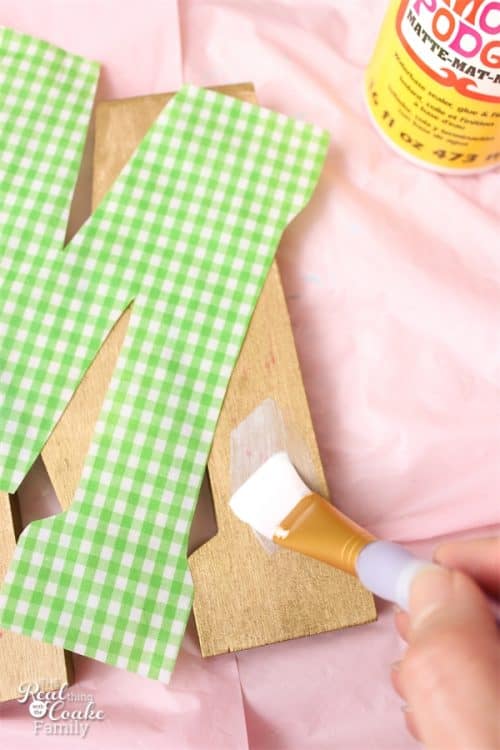
Cut your letter out of your stiffened fabric. Apply a coat of Mod Podge to your wood letter and carefully line the fabric up on the letter. You may find it easiest to line the fabric up and lift up one portion at a time to Mod Podge underneath each smaller section of fabric.
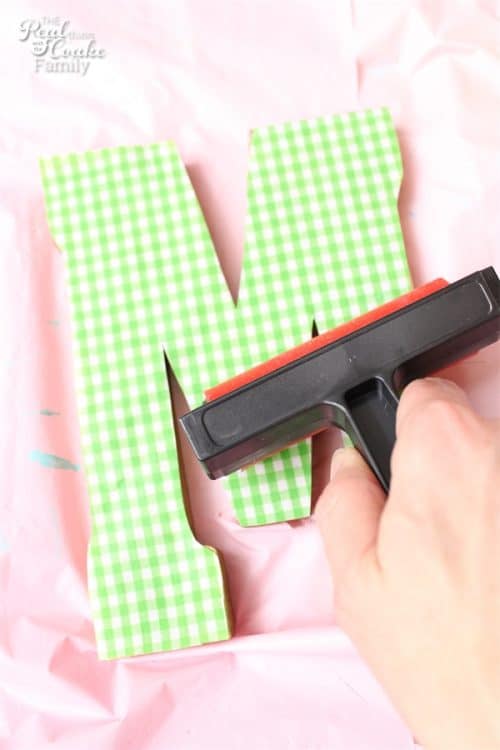
Use the Mod Podge Brayer (affiliate link)![]() , or a pizza roller like I used to, to smooth the fabric flat and remove any bubbles. As a side note, I had always coveted the Mod Podge Brayer, but just thought it was better not to spend the money on it and use my pizza roller instead. I finally splurged and bought the brayer. I LOVE it! It works really well. It works much better than my Pampered Chef pizza roller. Now I don’t have to worry about Mod Podge on our Pizza either. lol! 😉
, or a pizza roller like I used to, to smooth the fabric flat and remove any bubbles. As a side note, I had always coveted the Mod Podge Brayer, but just thought it was better not to spend the money on it and use my pizza roller instead. I finally splurged and bought the brayer. I LOVE it! It works really well. It works much better than my Pampered Chef pizza roller. Now I don’t have to worry about Mod Podge on our Pizza either. lol! 😉
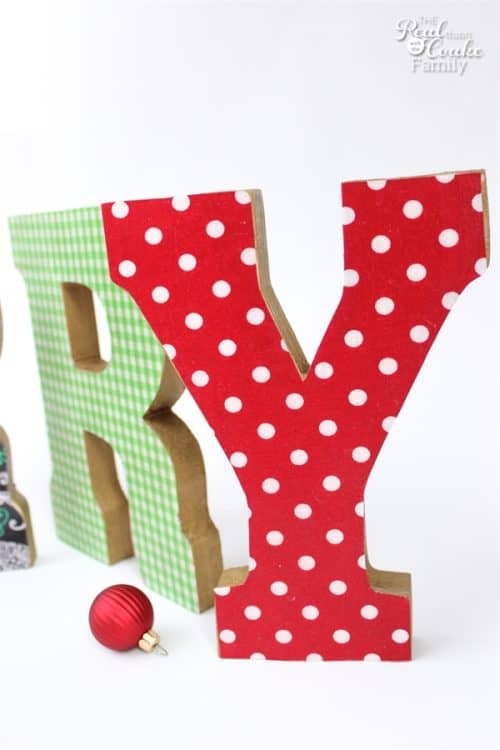
Give the Mod Podge 15 minutes to dry. Apply a coat of Mod Podge on top of the fabric. This step is optional, but will help seal your fabric to your wood letters. You are already done!
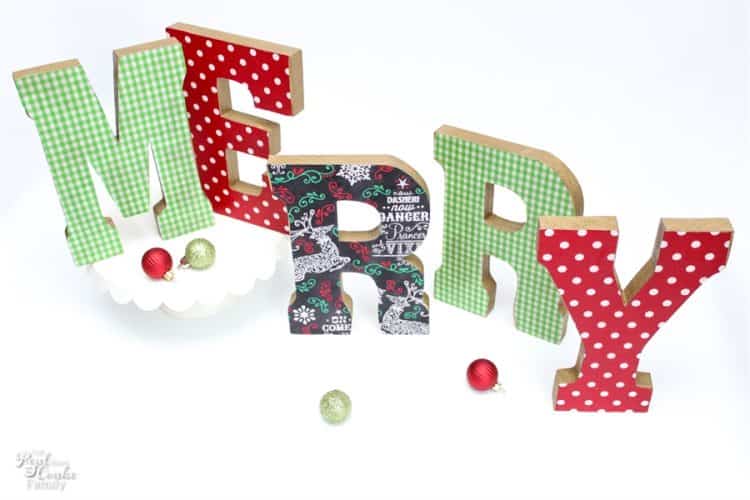
Now just enjoy your cuteness! I LOVE the way these turned out. Pumpkin (my youngest daughter) says she thinks the middle R looks funny, but it is the same fabric with which I made the Christmas decorative pillows and Utensil stockings, so it goes if you look around my home. Of course, the ‘MR’ and ‘EY’ match the fabric from which I made my DIY Christmas Ornaments, so it hopefully all ties together in person.
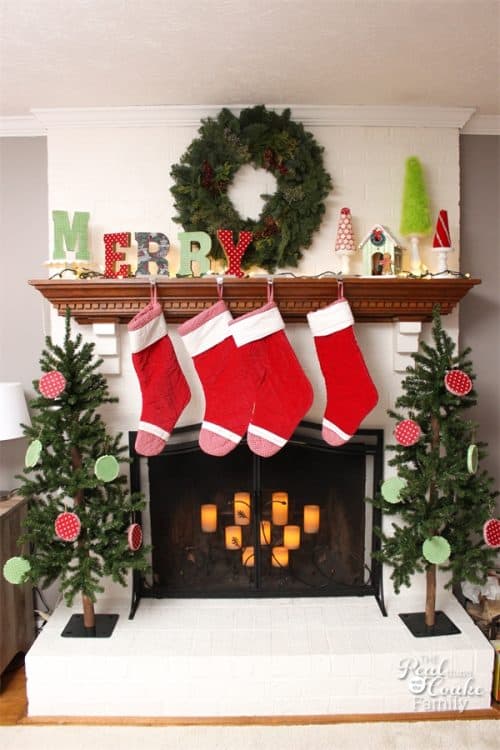
I thought you might like to see my mantel with the Merry letters on it. I also used the DIY Christmas ornaments as well as the little trees I made a few years ago and the DIY gingerbread house I made last year. I know it isn’t a fancy mantel, but it suits me and my style. I’m not a fancy person. I love the fun red and green colors. The stockings have more of the green on them, but I turned them around so I’m not giving out my girls real names.
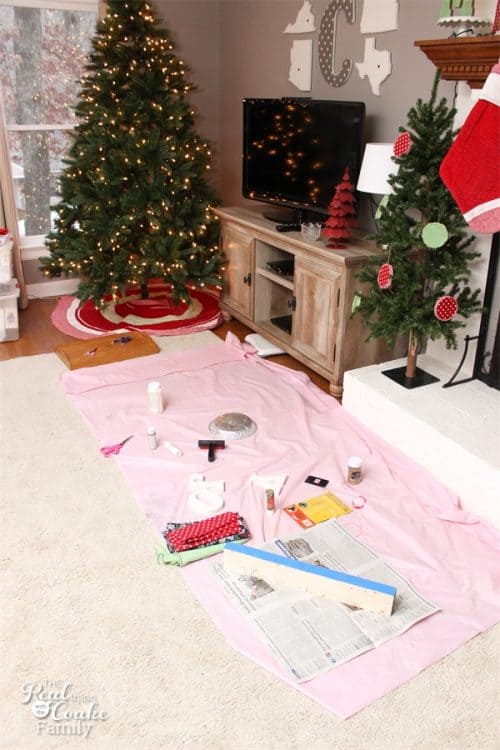
Now since, I keep it real, this is my craft studio. AKA my living room. This week I was in the middle of three projects at one time. At this point, I was almost done with two of them, so it was more tidy than when I’m normally working, but I thought you might like to see how I have no craft room. I just put down a plastic tablecloth and use whatever surface is available, usually the living room because then I might be able to watch something on TV while I work.

Rather then end with a picture of my “craft room”, let’s take one last look at the Merry cuteness.
What DIY Christmas decorations have you made this year? Feel free to show and tell. You an upload a picture to my blog facebook page and share with me and those that follow my page. I’d love to see!
More Christmas fun:

Cute idea for xmas letters for my mantle
Do you think it will work with scrapbook paper? I might make some for all of the seasons…I have paper for all seasons.
Such a cute idea. Thanks for sharing the tutorial.
Thanks so much!