Don’t you just love good wine bottle crafts? I think they are the best. First, you have to start with emptying the wine bottles…that is such hard work. Then you get to have some fun crafting and in the end, you have something pretty to use or look at. What’s not to love?
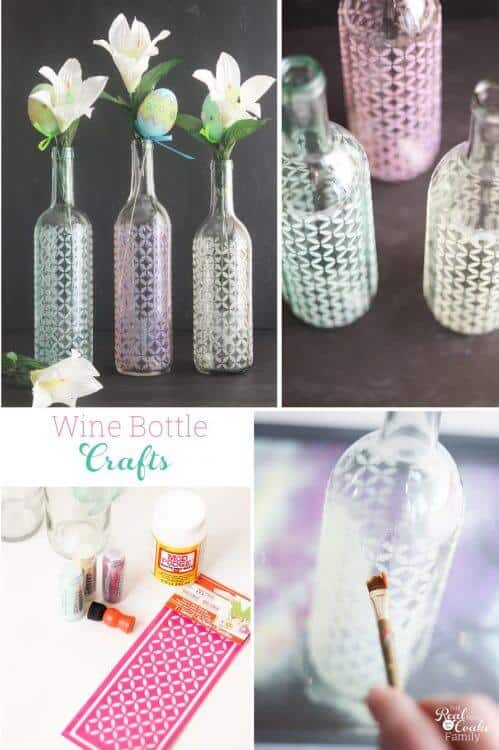
You may remember the fun I’ve had with wine bottle crafts on other days. So awesome and so pretty! Today, I decided to give another techinque a try to get a totally different look than those I’ve done in the past. Now, I’ve got a tutorial for you on how to make some pretty, glittery vases from wine bottles. It is an easy wine bottle craft with sparkly, fun results.
I was given the stencil and pouncer by Plaid as I offered to write this post for Amy of Mod Podge Rocks. She has a fantastic blog and got to work with Plaid crafts to create her own craft line. She asked a bunch of bloggers to help get the word out about her new line. I was more than happy to help! It is Mod Podge, glitter, and stencils! Of course, even though I got a few products for free all the opinions and experiences are 100% my own.
Wine Bottle Crafts
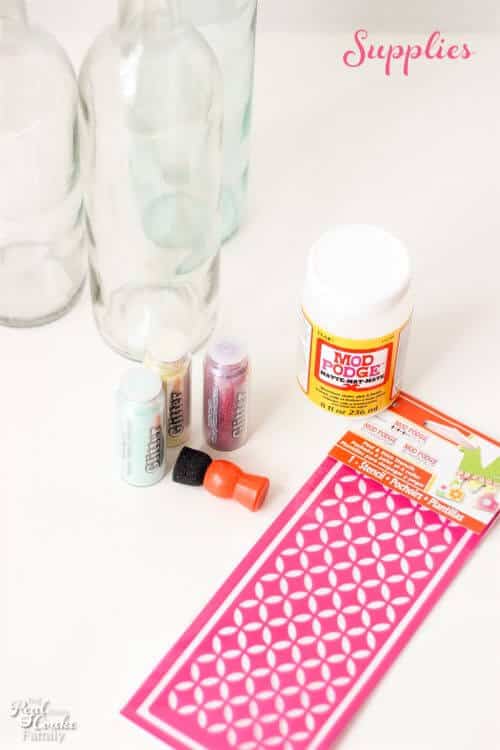
Supplies:
- Empty wine bottles (affiliate link)
- Glitter
- Mod Podge
- Mod Podge Rocks Stencil (affiliate link)
- Mod Podge Pouncer
- Old Cookie Sheet
Step 1: Clean and apply stencil
You will want to clean the labels off your wine bottles. After you have done that, just prep them by swabbing them with some rubbing alcohol.
Do a little pre-planning to figure out which way your stencil will best fit on your bottle.
I figured out that for one of my wine bottles the stencil was a perfect fit three times around the bottle. The other two bottles, I had to leave some room between each in order to make it around the bottle three times.
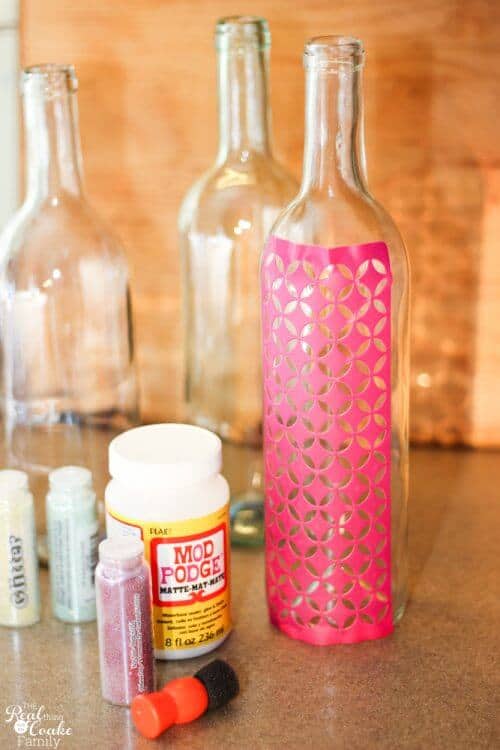
Place your stencil on the wine bottle in the direction you want to stencil.
Step 2: Add Mod Podge
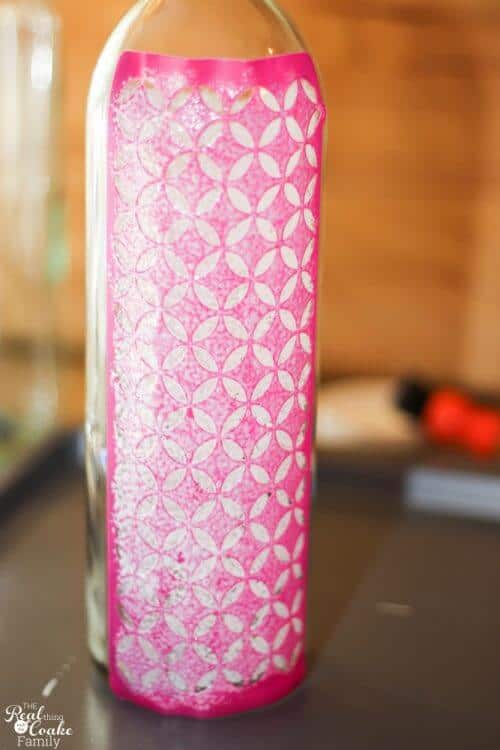
Carefully, use your pouncer to add Mod Podge to the bottle over the stencil.
Make sure you don’t accidentally get Mod Podge outside of the stencil or you will end up with glitter in those spots as well.
Step 3: Remove stencil
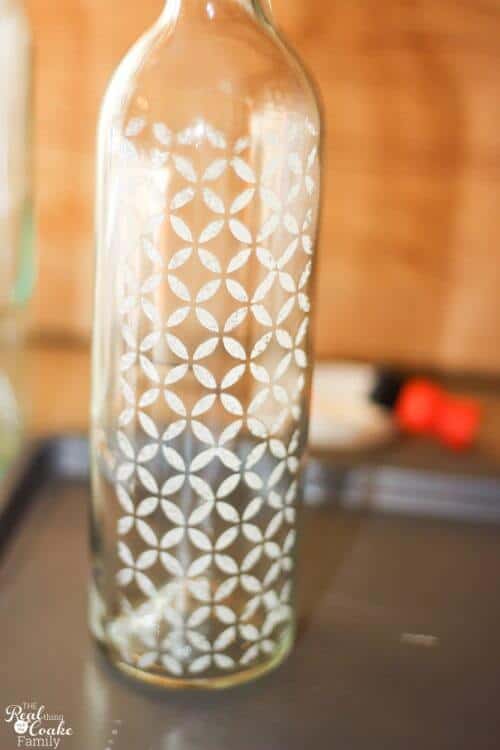 Remove the stencil from your wine bottle.
Step 4: Add glitter
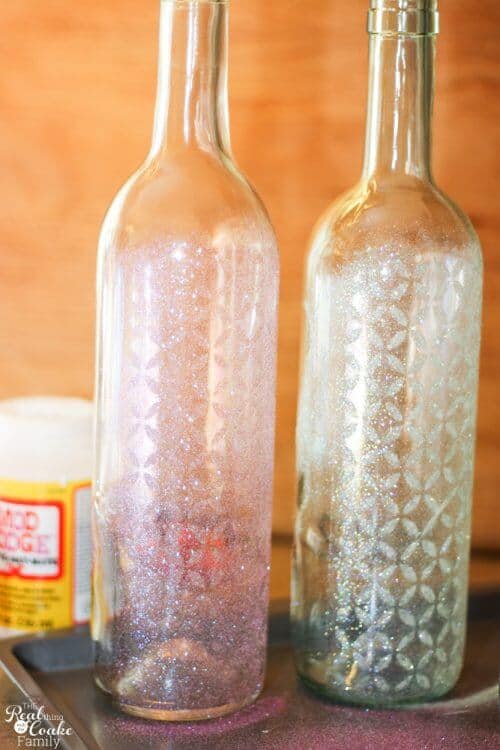
Sprinkle glitter over the Mod Podge’d area of your bottle. (I do this over an old cookie sheet. It catches all the glitter and reduces my glittery mess. Love ♥!)
Set your bottle aside to dry for 24 hours.
Wash your stencil before you go to the next bottle. Make sure to pat it dry before placing it on the next bottle.
Step 5: Wait and repeat steps 2,3, & 4
If you are repeating the stencil around your bottle, wait 24 hours after completing the first stencil on your bottle to allow it to completely dry. Then complete the first steps again at the next spot around your bottle.
The waiting time is the only thing that is a little bit of a pain about this craft. You have quite a bit of waiting time if you do three passes on your bottles like I did. I didn’t want to add the stencil to the bottle with all the loose glitter on it, so I waited until 24 hours later and the following step to repeat my stenciling. It ended up being a 3-day project. It was a very easy 3-day project, but still 3 days.
Step 5: Remove excess glitter
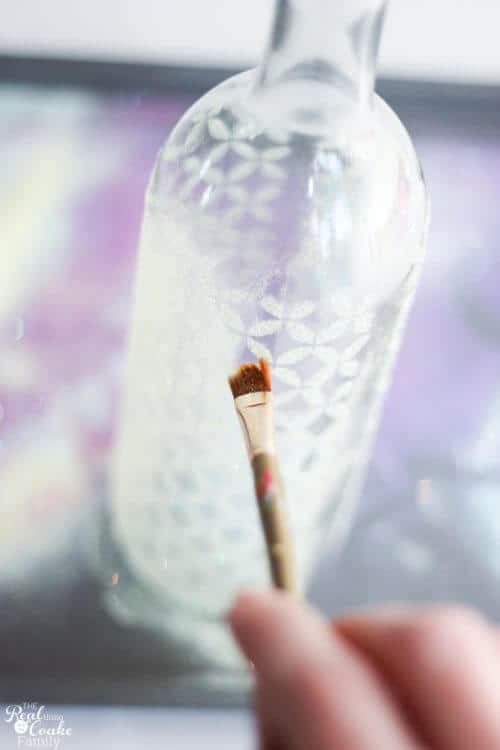
After 24 hours of drying, take a paint brush and gently remove the excess glitter from your bottle.
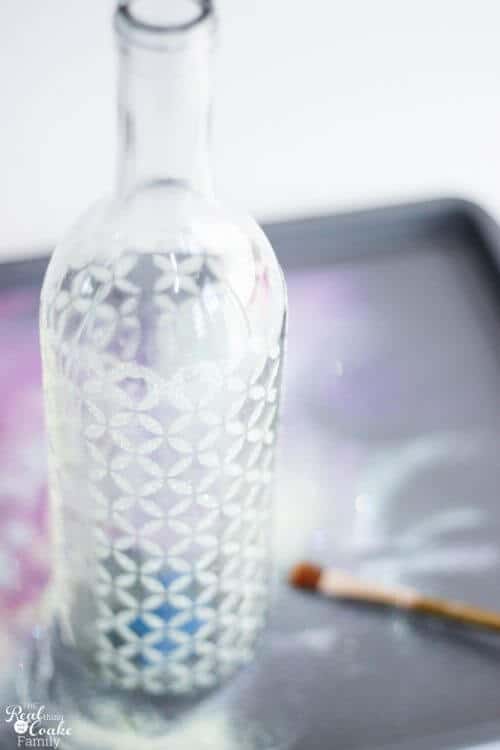
All done! If you are like me, all that waiting was worth it. I think these stencils are just gorgeous. I love the extra sparkle the glitter adds.
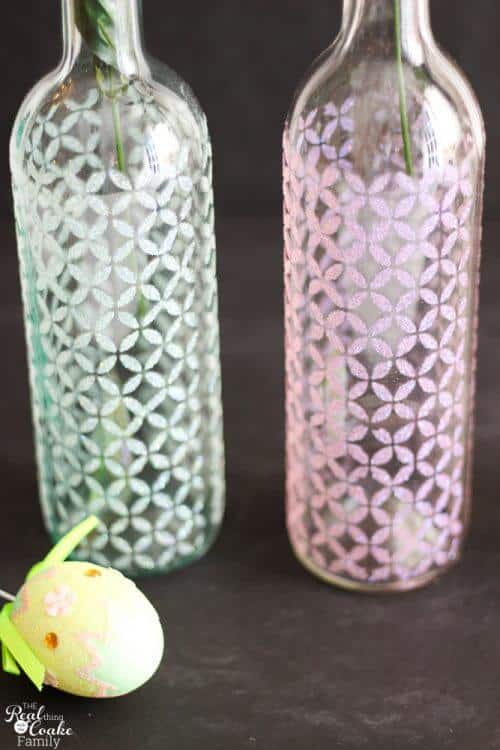
I really loved these new stencils (affiliate link). They are well made and were very easy to work with and clean up. I’ve worked with A LOT of stencils in my day and I really liked these a lot and would use them again {and you will probably see this stencil again in future projects 😉 }.
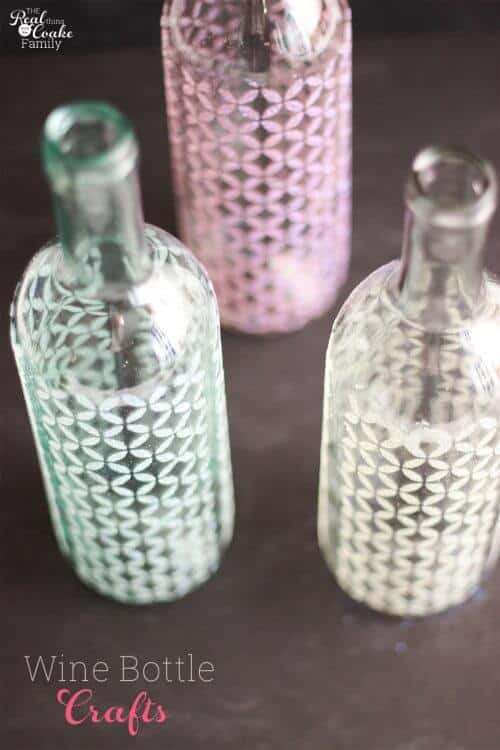
While my bottles turned out fantastic, I did learn that if you add the Mod Podge to the stencil and then wait before adding the glitter, say if you are photographing things as you go, it will dry out and the glitter will have a harder time adhering. For most of you this won’t be a problem, but once you add the Mod Podge, it is not a good time to take a call from your BFF and talk a while. Make sure to get the glitter on as soon as you take the stencil off, so you will get the best look from the glitter and stencil.
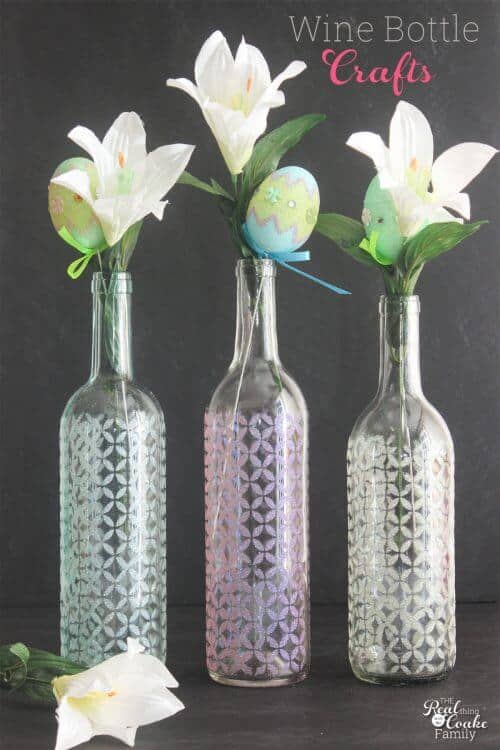
Add flowers and/or any other decorations to your new vases.

Don’t they look so pretty? I’m super happy with my latest wine bottle craft.
What is your favorite wine bottle craft? Leave me a comment below and don’t forget to share this fun craft with your friends on Facebook or Pinterest.
Follow me on Instagram for even more great ideas and crafts.

I love these – thank you! And what I really notice is your amazing photography of glass which is really HARD! xo
Thank you for stopping by, Amy! I really appreciate it. I really had fun with your stencils and really enjoyed working with them. Thanks also for the comment about the photography. That means a ton to me! 🙂 Have a great night!
Absolutely pinnable! I’m adding this to my list of things to do this spring! #SITSBlogging
Thank you! It was an easy and pretty craft. 🙂
I absolutely love this pattern. Just bought ribbon with the same design. Your bottles turned out so pretty!
Thanks! I bet that is a pretty ribbon. I really like this pattern as well.
This is an awesome idea! I always love wine bottle crafts, but the new Mod Podge stencils never came to mind. Thanks for sharing! Stopping by from the Link Party Palooza:)
Thanks and you are welcome! Have fun and thanks for stopping by!
This looks so fun! What a cute way to decorate using bottles. Thanks for an easy tutorial too.
Thanks! They sure look cute on my mantel! You are welcome for the tutorial…glad it is easy to follow. 🙂
Wow! Love this!!!! And it looks pretty easy. I love wine bottle art. I have a whole Pinterest board of wine bottle art, so I’m definitely adding this post!
Linking up from the SitsGirls linkup. Nice to meet you!
Cheers,
Shana
Thanks so much! I have a board with wine bottle and wine cork fun, too! So many pretty and fun ideas.
I love the pattern that you used on these bottles. So pretty! Pinning this now!
Thank you! They were so fun to make and look great on my mantel. Have fun if you decided to make some!
I do love these designs. I share these ideas on the pinterest. I belive my pinterest fans will love it so much.
Thank you! I was angered to see that you have stolen another of my wine bottle crafts and are marketing that it is from your site. Please remove that pin from your pinterest board and use proper attribution to my site. Thank you.
How pretty is that! Mod Podge makes the coolest stuff. We’d love for you to share this at our party the Creative Muster. Robin | Fluster Buster
Thanks so much!
Super cute idea! Would look great on a Spring tablescape. Visiting from Our Mini Linky Party.
Thanks!
You didn’t use any sealant?
Nope, I didn’t. They have lasted just fine over a couple of years now. 🙂 I wrap them in tissue paper when I pack them away until next year and they do just fine.