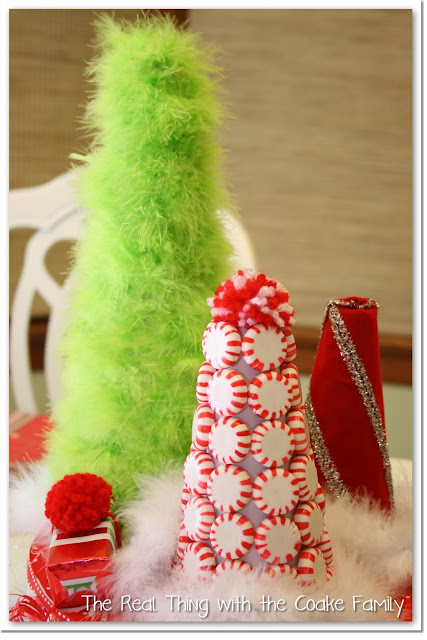
I’m so excited to show you some Table Decorating Ideas today. Last year, both of my girls told me that they wanted to help design our Christmas Centerpiece for this year. I was all too happy to oblige them. We started looking for ideas in September and each contributed a different design element to the centerpiece. We settled on the Christmas Centerpiece you see below. What do you think?
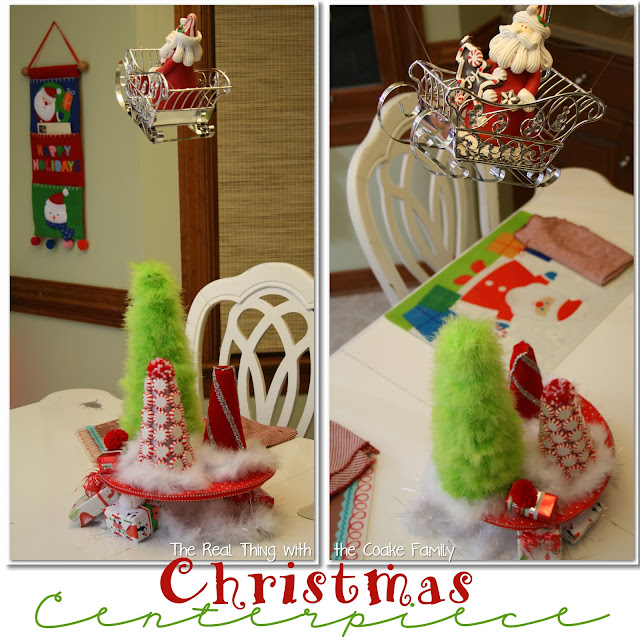
Didn’t they come up with a cute idea? Of course, I helped with the ideas as well. The concept of the centerpiece is to have trees with presents under them and Santa on his sleigh flying away after delivering the presents.
When it came down to it, I am sure you can guess between the 41 year old, 10 year old, and 6 year old, who did all the work of the actual making the centerpiece….Yeah…that would be me. That’s OK, I thought it was fun to design it together and I enjoyed putting it together. Let me show you how I made this centerpiece (that the three of us girls designed).
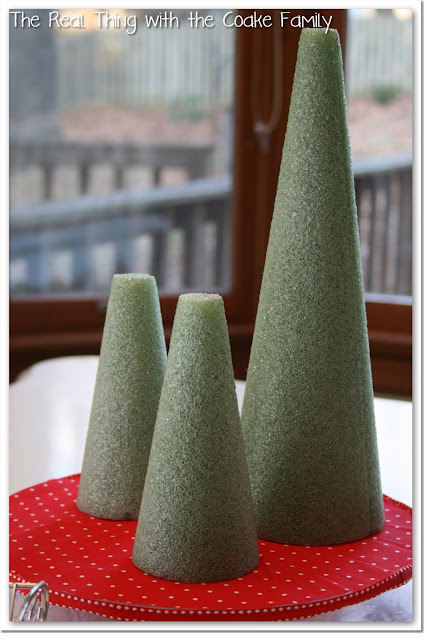 I started by roughly cutting out a circle of the polka dot fabric to cover my cake stand. We wanted to use the stand so that we would have a way to put presents under the trees. The cake stand is glass and I didn’t want to be able to see through it, so I used my scrapbook adhesive
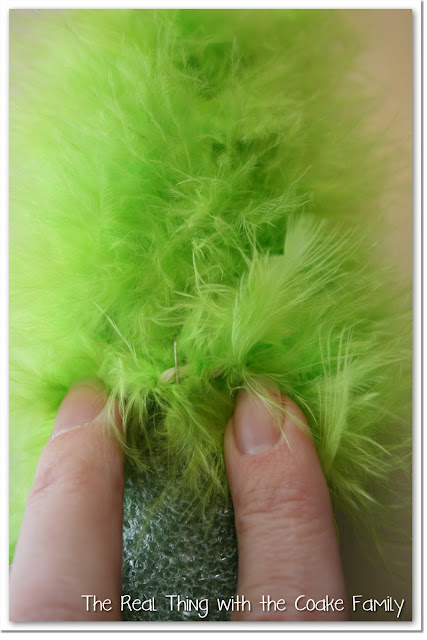
Snowflake really wanted to cover one tree with a fuzzy yarn. When I looked at the price and how much yarn I would need to cover a ‘tree’ of that size, I knew it wasn’t going to work. I kept thinking and thinking to come up with something inexpensive with which to cover that tallest tree that would look like a fuzzy yarn. I realized the same feather boa that I used on our Halloween centerpiece, in a different color, would work really well.
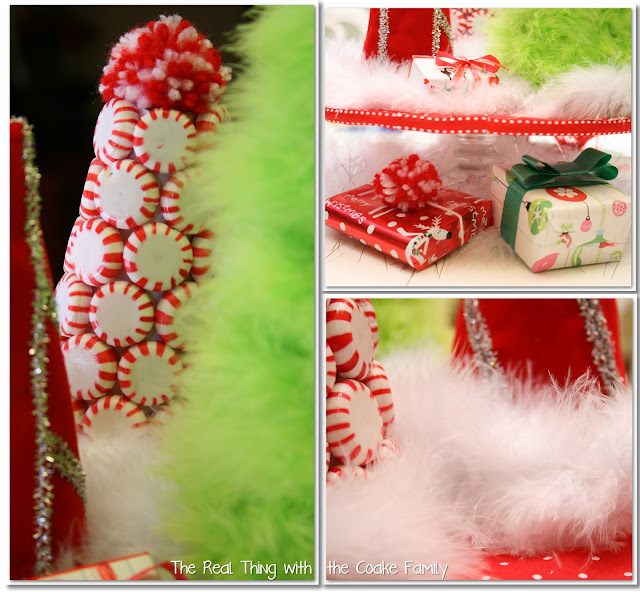
I used two of the feather boa’s from the children’s craft area at Michael’s. They are $1.99 each. I couldn’t figure out how I was going to get them stick to the foam without it showing. I am sure I could have gone back to the store and gotten some type of floral picks, but I didn’t want to spend more money and I didn’t want to go back out. I decided to use my stapler…and it worked! I just stapled the boa in places where you could kind of see the cording. It is feathery enough that when you are done, the feathers cover over the staples and you can’t see the staples. Yippee for easy and cheap solutions!
I love the fuzzy, feathery texture of the feather boa tree. It is fun!
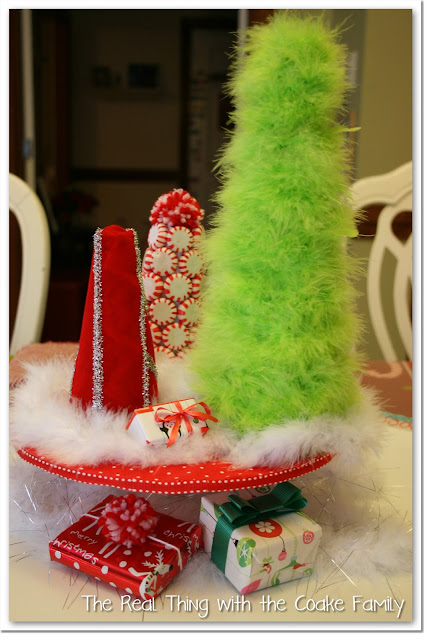
To make the candy ‘tree,’ I started by tracing it and covering the foam with a regular white sheet of paper. I didn’t want the foam showing through. Probably red would have looked better, but I didn’t think of that until later. Then it was just gluing the candies on, making them fit. I used E6000 (affiliate link) because I don’t like hot glue.
Ultimately, they didn’t fit very well. The white feather boa at the bottom covers that up nicely. I started at the top and worked my way down. When I got to the bottom, I had some that hung over the edge and some that still had areas that needed to be covered, but not enough room for a full candy. Uuugghh! I just decided to keep it simple and use the white feather boa to look like ‘snow’ and cover up the imperfections. I wonder if I did this again, if it might be better to start at the bottom and work my way up, that way I could cover the imperfections with the pom pom at the top. Do people really cut the candies somehow to get it to be all perfect like some trees I’ve seen? If so, they have way more patience then me.
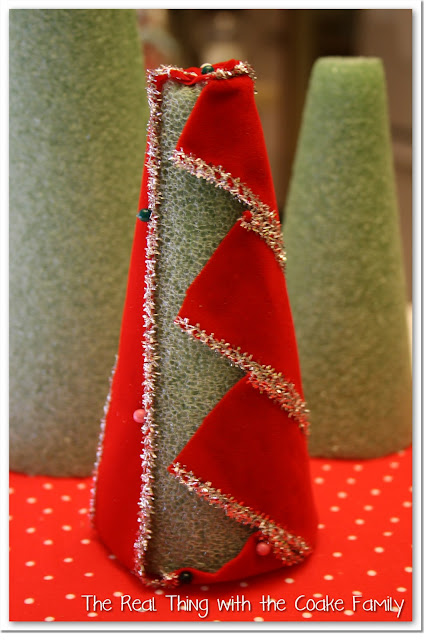
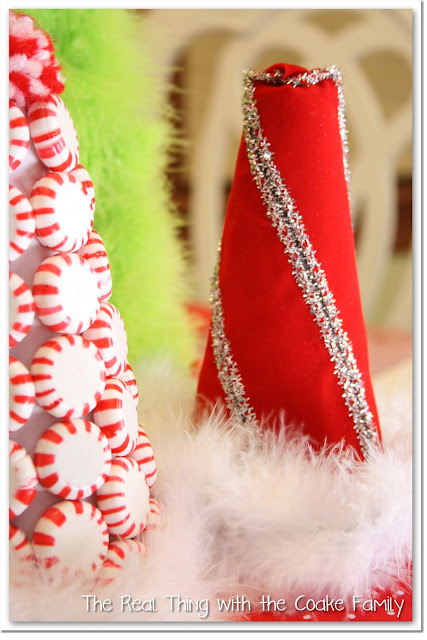
We also wanted one ‘tree’ covered in ribbon. This was the hardest tree of all. I tried so many different ways to cover the tree in ribbon and have all the ribbons go the same direction. I guess because of the angles of the ‘tree,’ I just couldn’t get it to work out ‘perfect.’ You can see above how I ended up doing it. I started with a ribbon on an angle and matched up the other ribbons with it. Which leaves the last ribbon to cover what you see above. That last ribbon is almost straight. Again, I used E6000 glue because I didn’t have any hot glue sticks and I really don’t like working with hot glue. I used the pins to hold the ribbon in place while the E6000 was drying. Once it was dry, I pulled the pins out.
The ‘pretty’ side of the ribbon tree.
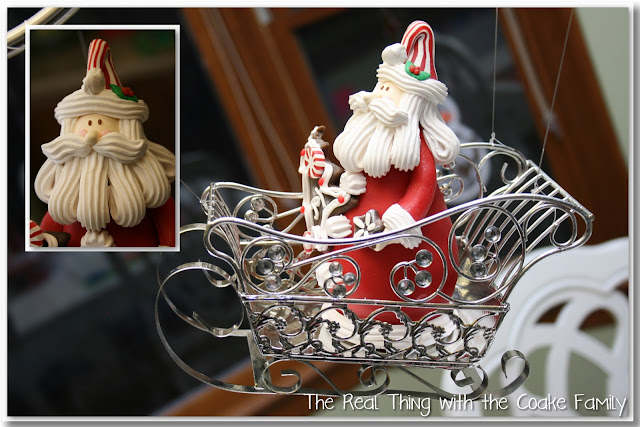
Don’t forget about Santa! Santa’s beautiful sleigh came from Hobby Lobby with a coupon, of course! This was a design element that Pumpkin really wanted. I hung the sleigh from the chandelier above our table using fishing line so it wouldn’t be super obvious and it might look like Santa was flying off.
Yes, Santa is holding a large cookie that says “Joy.” My Mother-in-Law gave me this Santa years ago. Gotta use what you’ve got, right? Maybe that is the cookie we left for him under the trees….yeah we will go with that story. hehe!
The last detail was to find some small boxes around the house, wrap them and place them under the trees. We used another feather boa under the cake stand. This feather boa has white feathers and silver ribbon (I’m not sure what to call it), to add a little bit of sparkle under the cake stand. Cute, cute, cute! I love the little presents.
There you have it….our Christmas Centerpiece. Designed by all the girls in our family!
What do you think? I think my girls and I came up with some very cute and creative ideas! I’m hoping this becomes a family tradition, but you certainly never know what kids will go for from one year to the next.

I love the flying santa!
Thanks, Dara! We like him, too. It makes the whole thing fun.
KC
Adorable! My sweet girl would love to come craft with you and yours 🙂
Thanks, Kristine! You and she (and the whole family) are welcome anytime. I still haven’t mailed the little gift for her yet. I’m guessing I can get it in the mail on Wednesday…so it may get there after Christmas. Sorry it got delayed.
Take care,
KC
My kids love to help me decorate the table – one of my favorite things about the holidays. I LOVE your flying santa and those trees – oh what fun!
That is so neat that your kids like to help decorate as well. I’m hoping mine will want to again next year. Thank…the Santa was my youngest idea. He sure adds to the fun!
KC
Very cute! Love all the feathers you used! I made one of those peppermint trees last year and I think that I started at the bottom. I loved your solution on wrapping it in a boa though, the whole thing looks so whimsical.
Thanks! The kids love to blow on the feathers…it looks neat and drives me nuts! ;o
If I ever make another peppermint tree, I will definitely try starting at the bottom. My girls are really proud of their ideas!
KC
What a cute idea! Your trees came out very cute! I love the concept of Santa flying away!
Thank you! We like how it came out as well. My 6 year old is really proud of her idea of Santa flying away! Thanks for your kind comments.
KC
What a sweet idea. Your girls must love looking at it and knowing they helped create it.
Ruth
Thank you! They sure do enjoy looking. They especially like showing the centerpiece off to my parents who arrived in town today. 🙂
KC