I’m on a mission. I want to make my mantel look like summer and I want to do it on a budget. So, I’ve got a DIY home decor idea for you today!
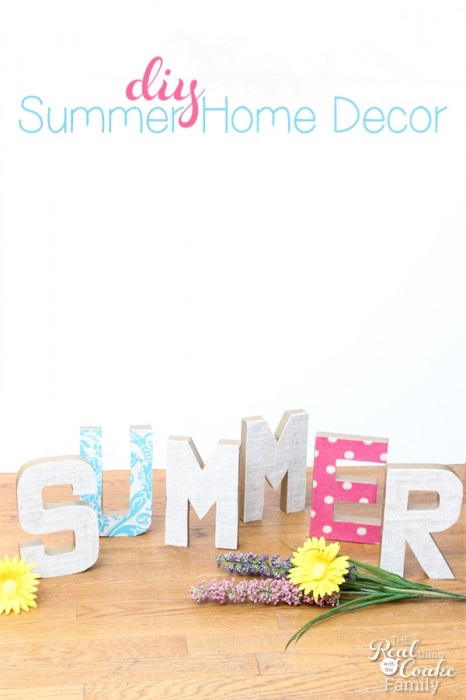
I’ve got 2 or 3 ideas of crafts that I’m planning to make to summer-ize my mantel. I already showed you the DIY wall art frame that I made. Today, I want to show you a fun craft to make these adorable letters that spell out ‘summer’.
I started this project with one idea in mind and ended up with this one. My original idea was to use square boxes and cut the letters out of fabric on the Cricut. When I went to the craft store, they didn’t have enough of the right sized box. My girls and I were together, because we are almost always together. They told me I should do the idea but make it out of these letters. I liked the idea as well, so I went with it. Plus, I’m not terribly patient, so the concept of going to another craft store to find the right sized boxes totally did NOT appeal to me.
I just love the way the letters turned out, so I’m really glad I listened to my daughters advice.
Would you like to make your own DIY home decor for summer? (or any season or occasion?) Of course, I’ve totally got you covered! I’ve got the tutorial for you. Let’s do this thing!
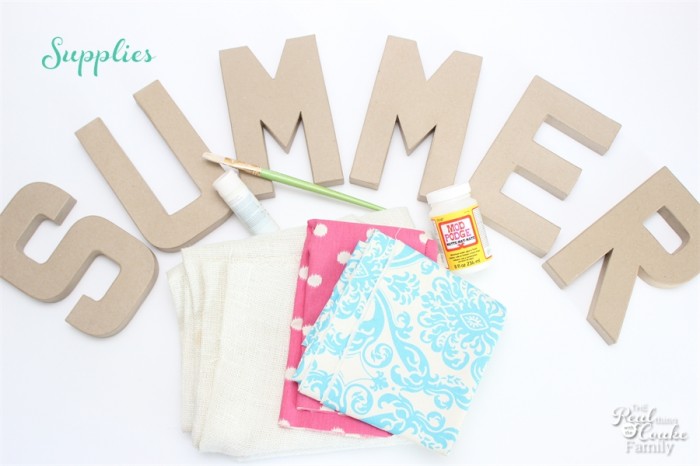
Supplies:
- Paper Mache or cardboard type Letters
- Paint
- Paintbrush
- Mod Podge
- Fabric
- Scissors
- Pencil
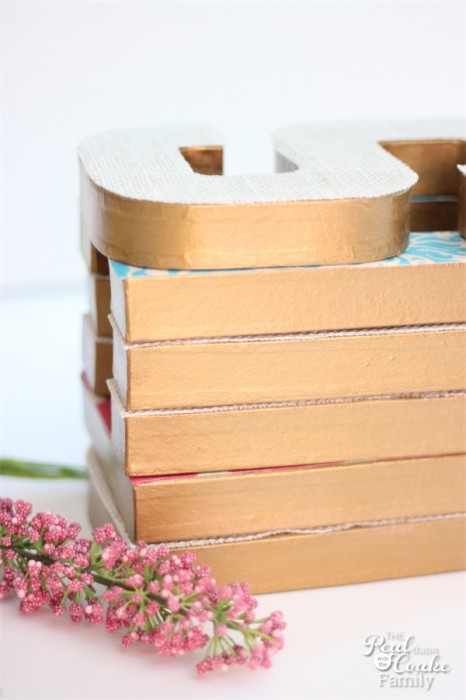
Start this project by painting the sides of your letters. (BTW- I just love this pic!) Unless you want to be some kind of craft rock star and try to cover the sides with fabric, which more power to you if you have the patience for that kind of thing. I think paint looks lovely and meets my patience level.
If you are using burlap or other material that has an airy appearance, you will want to paint the top of the letter as well. That way you won’t have ugly cardboard staring at you through the airy appearance (or holes).
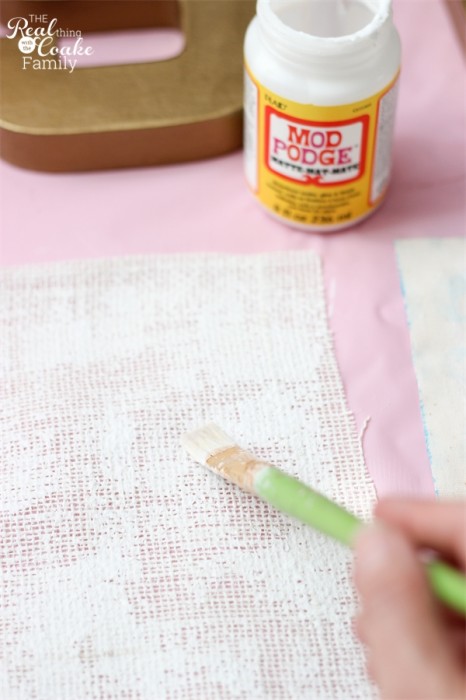
While you are waiting for your paint to dry, to save yourself in our next step, do a rough cut of your fabric to approximately the size of each letter you are covering with fabric. Now you need your Mod Podge to stiffen the fabric. You will do this by applying a coat of Mod Podge to the back or wrong side of your fabric. Cover the entire surface of the fabric with one coat of Mod Podge. Stiffening the fabric will allow you to easily cut out the letters without the fabric fraying and to Mod Podge the letters to the paper mache letters.
A word of warning: if you are using burlap, it will take more than the usual amount to stiffen your fabric. It will take more and it will be messy. Work on some type of surface that you don’t care about or can easily be cleaned up.
I use a plastic tablecloth, you know the kind they sell at the party supply store. I had been using the same one for a year or so, but Pumpkin just did a real paper mache project and that sucker was a mess. I got to buy a new craft mat….aka plastic tablecloth. It is the little things that brighten my day. I picked pink. 🙂 Anyway, I mention how long I used it for, because environmentally I don’t like the plastic tablecloths, but when you can use one many times over for a year or so, I think it seems OK.
So, since we aren’t here to discuss plastic tablecloths, lets move on, shall we?
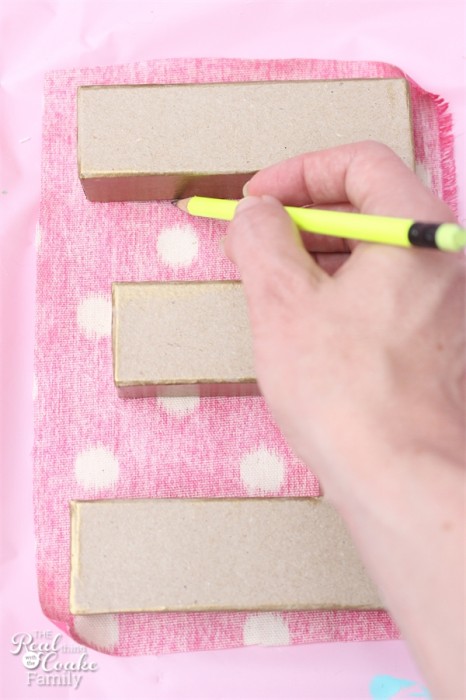
Once your stiffened fabric has dried. Turn your letter over and trace the letter on the back of the fabric.
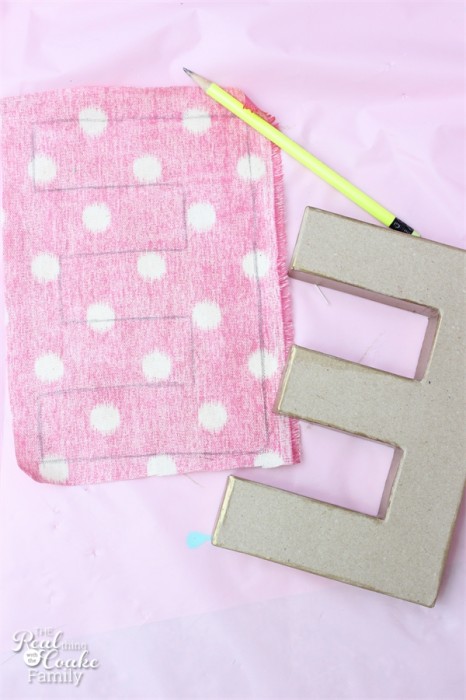
As you can see it is the wrong side of the fabric and the letter is backward. Make sure you do it this way so you haven’t wasted the fabric.
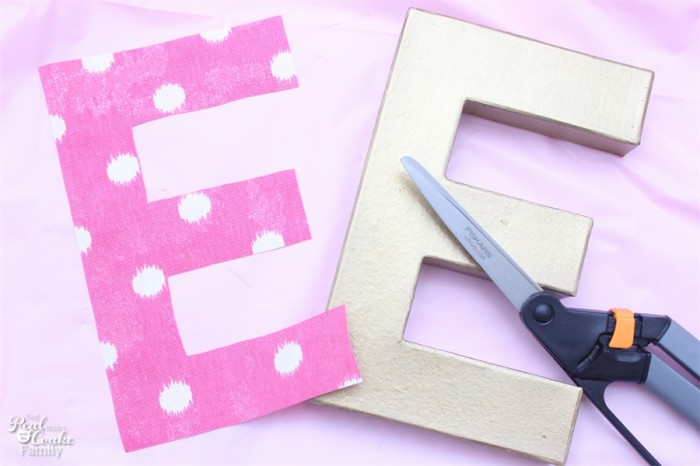
Cut out the letter. My letter ‘E’ fabric looked a little mottled here at the top, but it looks find in the finished form. Whew!
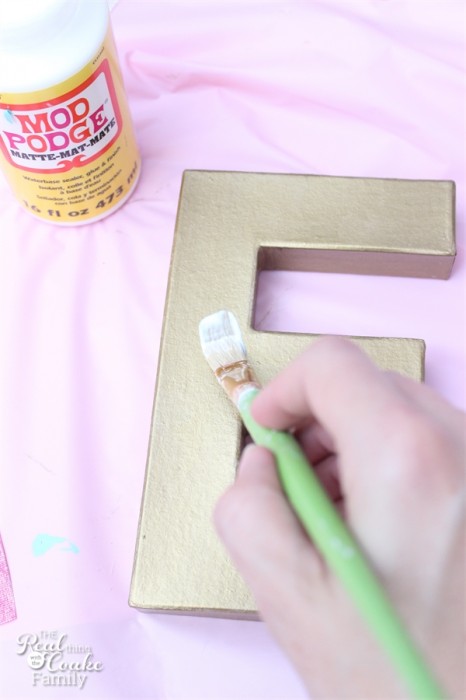
Apply a coat of Mod Podge to the letter and place the pre-cut fabric on top. You may find it easier to line your fabric up and lift up the fabric to apply the Mod Podge below. Then place the fabric down.
Whichever way you prefer, take your time and make sure you smooth the fabric down. Use your hands to gently rub out any bubbles. Trust me, you will be happy with the end results if you take a little time here.
I found that with the surface painted the letters seemed slick and the Mod Podge and the fabric seemed to need a little time and pressure to help them adhere together. All that means is that I held my hand on the fabric with light to medium pressure after applying the Mod Podge. I did that for a minute or two. It just seemed like it wasn’t going to adhere without that little touch.
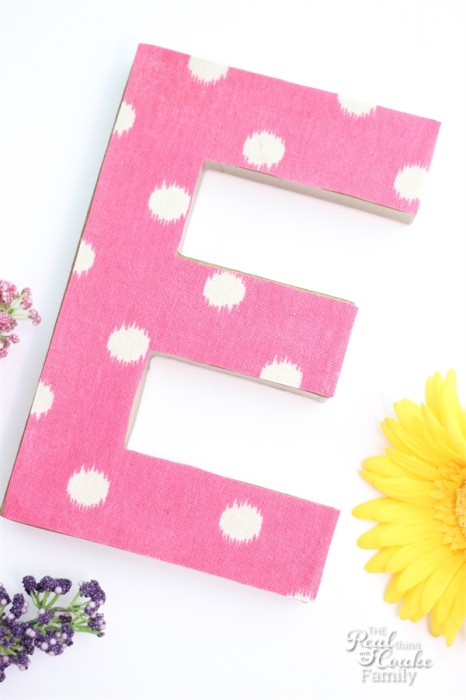
Finish off your letter with a final top coat of Mod Podge. You don’t have to do this step, but again with my letters, the painted surface was kind of slick and I didn’t feel confident that the fabric would adhere well without the top coat. With the top coat, the letters are good to go.
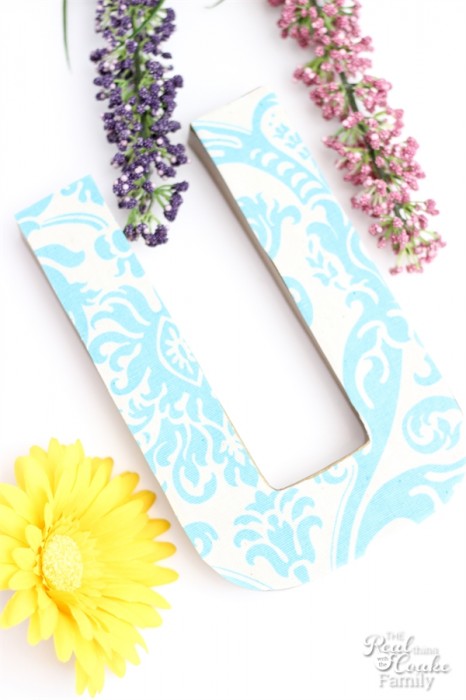
For my letters, I decided on two patterned fabrics. They aren’t overly summer-y, but I love the bright colors and think they seem like summer. Since I am after all spelling out the word ‘summer,’ I think my point gets across.
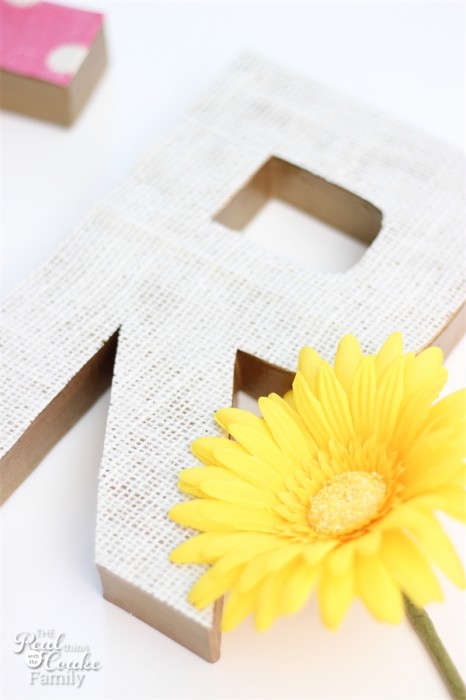
I also used a creamy white colored burlap. I love the texture of the burlap and for some reason it seems like summer to me. Maybe it is that it is close to the color of sand. Who knows, but to me, it looks like a great fabric for summer (or most any season).
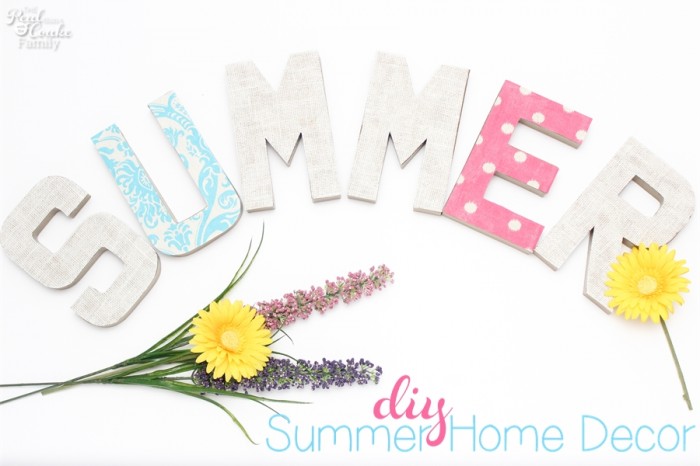
There you have it! I LOVE my DIY home decor. This one was a fun project that I love sitting on the couch admiring. It is fun to look over at the mantel and see the letters there and think how fun it is that I get to make pretty things! Just having a moment, here. 😀
I have one more crafty item that I’m hoping to make and photograph by Friday. Then over the weekend I should be able to put the summer mantel together and photograph it. Hopefully, fingers crossed, things will go according to plan and I’ll show that to you on Monday.
What plans do you have for decorating for summer? I’d LOVE to hear!
I love the gold on the edges! I am slowly warming up to gold.
Thanks! I’m slowly warming up to the gold as well. I really like it on this project, but I’m not there for tons of other things…yet. 😉
I love this idea! I’ve been eyeing those cardboard letters, thinking about the best way to use them to make a statement!
Thanks so much! They were fun and easy to work with. I bet you can come up with a great idea as well (or use mine is great, too!).
That looks way easier than cutting them out, and what a great way to incorporate fabric! I have a bit of a fabric obsession but I never quite know what to do with it.
Yeah, it was pretty easy. Yes, finding uses for fabric is always a good thing. It uses some of what you have and means you can buy more. 😉
I love how your letters turned out. They are beautiful and fun! By the way, I’m with you for painting the sides. 😉
These are absolutely adorable!!! Great idea! Thanks for sharing!
This is real cute! Featuring you in my next post! XO, Aimee
Thank you, Aimee!