I have the cutest and simplest wall art idea for you today.
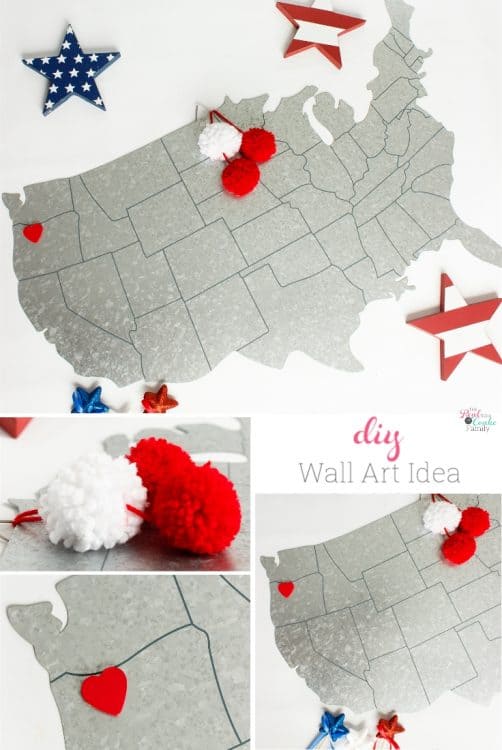
I’m telling you that from start to finish this idea took me maybe 20 minutes. Most of that was just sitting around winding yarn to make the pom poms and waiting for paint to dry. It is really easy.
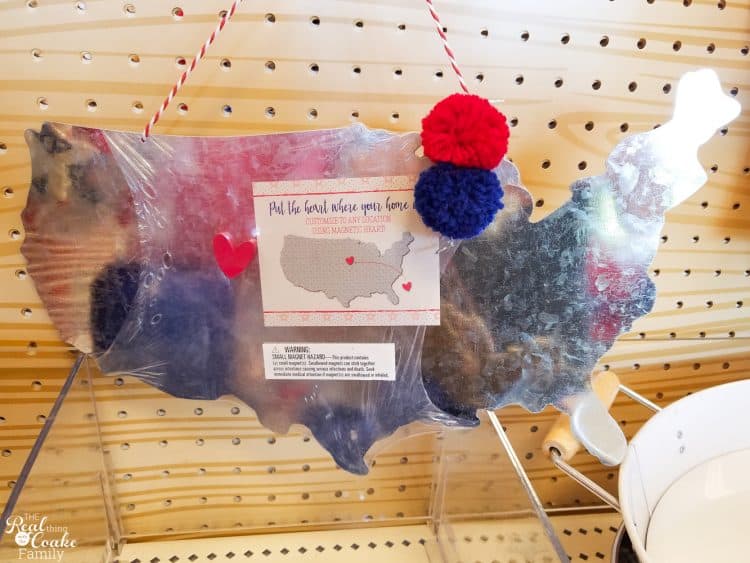
It all started with a trip to Target. I love their dollar spot. It always has fun, cute stuff. With each change of season, it is fun to see what will come next.
For their Patriotic items, they had a cute little map of the US that had pom poms on it. I love it, however, I already have a big US map and I didn’t want another one. I realized that I could very easily create something similar with what I already had.
The idea I’m showing is with my US map, but you could do this with any wall art. This wall art idea would look really cute on the wall art that I did for my daughter’s room last year or maybe even as a cute embellishment on the letter wall art ideas I’ve made for both my living room and my daughter.
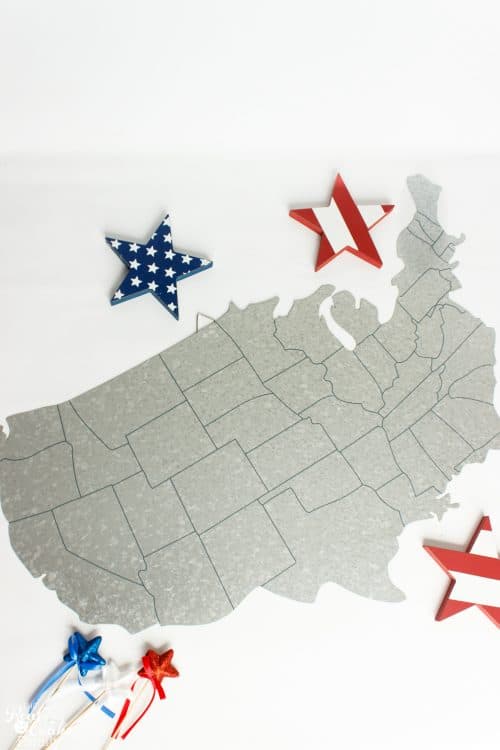
To make your own wall art embellishment, start with your piece of wall art.
Decide on the colors you want to add. In my case, this hangs in my bedroom. The main colors in my room are gray, white and red. So, I decided to add red and white.
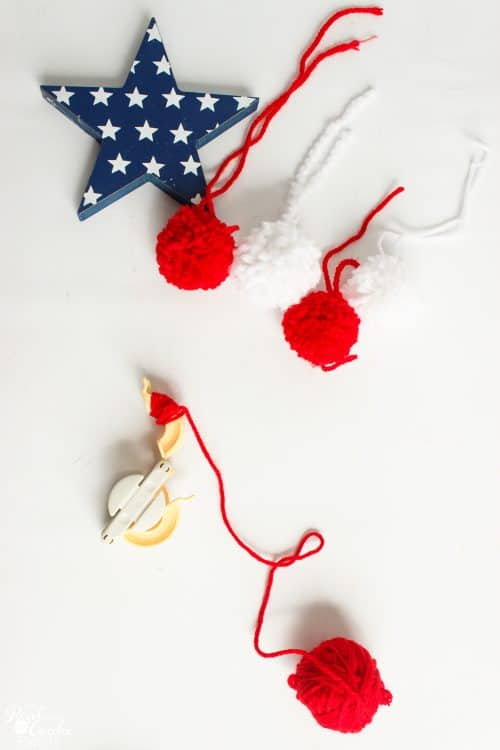 Use your Clover small pom pom maker(affiliate link) to make yourself pom poms. I liked the idea of three, but you can go with more or less depending on the look you like.
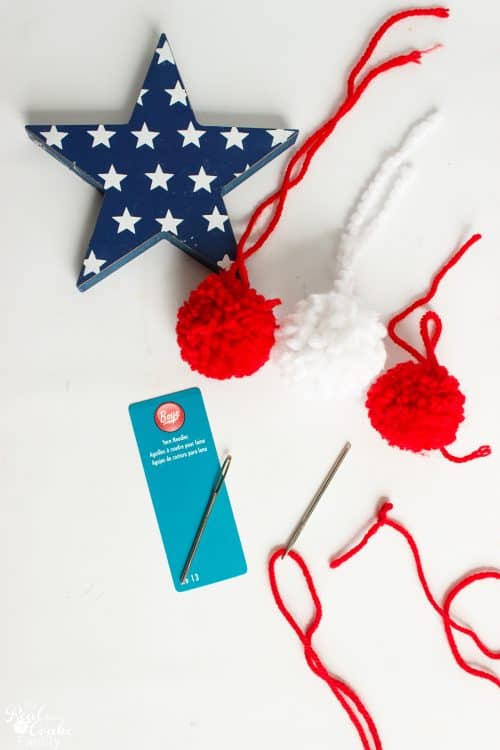
Now you need to thread your pom poms onto some matching yarn. You will need a yarn needle(affiliate link) for this.
Make a huge knot near the end of your thread. Do this by tying knot after knot after knot into the yarn.
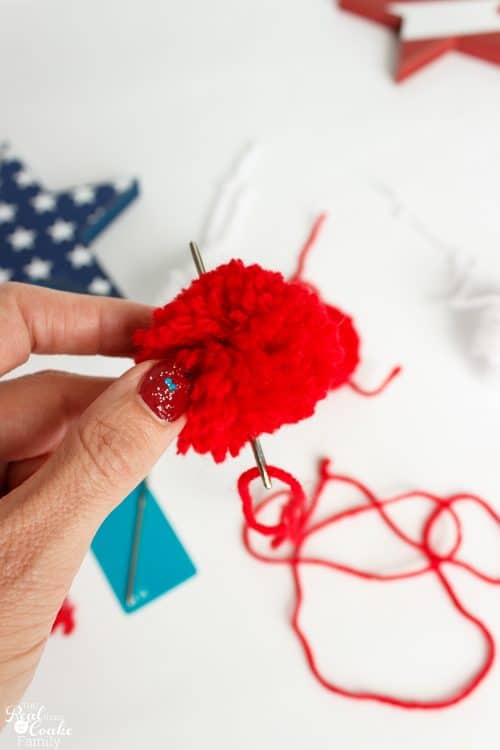
Thread your pom pom onto your yarn. You will want to go through the center of your pom pom, where you tied off the pom pom.
I think it is handy to cut and leave your tails long when tying your pom pom off. That way when you go to thread the pom pom onto the yarn, you can see exactly where to thread and where the center.
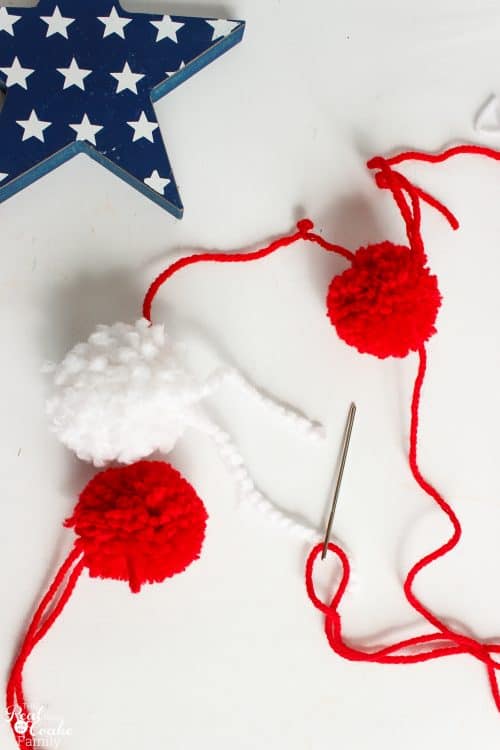
Thread two of your pom poms onto one side, if you are using three like I did. Use a large knot in the yarn just below the second pom pom to keep in in place.
Do not thread the third pom pom onto the yarn as you can see pictured above. That was a mistake I made.
Place your pom pom onto your wall art then add the third pom pom. I didn’t do it this way and had to smoosh my pom pom to get it to go through the tiny little hole in the hanger for the map.
Once again, tie off a large knot in the yarn just below your pom pom to secure it.
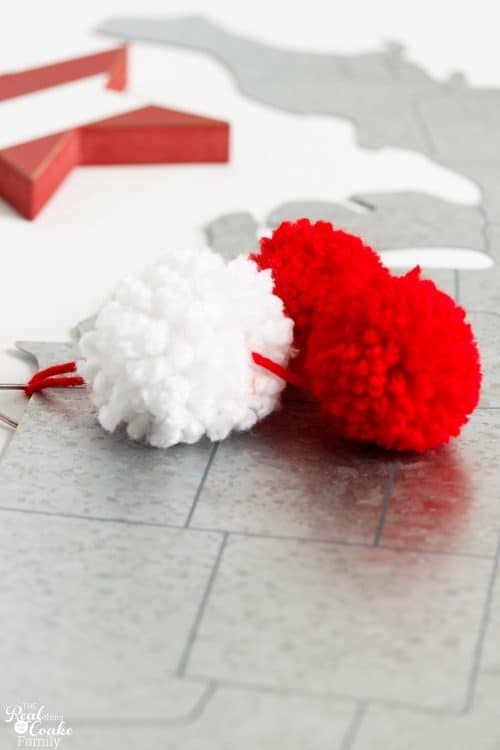
Trim the tails and pom poms and fluffify them.
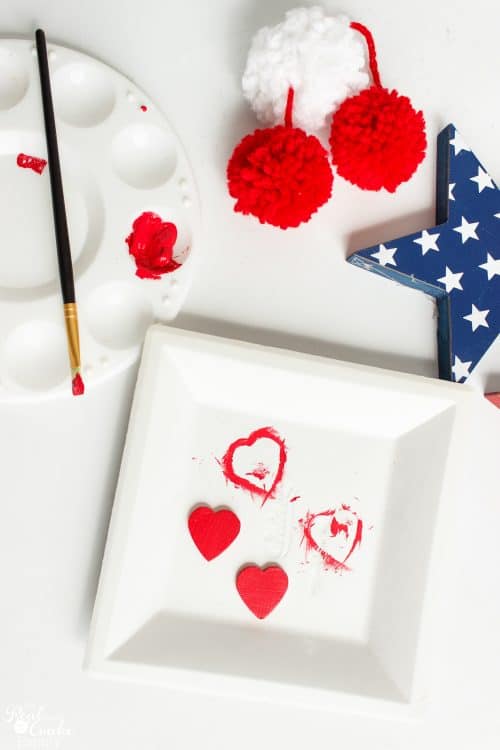
The last bit of what I was doing for my wall art idea was adding a heart to my map. You may not need this idea if you are using this on wall art that is not a map or not magnetic.
If you are using this part. Paint your heart(s) the color you have selected. Allow to dry. 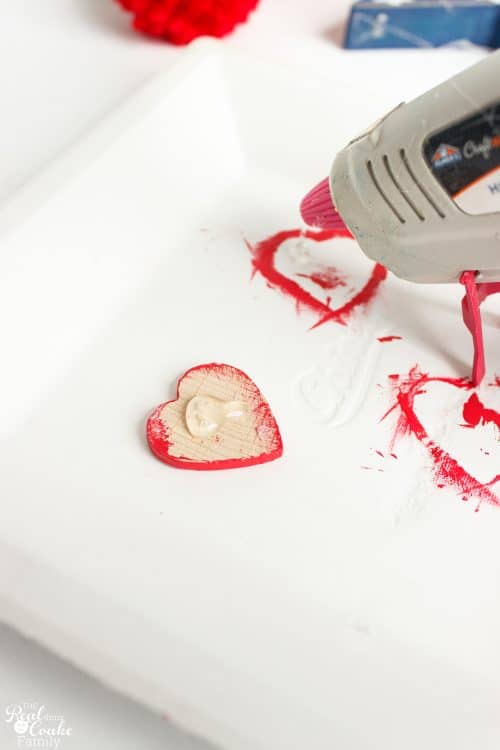
Add a dab of hot glue to the back of the heart.
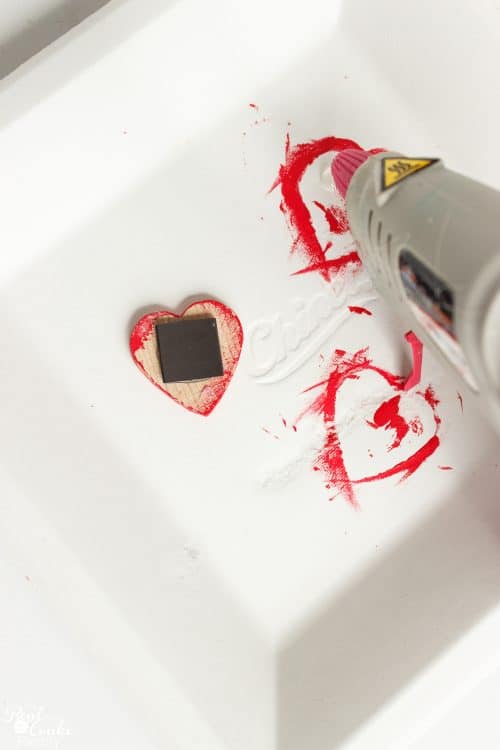
Place a small piece of magnet on the back of the heart. Allow to cool and set.
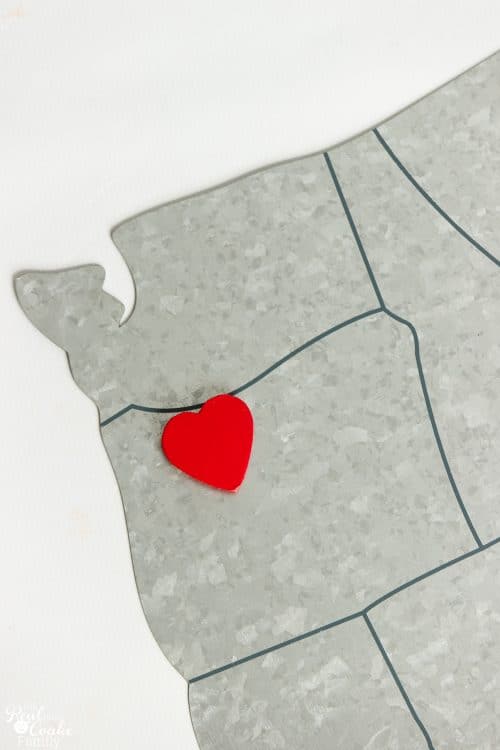
Add to your map.
My heart is in the NorthWest. While I may currently live on the East Coast, my heart is still in the NorthWest. 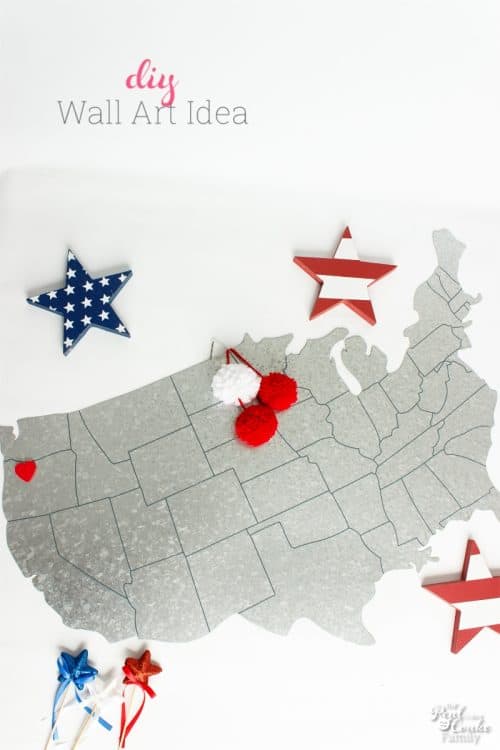
Voila! Easy and cute! I love this wall art idea. It is so simple and yet adds some fun dimension to the decor on the wall in my room.
Do you have a cute wall art idea and way to embellish your wall art? Leave me a comment below. I’d love more ideas.
Follow me on Instagram for more cute ideas and fun.
Fabolous wall art ideas. I love to add new look at my walls frequently with different items such as paper craft. Really impressed with your DIY wall art ideas. Going to give it a try soon. Thumbs up!
Thanks so much!
I think that will make a really cute gift for friends of mine who love to travel. I can see them adding hearts to each place they visited. Thank you very much for the inspiration, and for sharing!
Glad it helped! Great idea to do this as a gift for friends who travel a lot. Fun!
Your ideas are simply awesome. I really like your pom poms. I am going to implement it in my home decoration. Thank you for sharing this post with us.
You’re welcome! Glad you enjoyed it!