I’ve got a super simple DIY to make doll furniture for you today. In fact, it is a DIY I did with my 8-year-old. She was in charge of the project, but just needed a little help from me to learn how to do a few of the steps to make this nightstand for her dolls.
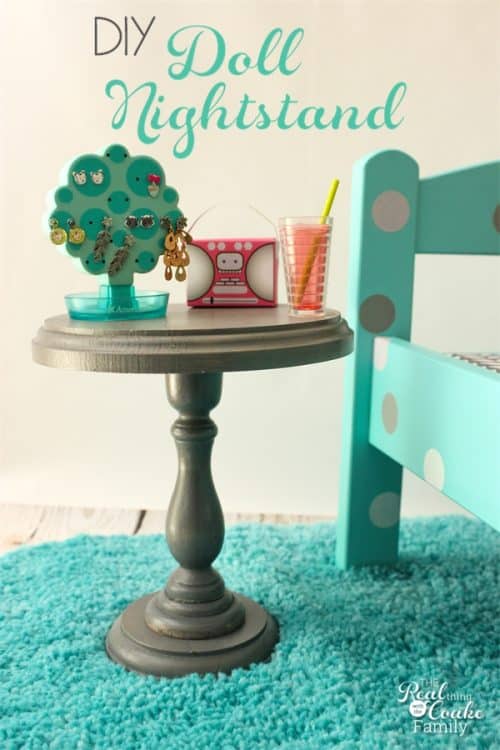 Pumpkin had long wanted to make a nightstand for her dolls. When I made the new bunk beds for both of my girls this year, we decided it was a great time for her to make her nightstand. We came up with a super simple plan and worked together to make her nightstand. She is so proud of what she made and loves using it in her doll bedroom.
She told me it was fine for me to blog about it…in fact she was super excited that I would use one of her projects for my blog. So today, Pumpkin and I have all the steps for you to make your own doll nightstand with a few simple supplies you can buy at the craft store.
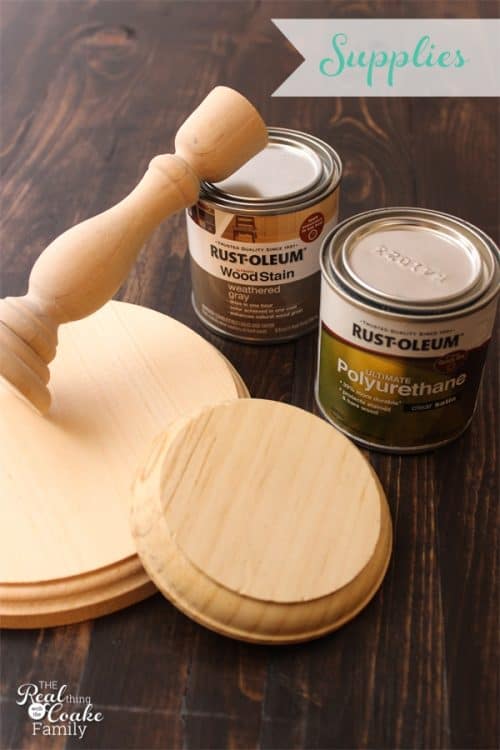
Supplies:
- 4″ unfinished circle wood piece
 (affiliate links)
 - 6″ unfinished circle wood piece
- 6.5″ unfinished wood candlestick holder

- Wood Stain
- Polyurethane
- Paintbrush
- Hot Glue or E6000

- Gloves
- Paper towel
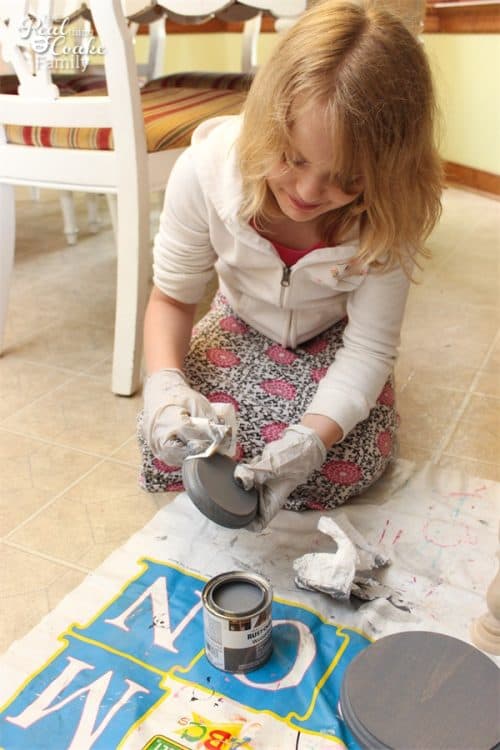
You will want to start by sanding your wood pieces if they need it. Then stain the unfinished wood. We used paper towel for this process. You can just dip the paper towel into the stain and rub the stain onto the piece. It will be best to protect your hands with gloves…though the gloves we have are not meant for child-sized hands. It made it a little challenging for Pumpkin, but she got the job done. Stain all sides of the wood that will show, which, in this case, is everything except the bottom of the smallest wood circle and bottom of the candlestick. After you apply the stain, you will want to use another paper towel or rag to gently wipe off the excess stain.
Refer to your can of stain for the recommended drying times. Make sure your piece is totally dry before you move on to the next steps.
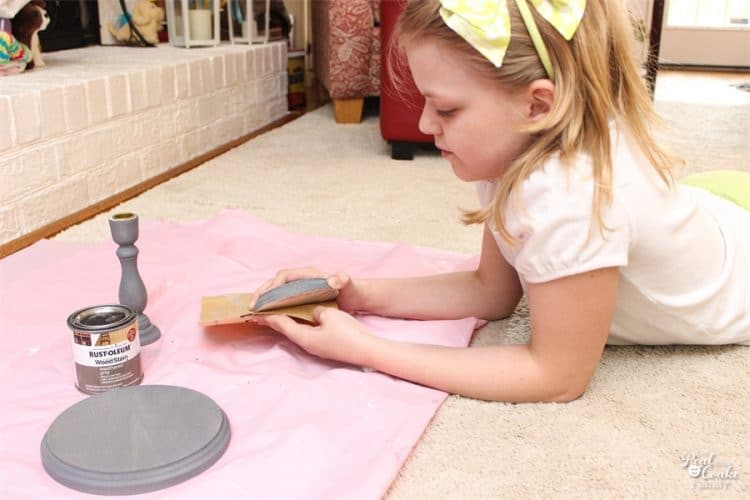
Pumpkin wasn’t quite satisfied with the pieces and thought a few patches were too rough. She decided to go over them again with some sand paper. We then needed to do one more coat of stain. She also was happy with a slightly shabby chic look to her piece. If you prefer a more solid stain look, you may need to add multiple coats of stain.
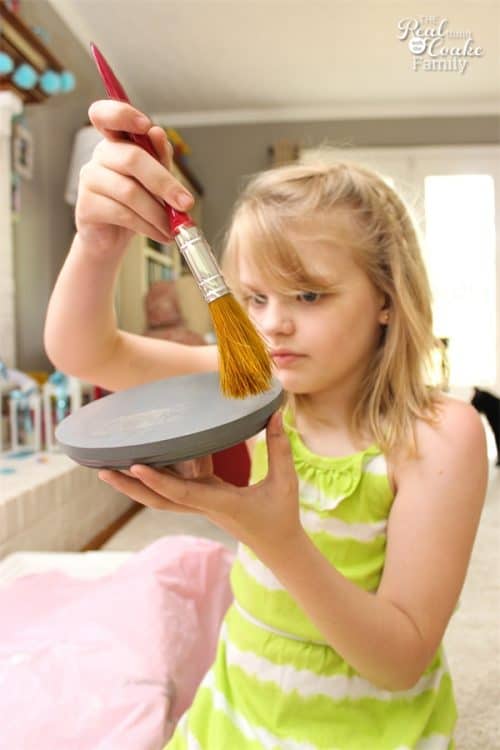
Once you have the stain looking like you prefer, you will want to seal it with a coat of polyurethane. With polyurethane, you want to make sure you get one even coat going in the direction of the grain of the wood. You want to be careful that you don’t have areas that are pooling or areas that get missed. For Pumpkin, it required total concentration and looking at the right angle to make sure she hadn’t missed any spots.
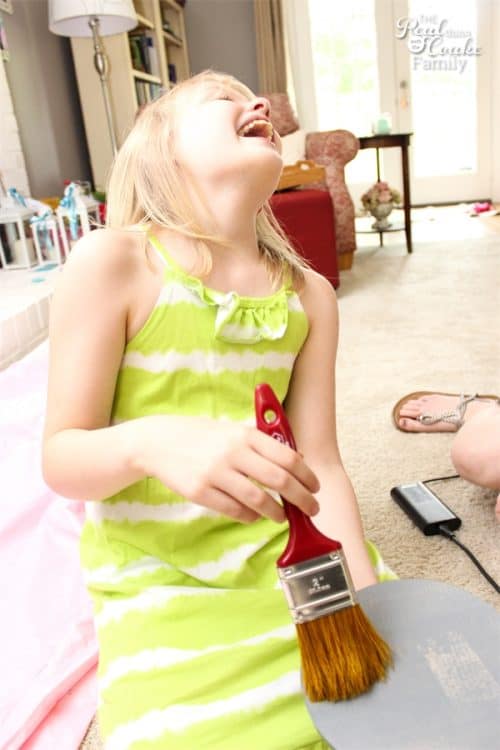
All that concentration and having Mommy photographing the whole thing and big sister watching the whole thing…means at some point she is going to lose it and just crack up. Or possibly not cooperate for the pictures and Mommy will tickle her to get her to smile. Or both. 🙂
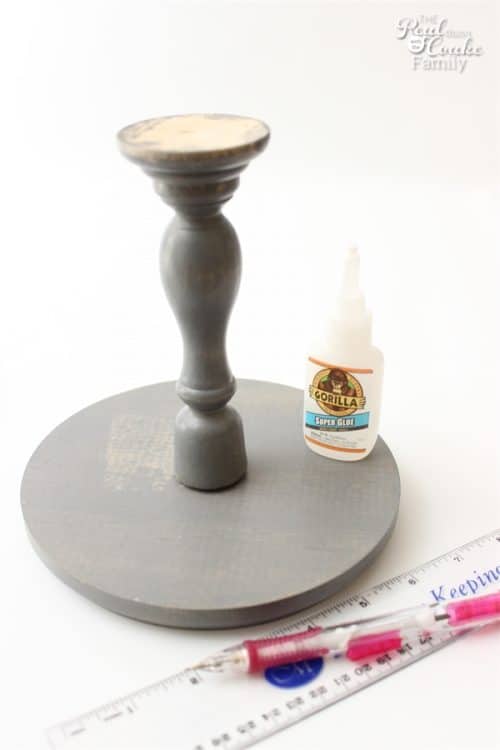
After the polyurethane has dried completely, you will need to adhere the pieces together.
We made these back in June and I hadn’t had a chance to show them to you yet. Thank goodness for you! I can tell you not to use the glue pictured. It didn’t work. It fell apart much more quickly than the doll mailboxes I made and used E6000 to put together. I would recommend that you use either E6000 or a hot glue gun.
If you want to be precise, which I am not normally but decided to give a try this time, measure your piece and mark the center. You can do this from multiple sides to get a precise center measurement. Place glue on the top of the candlestick holder and place it in that center position. Wait for this portion to dry before repeating the steps to add the base (smaller) piece.
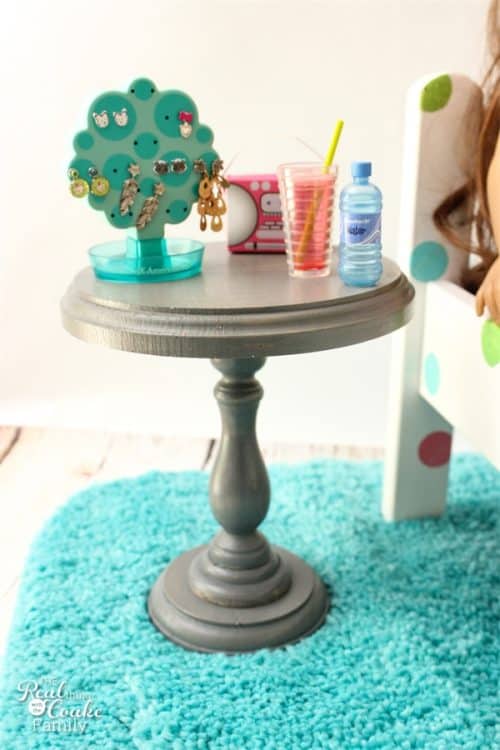
When you are done, you will have a completed nightstand the perfect size for a doll bed.
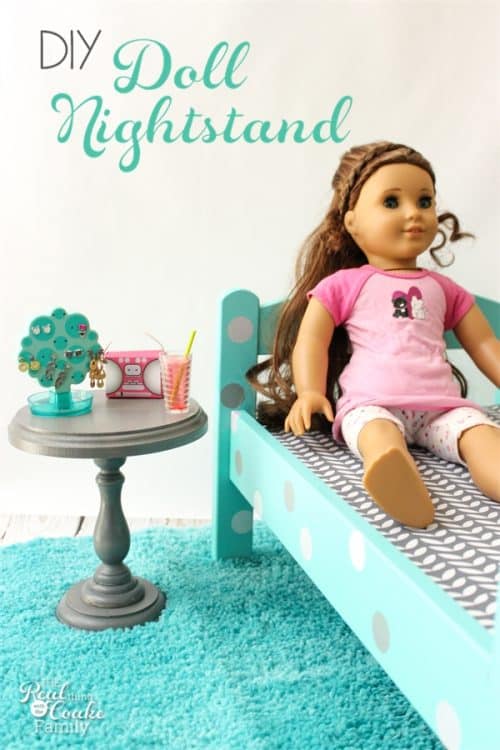
We stained our nightstand a gray to match Pumpkin’s newest bed for her dolls. We also bought a super inexpensive bath mat at Target that acts as a rug for her doll room. It all looks really cute together. Best of all, Pumpkin really enjoyed making her own doll furniture and loved learning some of the DIY techniques that Mommy knows. I keep trying to talk my girls into coming into the ‘family business,’ so maybe I’ve got one of them! 🙂
Don’t miss another great American Girl Doll craft (or my DIY’s or recipes…etc.), join my free member club and get all the latest delivered right to your inbox. Perfect!
More great posts you will love:

I have two American Girl Dolls of my own. I am always looking for DIY ideas for them. This is a great idea. I am totally going to do this as soon as I find the wood to do it with. I am also looking to see hoe to make little doll rooms. If you know how to make the please post or send an email. Thanks.
I’m so glad you like the idea! My daughter and I had fun making them and she has had fun using it in her doll room.
I don’t have any posts about making doll rooms, but I bet if you did a search on Pinterest, you would find a bunch of ideas. I have some on my American Girl Doll Ideas Pinterest board (https://www.pinterest.com/realcoake/american-girl-doll-ideas/). Fun stuff! Hope your nightstand works out great when you make it. Feel free to email me a few pics or put them on my facebook page. I’d love to see them. 🙂
I meant to say house in the second to last sentence.
🙂
Where did you get all the items on their table?
The earring tree is from American Girl Doll as is the glass. I don’t know if the earring tree is still available. I think the glass comes in a few different sets from AG. The little stereo is made of paper and I’m not sure where it came from. I think it may have been in one of their book kits (like Doll Pets, etc. but I have no idea which book kit it would have been from). I’m sorry I don’t feel like I’m super helpful to you.
Where did you find the wood pieces? Great idea!
I got them all at a craft store. I believe either Michael’s. They’re usually found in the unpainted wood section. They’re just round wood pieces and a candle holder. Hope that helps!
Where did you get the wood pieces for the table?
I go them all at a craft store. I believe either Michael’s or Hobby Lobby. They are usually found in the unpainted wood section. They are just round wood pieces and a candle holder. Hope that helps!