2020 sure has been a very different year than I ever anticipated! How about for you?
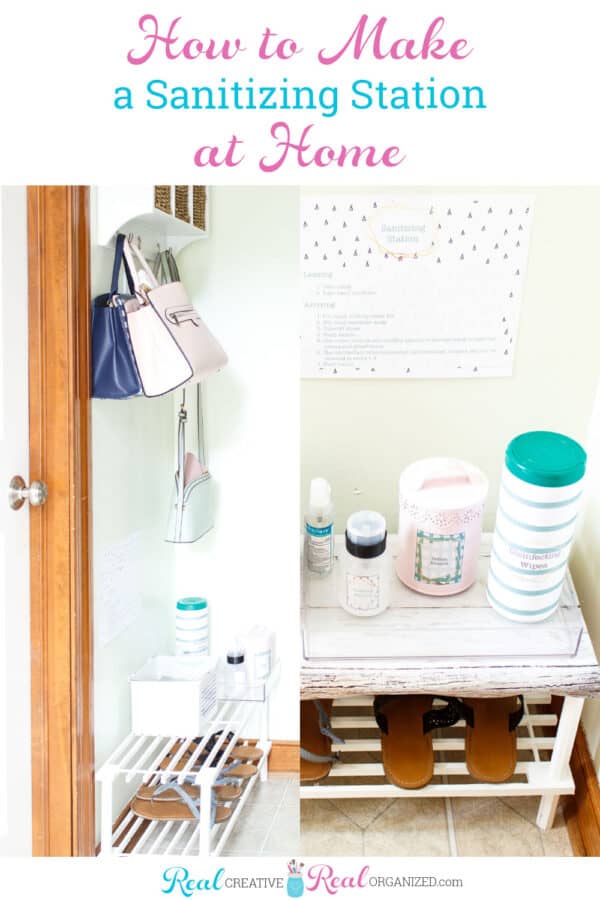
With that has come the need to change our lives a bit which includes being more careful when we go out. To that end, I wanted to make it simple and as easy as possible for everyone to have what they need when they leave the house. Since I’m good at both organizing and creating systems for things, I created a simple DIY sanitizing station for my house. Once I figured out what worked, I created printables to label everything and make it easy for anyone to recreate this in their home, school, or office. Let me show you how to make this or something similar for your space.
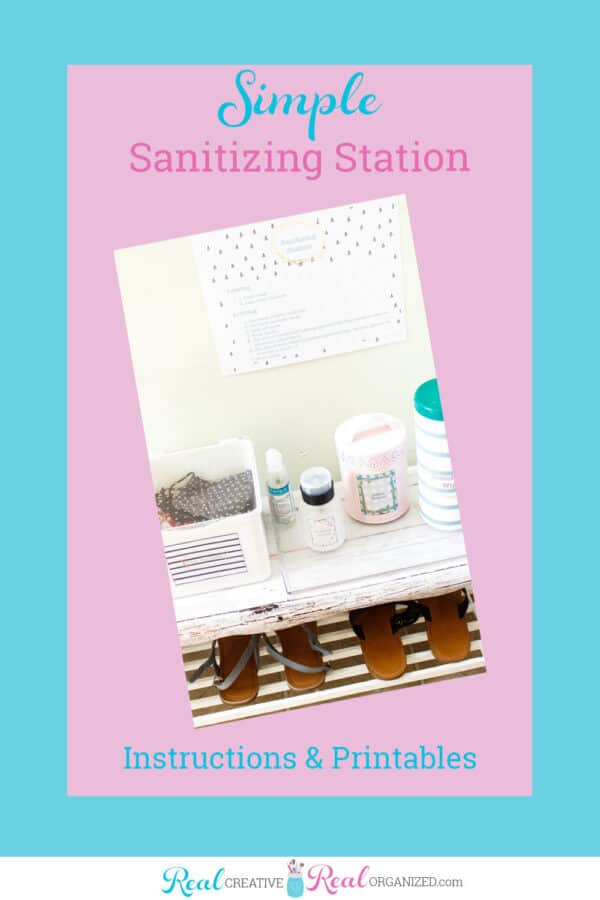
Simple Sanitizing Station
Supplies:
- Shelf – This is what I bought on Amazon (affiliate link)
- Mask bin – This is the one I bought at Target (affiliate link)
- Printables
- Cardstock – (affiliate link)
- Printable Vinyl or Printable Sticker Paper – (affiliate links)
- Clear Laminate– Optional (affiliate link)
- Disinfecting wipes
- Pick one option below
- Alcohol bottle (option 1) – This is the one I got on Amazon (affiliate link)
- Jar for cotton rounds (option 1)
- Alcohol wipes (option 2)
- Tray for jars/bins (optional) – This is the one I got at Target (affiliate link)
Step 1: Decide on location
TIME: 5-10 minutes
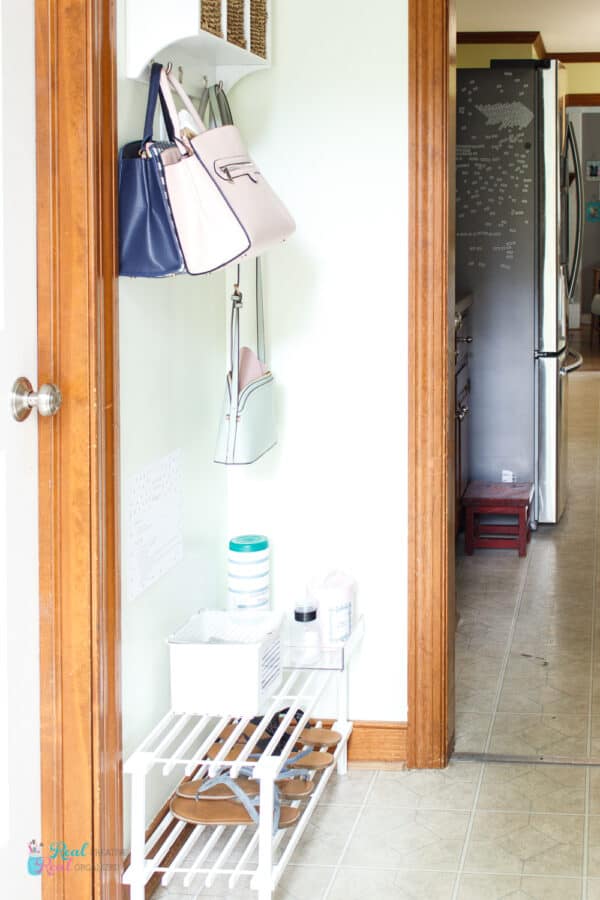
Keep your sanitizing station near whichever entrance you come and go from the most in your house.
Measure so you can find something that will fit in the space you have.
For me, that is this little entry hallway that I used to have organized differently. More recently, I had a recycle trash bin right where this sanitizing station now sits, but it makes more sense to have this handy and right there where we come and go. I found this little inexpensive shoe rack($13) on Amazon that fits the space perfectly.
Step 2: Sand shoe rack
TIME: 20-30 minutes
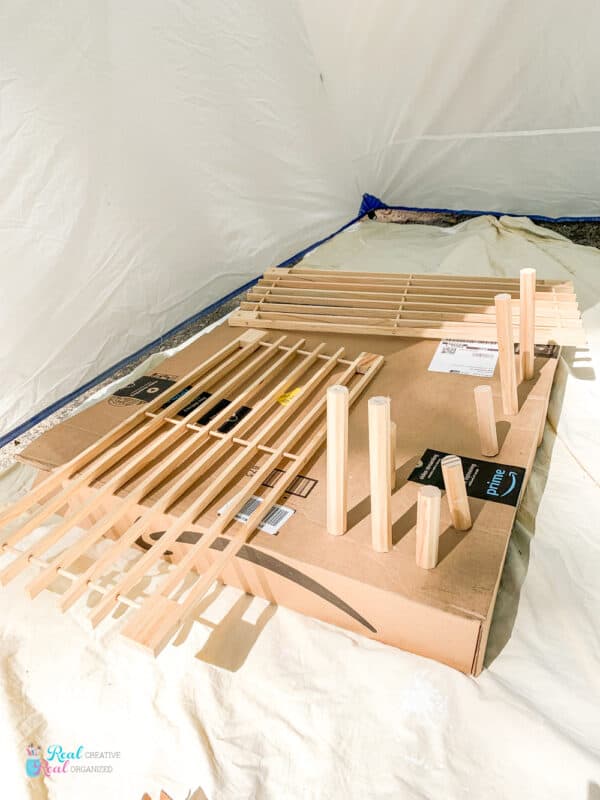
If you go with the inexpensive shoe rack I got off Amazon, it will look best if you prime and paint it to go with your decor.
It also needs a bit of sanding as it is pretty rough. Sand down those rough edges until you’re happy with the smoothness of the shoe rack.
Step 3: Prime and paint shoe rack
TIME: 30 minutes to 1 hour
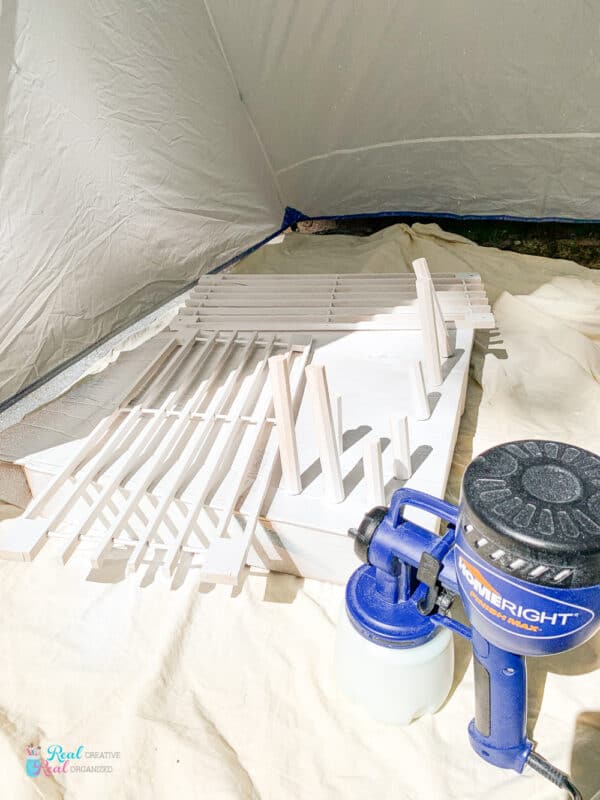
I tried priming mine by using the cardboard box it came in and stabbing the spindles through the box so they would stand up and be easier to spray. It didn’t work.
The air from the sprayer kept knocking them over because some of the screws in the ends are pretty short and didn’t go through the cardboard very far.
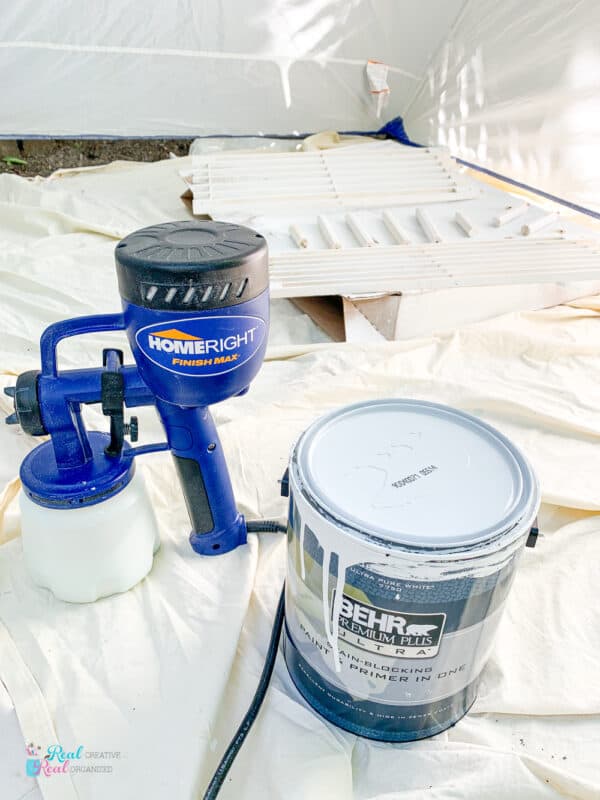
I did use my HomeRight Finish Max(affiliate link) and the Behr Premium paint in a Satin White. But, after priming and giving one coat this way, I decided it was easier to paint them with a paintbrush because the spindles kept falling over and rolling all around. 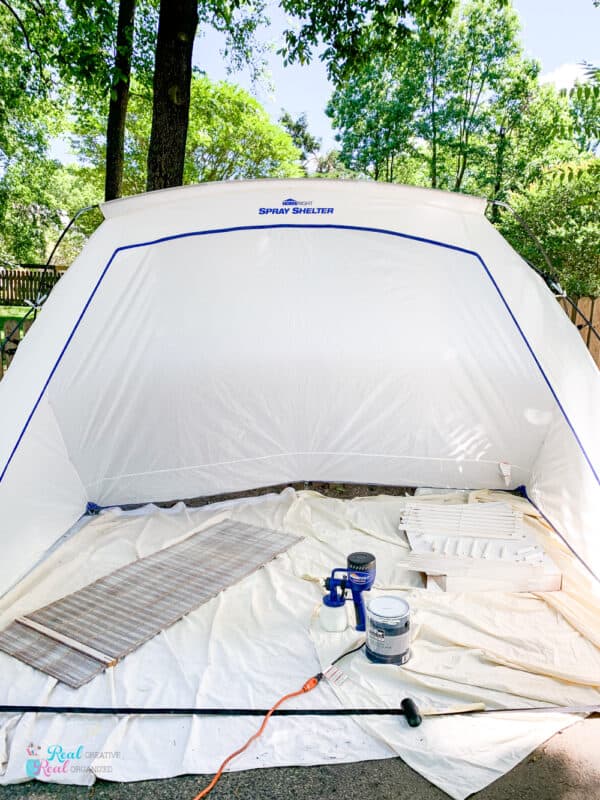
I’d recommend painting and priming with a paintbrush as it was less frustrating. The sprayer is faster, so go with whichever you prefer or already have the tools for. If you’re gonna spray, I recommend this spray shelter(affiliate link) as it works great. It’s the same shelter I used when I refinished the antique chair last year.
Step 4: Decide on supplies
TIME: 5-15 minutes
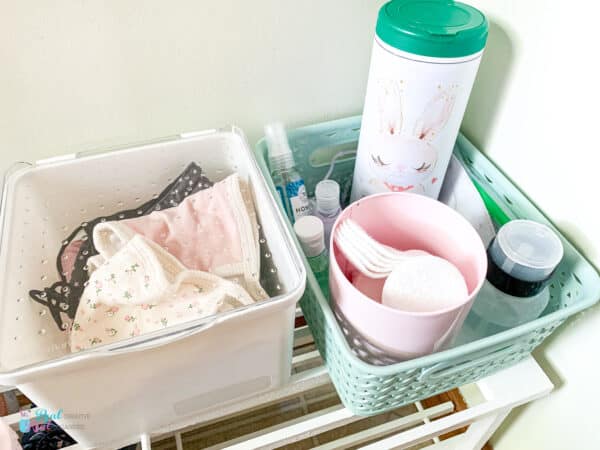
The last decision you need to make is which supplies you want in your sanitizing station.
That’s gonna vary from home to home, so do what you feel is best for you and your family.
Above was my first trial of what we wanted in our station. I liked it, but it was a little messy and cramped.
IDEAS FOR SUPPLIES:
- Bin with clean masks
- Bin for dirty masks
- Alcohol wipes
- Rubbing Alcohol
- Cotton Rounds
- Disinfecting Wipes
- Hand Sanitizer
- Mask Filters
- Snack sized zipper bags and Sharpie (Used to mark and hold mask filters between uses. You can put an initial on the filter and tally marks so you know who uses the filter and how many more uses it has before throwing it away.)
HANDY TO HAVE NEAR
- Place to put dirty masks (if not using a bin for those)
- Sink
- Hand soap
- Shelf/place for dumping stuff that needs sanitizing
- Bench to sit on to put on or take off shoes (if that is part of your routine)
- Place to put shoes (if that is part of your routine)
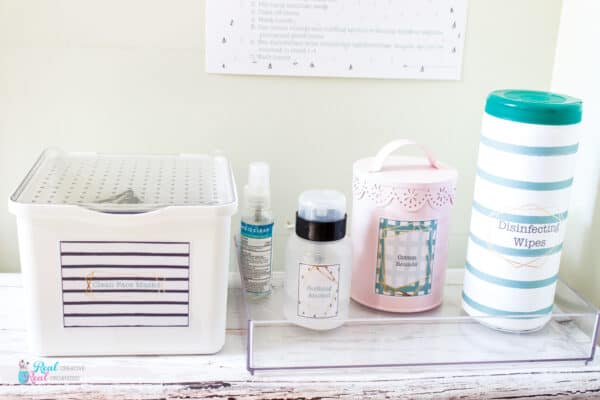
I decided that in our sanitizing station, we’d have a box with clean masks. I love the little bin(affiliate link) I found at Target because it has a clear lid. That means I can pop freshly washed masks into the bin and close the lid and even though they sit out, they stay clean. My laundry room is to the right of the door we enter and exit from, so we have a lingerie bag on top of the washer in which we dump our dirty masks. To the left of the door, we enter and exit from is our guest bathroom, so we can use that sink to wash our hands.
I added a stash of hand sanitizer as well as a little bottle to dispense rubbing alcohol and a bin filled with cotton rounds. We use the rubbing alcohol and cotton rounds to disinfect our phones and sometimes the outside of our purse or other items we carry around a store. I also have a bin of disinfecting wipes that my daughter likes to use to touch things before she can wash hands or shower when she gets home from work.
Step 5: Print signs and labels
TIME: 5-10 minutes
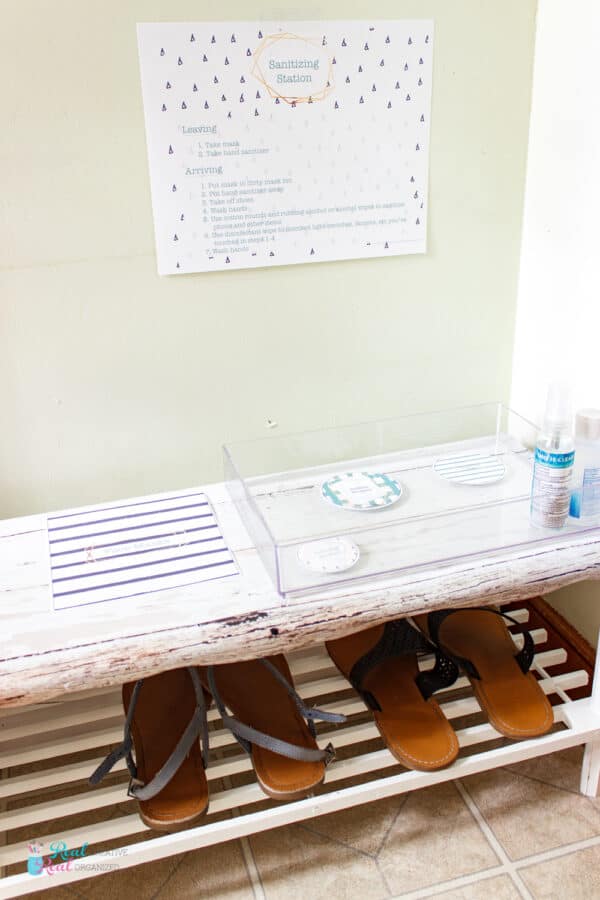
I wanted to make sure everyone knew exactly where to put things back if they took something, so in the printables I created, I have placement labels for everything. No confusion about what goes where. The placement labels would be helpful in a classroom or office to make sure people put things back where they belong and everything is ready for the next person.
Step 6: Adhere labels
TIME: 5 minutes

Then you’ll need to add the labels to your containers and jars.
For the jars, I printed the labels out on printable vinyl and covered them with a clear laminate designed to make them waterproof. That way if the alcohol spills a little bit, it won’t ruin the labels.
For the disinfecting wipes, I printed that cover on cardstock and taped it to the container. It’ll work best if you tape it a little bit bigger than the container. That way, you can slip it off this jar when it is empty and slip in on the new jar.
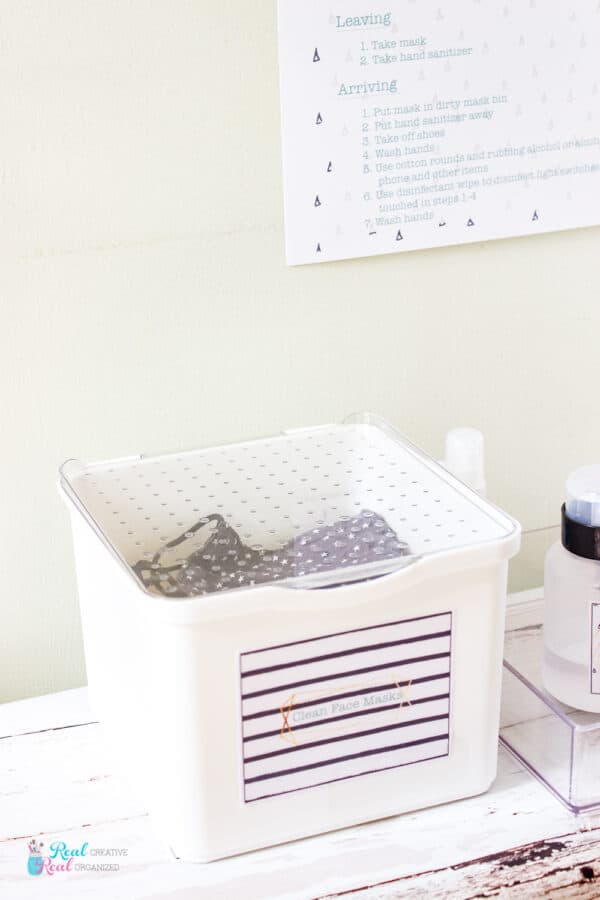
I’m in love with this little bin I found at Target for our masks. I’ve contemplated getting a second one for dirty masks, but since my laundry room is right there, I don’t need to spend the money on a second bin.
Step 7: Add sign
TIME: 1-2 minutes
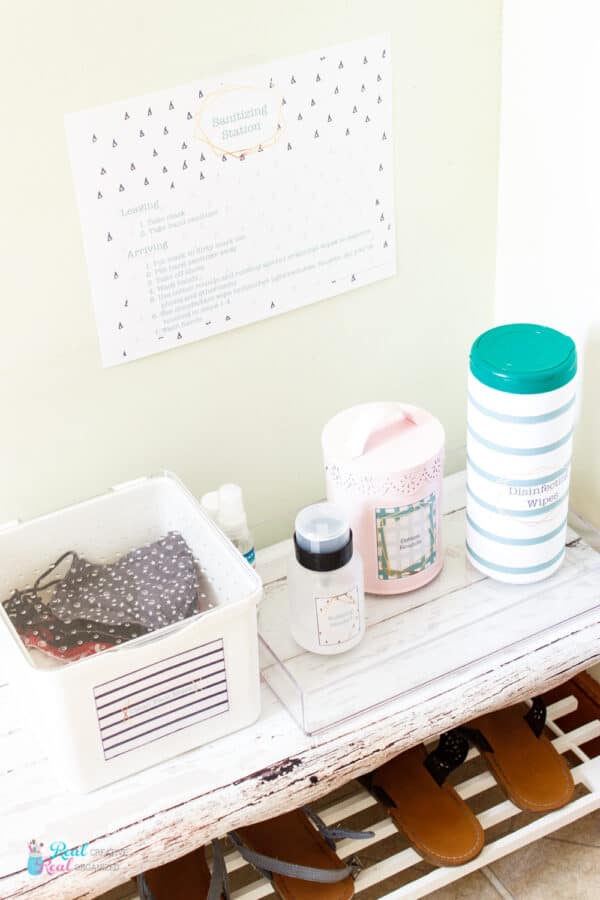
If you want a sign for your sanitizing station, add it above or right near your station.
The sign that comes with the printables, has a general sign and a sign with steps. I tried to think through the steps people might take when leaving or arriving. If you have different steps you want on your sign, message me on Etsy and I can create a custom sign for you in whichever printable set you prefer.
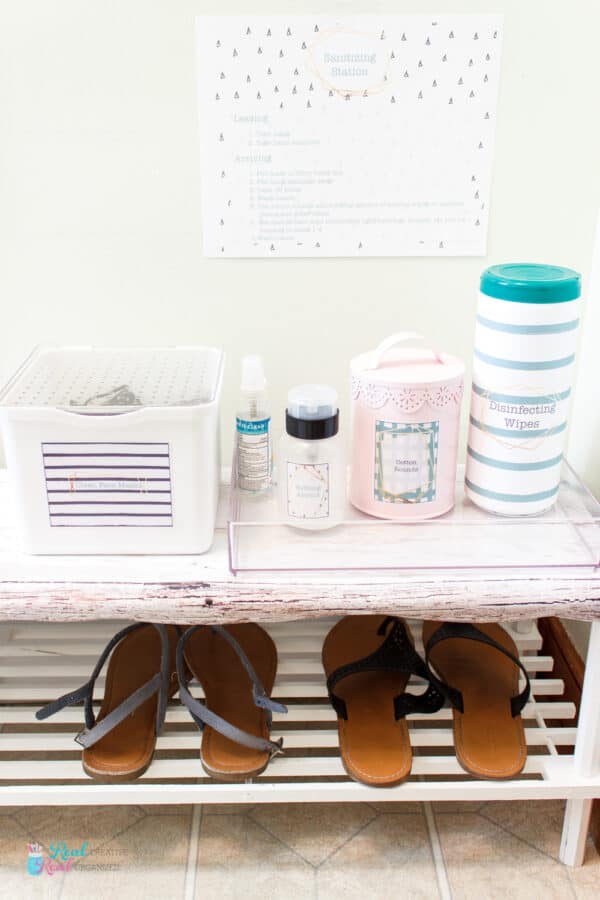
There you have it. A simple and inexpensive sanitizing station you can set up for your home, classroom, or office. 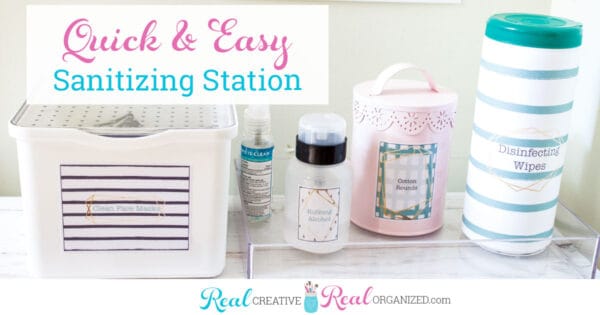
The principles of this sanitizing station would be the same for a school or an office as well. You’d need to decide what steps and what supplies you need available for those locations. Again, if you need a specific sign, message me on Etsy and I can create something for your home, school or office.
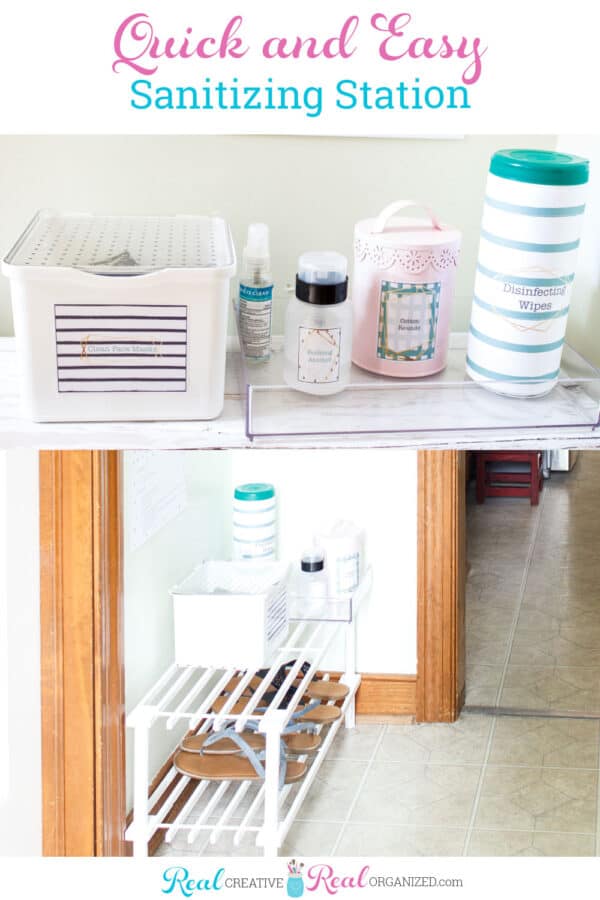
I love that what I came up with takes up a very small footprint in my house and that it contains everything we need for both leaving the house as well as arriving home. We’ve been using my sanitizing station for a couple of months now and it continues to work well for us.
Do you have a sanitizing station? What’s in yours?
Leave a Reply