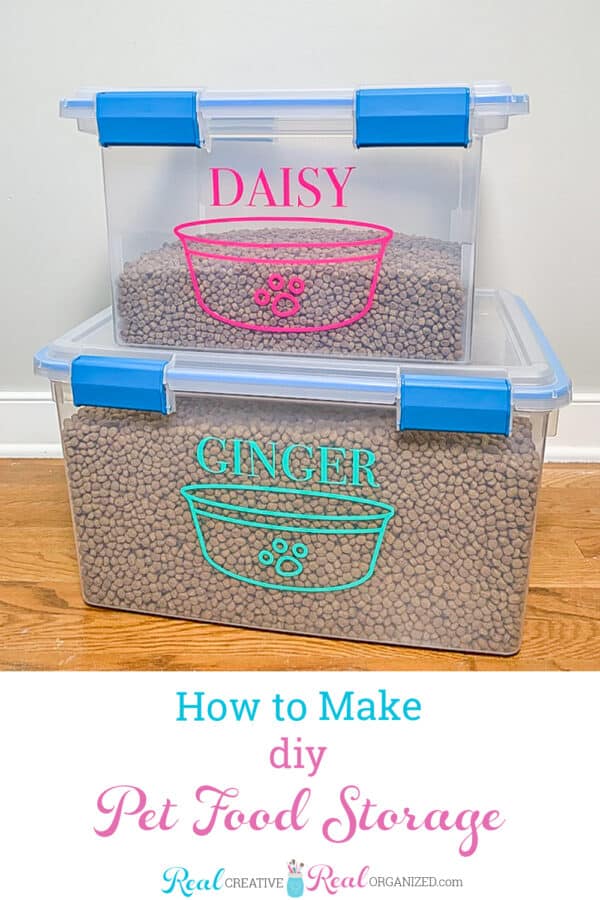
I’m embarrassed to share what lead to my needing these pet food storage bins, but I’m going to share it anyway.
My whole life, I’ve been a city girl, but where we live now is the most rural I’ve ever lived. We aren’t rural, but close enough. And with that apparently, it’s quite common to have extra furry friends that visit you. We’ve had raccoons in our backyard and deer right across the street. More recently, we have a closet/shed attached to our house that houses the air handler. It also has room for storage. For years, we’ve kept the giant Costco sized bags of birdseed and dog and cat food out there and had no problems.
A couple of months ago, I woke up one morning to find our cat intently following something under the couch. It turns out it was a mouse. I was horrified! The cat wanted to play with it for a short bit and then went to take a nap. I saw the mouse in the house for one more day, and then it must have left whatever way it came. It also must have found its way into that closet/shed attached to our house. It feasted on birdseed and left me little presents everywhere.
I set traps, but that darn little thing ate the bait and somehow managed to leave the traps unharmed.
I cleaned it all up and put the birdseed in an empty and clean large plastic cat litter container.
That silly little mouse then started eating through the dog food bags and the cat food bags. I took the advice of a friend and stored the bags in my car so the mouse couldn’t get to them, but that obviously isn’t a long term solution. Especially now. I was embarrassed that when I’d do a drive up grocery or target run and they’d put the bags in the back, there were my 3 big bags of open pet food. Weird!
I needed to come up with a solution that would keep the food safe AND that I’d be able to store it in the house shed/closet AND keep that darn little mouse away.
That led to the simple pet food storage solution I’m showing you today.
DIY Pet Food Storage Craft
Supplies:
- Plastic storage bins
- I used the Sterlite 54 Qt Gasket Bin and 2 Sterlite 32 Qt Gasket Bins (affiliate links)
TIP: Try to select boxes that are about the size for the amount of food you buy. I used the 54 Qt with a 26lb bag of dog food and the 32 Qt with 20lb bags of dog and cat food.
Adhesive Vinyl(affiliate link)
Cricut Machine (affiliate link)
Transfer Tape (affiliate link)
Cricut weeding tool and scraper(affiliate link)
Step 1: Make design and cut
TIME: varies
You’ll want to use Cricut Design Space and design what you want your box to say.
Once you have your design, cut it out using your Cricut or other electronic cutting machine.
You can buy a personalized cut file here or skip this and the next 3 steps and buy a complete cut-out design here.
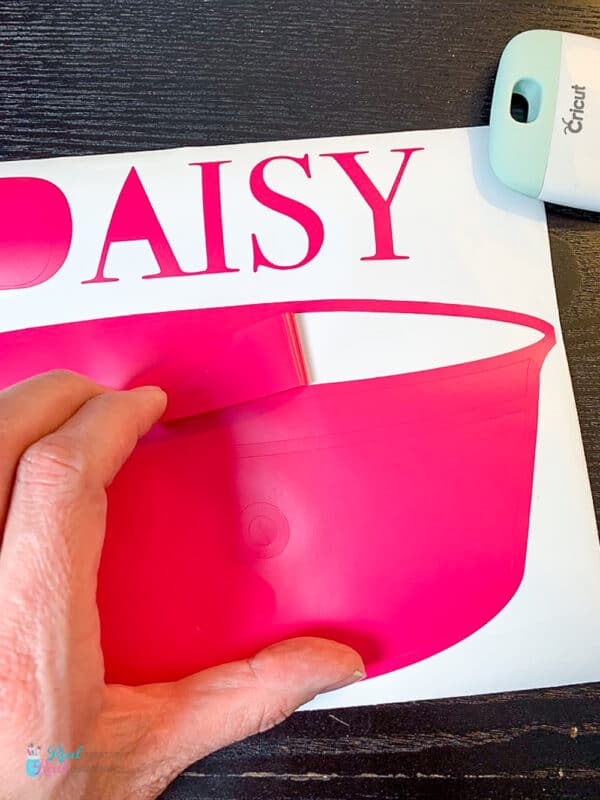
Step 2: Weed design
TIME: 2-3 minutes
Step 3: Apply transfer tape
TIME: 2 minutes
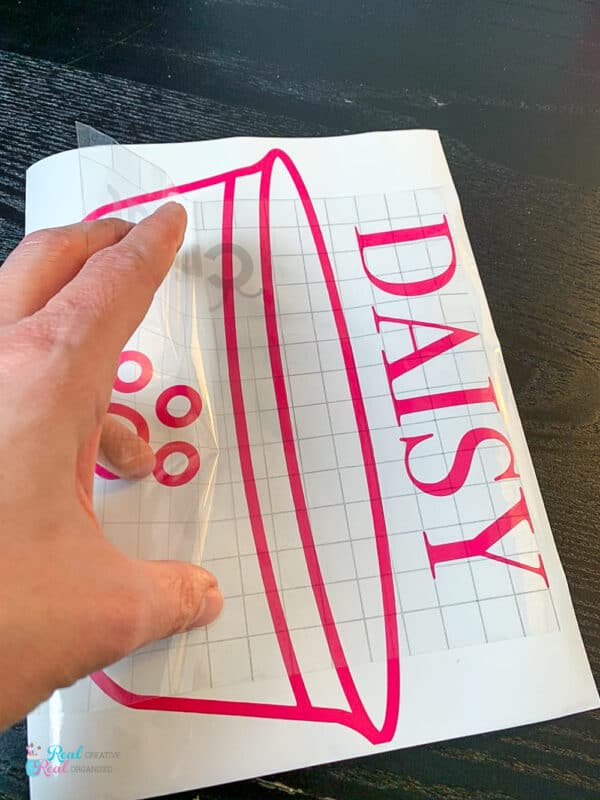
Transfer tape is your friend here. It holds everything in the exact place. That allows you to keep everything together and spaced how you want it as you apply it to your box.
You’ll need to remove the paper backing and apply it to the design you cut out.
TIP: You don’t have to cut your transfer tape as large as your full design. I usually cut it as big as the little pieces, and letters as those are the hardest to line up. Cutting it a little smaller will save you money on transfer tape in the long run.
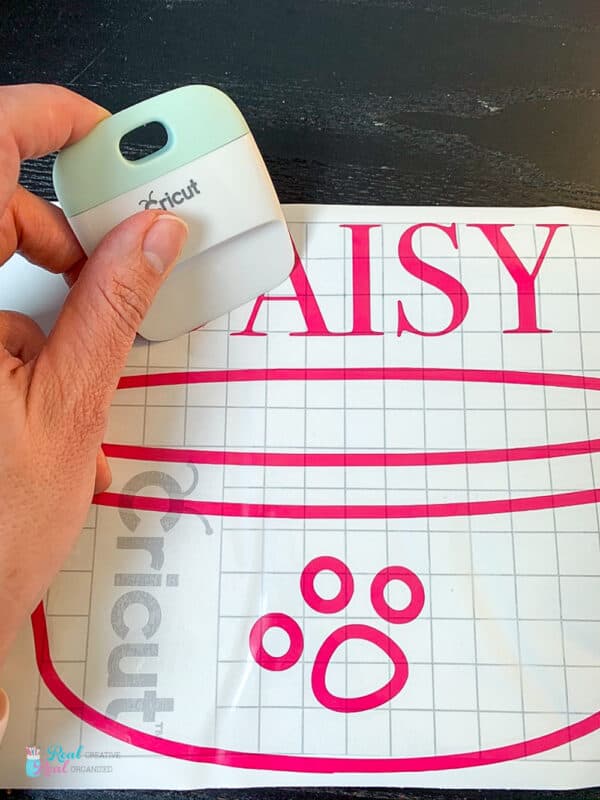
Use your scraper to adhere the transfer tape to the design.
Step 4: Remove vinyl backing
TIME: 2 minutes
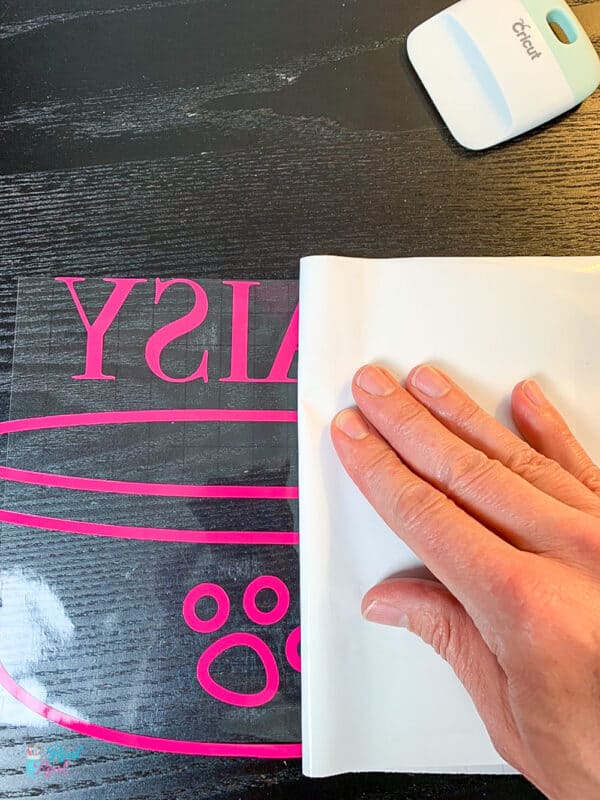
Now you want to remove the paper that backed the vinyl. That will leave only the cut vinyl attached to the transfer tape.
I find it easiest to do this by flipping the whole thing over and slowly rolling the paper backing away from the transfer tape and design, as you can see above.
Step 5: Apply design to pet food storage bin
TIME: 3-5 minutes
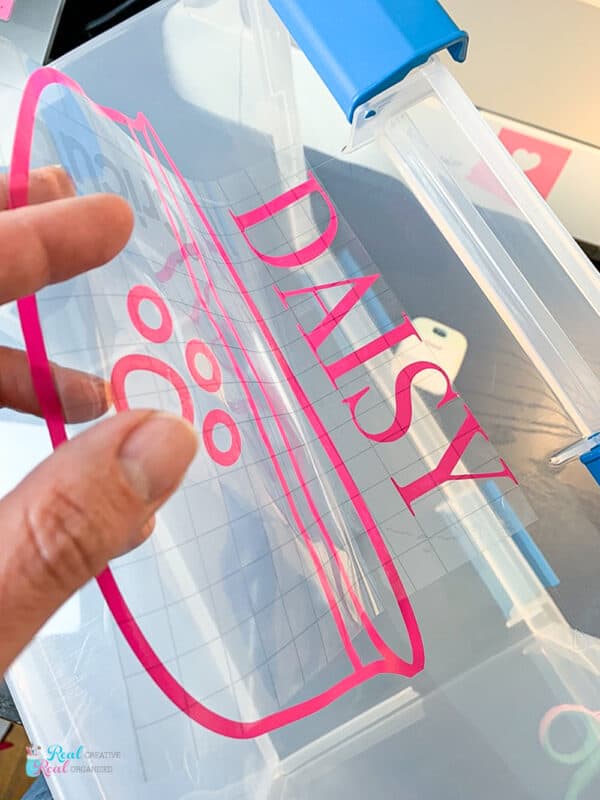
Line up your design where you want it on your box. I suggest going from top to bottom, adding the design and transfer tape to the container as you go.
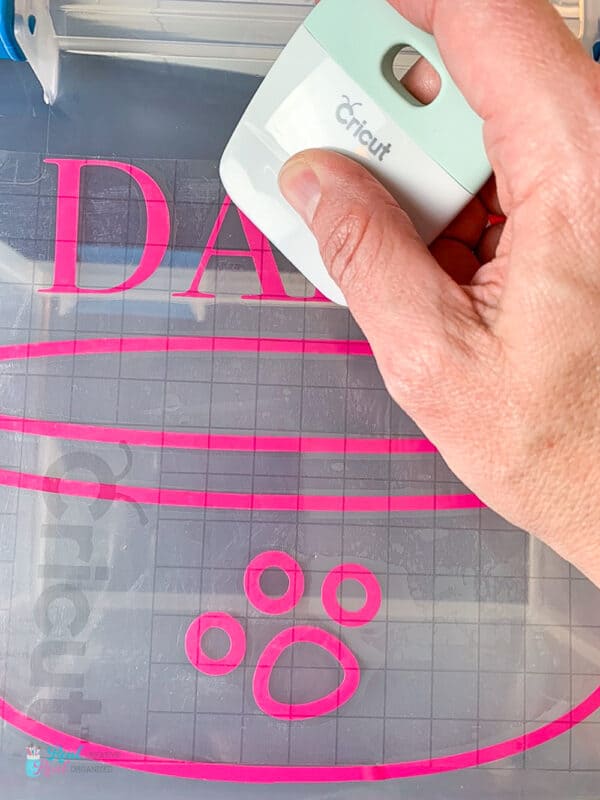
Use the scraper to adhere and press down the design as you go and again after applying the design.
Step 6: Remove transfer tape
TIME: 2 minutes
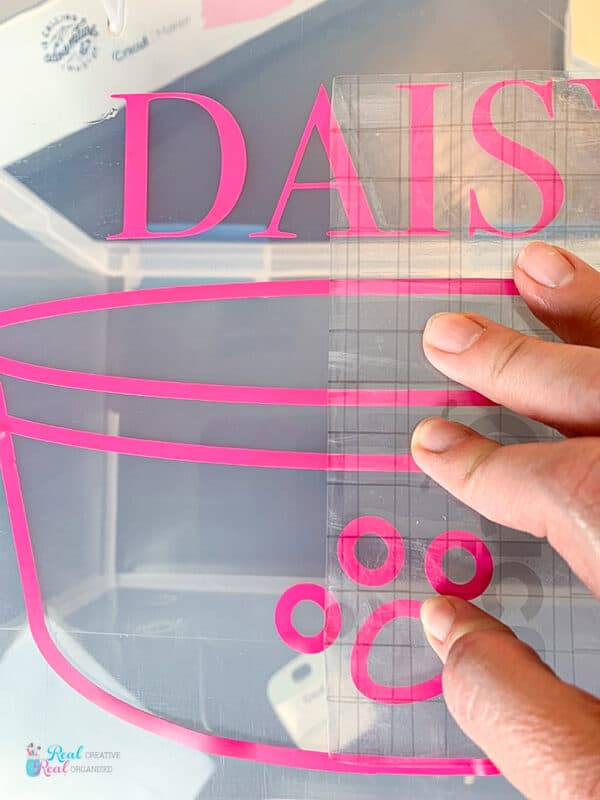
Once adhered to your bin, you’ll want to remove the transfer tape from your design.
As with the other steps, I find this easiest to do by starting at one edge and peeling, almost rolling, the transfer tape off.
If any pieces of the design begin to come up as you remove, use your finger or scraper to press them back down to the bin.
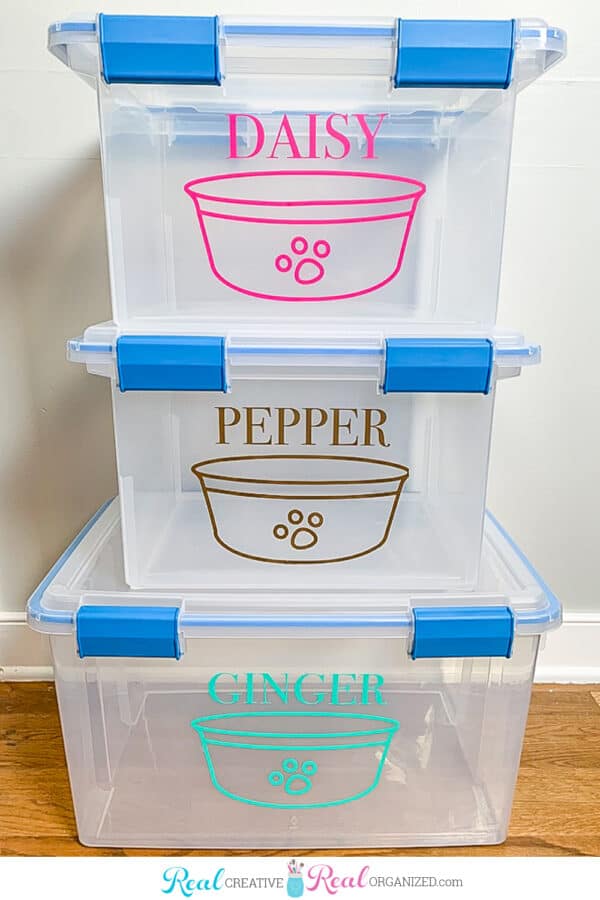
Step 7: Fill pet food storage containers
TIME: 2 minutes
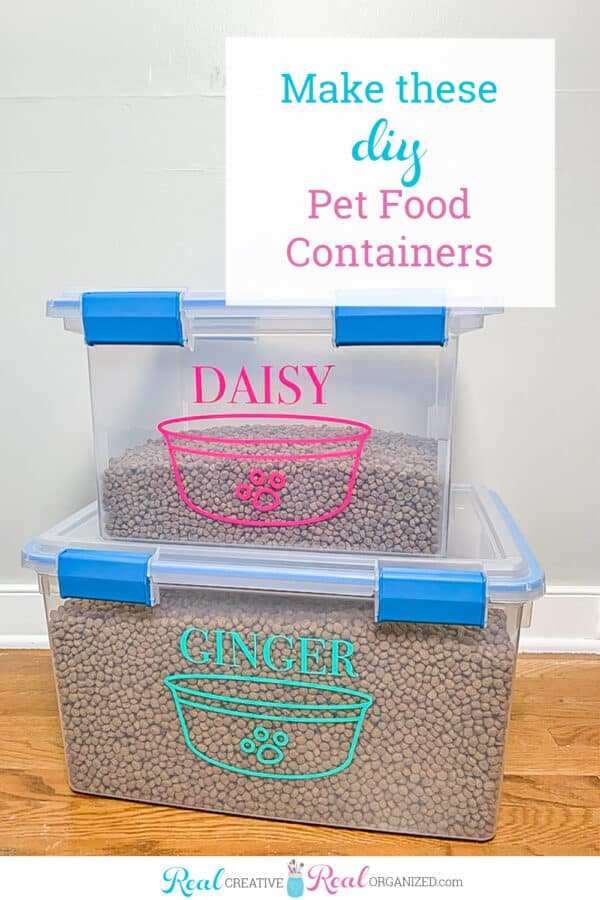
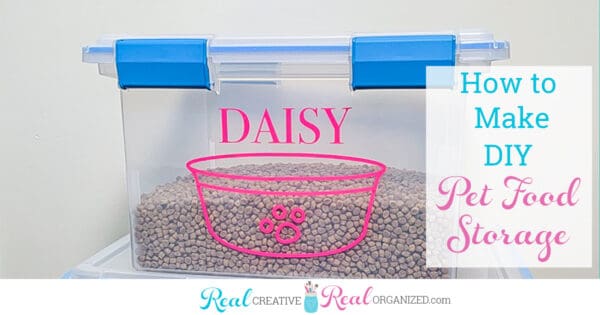
TIP: If you have kids or others who help with feeding pets, make a mark or line on the box at the point you’re low enough on food that you’ll need to buy more. Make sure to let them know that they’re to tell you when the food gets below that line, so you can buy more food.
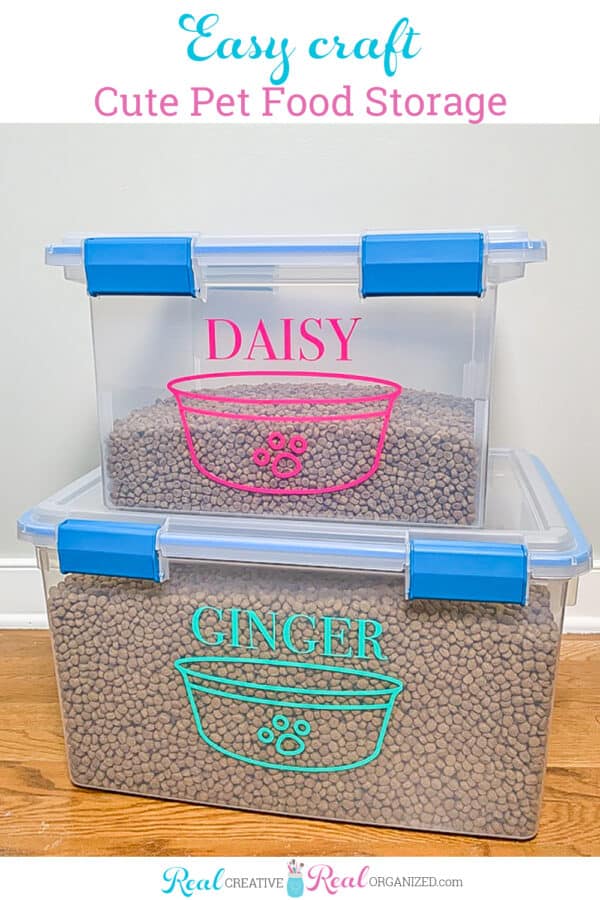
TIP: If you are storing food outside where critters might be able to get to it, I recommend purchasing plastic bins that have clipping mechanisms. That’ll make it harder for critters to get at the food.
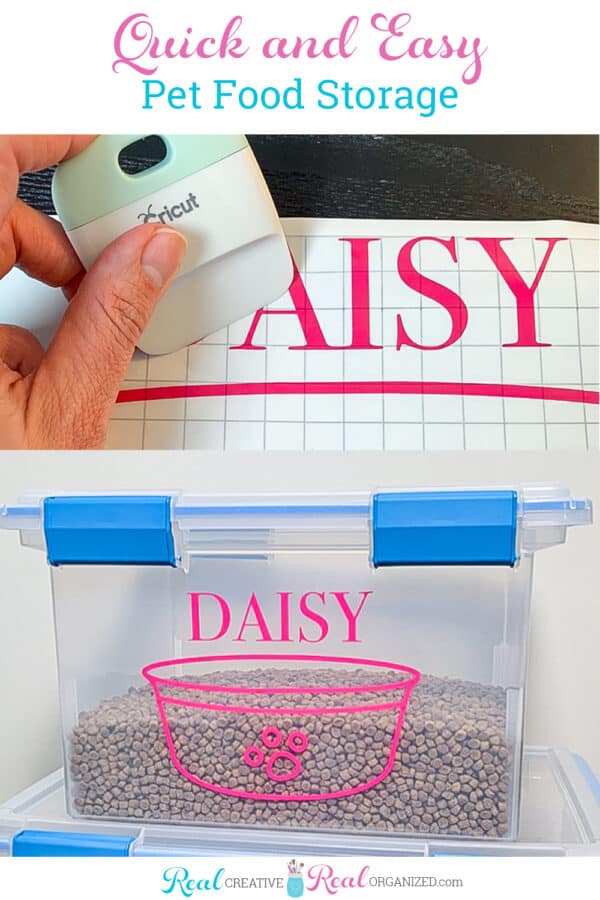
That’s it. These are such an easy craft and organization solution all in one.
We use these pet food storage containers in conjunction with these little shoe drawers, I showed you a while back. They still work great and keep the right amount of food handy in the house to feed the dogs and cat daily. Then we refill them from these bins we have stored outside when they are empty.
Don’t forget, if you want to skip making your own design or don’t have a cutting machine, I’ve got the designs and cut vinyl in my Etsy Shop.
Leave a Reply