Who is ready for Back to School? Let me be the first to say….”Not me!” Yet for a lot of you school starts again in less than a month.
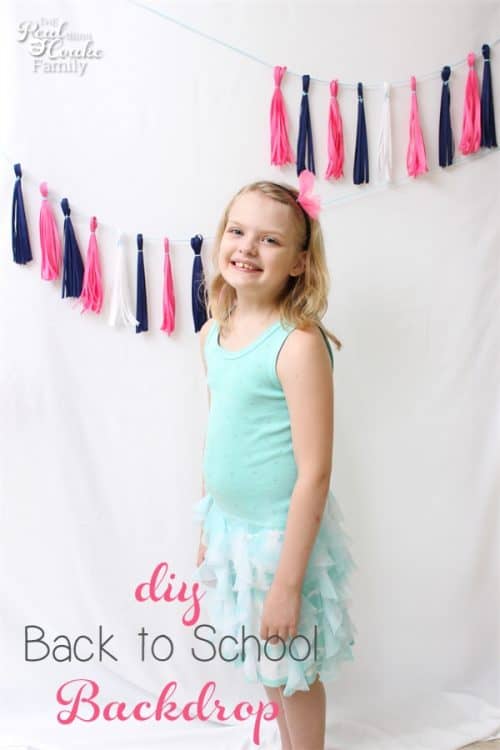
Before we left on our road trip, I had fun making a cute backdrop for first day of school pictures. It was super easy and it looks great. It made me feel like a professional photographer. Fun!
You could easily use this backdrop for the day before school, since school mornings get so hectic. It would also be great to just have some fun getting cut pictures of your kids.
Whichever way you want to use it, it is surprisingly easy to make a backdrop with some visual interest.
Offray, who has been a great sponsor to my blog, offered to send me ribbon and sponsor this post. I was really excited to make a cute backdrop using Offray ribbon.
I was originally planning to make ribbon pom poms…in my mind, it was going to be SO cute. I tried making pom poms with the ribbon. Ummm….total fail. They looked like little haystacks of ribbon, not pom poms. I ended up going with tassels, which it turns are way less time-consuming to make. Happy accident there!
To make your ribbon tassel backdrop you will need the supplies listed below. You can vary the colors to your school colors or the theme you want for your backdrop. If you want to have more of one color than another, just adjust the yards of ribbon accordingly. This does use quite a bit of ribbon. You will need about 7 yards of ribbon per tassel. I highly recommend ordering your ribbon from Offray because you can get the large quantities and the prices are far less than what you would pay at a craft or fabric store for the same amount of ribbon.
Supplies:
- Light Navy 1/4″ Grosgrain Ribbon – 100 yards
- Hot Pink Grosgrain 1/4″ Ribbon – 100 yards
- White Grosgrain 1/4″ Ribbon – 20 yards
- Aqua Baker’s Twine
- Scissors
- Tape
- White sheet
- Blue painter’s tape
Find something around which you can wrap your ribbon. I wrapped mine around a piece of cardboard that was about 6″ wide.
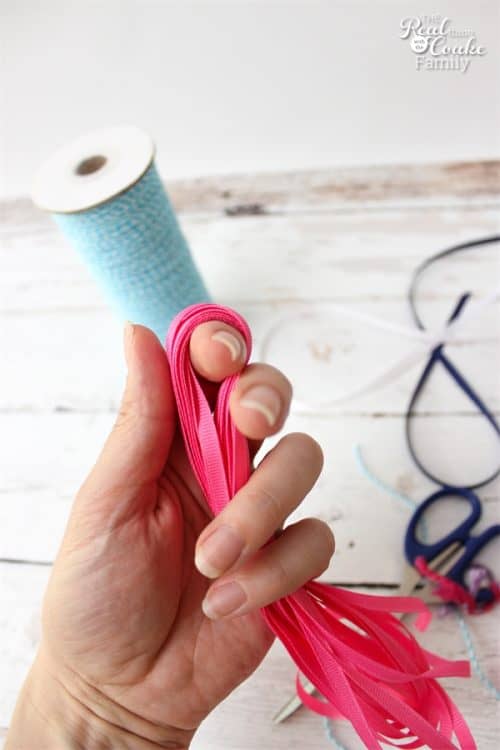
Pull the ribbon off of whatever you wound it around. Keep it together placing a finger through the hole at the top.
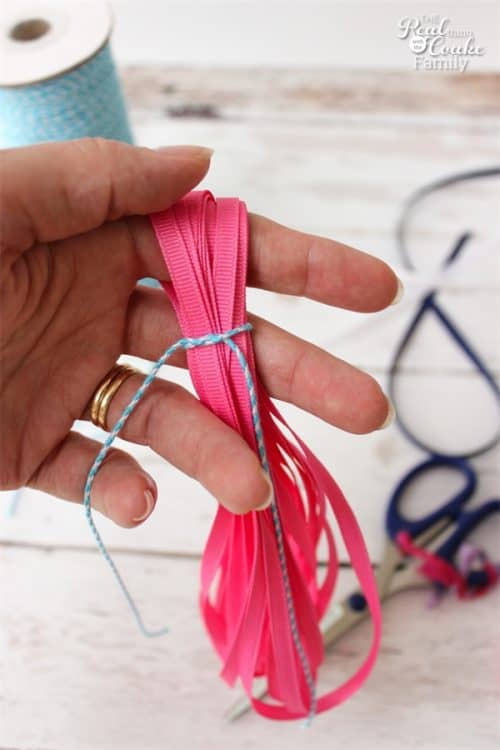
Carefully tie off the top of the tassel using the twine. Tie the knot tightly.
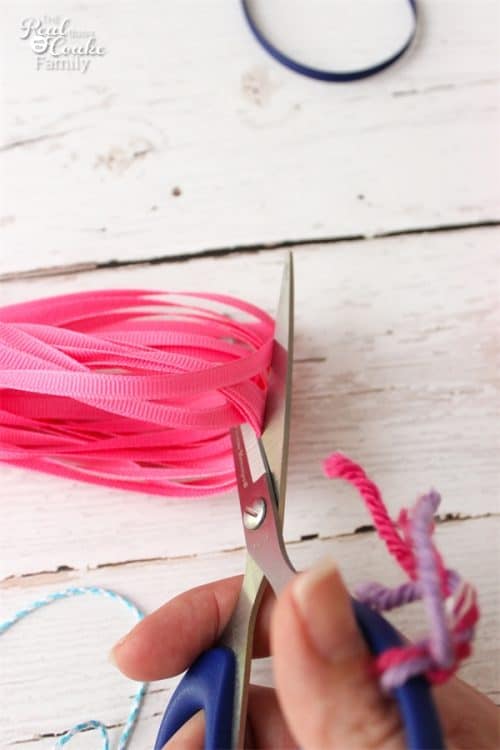
Cut the bottom of the ribbon so that you now have loose ends.
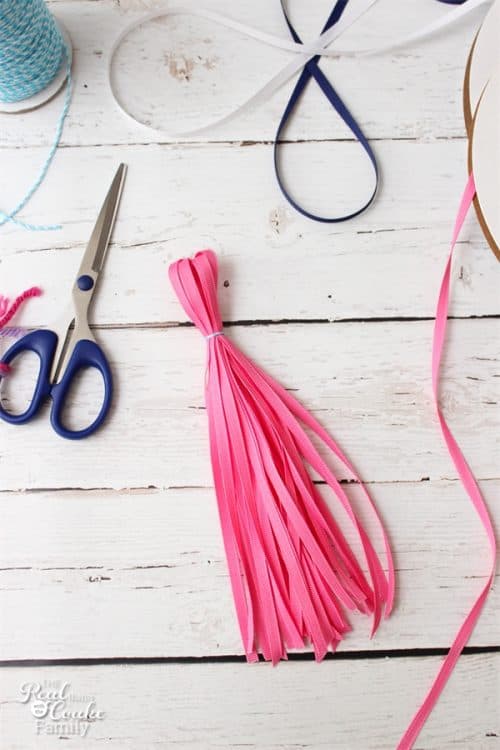
Do not trim the top of the tassel.
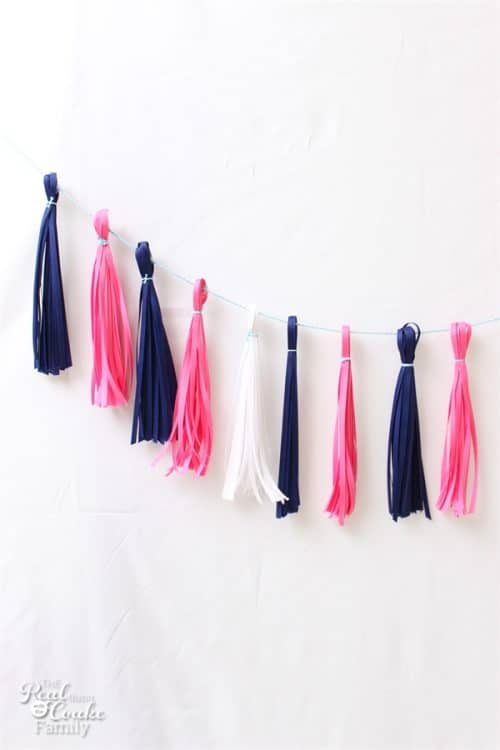
Cut a piece of twine as long as you need to string the tassels across your backdrop. Hang half of your tassels from this piece of twine.
Repeat this again with the other half of the tassels and another piece of twine.
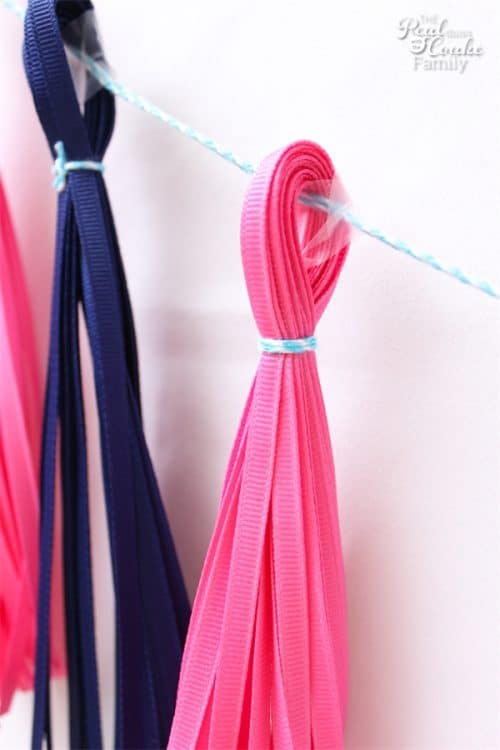
The weight of the tassels will drag your twine down some. It also made it a little challenging to keep the tassels where I wanted them. I combated this with a few small pieces of tape. It held them in place and was not visible in the pictures I took.
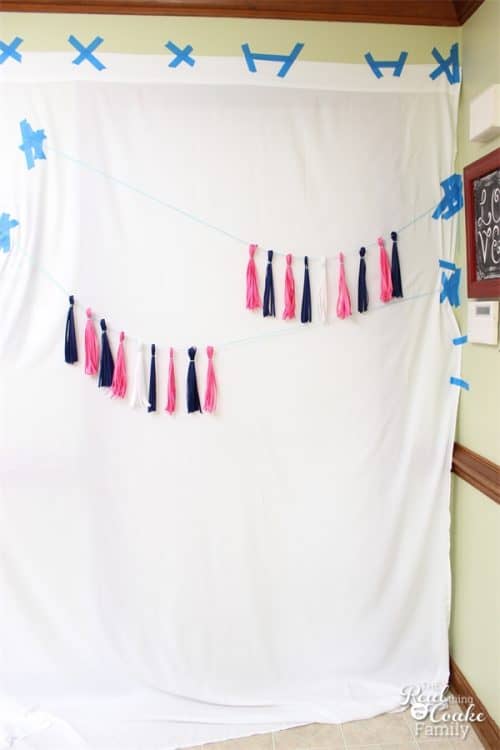
This is what the kitchen looked like. I used blue painters tape to hold my sheet and the twine with the tassels up. That way when I was done, nothing was ruined when I pulled it all down.
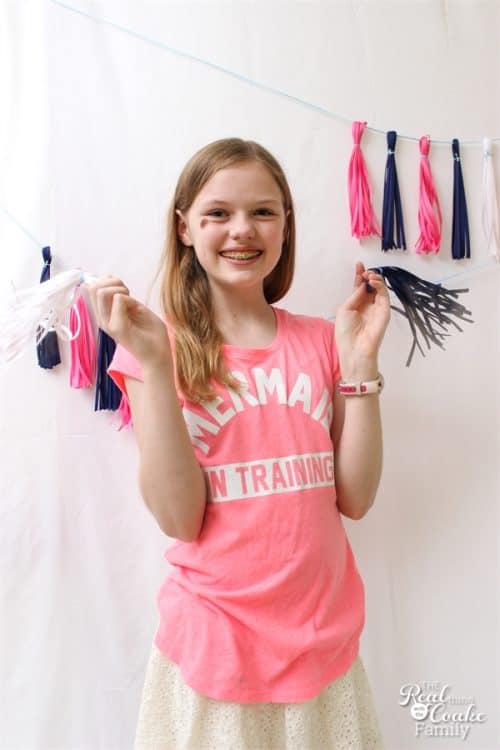
I made a few extra tassels for my girls to use as props. They had fun! If the kids are having fun, you are more likely to get some great pictures.
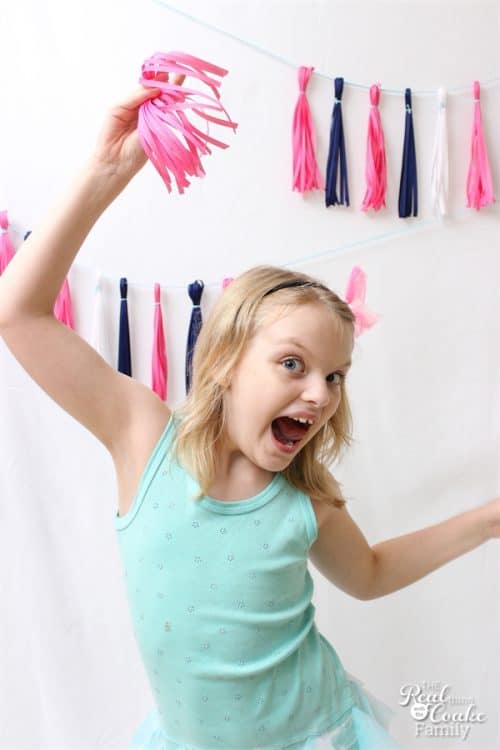
See what I mean? Cuteness!
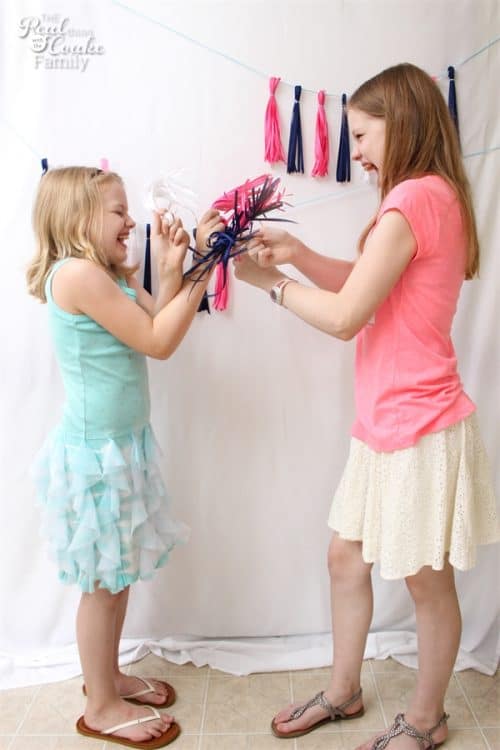
Tassel fights are fun! I don’t think anyone won… they just had fun and I loved photographing it!
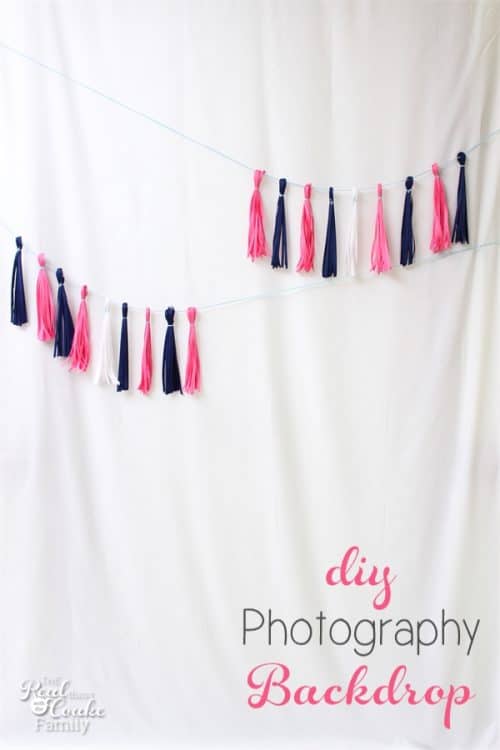
This was a really simple backdrop that turned out so cute. I kept saying to the girls that I really felt like a professional photographer while I was taking their pictures.
I also gave them some cute first day of school signs that I’m going to show you on Friday. I will have those as a free printable for you. They are so cute! Can’t wait to show you.
Have you ever done something special for back to school pictures? What was it?
More great posts for you:

Leave a Reply