Oh my gosh you guys…I’m so excited to show you today’s post! Have you ever made something that you look at it and you are amazed that you made it? That is how it is with this fun PB Teen knock off wall art for me. I’m so happy with the results and I’m excited to share it with you!
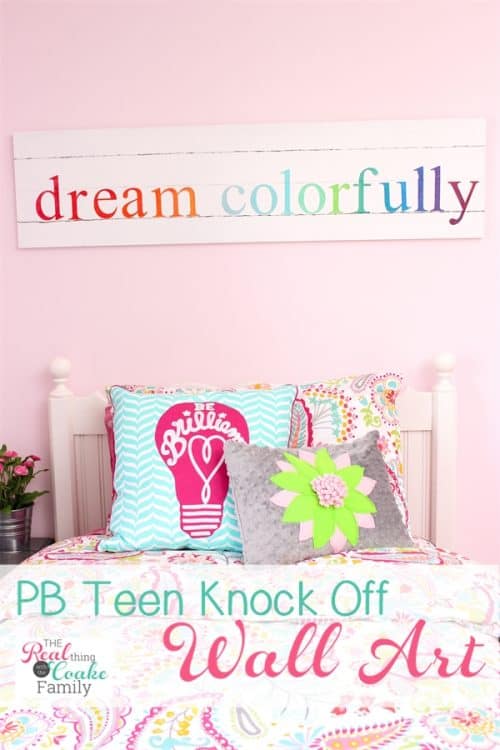
We recently started a makeover in my oldest daughter’s room. She turned 13 in January and I tried to have everything done by her birthday, but that just didn’t happen. We are getting really close and I should have the reveal for you soon.
She found this wall art that she loved in the PB Teen catalog. It was cute and it was also $99. Seeing as how I spent a little over $600 total for her room, I didn’t have $99 for wall art. I needed to spend that $600 on bedding, a nightstand, a bookcase, curtains, a rug, pillows, and paint. I think I did pretty good to get it all for the budget of $600. I decided she didn’t have to go without this art that she liked. I could just make it. You won’t believe what it cost me to make…crazy!
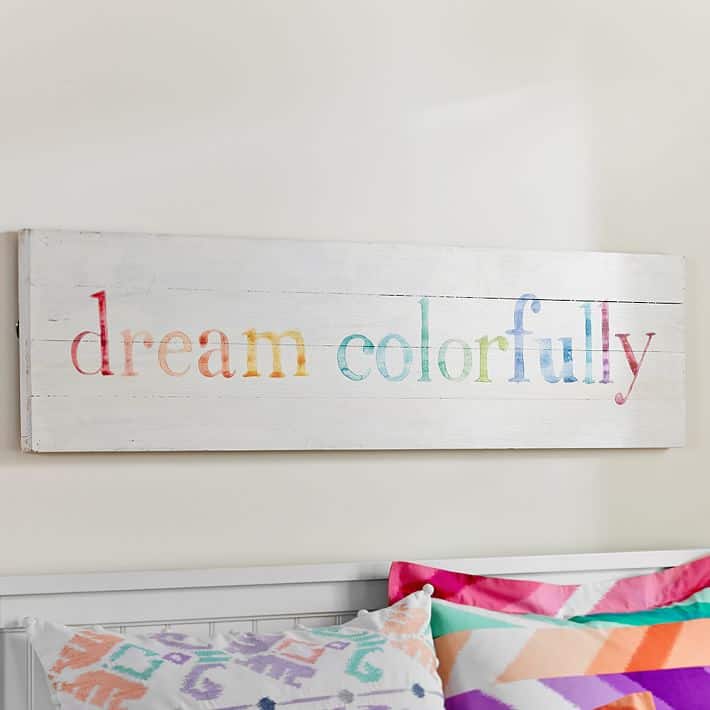
To start, here is a picture of what the PB Teen wall art looked like. (picture above is from their website) The website says the wall art is 47″ wide by 12″ high. It is big.
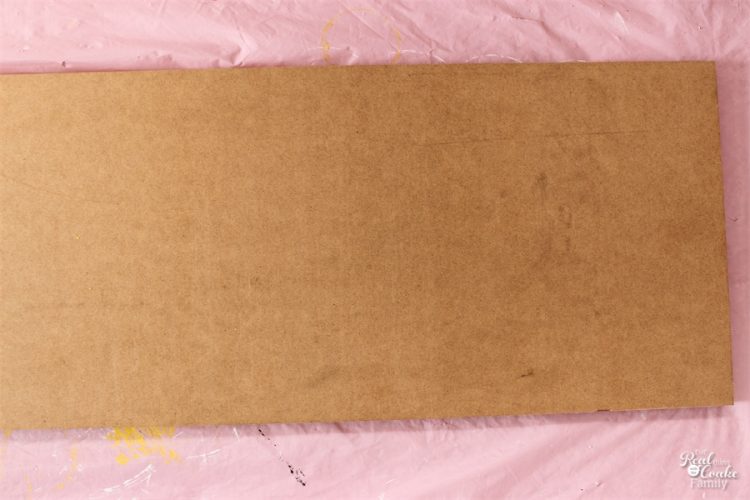
I went to Home Depot because is was closer to the errands I was running that day. They have a smaller selection of different sizes of and different varieties of wood then I have seen at Lowe’s. The only thing they had that was about the right size was MDF. I know it paints up easily, so I went for it.
The piece I bought is 48″ x 12″. I decided that extra inch could stay. 🙂 It was $4. Yep $4!!! I had everything else I needed to complete this project, so I made a $99 piece of wall art for $4!. Loving that.
Of course if you don’t have all the supplies, it will cost you more, but I’m sure you can come in under $99.
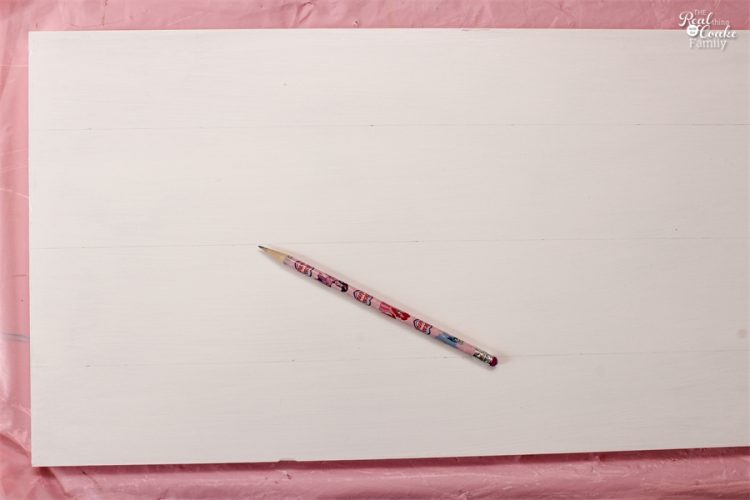
Start by priming and painting your board. You don’t have to prime, but it helps get a more even covering.
Next you need to mark off your lines. I noticed that about half of the board on the PB Teen version was above and below the wording, meaning that space was empty. I made mine similar to that. From the top line to the bottom line is just about 6.5″. I centered the lines on the board and drew them out lightly with a pencil.
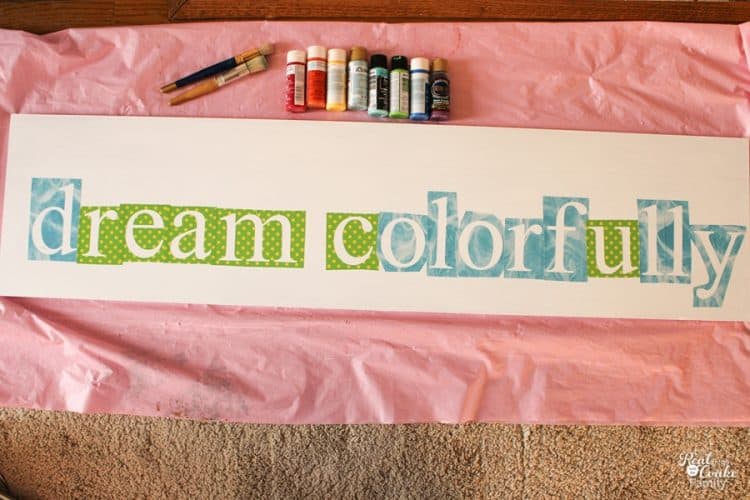
Next, get your letter stencils in place on your board. I make my own stencils using adhesive vinyl. Making my own stencils has gotten even easier now that I have the new Cricut Explore![]() (affiliate link). It is such a breeze to work with!
(affiliate link). It is such a breeze to work with!
If you don’t have a way to make your own stencils, you can purchase stencils or you could print out the letters the size you want and trace them onto the board.
The font I used was Times New Roman and I’m pretty sure that is what they used on the PB Teen wall art.
Select your paint colors. I used 8 colors: red, orange, yellow, blue, turquoise, green, deep blue (sort of indigo), and purple.
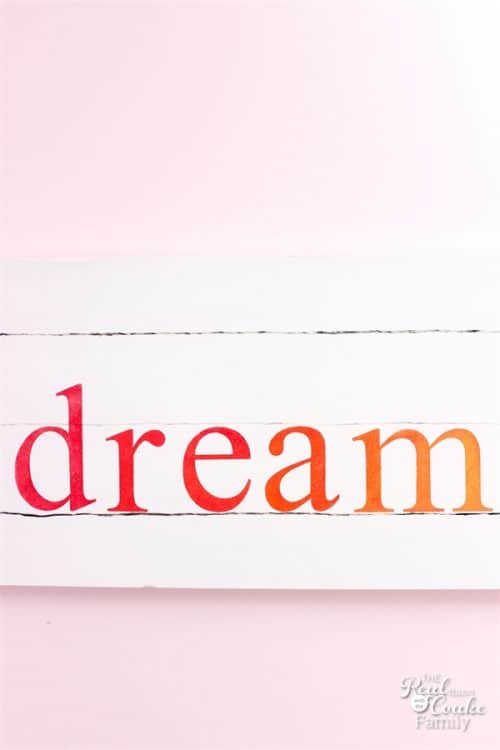
I forgot to take pictures because I was just in the zone, but you will mix the paints together. I used 8 little cups. In the first cup was just red, used for the ‘d’. The second cup had red with a small squirt of orange, use for the ‘r’. The third cup had orange with a small squirt of red, used for the ‘e’. The ‘a’ was orange alone.
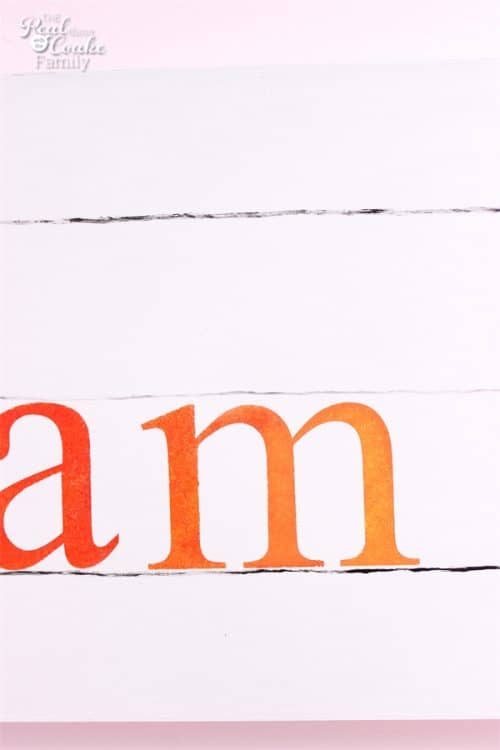
The ‘m’ I graduated from the orange to the yellow
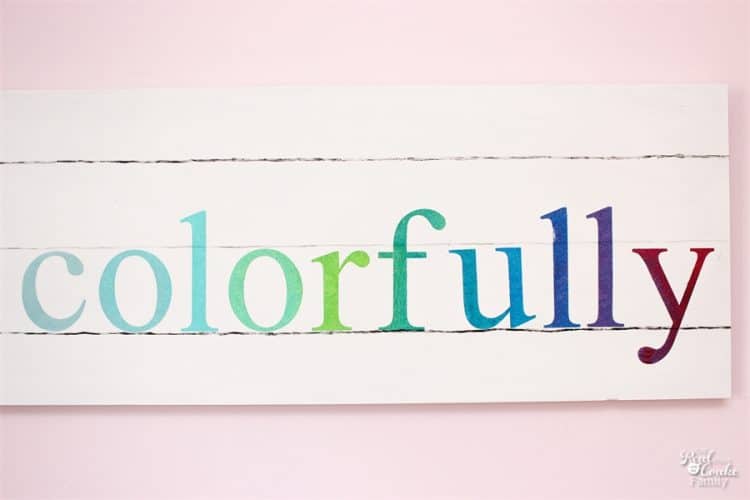
For the colorfully, I started with a light blue and worked my way through the rest of the rainbow and back to the red in the ‘y’. I used the same procedure of using one color, mixing that color and the next color in the next cup. Then starting with another color. So every other cup (and every other letter) contained a true color from the bottle and every other cup/letter contained a mixed color.
Looking at it now, I don’t know why I started with blue then when to green and back to blue as that is not how the rainbow goes. Except, I just looked back at the PB Teen version and I see that copied what they did…so that would be why I did that. 🙂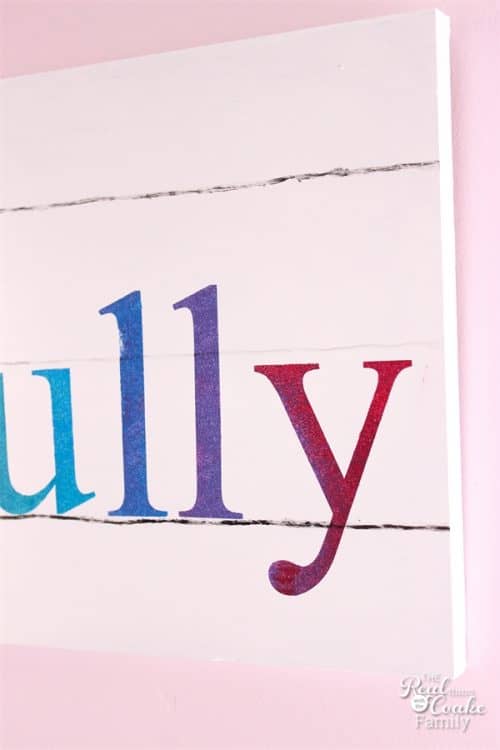
I love how the ‘y’ looks. Combining the purple and the red in one letter.
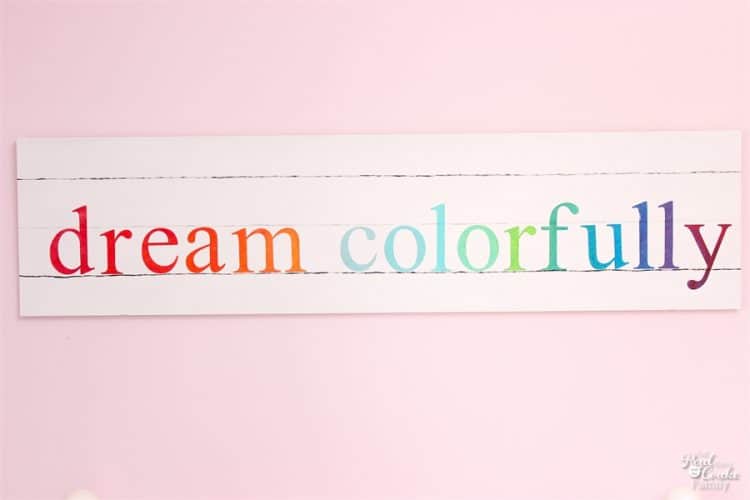
When you have finished the painting the letters, immediately remove your stencils. Let the paint fully dry.
Use a small tip paintbrush and black paint to paint your lines. Try your best to have a steady hand. I’m not that great at having a steady hand, but it still looks good. Getting the middle line to be really light was just total luck on my part. I used a really dry brush and somehow it managed to hold out with color for the line. I tried it again and it didn’t work nearly as well.
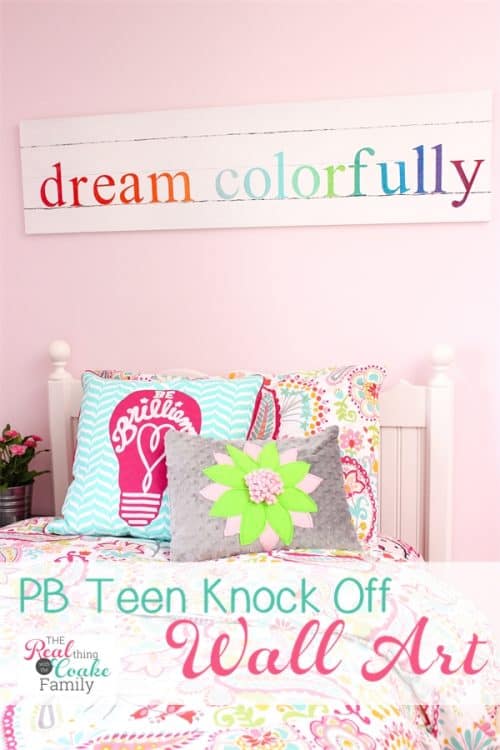
I’m so happy with this wall art. It looks great in my daughter’s room. All the colors pull the colors in her room together and add some additional color and fun to her room.
We are getting really close to having her room done. We did some organizing this weekend and now we need to finish up hanging things and one more project for the walls. I also need to hem her curtains. Blech!
Back to this project. This was a crazy cheap project. $4! What an impact that $4 makes in her room. It is a great focal point and something I’m proud of myself that I made it. It totally isn’t perfect. My daughter loves it and so do I…works for us!
Have you ever made something you were really proud/impressed you made? What was it? Can’t wait to hear your great stories! You can leave a comment here or share on my facebok page…that would be fun to have a great sharing round going on over there. 🙂
Love it! Pinning this for sure!
This is beautiful! 🙂
Such a fabulous idea! It looks great! Thanks for sharing!
Siobhan x
http://www.blueberryvintage.com.au
Thank you! Glad you like it.
I absolutely love this!
Thank you! I love it, too…I think maybe I’m not supposed to say that, but it is one of my favorite things I’ve made. Thanks for leaving a comment!
This turned out really beautifully, and a $95 saving is pretty impressive!
Thank you! I love the $95 savings…yay!
This is adorable! Great job!
You rocked this one! I just love how it came out too!
What a fun sign! I’d love for you to share this at our weekly link party! https://www.thelifeofjenniferdawn.com/2016/05/fun-birthday-party-ideas-little-bird.html Hope to see you there!
Thank you!
Thank you so much for linking this up to our Bewitchin’ Projects Block party last week KC! What a great sign and I love, love, love the colours 🙂 You are one of my Featured Picks over at Recreated Designs this Sunday. Happy painting, Lisa
Thank you so much and Thank you for the feature!
Such a cute knock and pretty room! Makes one want to be a teen again. Visiting from Bewitchin’ Projects.
This is gorgeous! I’ve always been shocked at some of the prices for “artwork” like this! good for you and I bet your daughter loves it.
Thanks for sharing on Throwback Thursday!
Mollie
Right? Sometimes the prices are crazy. Thanks! My daughter does love it. That is always great, too!
Terrific design and use of color! It looks great. Thank you for sharing it on the #HomeMattersParty
Thanks so much!
So I’m not such a crafty grandma and my granddaughter loves this knock off which she saw in the PB catalog! Can I commission you to make one for her room??? Please let me know….ty:)
Unfortunately, I don’t have the time to make these and sell them at this time. I wish I had better news for you and your granddaughter. Have you looked at Etsy to see if there is anything comparable? You might try there and see if you can find something close. Hopefully, you can find something.
You were so much smarter than anybody who might have spent $99 for a sign? Come on, $99 for a few letters in colors on a board, excuse me PB Teen but you need to adjust your pricing ideas, lol.
I was raised by Depression era parents so seeing $99 for something like you made really aggravates my puritan budget self. To me it’s a lot more fun to make the sign as you did than spend that kind of money on such a simple thing.
You did such a great job and your sweet daughter can be proud her Mom made it instead. Win, win all around. My kids (4) have always been so happy they could have things they wanted by me making it instead of shelling out a ridiculous amount of money, (if I even had that kind of money, yeah right, lol.).
They’re all grown up with family’s of their own teaching their kids what they were taught.
Makes my old heart feel so good to know parents have some sense about spending that kind of money on a sign. You sure deserve a star among many other tributes.
Excuse me for sounding like an old tight wad, those lessons I learned are still sticking and am 77 now.
Happy weekend with your very special family..
Thanks so much! As much as I love PBTeen, they are pretty pricey and I’m quite certain that my Grandmother would have totally agreed with you about spending that much on a sign. In fact, she probably would have helped me with my DIY! 🙂