I’ve got another project done in my living room! Yay! I wanted to show you this effortless wall art idea. It was both inexpensive and took very little time on my part. Yet, it is a fun piece on my walls and I’m sure it would be on your walls as well.
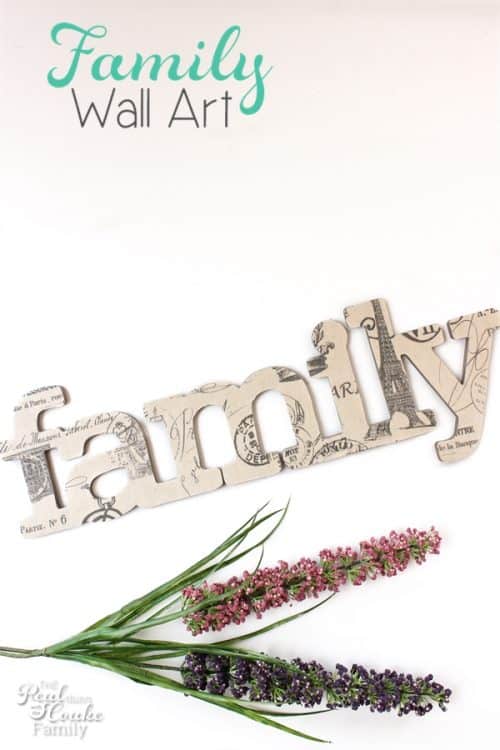
I’m sure it comes as no surprise that I love my family. I have always loved the art and pieces that spell out words especially on the walls. When I saw this family sign at Hobby Lobby, I picked it up. That was over a year ago…yes another project I wanted to start a year ago. I swear I’m always writing that…I think I just have too many ideas. Nice problem for a blogger. 😉 Perfect…I know I won’t run out of things to blog about. Anyway, I finished this wall art and it is in my living room. It was such a quick and easy project. Let me show you how to make your own family (or any word you want) wall art.
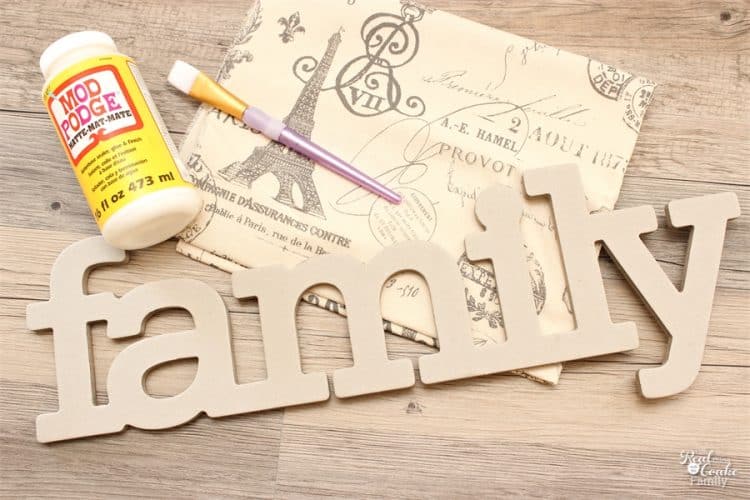
Supplies:
- Family (or other word) paper mache or cardboard word
- Paintbrush
- Pencil
- Mod Podge
- Mod Podge Brayer
 – optional (affiliate link)
 - Scissors
- Fabric
- Paint (optional)
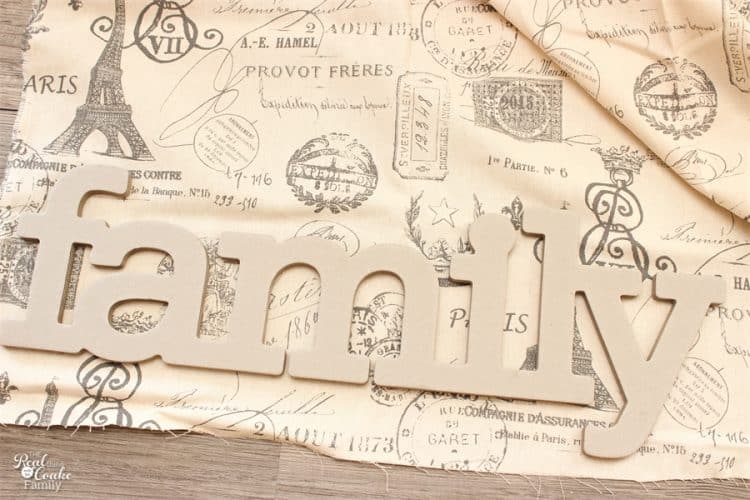
If desired, start by painting the sides of your word with paint. I decided not to do that this time.
If you are using a fabric with a print, like the one that I used, lay your cardboard word on top of the fabric and figure out what you want showing on the letters. I liked this arrangement where the Eiffel Tower was on the ‘l.’
On a side note, this fabric is perfect for my living room because it marries together the tan that is my couch and the gray that is my walls. I’m planning to change out a couple of the pillows on the couch with this fabric and the fabric I used for my letter ‘C’ wall art. Another project for another day.
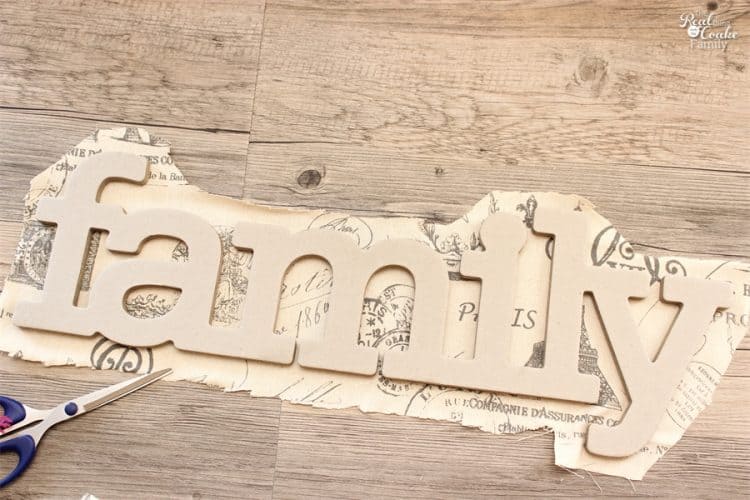
Do a rough cut of your fabric so that you will have less fabric to stiffen.
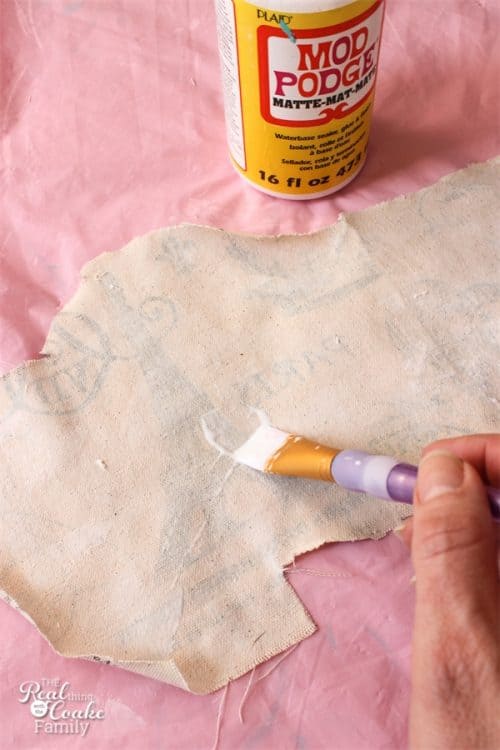
You need to stiffen your fabric so that it won’t fray when you cut it and to get it ready to be applied to the cardboard word. Do this by applying a coat of Mod Podge to the back of the fabric. Let it dry completely.
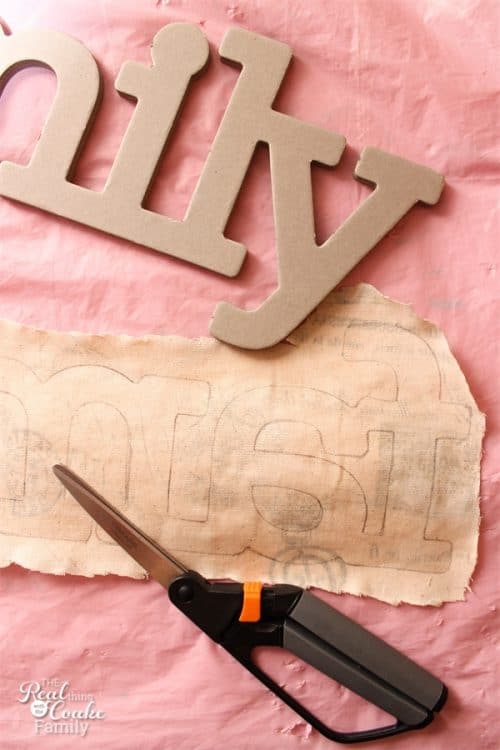
Once the fabric has dried, place your word upside down on the fabric. Trace the word well with a pencil and turn on the TV. Watch a show while you cut out the fabric.
I am often not patient for these types of things, but this time it really didn’t bother me and I was done in no time at all. Surprising!
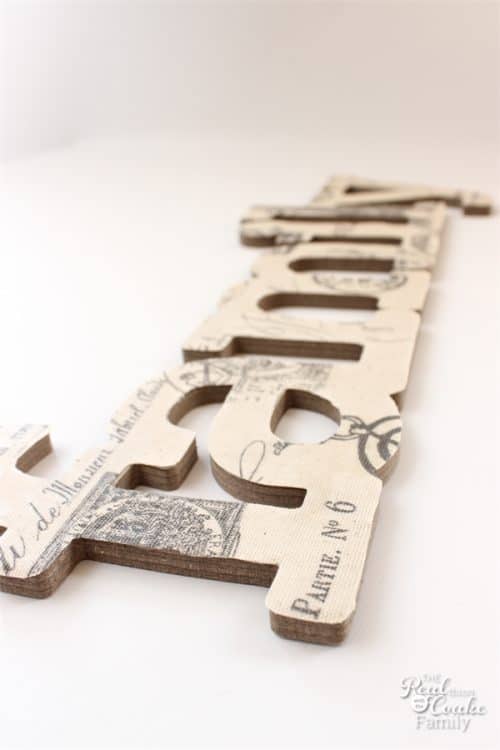
Line up your fabric with your word. Start at one end of the word and place Mod Podge on the cardboard one letter or section at a time. Smooth the fabric down over the Mod Podge, making sure to release any bubbles as you go. The Mod Podge Brayer (affiliate link) is fantastic for this. Work your way down the word until the fabric has been completely adhered to the word.
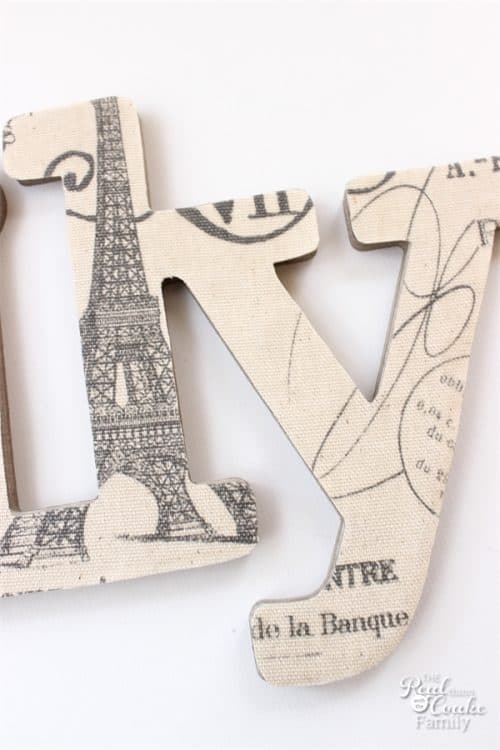
Let the Mod Podge dry for 15 minutes or more. You can now apply a coat of Mod Podge on top of your fabric. It isn’t required, but I usually like to do at least one coat as I feel like it helps make sure the fabric won’t begin to come off.
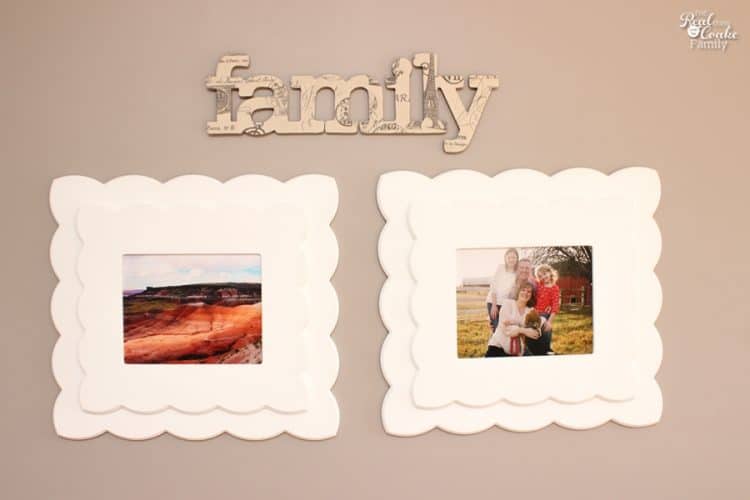
Already done! I think all together this project took me less than an hour. It took more time than that because of the drying times, but as far as the actual work time it was less than an hour.
This wall art now hangs in my living room right above the picture frames I just finished.
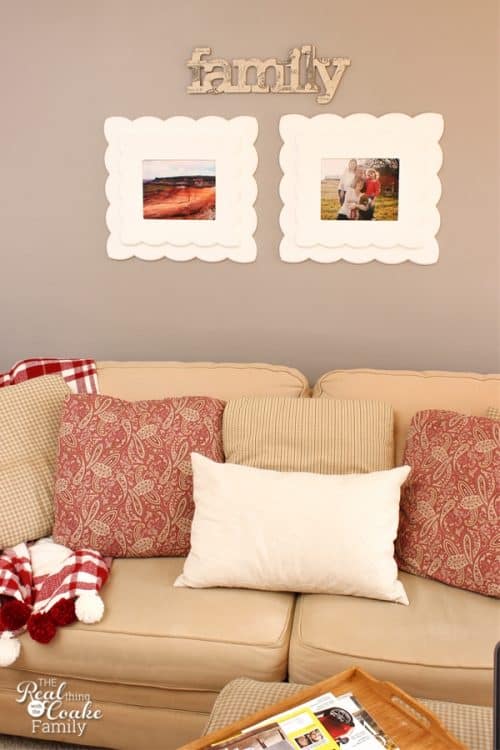
I’m not sure I love it against the white frames. What do you think? I do love the family wall art, I’m just not sure if this is where it will stay. Though I like that I added a little something else to the grouping of the two frames…so I’m still debating. Feel free it give me your opinion either in a comment below or leave me a comment on my facebook page.
One more project done in my living room. Next, I plan to tackle the end tables. I have never worked with chalk paint, but I think it is going to be the solution to my not being able to refinish furniture in this house dilemma. We don’t have a garage or any covered outdoor space in which I can re-finish furniture and it rains a lot here. I also have furniture that needs to be refinished. I hear chalk paint can be my perfect solution. Hopefully, I’ll have some good news and a post about that for you soon.

In the meantime, if you decide to take on this project, I think you will really like it and be happy with both the time it takes as well as the end result. Cuteness for not a lot of money or time, works for me every time!
More Cuteness for You:

Very nice! Your project came out well — I like your gallery wall! I would love it if you could share this at today’s A Little Bit of Everything Link Up Party at Mom Home Guide.
Thank you!