Did you realize that Mother’s Day is just about 3 weeks away? Whew…time to think about what you would like to do for your Mom. I’m excited because I get to actually spend Mother’s Day with my Mom this year! I can’t remember the last time we were together on Mother’s Day. Since we will be flying, I needed something small that would pack well to take as a little something for her for Mother’s Day. I’m sure I will add some flowers or something else to make the day special, but I also wanted a little something I made for her.
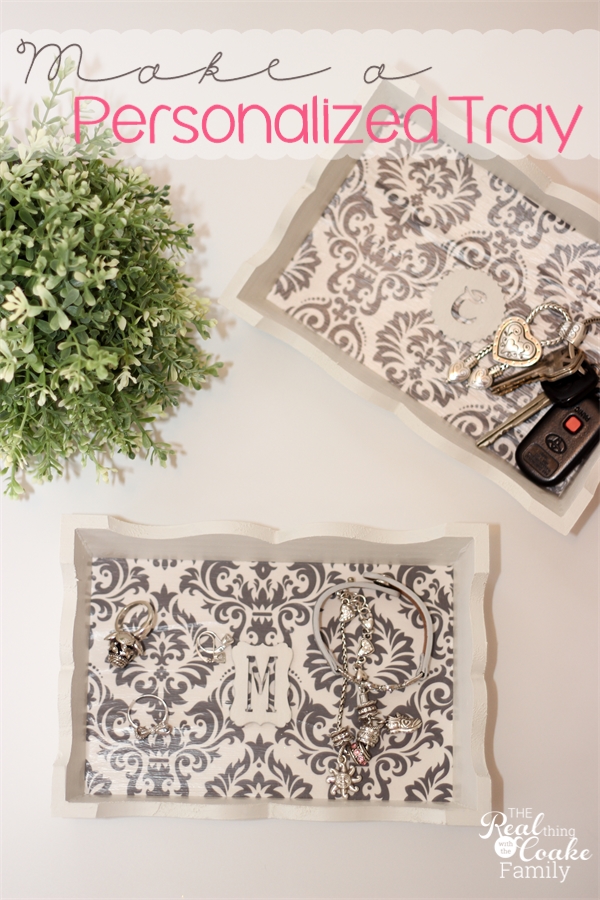
For some reason I had hard time figuring out what to do for my Mom and Mother-in-Law this year. I had finally decided would make a personalized serving tray for them, but when I went to the store to get the tray I had pictured in my mind, it was much too large to be able to pack in a suitcase. I saw these adorable small trays and decided I could make a small personalized tray. It could easily be packed and would also be perfect for placing mail, keys, or jewelry. Lots of options for its use. Love that idea! ♥
I’ve got a tutorial for you to make your own personalized tray. It was a fairly easy craft and I think it looks fab! Perfect!
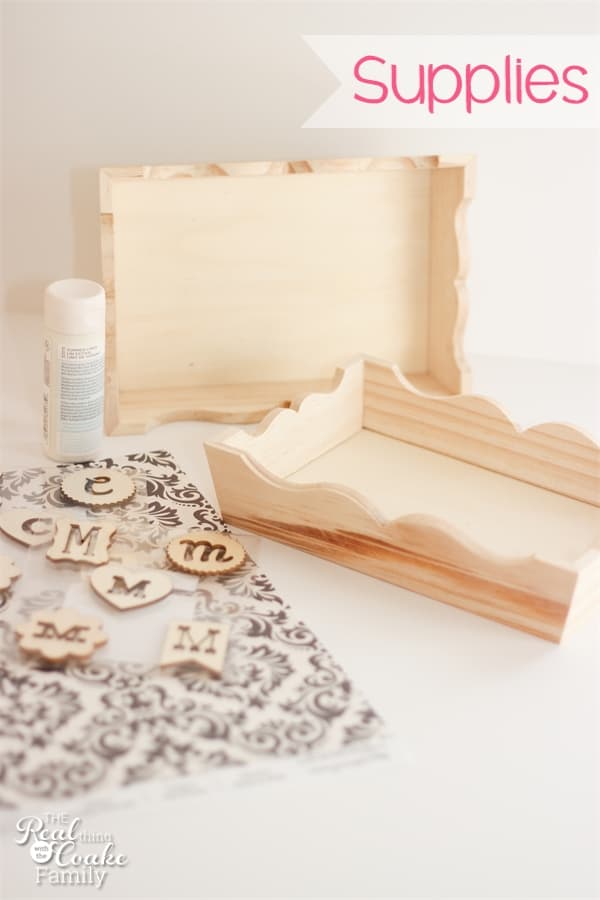
Supplies:
- Unfinished Wooden Tray(affiliate link)
 – Here is one on Amazon similar to what I found.
 - Primer
- Paint (I used an acrylic paint with a Satin finish)
- Paintbrush
- Mod Podge
- Scrapbook Paper
- Embellishment
- E6000 Glue
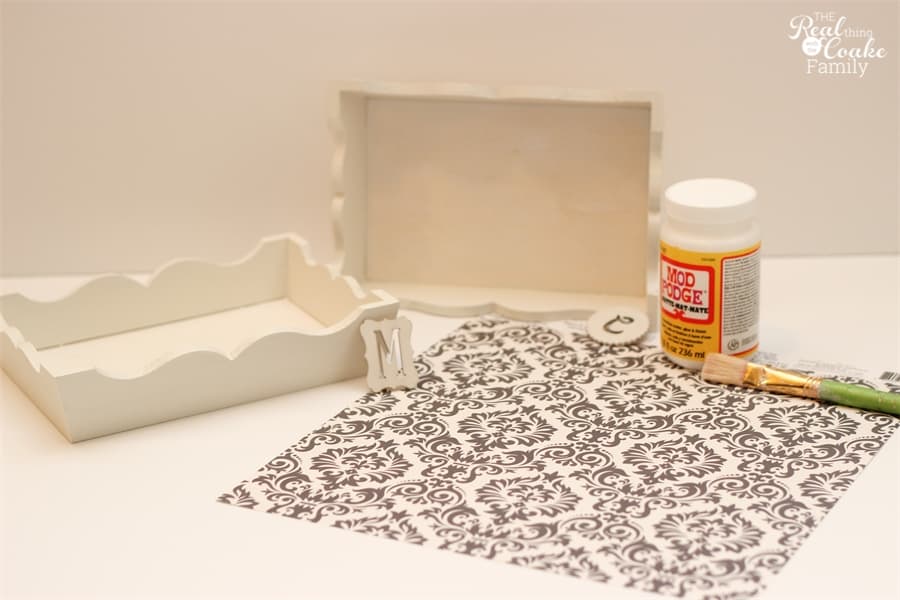
Start by priming your unfinished wood tray. If you don’t want to buy primer, you don’t have to do this step, but it will really help with getting good even paint coverage. After priming, paint two coats of the finish paint color. You don’t need to paint the flat part of the tray as you will be covering that with paper. Paint any unfinished wood embellishments at this time as well.
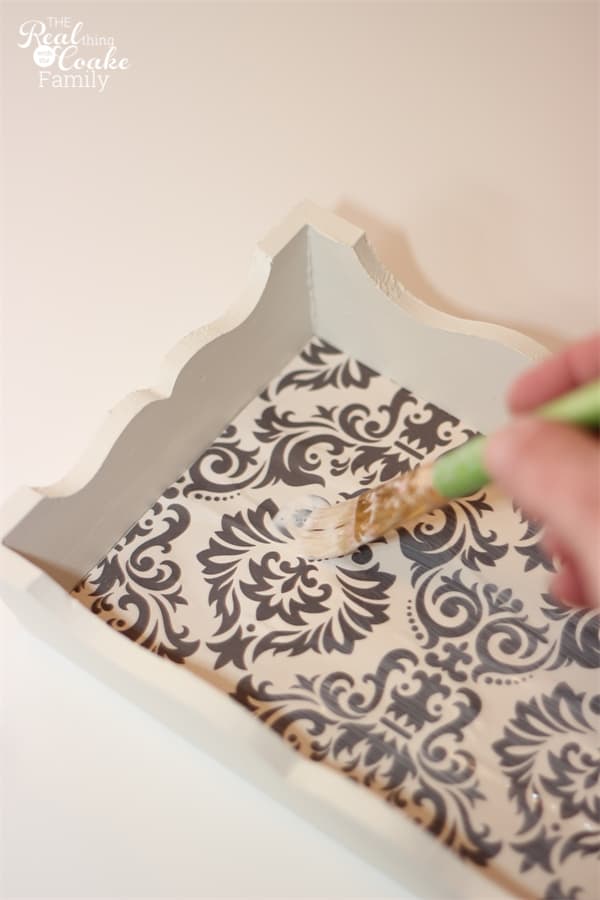
Cut your scrapbook paper to fit the bottom of the tray. I found it easiest to get a really good fit by cutting the piece of paper a bit larger than the space I needed to fill. Then I cut 1/4″ to 1/8″ pieces off at a time until it was the correct size.
Place a layer of Mod Podge on the flat part of the tray. Lightly mist the back side of your scrapbook paper with water (it will help the paper lay more flat and not bubble up). Apply the paper to the flat part of the tray. Use a brayer, pizza roller or you hands to get the paper flat and even. Layer Mod Podge on top making sure to get some into the seam so the paper won’t come loose there. Add at least one additional coat of Mod Podge to seal. I added 2 more layers for a total of 3 layers of Mod Podge as my sealer.
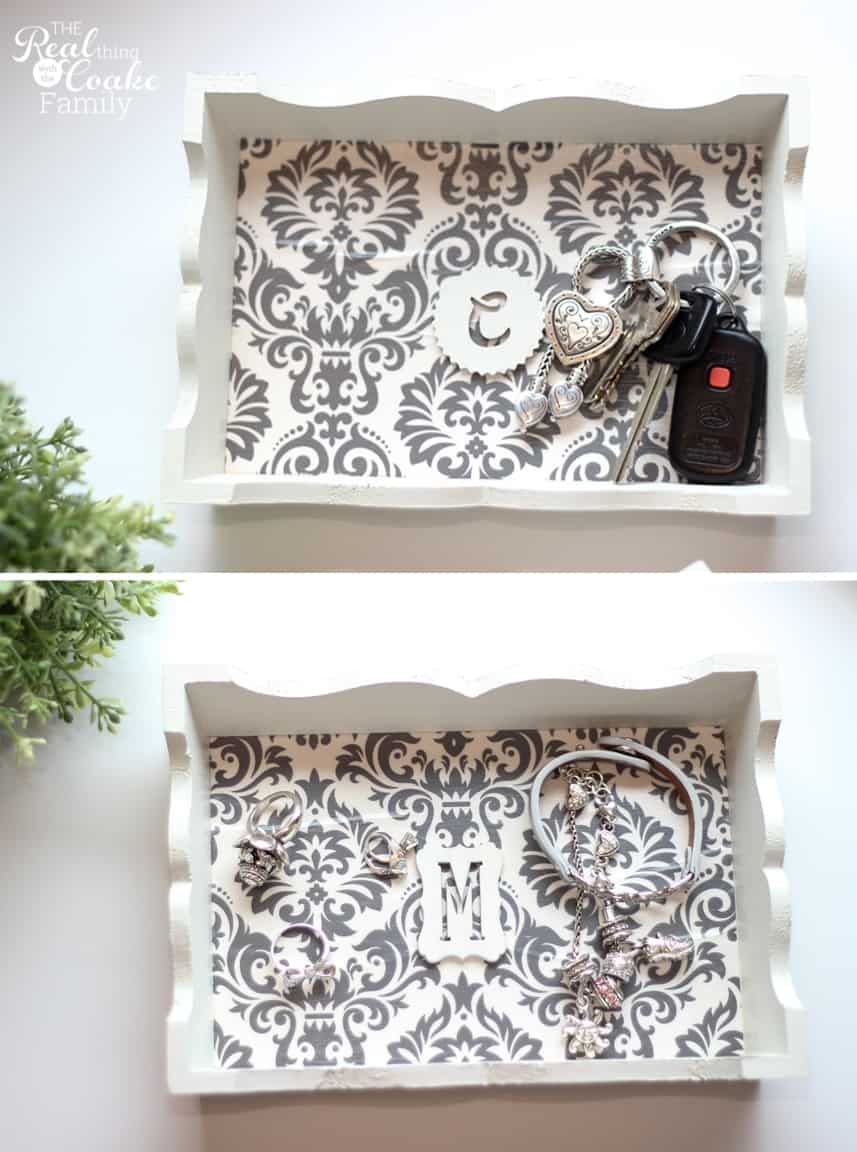
Use your E6000 to adhere the embellishment to the tray. I find it easiest to use a Q-tip to apply a small amount to small pieces like this. That way I don’t end up with a gloppy mess of glue sticking out from under the letter/embellishment.
As you can see in these pictures, I got some bubbling of the paper. I was not in a patient mood and didn’t add the light spray of water to the back of the paper. I’m a little disappointed with how they turned out because of that, but I still really love the colors and the look. I’m hoping my Mom and Mother-in-Law will be able to overlook the flaws.
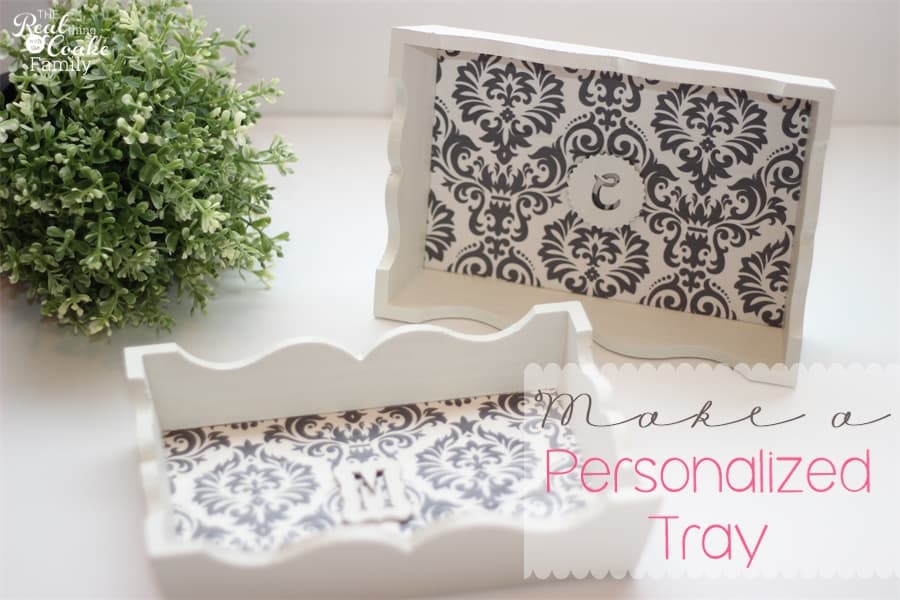
I love the overall look of these trays. I kind of wish I had made one for me as well. I think they would be a great place to put keys or mail.
Do you have Mother’s Day gift ideas? I’d love to hear more ideas. Please leave a comment below.
More Gift Ideas For You:

So pretty!
Gorgeous idea, and so versatile, I can imagine one of these for a load of different people. Ideal for next to the bed for your watch, glasses, little bits & pieces. I have to pin this quickly so I don’t forget it! thanks for the lovely idea.
Thanks! I agree that this is a great idea for lots of people. I love your idea of placing one by your bed. I really should have made one for me, too. 😉 Have a great night.
GREAT idea! Stopping by from Mon Linky Party. Carrie, A Mother’s Shadow
Isn’t Mod Podge the best?! 😉 I just did a Mother’s Day project using it too. I love your tray idea!
Thanks. Yes, Mod Podge is awesome! So many uses! What did you make for your Mother’s Day project?
What a great idea for Mother’s Day KC. I love your pretty trays and I have to thank you for the Modge Podge tip – I didn’t know spraying the paper lightly on the back with water helps avoid bubbles! Where did you buy those pretty scalloped wood trays?
Thanks! You are welcome for the tip. It hasn’t been working as well for me lately, but it normal works wonders. Hope it works great for you. I got the trays at AC Moore…. aren’t they pretty. Kinda wish I had gotten one and made one for me. 😉
Love this idea and it is so pretty! Thanks for linking up. xo
This is adorable! And very classy. I just posted about a few mother’s day gift ideas you can make with your kids at our blog (I’d love to hear your feedback about them). I wish I had seen this first. I’m glad I found your post through the Monday Funday link party.
This is such a great idea, I’ve seen some of these trays at the store for a pretty penny! I love what you did! Stopping by from the SITSgirls link up!
Thank you! Yes, they sure can go for quite the price tag can’t they. That is what is fun about making things ourselves! 🙂
That’s a really good idea! I think my mother in law would love something like this to use as a tea tray, she really loves her tea! Found you via SITS!
Thank you! I had thought of doing this tray much larger so it could be used for tea service. I think it would be lovely and really pretty!
Can you tell me where you bought the tray and letter? I just LOVE this fun idea!
Thanks! I got the trays at AC Moore and the letters in the dollar bins at Michael’s. Hope that helps.
Love this idea. Where did you get the trays?
Found your link on SITS. Gorgeous! It made it look so much more elegant with the paper choice! Pinning.
Thanks so much!
This is darling. So beautiful and I love personalized gifts!! Thank you for sharing!!
Thanks! I think personalized gifts are the best…great to make and great to receive. 🙂
I just love this project. Will be doing this with my grands! You mad modge podging look so easy!
So glad you like it! Have fun and don’t get frustrated if the Mod Podge bubbles up a little bit the first time you work with it. I know it took me a few tries to get it and feel comfortable with it. It is fun to work with!
Handmade gifts are always so personal and special. They often become heirlooms because the receiver associates the gift with the person who made it and gave it. Your tray turned out quite lovely. The monogram makes it extra-special.
Thanks! Good points. I love making personalized gifts. It is fun to come up with something the person will really love.
These turned out great. I love the idea. Thanks for sharing it.
Thanks!
Such a great idea! I love the personalized touch of adding the monogram, it makes it feel so special.
Thanks! Monograms seem to make most anything special and are so easy to add to handmade gifts. 🙂
Love how this turned out! I have some old trays that need a bit of refurbishing…. 🙂 Thanks for sharing at Dishing It & Digging It!
Thanks! Oh, your trays sound fun! Hope they turn out great!
Great Mother’s Day idea. Thanks for hosting and I hope you are have a great week.
Hugs,
Bev
Thanks!
Your finished tray is very pretty!
Thank you!
Just wanted you to know that I shared this with my readers as a round up of Mother’s day gift ideas. Thanks for linking up to the create, link inspire party.
Thank you so much!
This is a very cute idea for any gift occasion. This tray could go in any room in so many colors and styles. Thanks for the great inspiration.
Thanks! Yes, you are right, It is so easily customizable and changeable and great for tons of gifty occasions.
Nice project! Love how easy it is to make too. Thanks for sharing at the Inspiration Spotlight party. Pinned & shared.
Thanks!