I had this great idea to make these cute DIY Christmas ornaments. They were really a ploy to buy these cute little Christmas trees I saw at AC Moore, but I needed something to do with them…you know an excuse to buy them. So why not create a blog post and a cute craft? Ever done that before? Probably not, but I did and it didn’t turn out quite like I wanted. Oh bother!
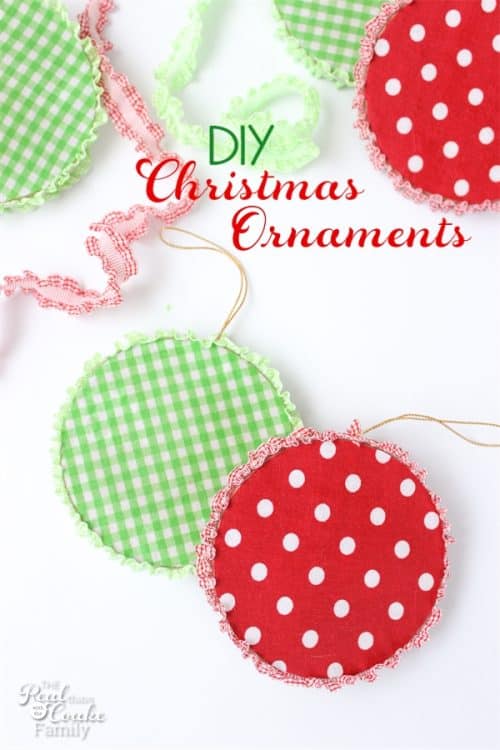
The ornaments are OK, but not nearly as cute as I thought they were going to be. I picked out two cute fabrics. I love polka dots and gingham is an all time favorite of mine. The paper mache ornaments needed something to cover the side and the cute ribbon I found was supposed to look great. The plan was to put the green ribbon on the red ornament and vice versa to give some contrast. The reality is that when I went to make them, the ribbon reminds me of those colonial hats that women used to wear at night. It did not look good AT all with the contrasting color fabric. The best I could do was put the same colors together and call them done because I wasn’t going to spend any more money on this project.
Now that I have done such a great job talking these up, let me show you how to make them. LOL! But really, I do have a tutorial for you and I think if you used regular flat ribbon on the sides instead of my ruffled ribbon, they would be totes adorbs.
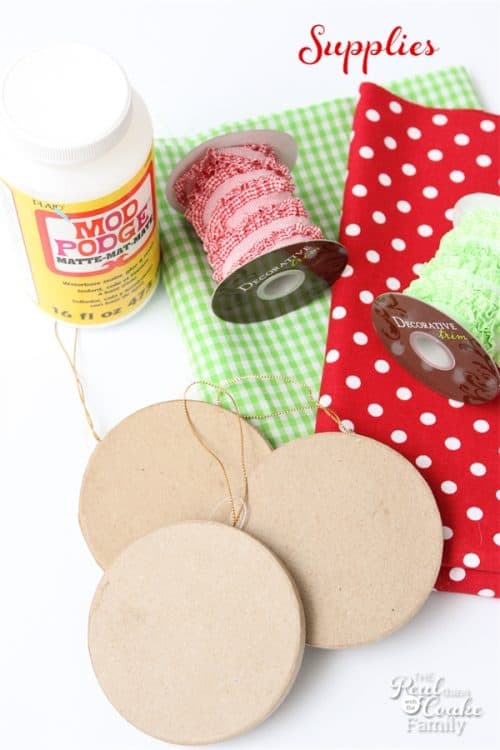
Craft Supplies:
- Fabric
- Ribbon
- Flat paper mache ornaments
 (affiliate link)
 - Pencil
- Mod Podge
- Scissors
- Hot glue gun and hot glue
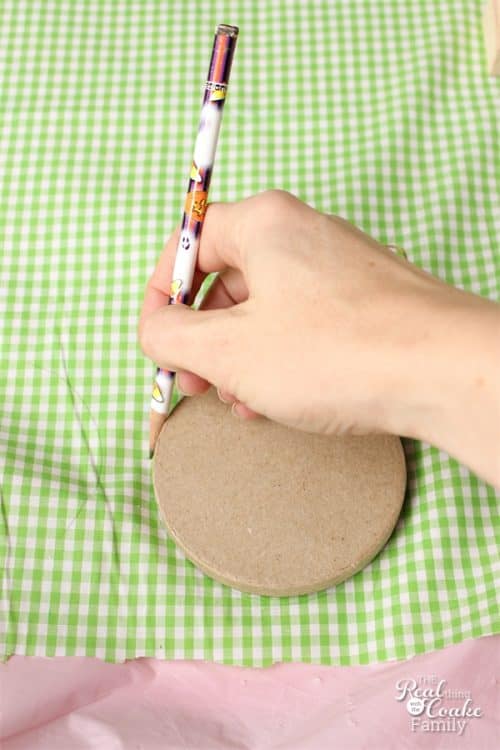
Start by tracing your ornament on the wrong (or back) side of the fabric. Trace two for each ornament so you can cover the front and back of the ornament.
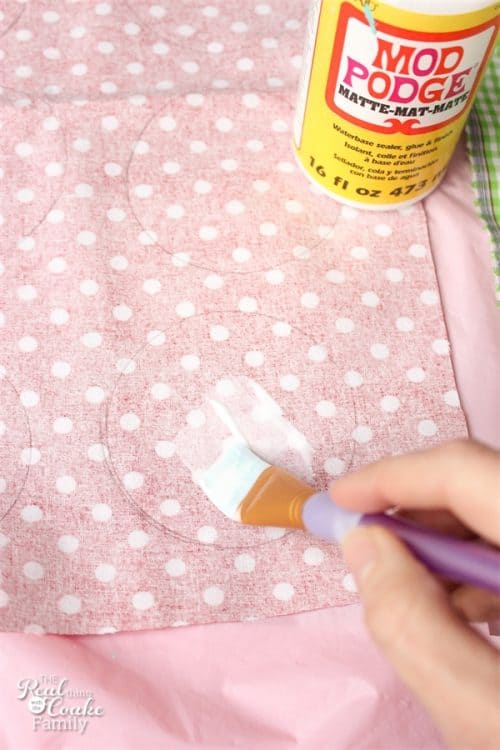
You will want to stiffen your fabric so it will cut and not fray and so it will adhere better to the ornament. You will stiffen the fabric by painting a coat of Mod Podge onto the wrong (or back) side of the fabric. Let it dry completely. Cut out the shape you traced.
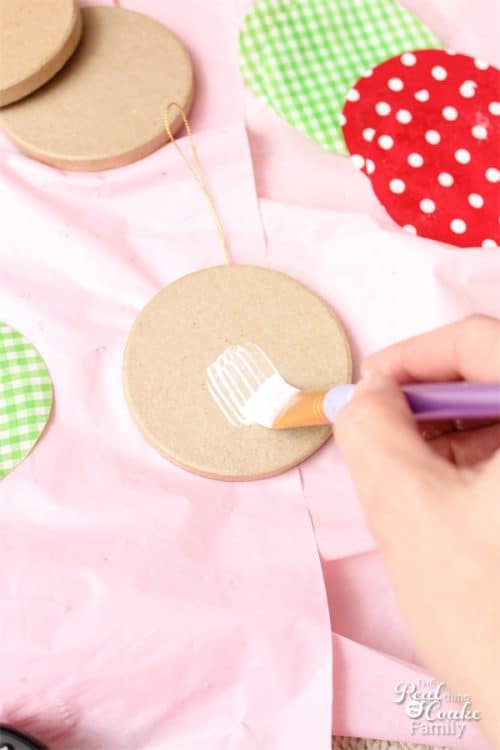
To adhere the fabric to the ornament, place a coat of Mod Podge on the paper mache ornament. Place the fabric on top of the Mod Podge and use your hands or a brayer to flatten and adhere the fabric to the ornament. Make sure there are no bubbles. Allow to dry 15 minutes.
Add a coat of Mod Podge on top of the fabric. You don’t have to do this step, but I like to as I feel like it helps seal the fabric to the ornament better than just leaving the under coat.
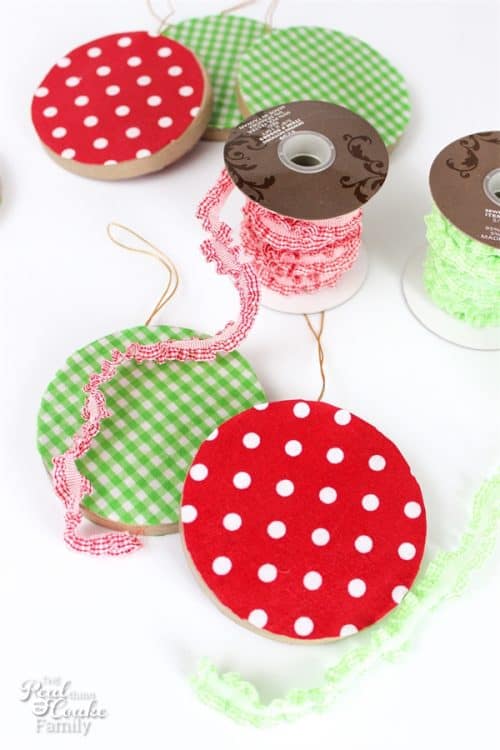
Next up we need to add the ribbon to the edge of the ornament.
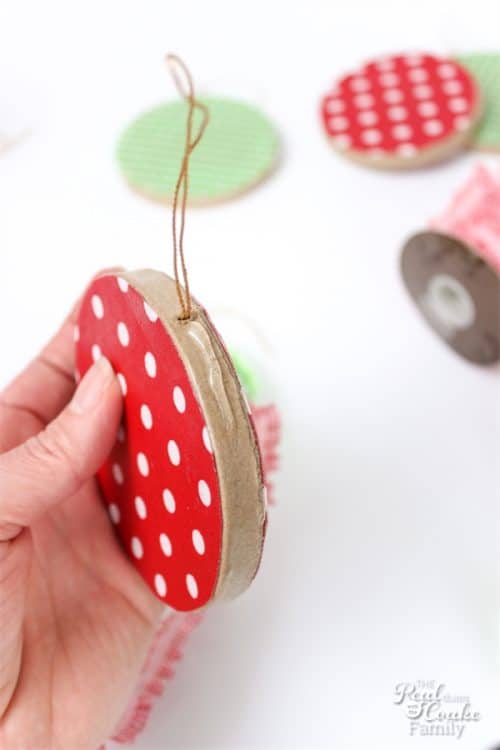
Use your hot glue gun and slowly work your way around the ornament adding glue and the ribbon. You will want to glue the entire surface of the ribbon so that it doesn’t have any holes or ways to come apart from the ornament.
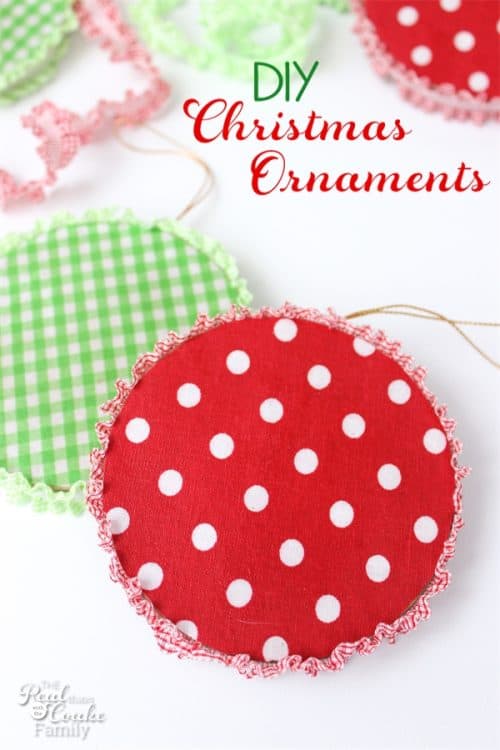
You are done. It is not a hard craft at all. It will take some time because of the need to add the Mod Podge at multiple steps and let it dry. It also takes some time to cut out all the circles if you are making quite a few like I was.
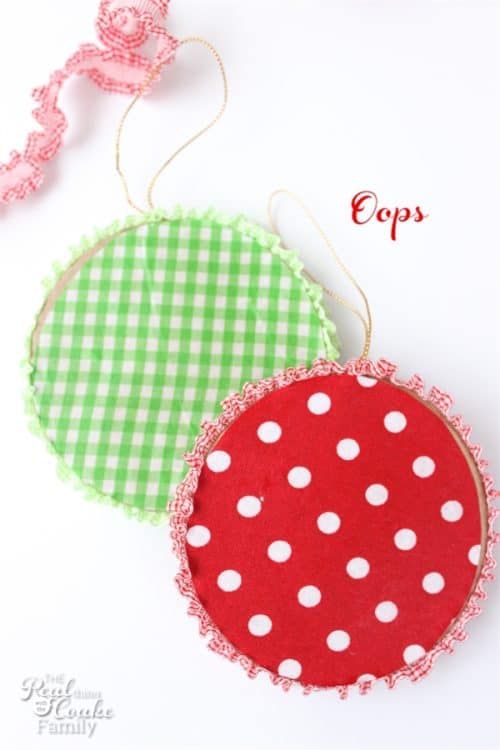
To add to my keeping it real photo for each post, I’m showing you some of the less pretty ornaments. Even though I traced the fabric, some of the circles were too small for the ornaments, so there is ugly paper mache showing through the back. On the green gingham ornament, the fabric got crumpled and I couldn’t get it to smooth out. Just keeping it real that they don’t all work out looking perfect, but there is usually one side that looks good. You can hang them on the tree with that side showing, which is exactly what I did.
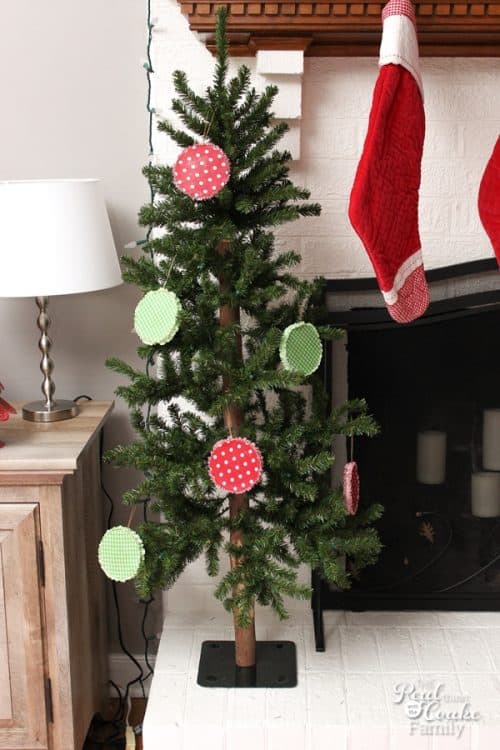
See the cute little trees that started the whole craft? I think they are so cute. I still need to cover the bases. I’m thinking of just using some white tissue paper pulled around to maybe look like a little tree skirt.
The ornaments don’t look nearly as cute on the trees as I thought they would, but I still like the cute color they add. They add to my theme for this year.
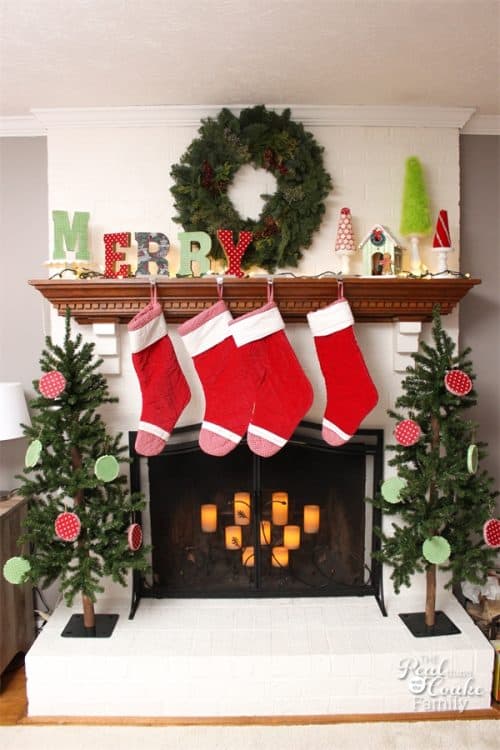
This is my mantle for this year. The stockings actually have ribbon down the front, but I turned them around so they names didn’t show since I don’t use my kids real names here. They also have some of the same green in them. It all ties together. I’ll be showing you the ‘Merry’ letters you can see on the mantel later this week. I made the gingerbread house last year and the other little trees I made two years ago. You can see tutorials in those posts.
What craft have you made that didn’t work out like you wanted?
More Christmas fun for you:

The ornaments are just missing something. You could cut out a circle phone and glue to the center or add some 3D stickers.
I really like these KC! Sometimes I feel like Christmas trees and decorations can be “over-done” if you know what I mean! These are very pretty and Iove that they are pretty easy to make. This is something you can also do with children or grandchildren, which are the kinds of projects I am always looking for! It makes the ornament extra special when someone you love (especially a child) makes it! Thank-you for sharing this!