Earlier this week I told you I would show you more DIY Christmas decorations that I made this year. I saw this cute idea when window shopping at Target and knew I wanted to try to make them myself. It turned out to be quite an easy craft that saved me money by making them myself over buying them. Love it when that happens!
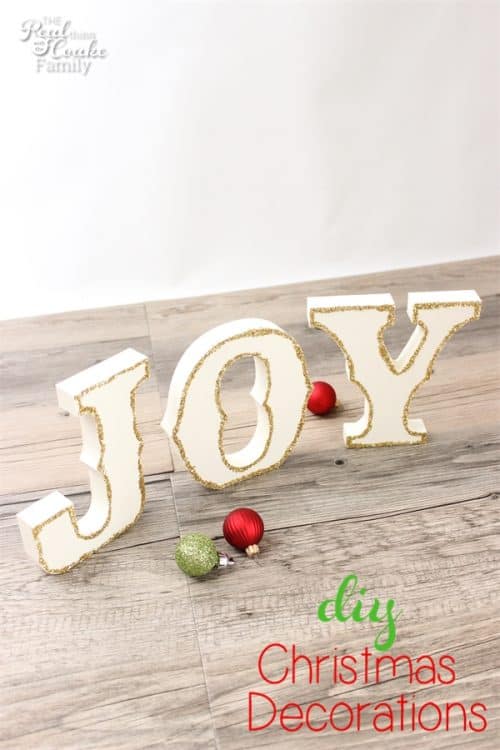
I told you earlier this week when I showed you the Merry DIY Christmas decorations that I had really wanted them to spell out JOY, but that I hadn’t been able to find the right letter combinations. A little while after I bought those supplies, I got an email from Pick Your Plum(affiliate link) showing that they had some of their fab MDF wood items for sale. They had the JOY letters that I wanted so badly, so I decided to get them and make two sets of decorative letters this year. Because the letters were only $7.99 and I had all the supplies on hand to make these letters, even with the shipping fee it was less expensive to make than buying the letters from Target.
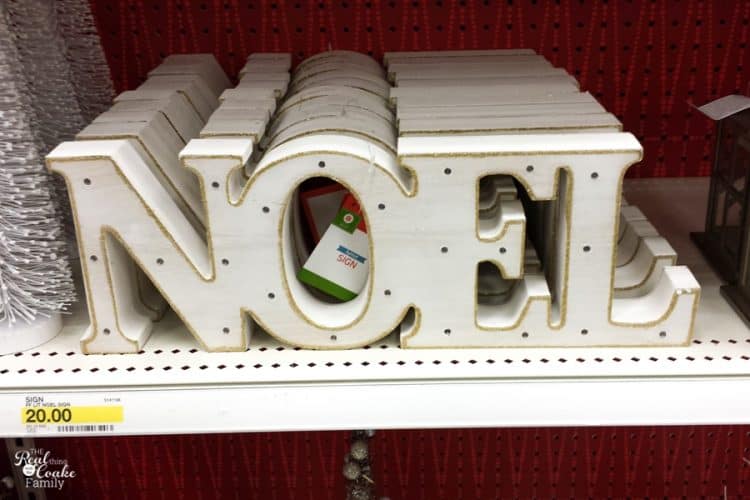
This is the sign I saw at Target. It is hard to tell that the edge of this is gold glitter from this cell phone pic, but it helps you get the idea of what I was going for. Their letters have some small bling (that looks like dark circles in this picture). I like the bling, but decided not to add them to my letters. I kept mine simple and inexpensive by using what I had on hand. It would be easy for you to buy some adhesive gems and add them to what I did if you want the added bling.
As I said, this was an easy craft, so let me show you how to make your own DIY Christmas decorations.
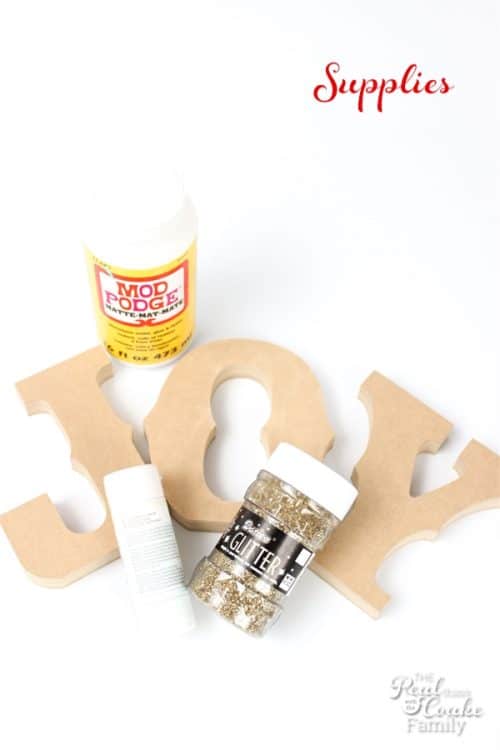
Supplies:
- Wood Letters (or paper mache)
- Acrylic paint
- Gold Glitter
- Mod Podge
- Paintbrush
Start by painting your letters whatever color you want your base color to be. I selected Summer Linen![]() (affiliate link) from Martha Stewart’s paint line that I like so much.
(affiliate link) from Martha Stewart’s paint line that I like so much.
If you will be displaying these in a location that both the front and back will be visible, make sure to paint both sides of your letters.
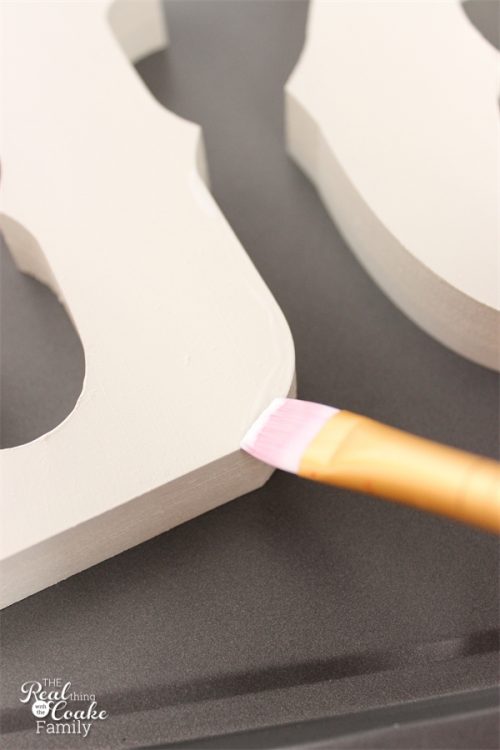
Use a paintbrush to apply a thick coat of Mod Podge in a narrow line near the edge of the letter. Work on one letter at a time so the Mod Podge does not dry before you can add the glitter.
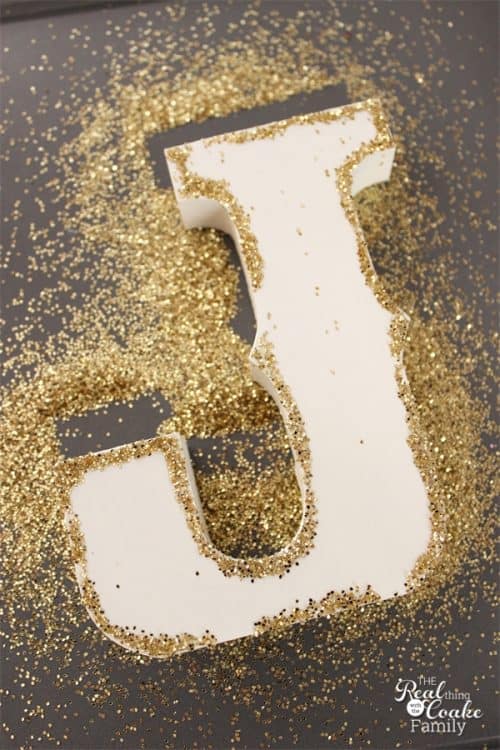
Sprinkle the glitter onto the letter. Oh and I little tip…use an old baking sheet for working with glitter. It contains the mess and makes working with glitter delightful rather than a huge mess.
Don’t worry if you have spots that are missing glitter. For those areas, just go back with your Mod Podge and paintbrush and add a bit more Mod Podge and sprinkle with glitter again.
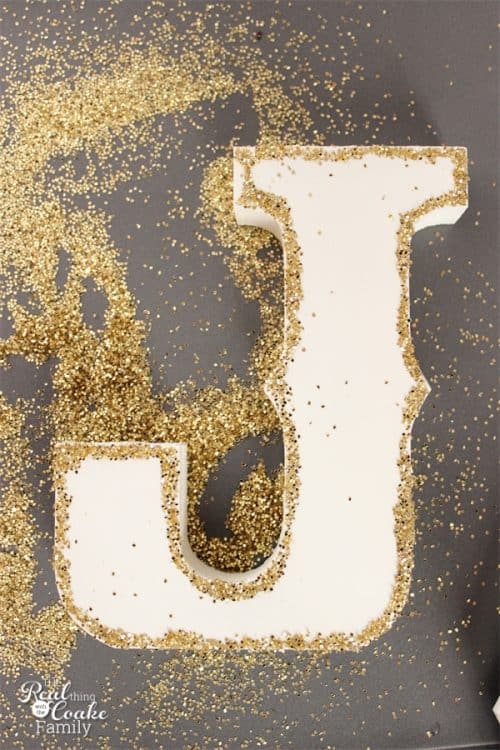
See, now you can’t tell that areas were missed with glitter.

In the end, you will have beautiful letters with a pretty glitter border.
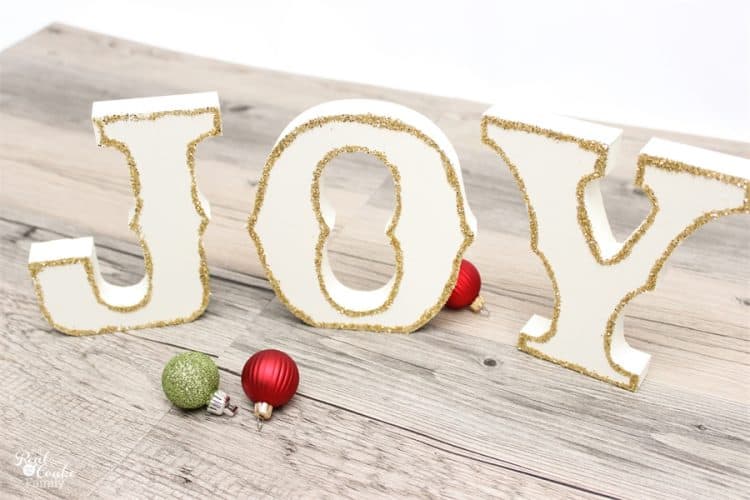
The glitter border really makes the letters stand out. They turned out prettier than I thought they would and I actually like mine more than the Target letters. 🙂 Happy day!
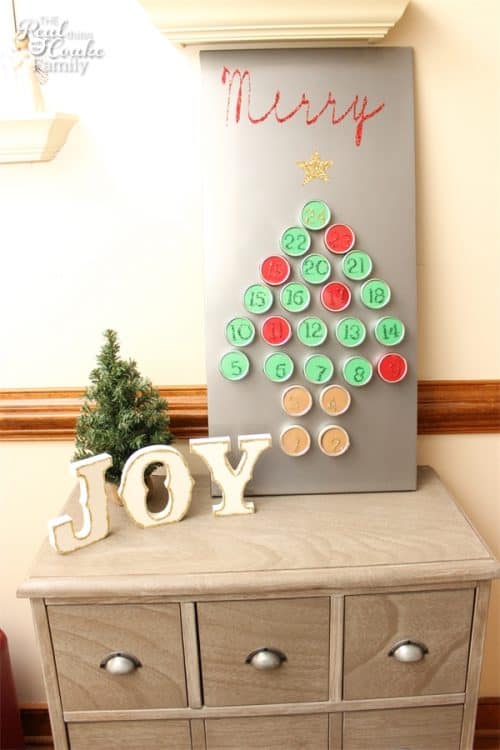
Now because I made two sets of letters, I had to figure out where to put these letters. I decided that they would go in our entry hallway with the advent calendar I made this year. Since it is quite joyful when you get to open the advent calendar and eat chocolate, I thought this spot might work. 😉
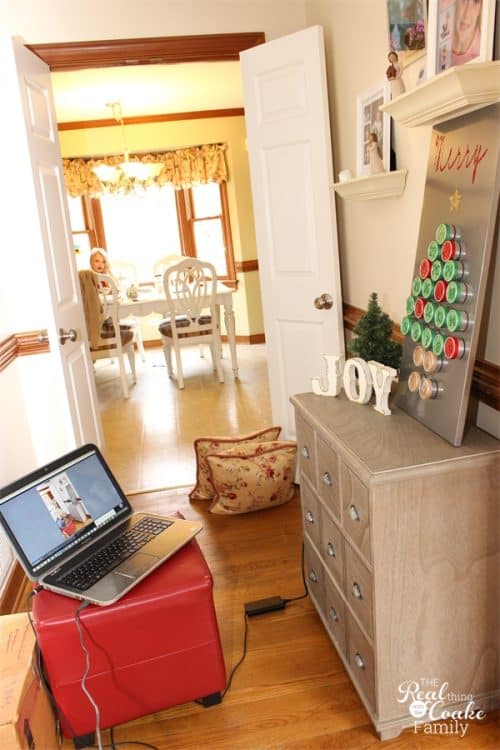
Keeping it real, as usual. This is our entry hallway. I shoot my photos tethered so I can immediately see the pictures I take and make adjustments. That little red cube is my bestie and holds my computer while I’m working. You can see Pumpkin at the kitchen table working on some school work, since this day I was multi-tasking and working while homeschooling. I don’t usually like to do that, but this year has been so busy that I have needed to work and school on occasion. I’m in full work mode at the moment. Trying to get things wrapped up for this year and take some time off for the holidays. Let’s hope I can pull it off. I need some time off and some time with my family.

What do you think? Did I rock the knock off or do you think it is a knock off flop?
More Christmas fun:

Leave a Reply